yakiudon (stir fried udon noodles)

Comment

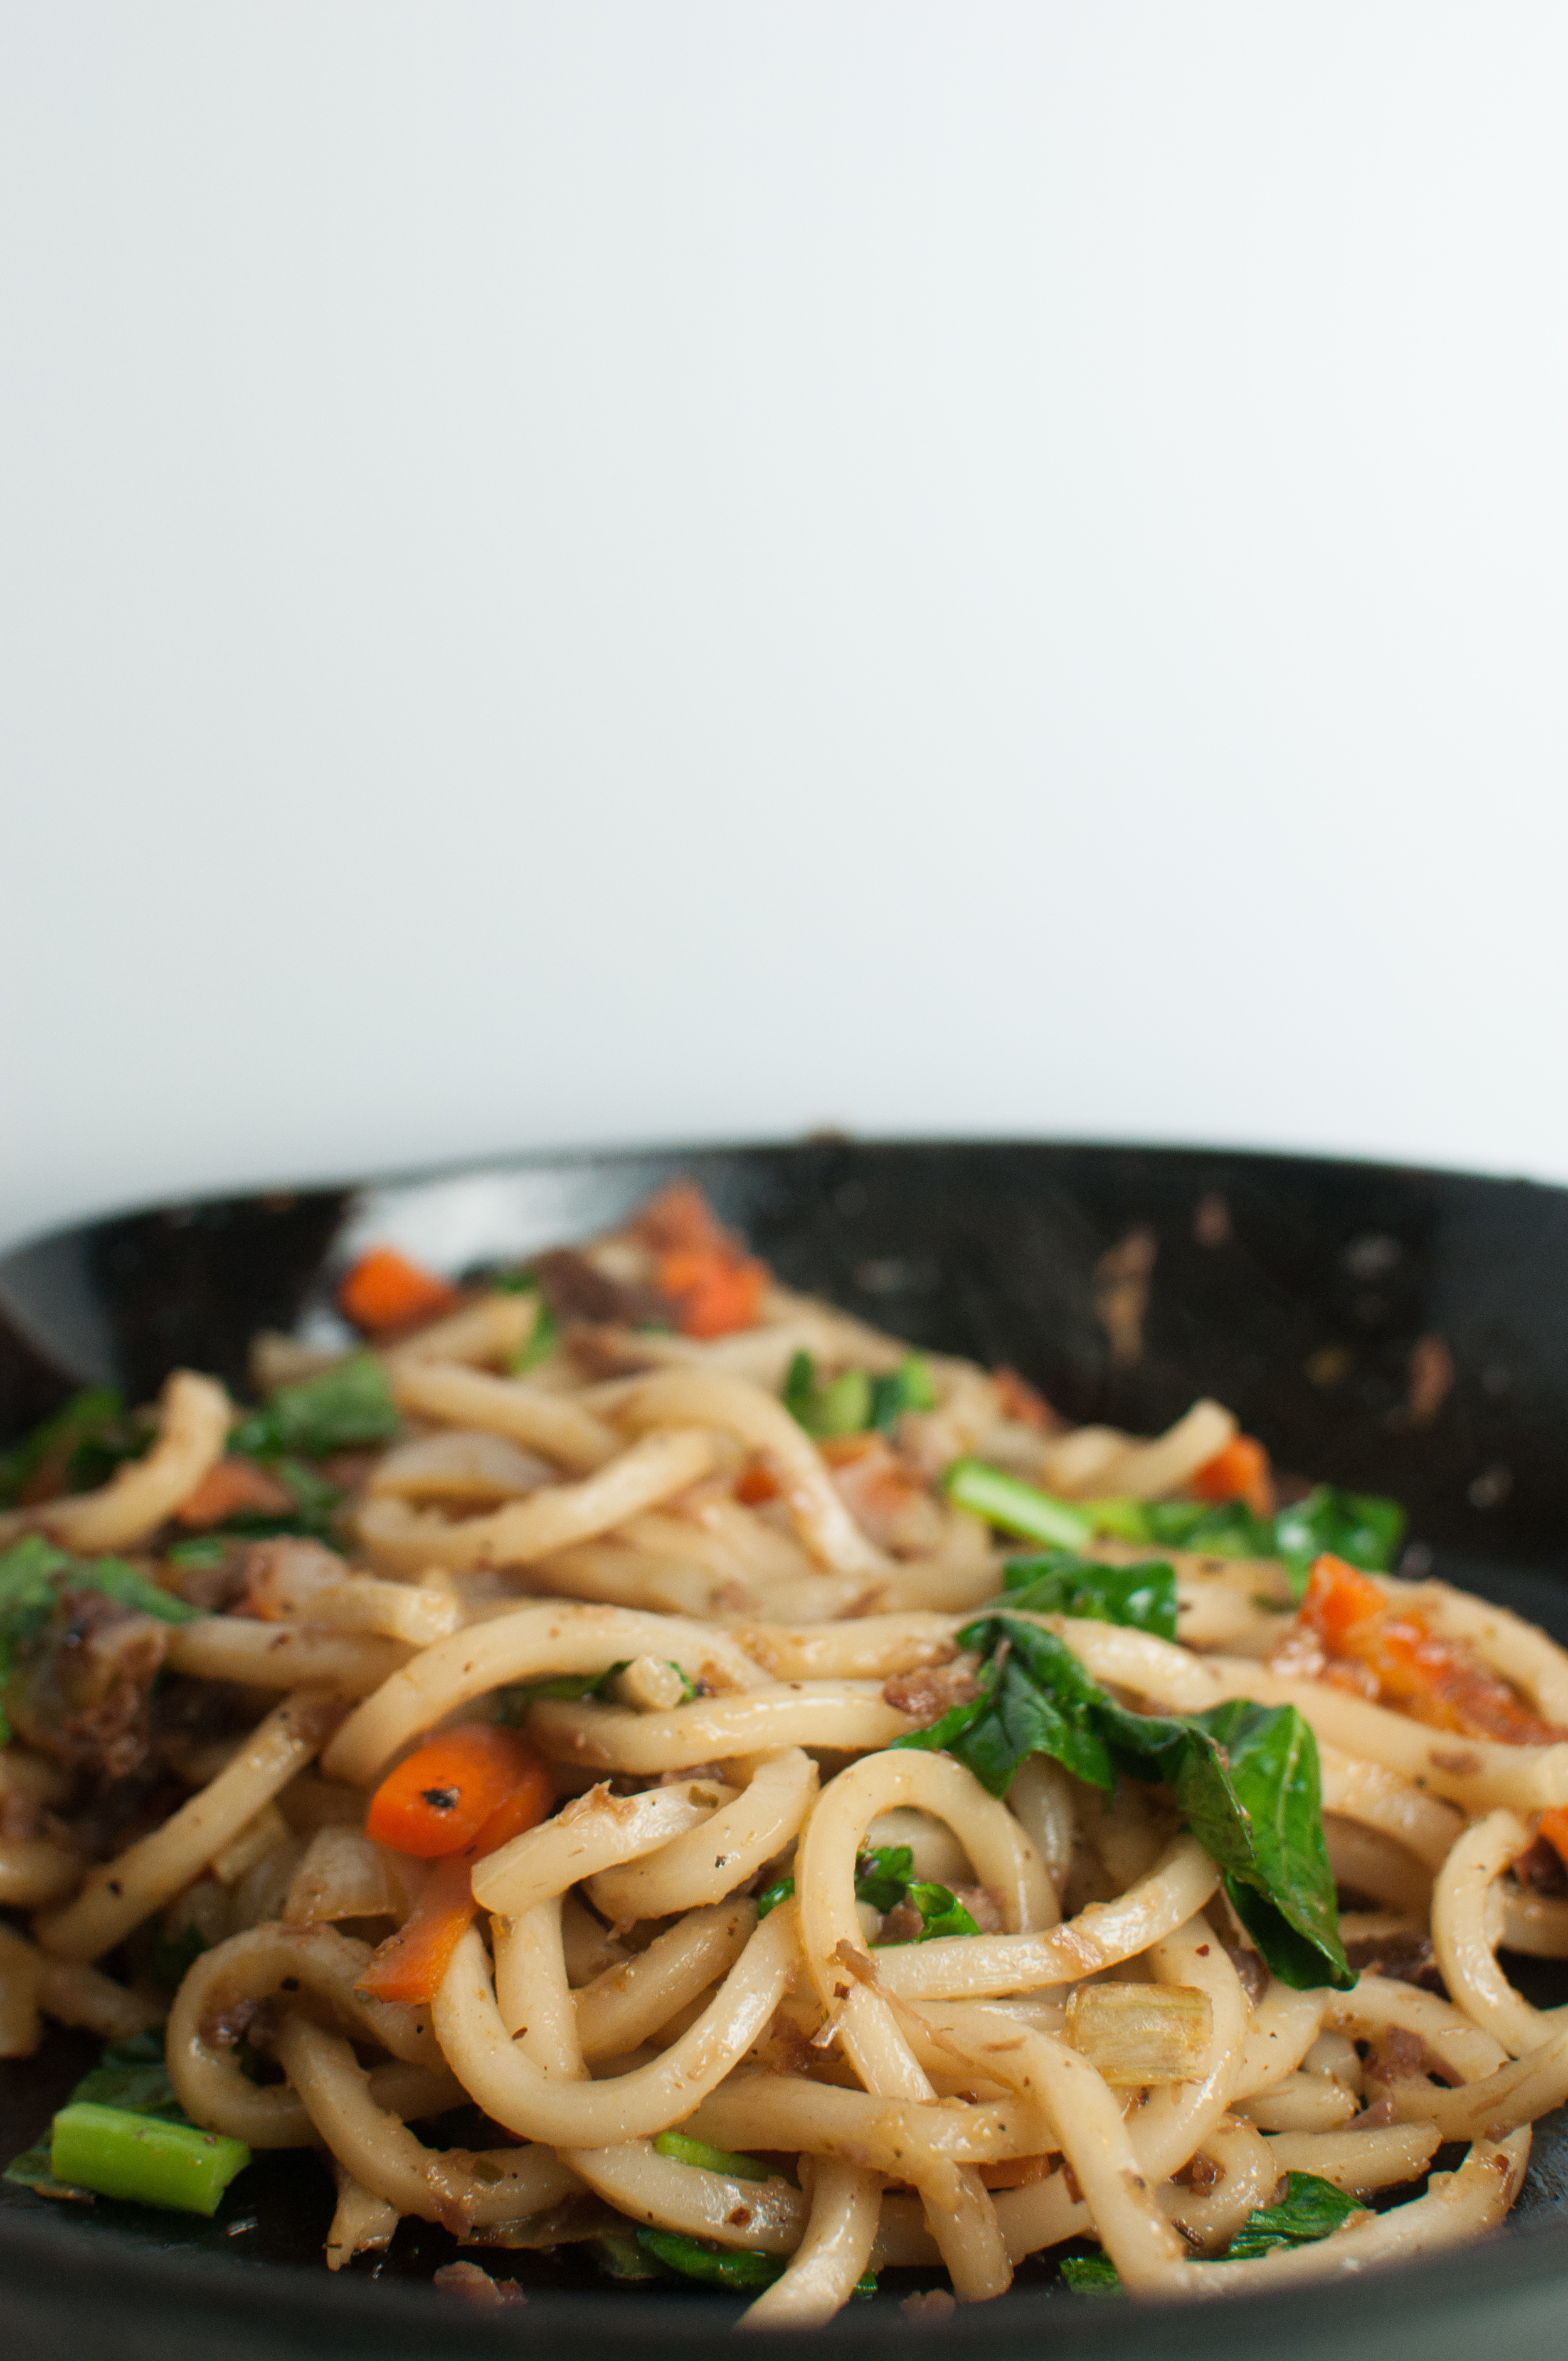
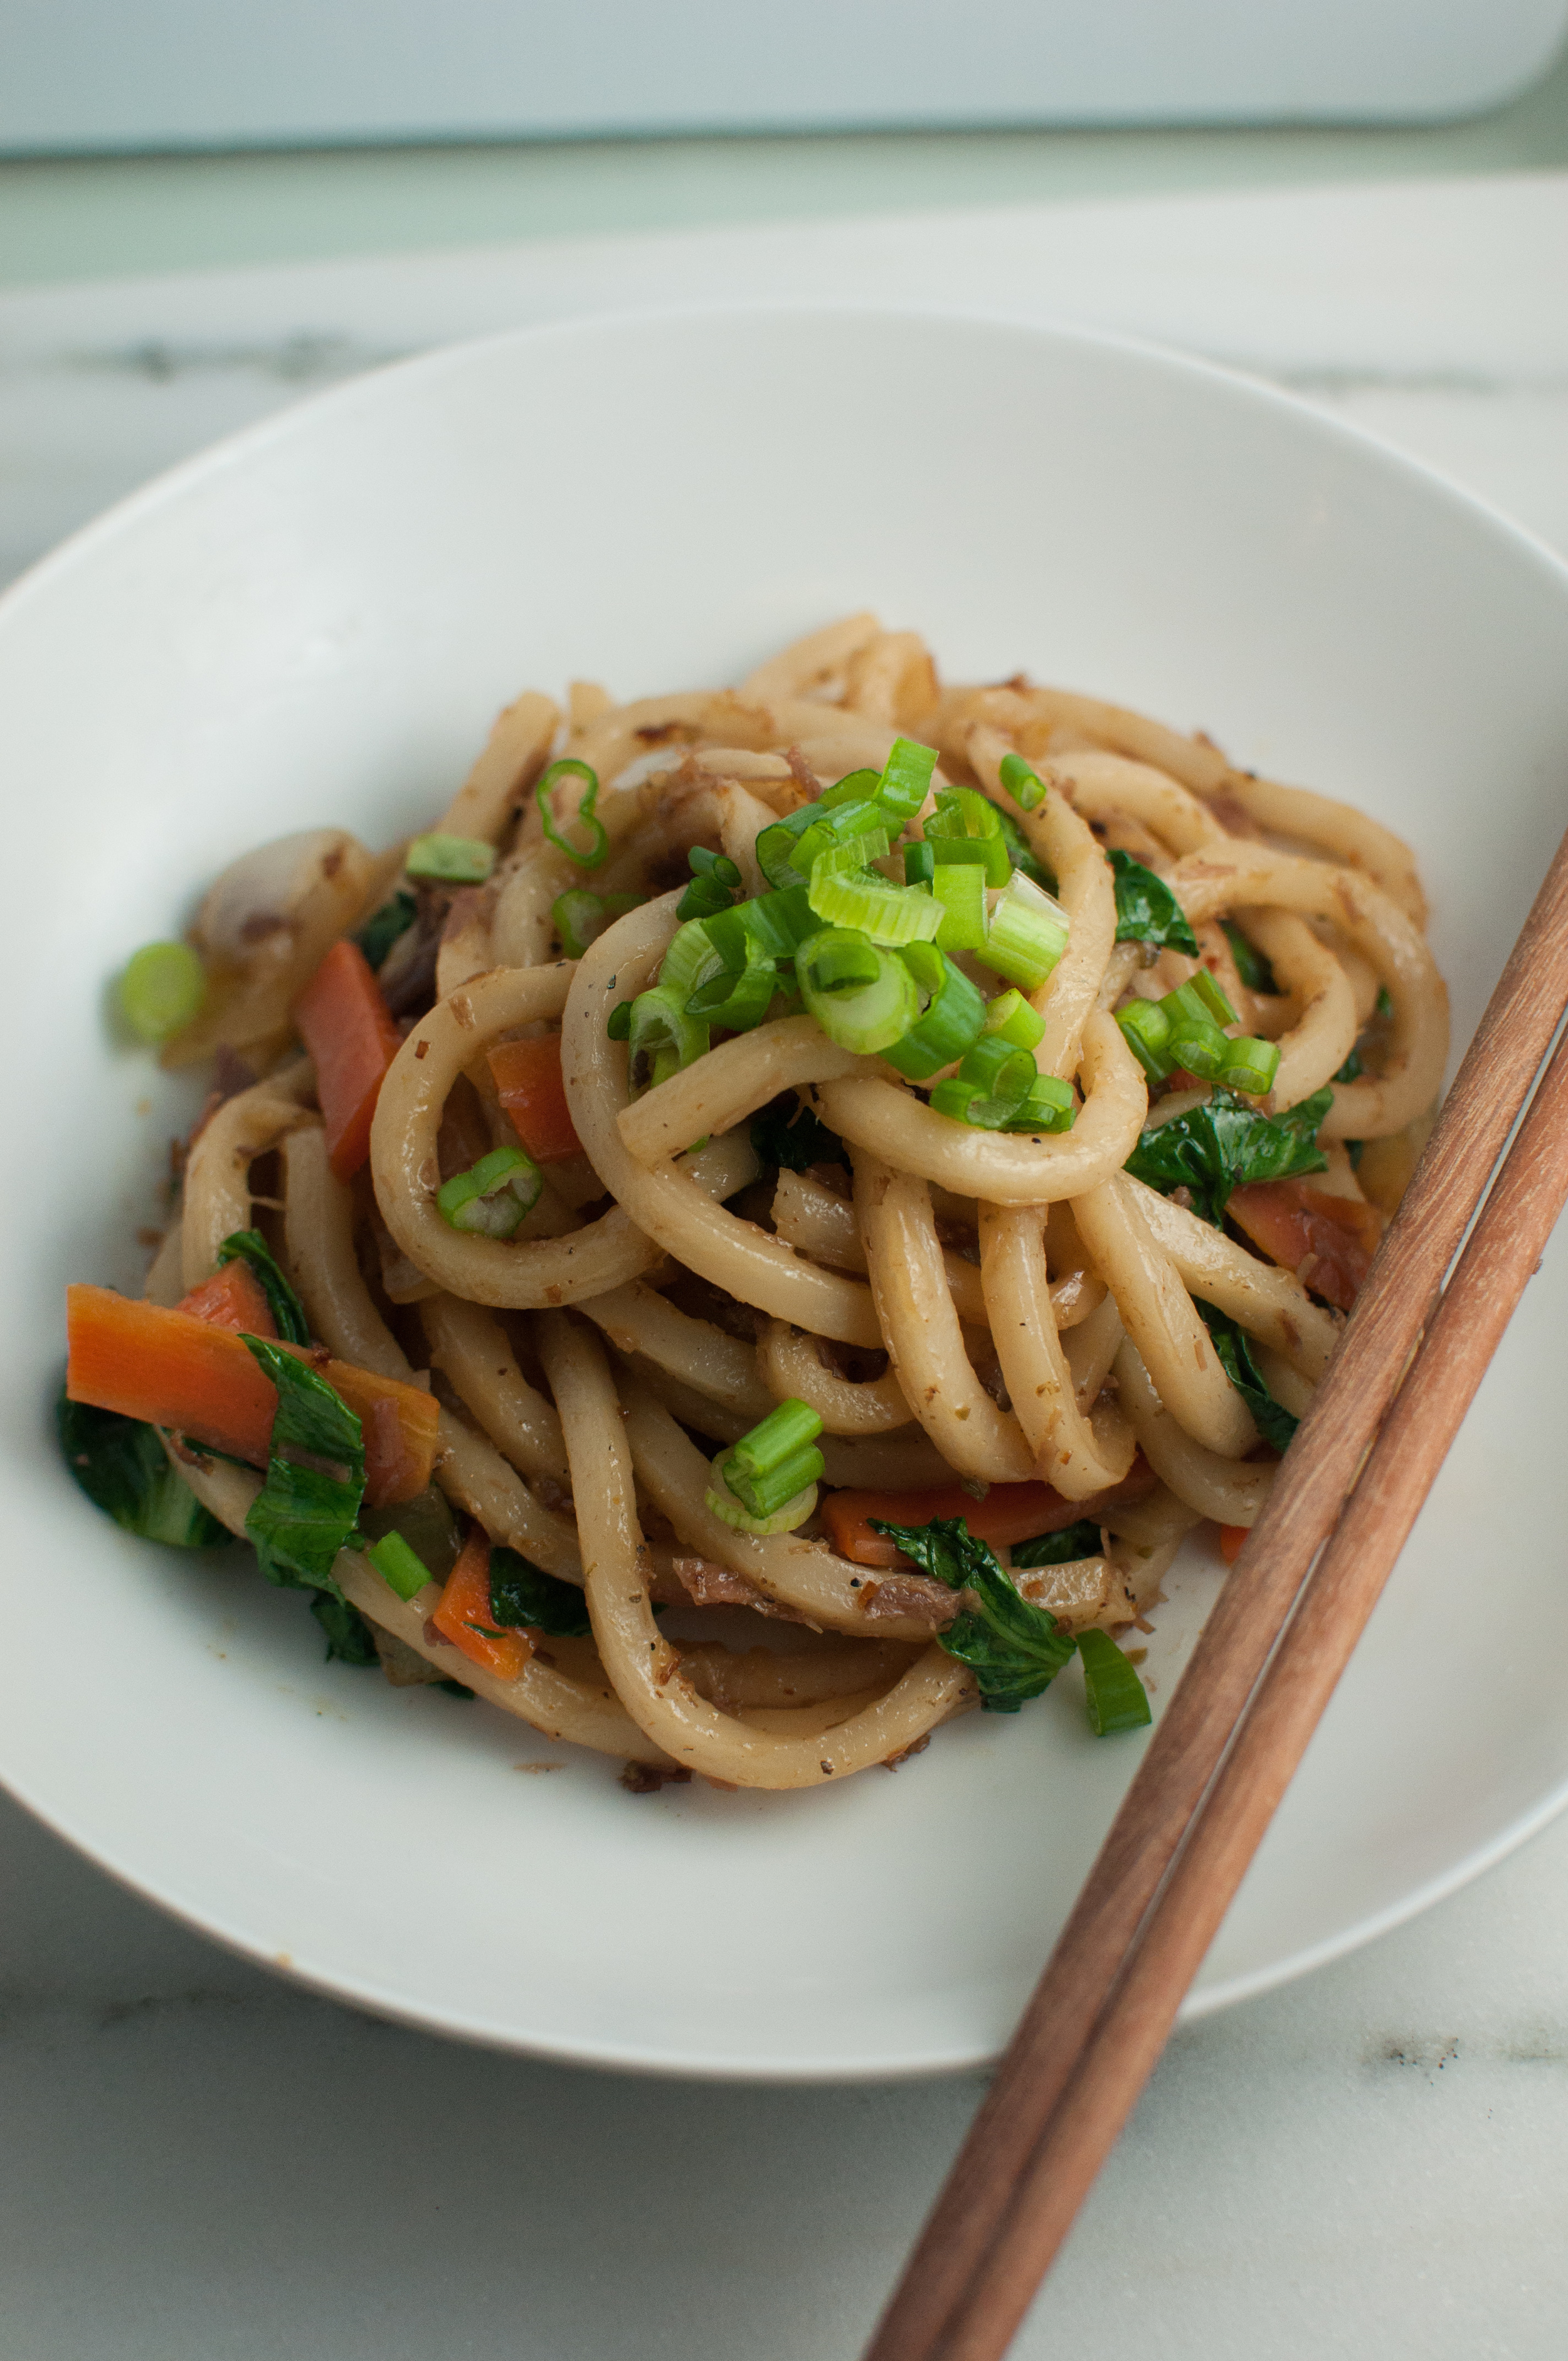
yakiudon (stir fried udon noodles)

Upon relocating to Portland this past summer, my babes and I have dived head on into our interest in exploring asian flavors and cooking techniques - thanks to the ease of sourcing so many ingredients that were not commonly found in northern Michigan grocery stores. King of those explorations for me personally has been Japanese noodle dishes. From rich homemade ramen broths packed with fresh noodles to traditional Japanese hot pots to stir fried noodles like these... I'm in noodle heaven! 

This noodle heaven is 100% supported by the ease of acquiring fresh noodles here in Portland, which open up a whole new world of flavor creation and exploration. I've gotten in the habit of purchasing a rather large quantity when we get out to the big asian grocery stores, and keeping them in the freezer so we always have them on hand. If you live far from sources of ingredients like these, might I suggest doing the same... I highly doubt you'll be disappointed! That said, if you don't have access to fresh noodles, this dish will still taste absolutely great if made with dry noodles. 

This noodle dish I'm sharing with you today comes together in less than twenty minutes and is packed with major umami flavors, as so many Japanese dishes are. It's a simple sautee of veggies, some protein, those comforting noodles, and a basic sauce. They make a magical quick weeknight dinner, and may just be the ultimate comfort food. 

You're welcome. 

Recipe Yakiudon Noodles Cast Iron Food Photography

I've included a whole list of options for adding protein to this dish, because I know everyone has different protein preferences, and these noodles will work with any one of them. Personally, I used slices of pork shoulder that was cooked in a previous dinner's ramen broth. As for the veggies, carrots and asian greens are a traditional take on this dish but you can easily mix things up by including any combination of veggies you have on hand. This dish is an ultimate fridge-clearing dinner!! 

Yakiudon (Stir Fried Udon Noodles) 

Inspired by I am a Food Blog and a lifelong love of stir fried noodles! 

Makes one hearty portion, or two smaller portions perfect for serving alongside a big salad. 

ingredients: 

1 Tbsp high heat oil (I use sunflower) 

1/2 medium onion - diced 

1 medium carrot - sliced into thin rounds or rectangles 

6 oz fresh udon noodles - cooked (or dried udon, though do buy the fresh if you can!)

4oz beef, chicken, pork or tofu - cooked and cut into small pieces

3 Tbsp soy sauce 

3 Tbsp mirin 

1 Tbsp sesame oil 

1 tsp dashi powder

1 cup tatsoi (or bok choy) - roughly chopped

scallions to garnish 

instructions: 

  • Heat oil in a medium pan over medium heat, then add onions. Sautee until the onions become translucent, about five minutes. 
  • Add the carrots and continue to sautee, stirring occasionally, until the onions are browning and the carrots have softened a bit. 
  • Add cooked noodles and protein, soy sauce, mirin, sesame oil, and dashi powder and carefully toss until noodles are evenly coated. 
  • Continue cooking and stirring occasionally until all ingredients are hot (in case the noodles and protein weren't hot when you added them). Finally, toss in the tatsoi and stir to combine, leaving the pan over the heat until the tatsoi has cooked just slightly (this takes less than one minute). 
  • Remove from heat, and garnish with scallions. 

Comment

Cranberry Almond Frangipane Tart

Comment

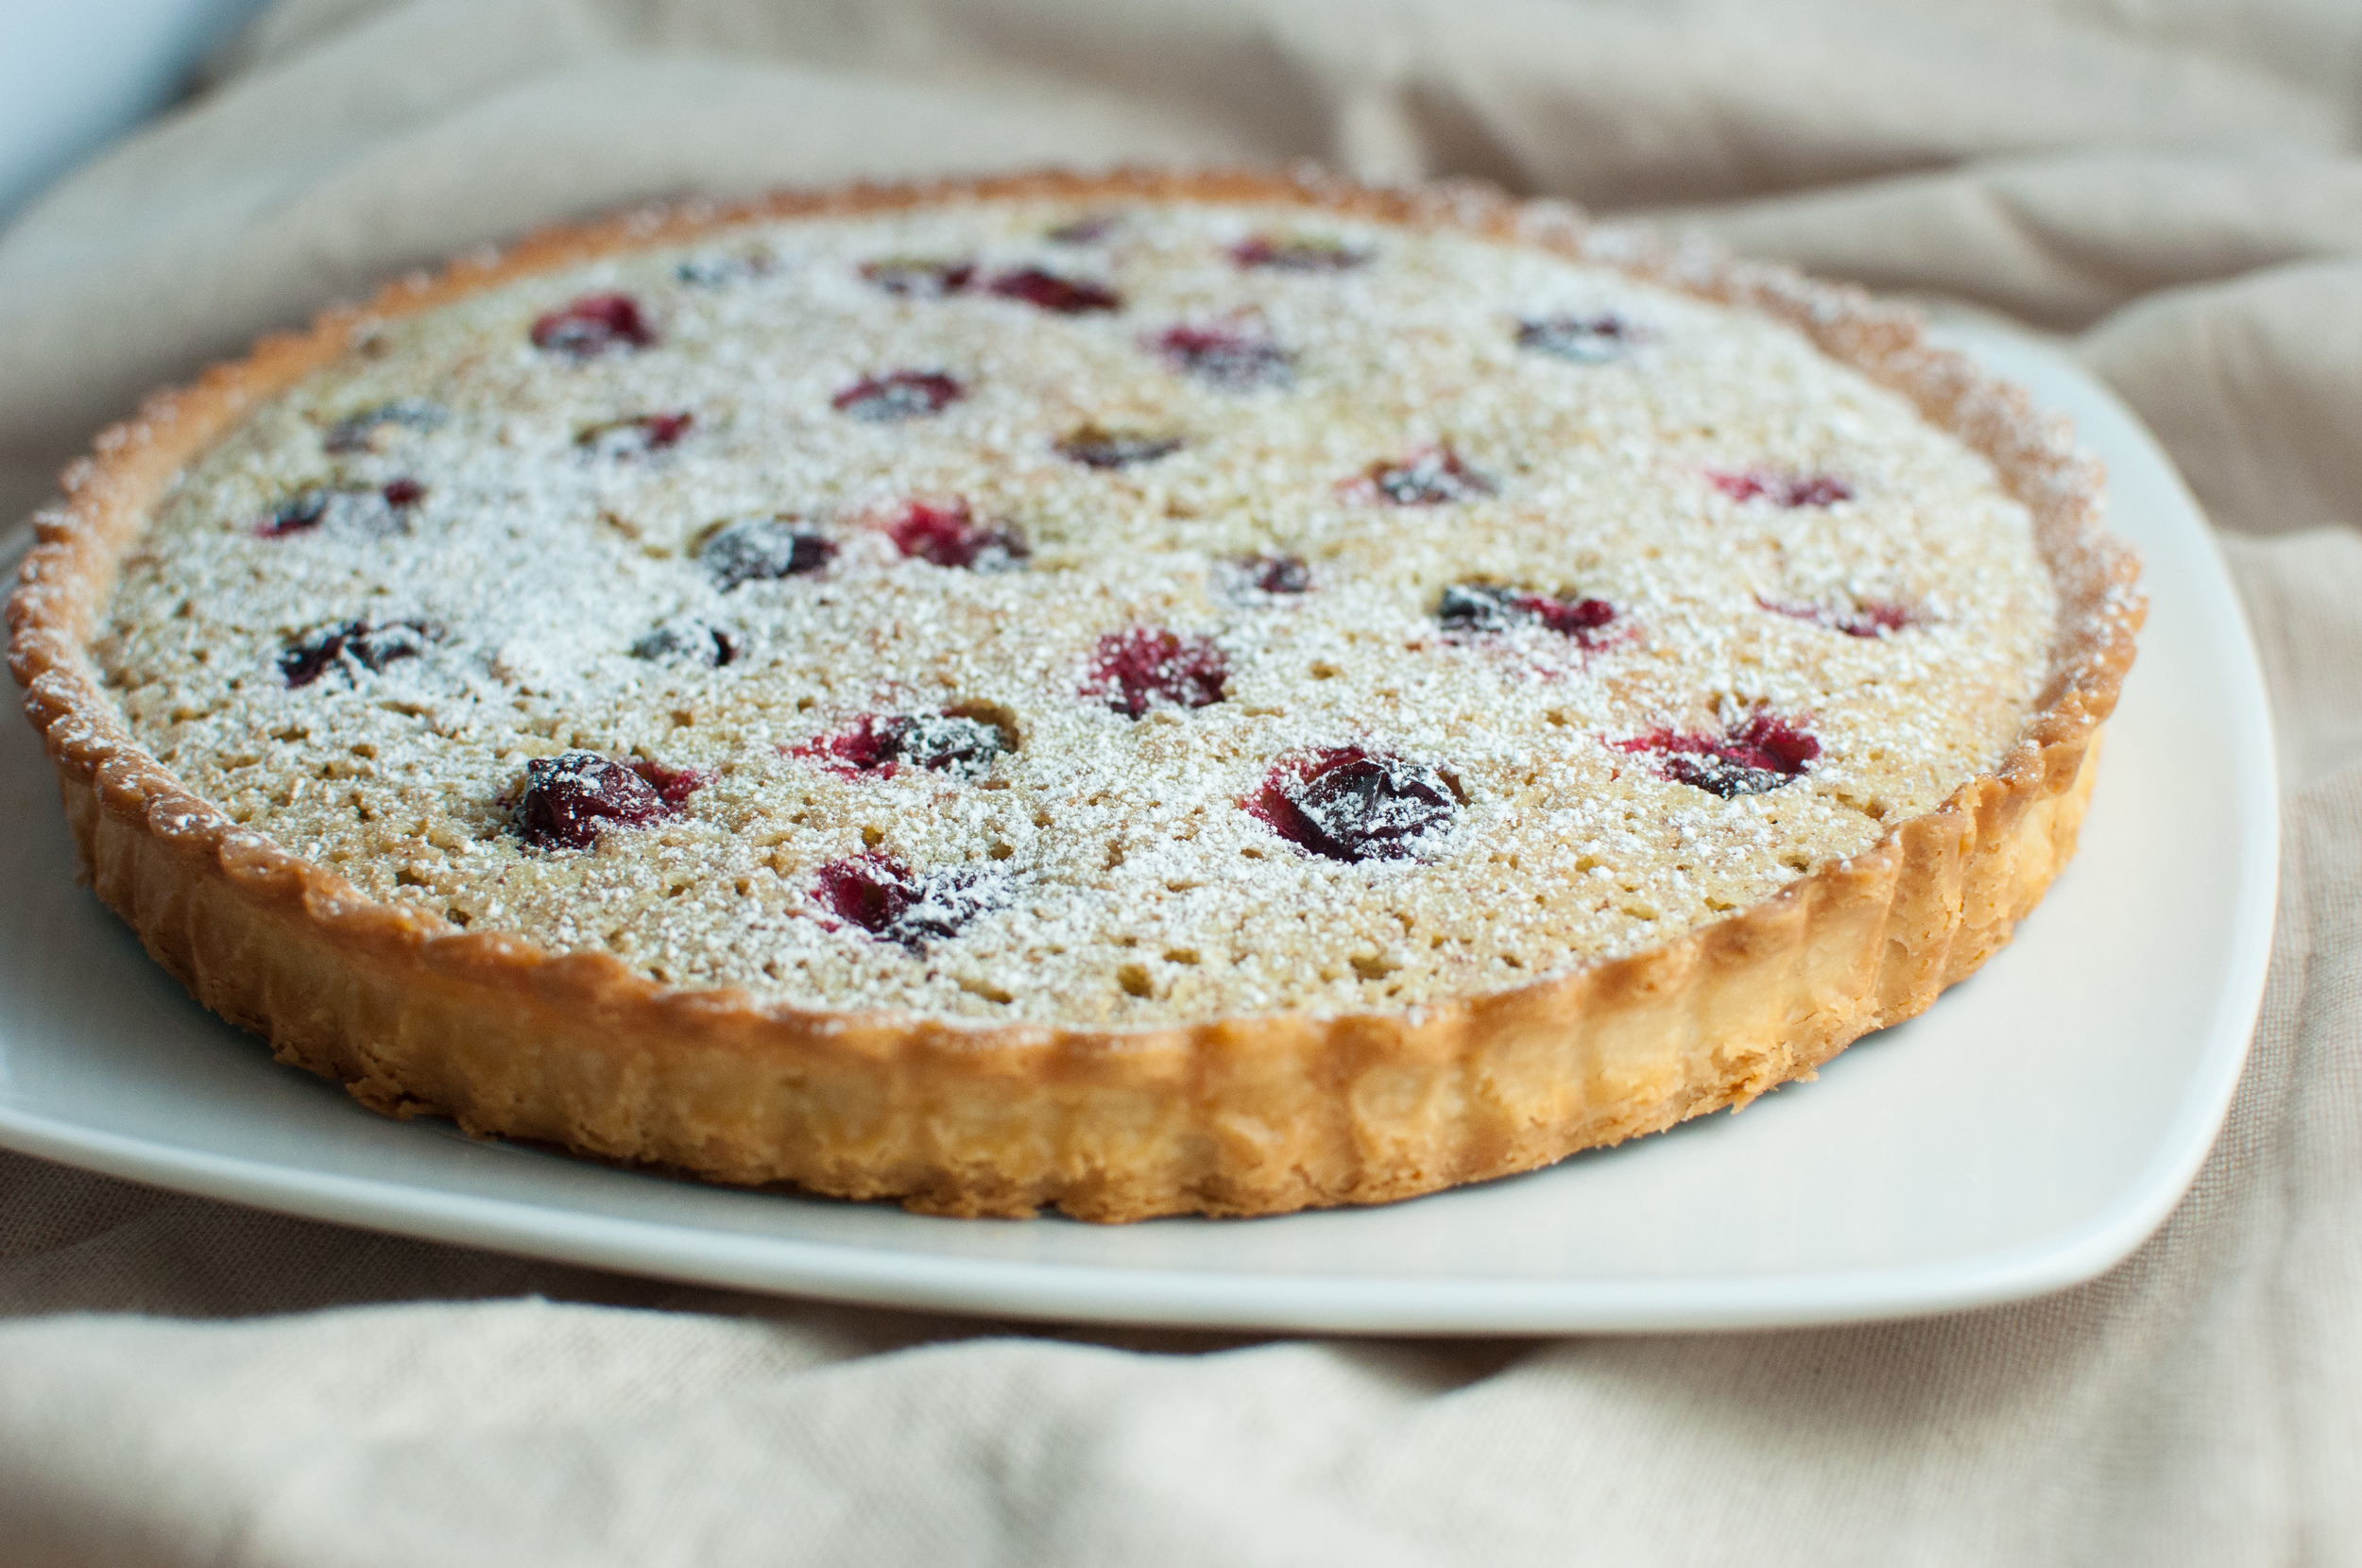
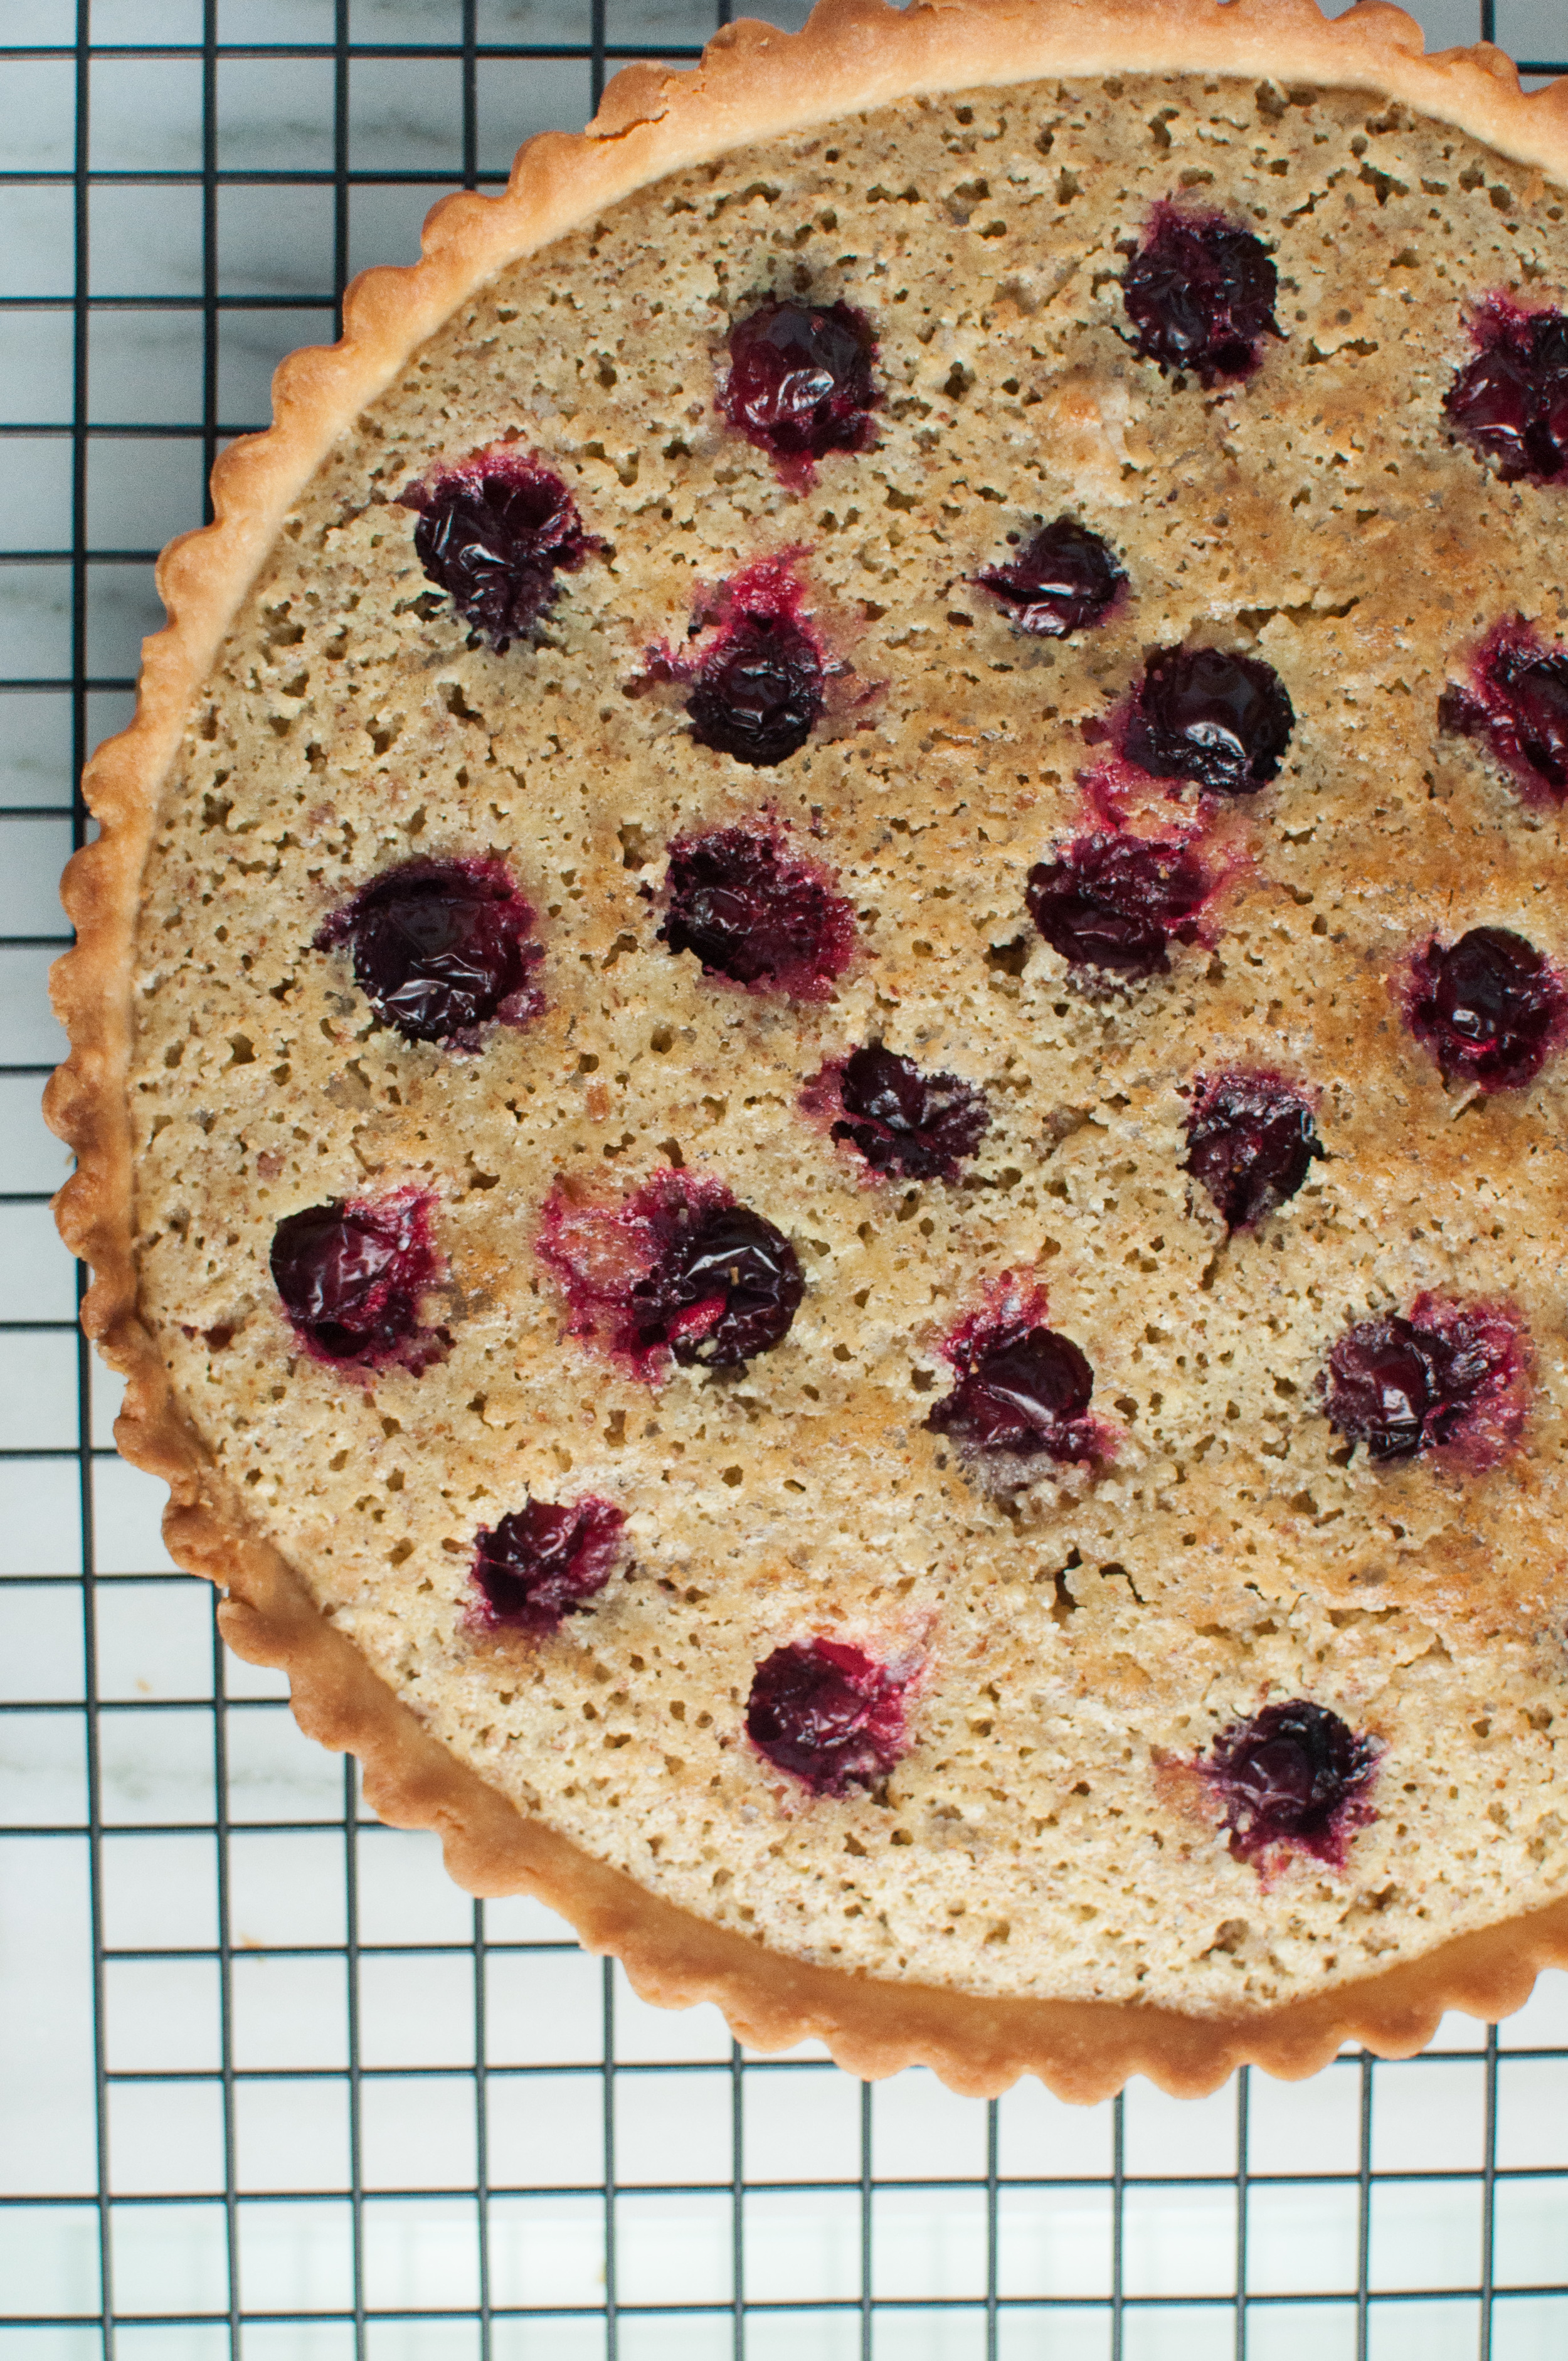
Cranberry Almond Frangipane Tart

I'm going to keep this post simple and more to the point than normal, because I know we're all busy this time of year trying to find those perfect dishes for a beautiful (and hopefully not too complicated) Thanksgiving feast! While this recipe has quite a few steps, there is plenty of down time to be getting other things done in the kitchen or around the house. 

I picked up a rather absurd quantity of cranberries at the Hollywood Farmers Market here in Portland over the weekend, because fresh cranberries are just such an exciting fall treat. My dad is the king of cranberries when it comes to holiday meals at home, so I'm bringing a bag home to him for a little west coast/great lakes cranberry sauce. 

It couldn't stop with just the cranberry sauce though, I was determined to make a cranberry dessert perfect for Thanksgiving or anytime you please! 

Almond Frangipane Tart with Cranberries, Recipe

In dreaming up the options of what to do with those vibrant red berries, I rather quickly settled on a frangipane tart... if you've ever had one before, you'll probably understand why. There is just something so magical about the rich simplicity of frangipane. I first fell in love with it making Smitten Kitchen's  Cherry Almond Galette (from the cookbook!), and have since considered all the ways I can incorporate more of this almond magic into my diet. 

So here you are, a basic shortbread tart crust, filled with almond frangipane and fresh cranberries. 


Tart Crust / Pâte Sablée

8 Tbsp unsalted butter, softened
1/3 cup powdered sugar
1 egg yolk
1/2 tsp salt
1 1/4 cups all-purpose flour
1 Tbsp cream or milk, if needed

  • In the bowl of a stand mixer (you can also use a hand mixer or a strong arm!), beat the butter and sugar until creamy. 

  • Add the egg yolk, and continue mixing until it is fully incorporated. Scrape down the sides of your bowl as needed. 

  • Add the flour and salt, then mix on a low speed until the dough is just coming together and there is no flour visible. You don't want to overmix the dough, so do only leave the machine running until the dough is just coming together. At this point, the dough should easily be pressed together between your fingers without falling apart. If it seems a little dry or doesn't hold together, add just as much milk or cream as is needed for it to come together. 

  • Turn the bowl out onto a sheet of plastic wrap, and gather the dough into a round disc shape. Wrap it in the plastic wrap and chill in the fridge for at least an hour (or up to a few days if you're preparing ahead of time). 

  • When you're ready to bake your pastry shell, remove the dough from the fridge and let it soften slightly for a few minutes (especially if you've refrigerated it for more than an hour). Roll the dough into a circle, about 12 inches in diameter. This can be done between two sheets of wax paper or plastic wrap to reduce the amount of flour added to the dough while rolling. 

  • To easily transfer the dough to the tart pan, remove the top sheet of wax paper or plastic wrap, and carefully invert the dough into the pan. Then remove the bottom sheet. Gently lift the edges of the dough to fit it down into the corners of the pan, being careful not to rip the dough. Trim any extra edges you might have by running a paring knife around the edges of the pan. Use a fork to prick the bottom of the tart shell (or fill it with parchment and pie weights, if you have them). 

  • Wrap the pan loosely in plastic and return the dough to the fridge to cool for 30 minutes prior to baking. 

  • Bake the shell at 375 for 10-15 minutes, until the surface of the pastry is dry and it is just ever so slightly starting to turn golden. 

  • Cool shell completely before adding filling. 

Filling and Finishing

6 Tbsp butter, softened
1/4 cup plus 2 Tbsp (3oz) caster sugar
2 eggs, beaten
1 cup (85 grams) ground almonds or almond flour
½ tsp almond extract

cranberries (fresh or frozen) 

  • Place the butter and sugar in the bowl of a stand mixer fitted with a paddle attachment. Mix on medium until the mixture becomes creamy, this generally takes a few minutes. 
  • Add the eggs and mix on medium again until the eggs are fully incorporated. 
  • Finally, mix in the ground almonds and almond extract until fully incorporated. If you don't have stand mixer, this can be done using a hand mixture or a strong arm and a wooden spoon! 
  • Fill cooled pastry shell with the filling, then arrange cranberries in a spiral by carefully setting them in the filling. 
  • Bake at 375 for about 35 minutes, until the filling is solid and the top is a beautiful golden brown color. Turn halfway through baking time if your oven bakes unevenly for consistent browning. 
  • Remove from oven and let cool for about 20 minutes before removing from the tart pan. To remove the tart from your pan, carefully set the tart on a jar or small overturned bowl and let the ring fall (carefully pull it downward if needed). Slide the tart off of the pan and onto your serving tray, or simply serve it on the base of the tart pan. 
  • Sprinkle with powdered sugar if you wish. 

Comment

Star Anise Arborio Rice Pudding

2 Comments

Star Anise Arborio Rice Pudding

Rice pudding is one of my ultimate comfort foods, and standing near the warm stove with a simmering pot of creamy goodness is a favorite winter activity of mine. The incredible smell of spices filling the house is, of course, an added bonus - so lets be honest with ourselves here, there is nothing bad about making a big batch of rice pudding! 

I think a lot of my nostalgia and love for rice pudding comes from a completely non-winter experience... in fact a totally tropical one! I spent some time just after college living and working in an orphanage in the Dominican Republic, and spent every lunch and dinnertime for six months sitting at a table with a group of newly admitted young boys. During these moments around the table, we ate simple Dominican classics and the boys were on their best behavior (a much needed moment of quiet in an otherwise rambunctious place!). One of those classic dishes was arroz con leche - a simple and hardly sweet version of rice pudding. Whole allspice berries and cloves were carefully set to the side of the plate as we ate our way through. 

While very few would consider a full plate of rice pudding a balanced dinner, I can't help but justify it on occasion thinking back to those meals with my house-full of sweet Dominican kids. It kept me going then, and it'll keep me going now! That said... rice pudding is much more often eaten in my house as a simple dessert or an afternoon snack these days. 

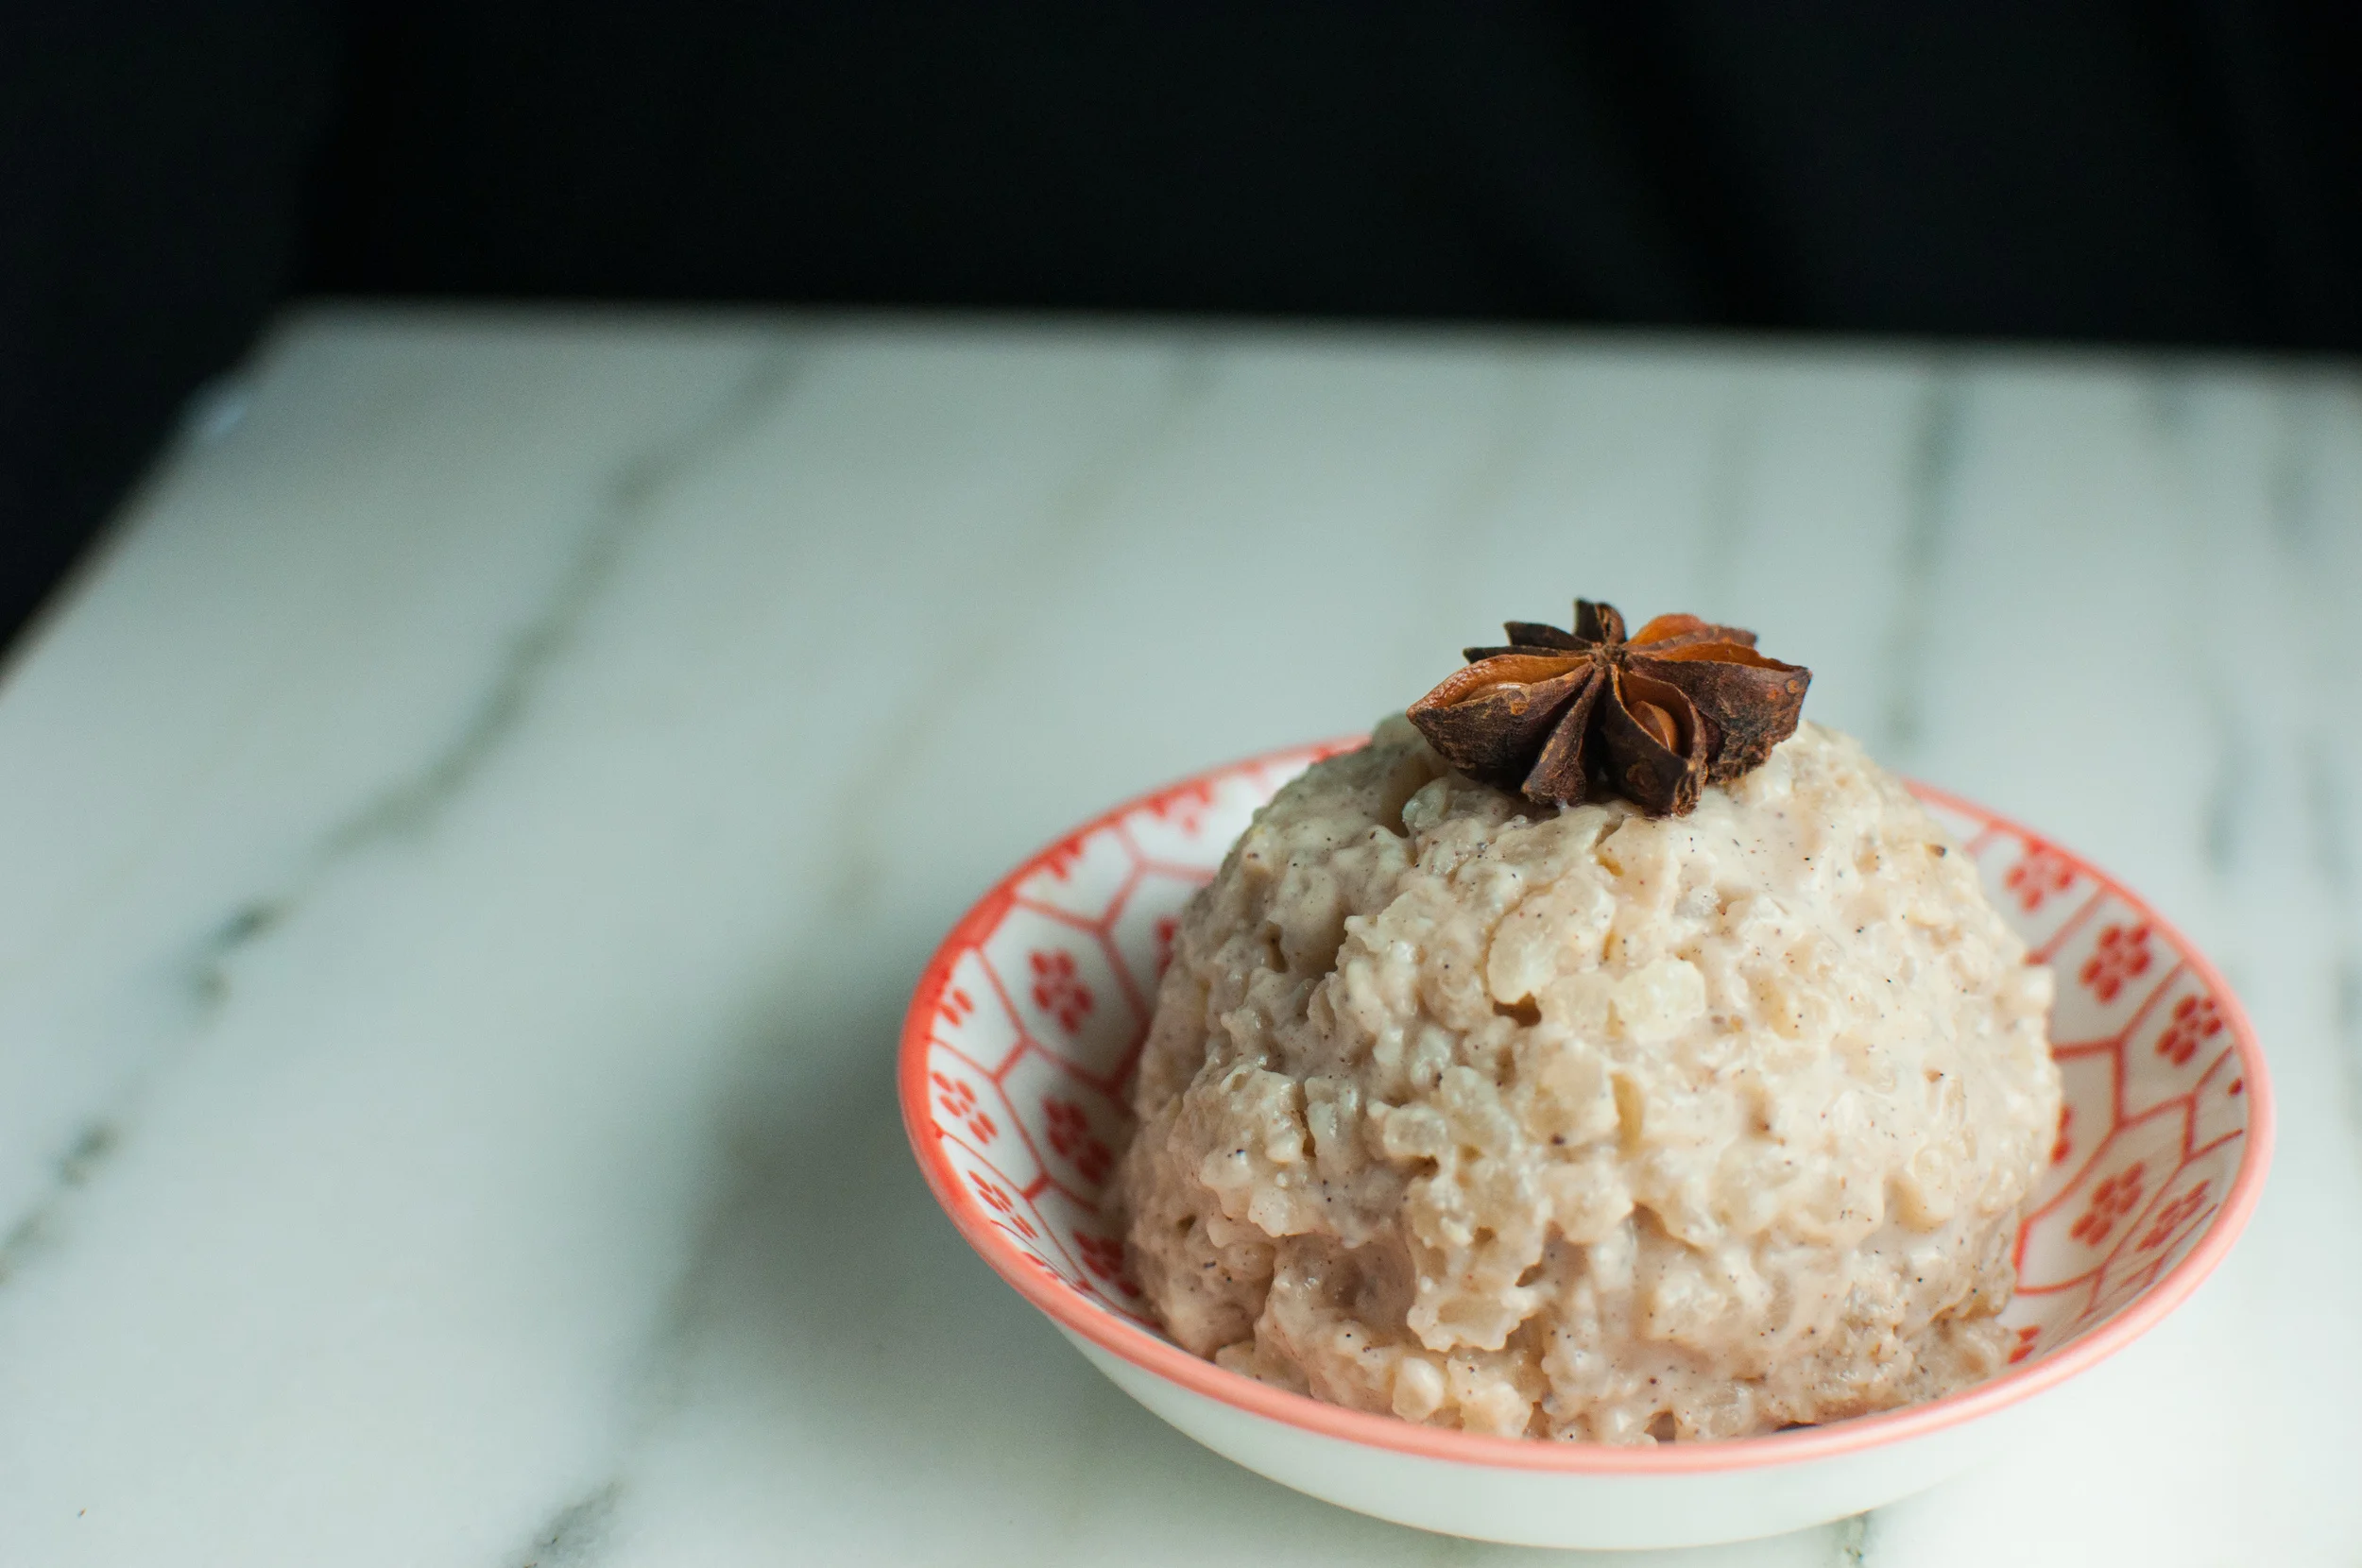
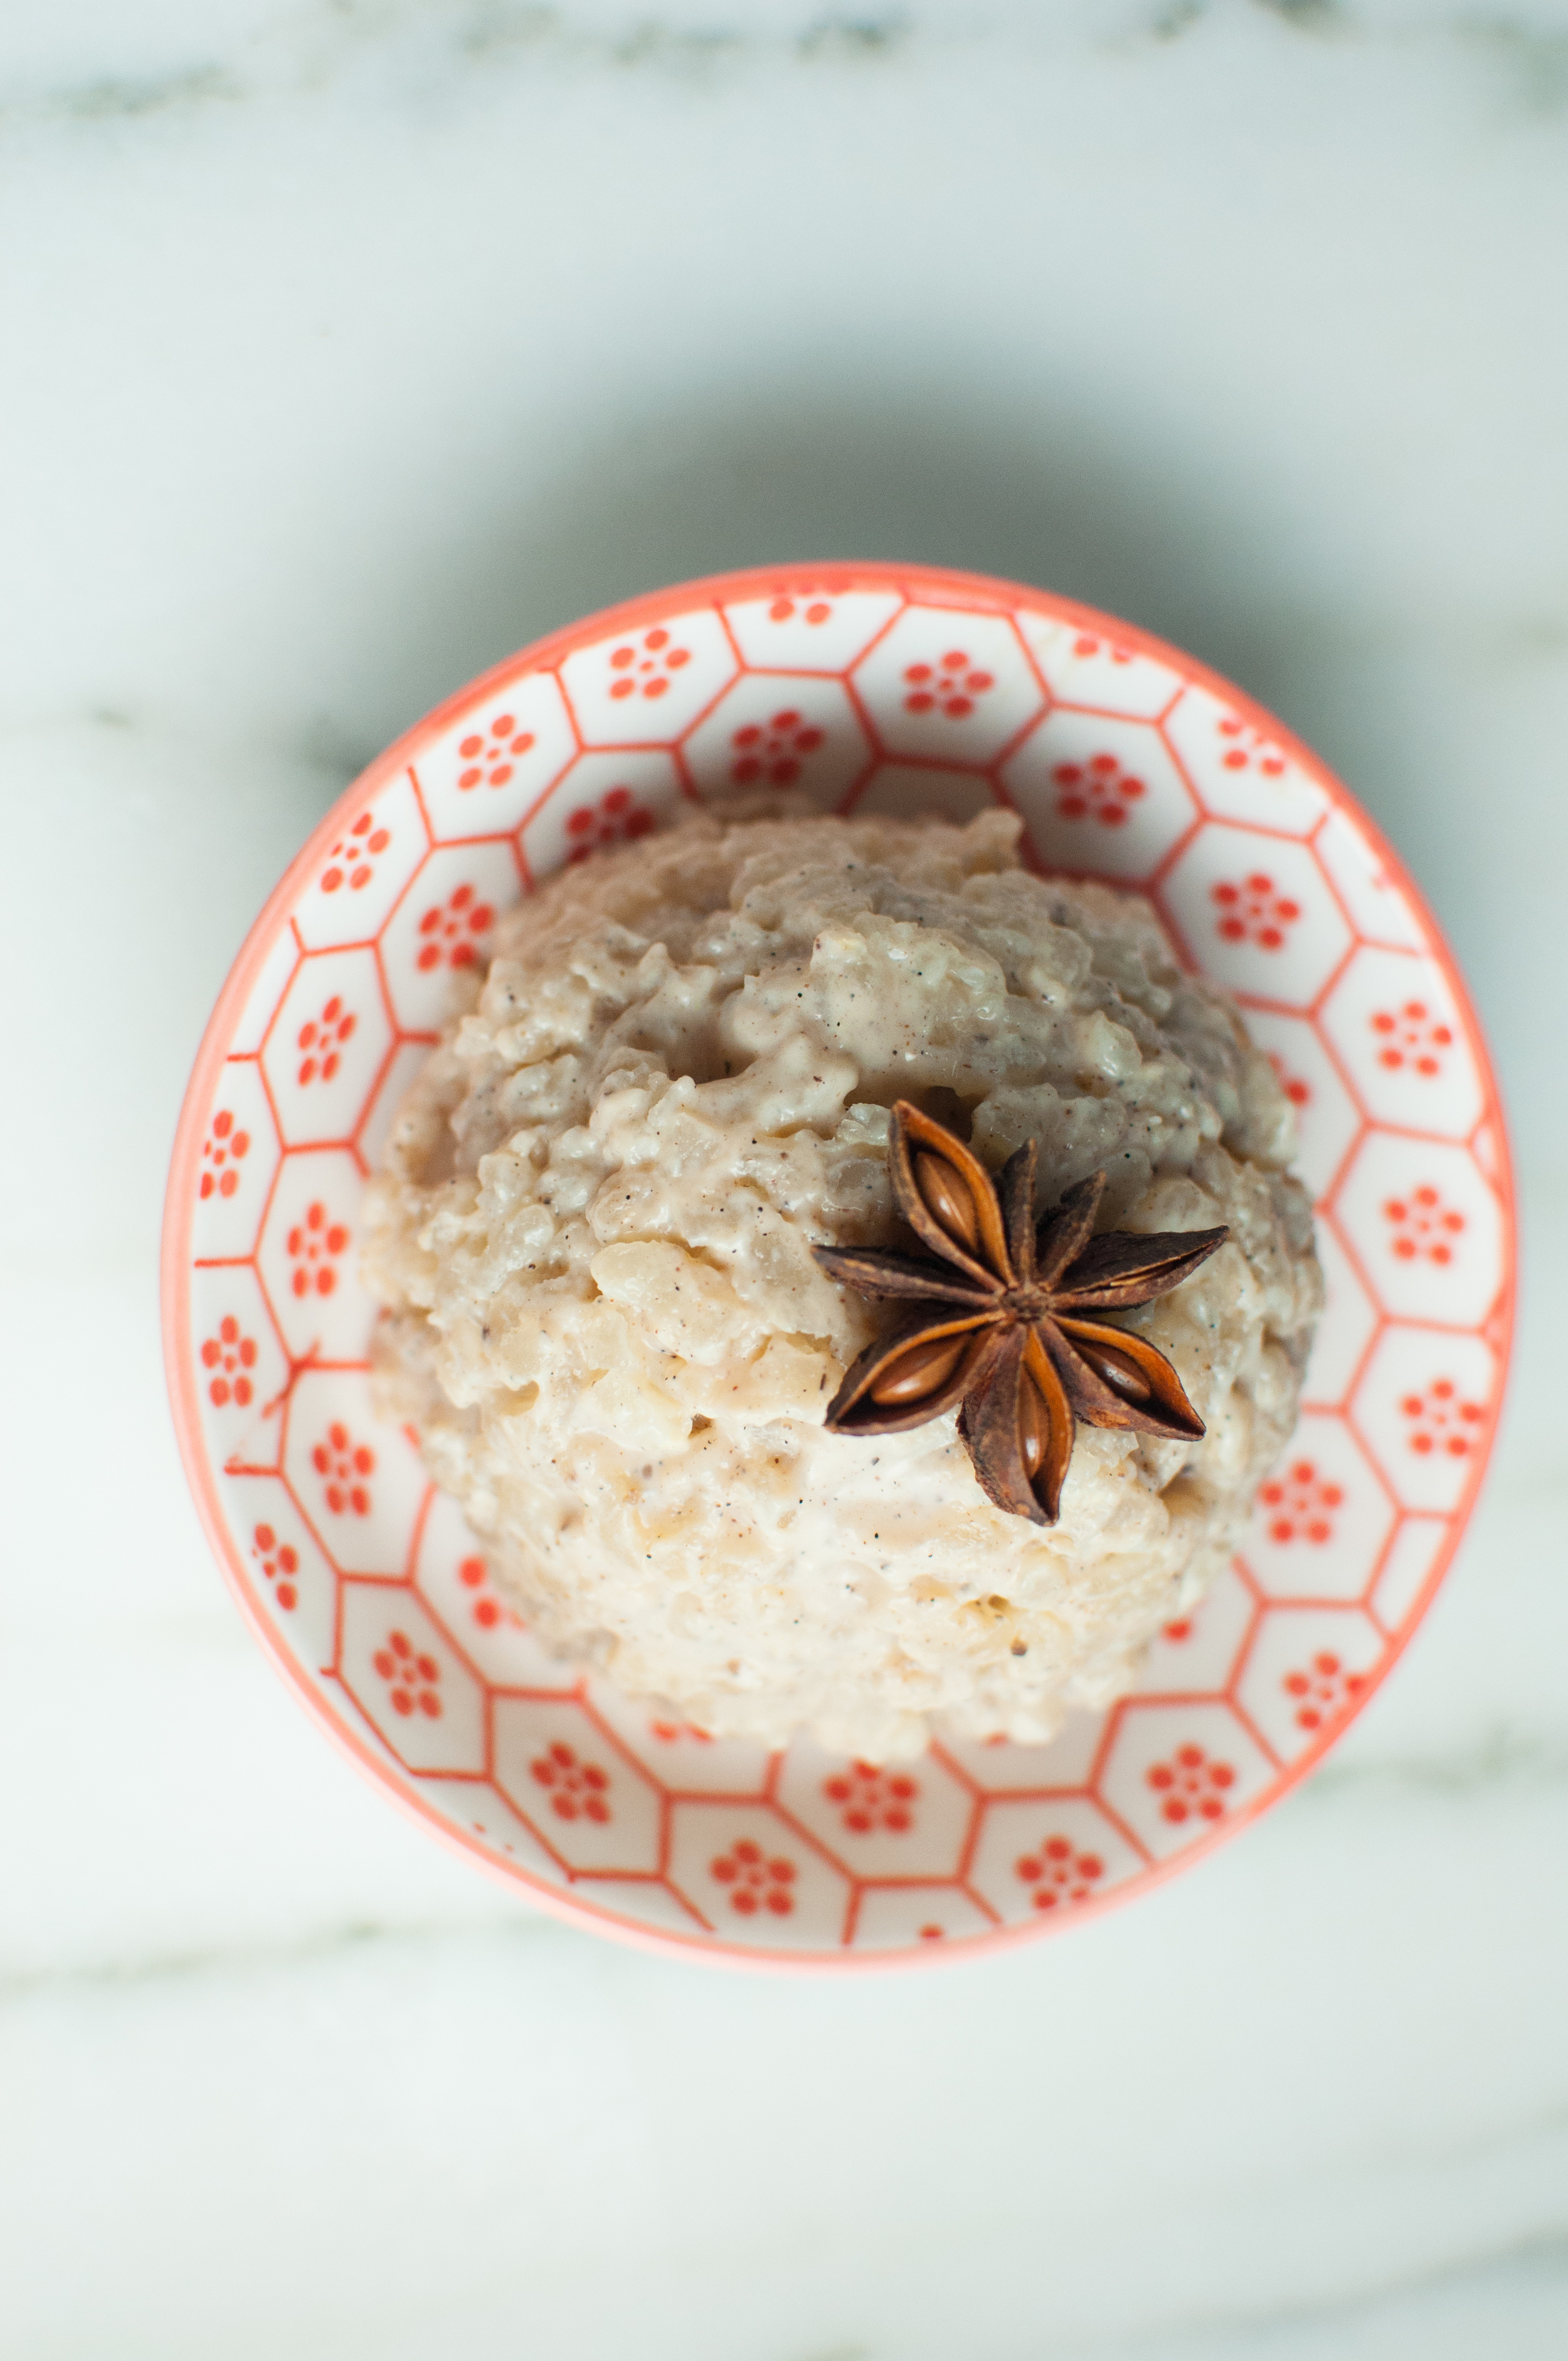
Rice Pudding Arborio Rice Star Anise Recipe

This rice pudding is made with arborio rice, which is the short grain Italian rice used to make risotto. This rice is particularly starchy, so it creates an amazing thick rice pudding if you cook it down long enough. I love how elegantly it can be served as it holds it's shape so well. Cook it a little less, and you'll have a creamier, thinner pudding! 

Rice pudding in my house is most often an indian inspired affair, cooked with whole vanilla bean and cardamom -- but I wanted to mix things up with this recipe and use what has become one of my favorite spices right now. Star anise has such a rich and distinctive flavor, it makes a perfect alternative to my traditional cardamom. Plus it is just so gosh darn pretty! 

I love the simplicity of making rice pudding, and I think that you will too! 

ingredients: 

3/4 cup arborio rice 

6 cups whole milk 

1/2 cup cane sugar 

1 vanilla bean, scraped (or 1 tsp vanilla extract) 

5 whole star anise stars 

instructions: 

  • Place all ingredients in a medium saucepan, and place over medium-high heat. If you're using the vanilla extract as opposed to vanilla bean, save that to add later. 
  • Bring to a gentle simmer, then turn the heat down to about medium. You don't want it to boil, just to continue simmering very gently. 
  • Cook the mixture for about 40 minutes, stirring occasionally at the beginning and more frequently as it starts to thicken to prevent it from sticking or burning. 
  • Remove the pan from heat when it's reached your desired consistency. As you can see from the photos, I cooked mine to be very thick - this is the rice pudding I was in the mood for. You can just as easily stop the cooking a bit earlier and have a thinner pudding! Just remember that it will thicken as it cools. 
  • If you're using vanilla extract, stir it in when you remove the pan from the heat. 

2 Comments