apple rosettes

Comment

apple rosettes

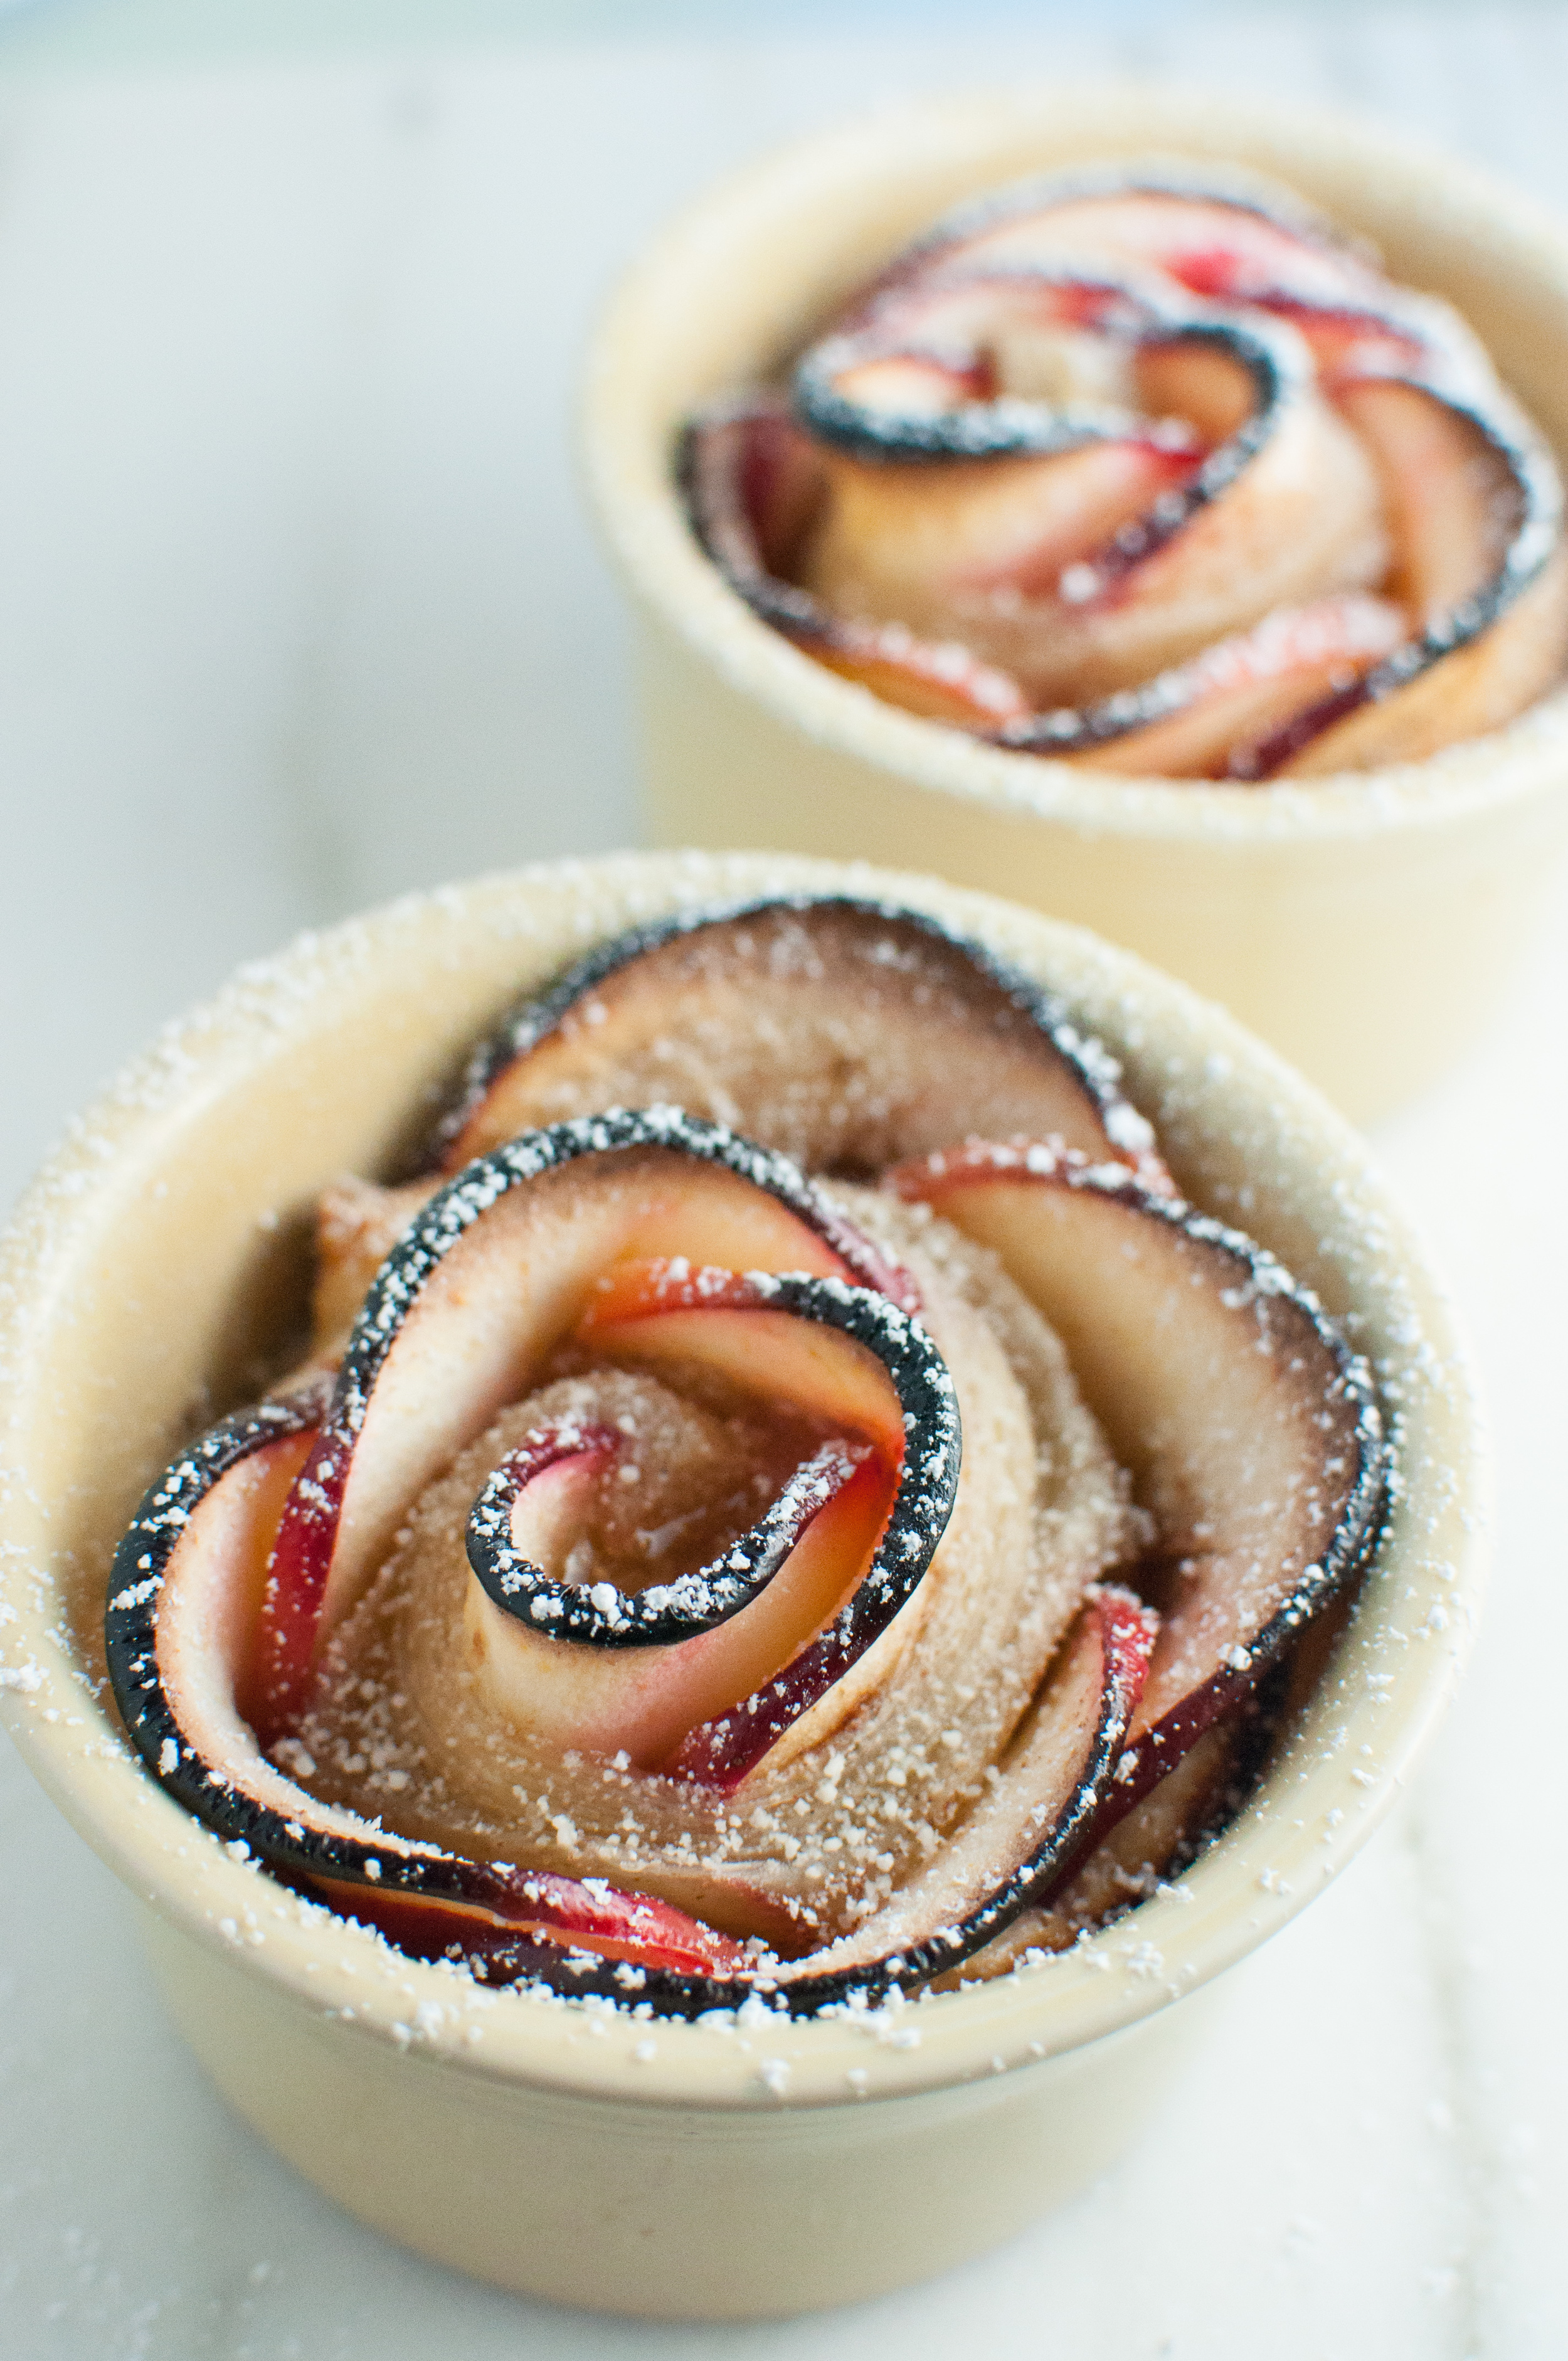
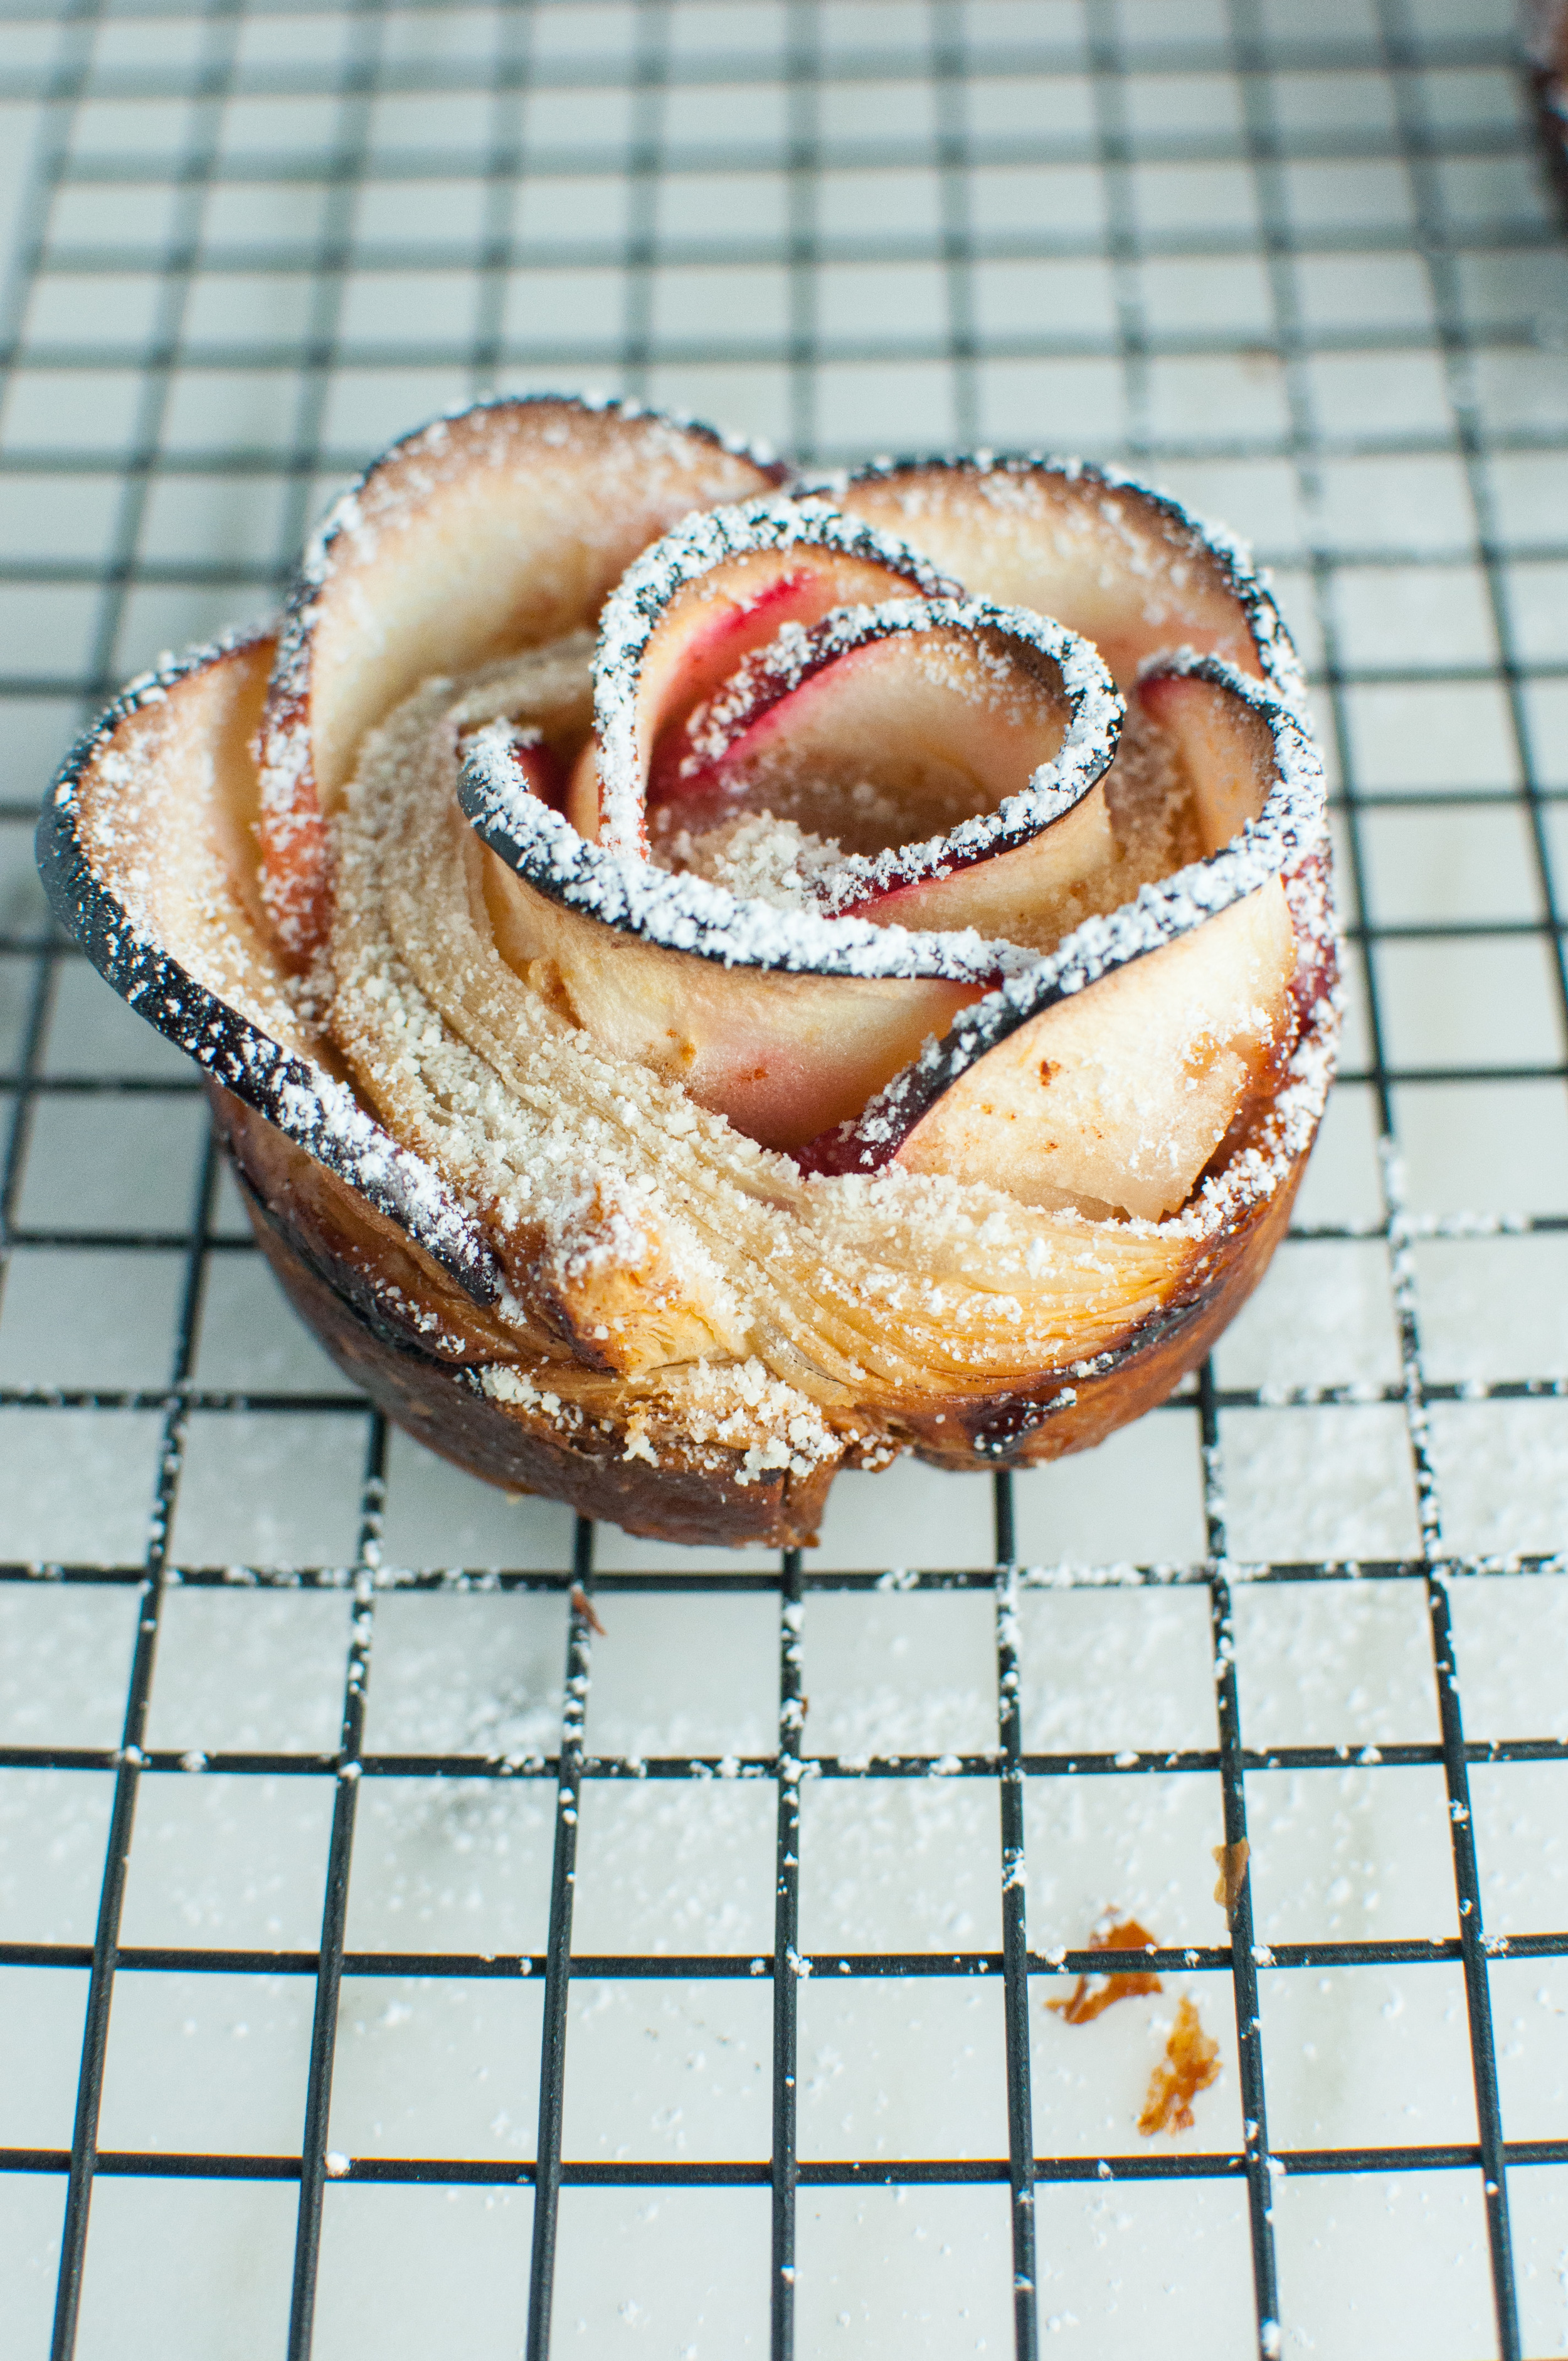
These beautiful apple and puff pastry roses are super simple to make, and an absolutely show-stopping dessert. Plus, they're tasty to boot! Make these beauties when you're having folks over for dinner and want them to oooh and ahhh at your skills (but you don't want to out in too much time). Or serve them as a rather light end to the Thanksgiving meal! 

While you can always take things a step further and make homemade puff pastry, making this stunning dessert is amazingly simple with puff pastry from your local grocery store’s freezer section. To really kick things up a notch, make sure to buy the puff pastry made with all butter (the flavor is so much better!). I used Grand Central Bakery's  bake-at-home puff pastry, packed with Oregon butter. 

We cut our puff pastry into strips and sprinkle them with sugar, cinnamon, and a little grating of fresh nutmeg. You know things are going to be delicious just looking at these! 

Next, we line up our apples which have been cooked slightly in boiling water to make them flexible (so they don't break when we roll up our roses!). 

Then just fold the pastry up to form a little taco around the apples, and roll it on up from the edge to create a perfectly swirled apple rose! 

These can be baked in a muffin tin or individual ramekins, until the puff pastry is browning on the edges. The edges should be beautifully puffed while the middle will be a bit wet. 

Ready, set, bake! 

ingredients: 

2 apples

1 sheet puff pastry

½ lemon

granulated sugar

cinnamon

freshly ground nutmeg

instructions: 

  • First, we need to prepare the apples. Cut each apple in half and carefully remove the core, then slice each half into ⅛ to ¼ inch thick slices. Separate slices and place them in a medium bowl with the juice from one lemon. Cover with boiling water and let sit for about 1 minute, until the slices are flexible, but not mushy! Strain water, and set apples aside.

  • Carefully unfold defrosted puff pastry (leave it in the fridge at least overnight to defrost), and gently roll it with a rolling pin to even out any creases and stretch it out just a bit. Cut the pastry into 2 inch wide strips that are 12 inches or less long.

  • One strip at a time, sprinkle puff pastry with a little sugar, cinnamon, and just a smidge of nutmeg. Line apple slices, overlapping half of each slice along the top half of the strip (as seen in the photo). Fold pastry up over the apples, then start at one end and roll into as tight of a spiral as you can.

  • Set each finished rosette into a large muffin tin or individual ramekins.

  • Bake at 375 for about 40 minutes, until the pastry is browned on the edges. Let cool in pan about 10 minutes, then carefully remove each rosette and let cool completely on a cooling rack.

  • Sprinkle with powdered sugar to serve if you like.


Comment

black bean & squash tacos

Comment

black bean & squash tacos

My babe and I took this weekend as an extra long one to go for an adventure in Seattle, where we had so many wonderful meals out (most of which involved chopsticks). Some of our favorites were a sushi omakase (chef's choice coursed meal) at the sustainable sushi house Mashiko and a meal of amazing house-made soba noodles at Miyabi 45th. I'd highly recommend visiting those spots if you ever find yourself on your own Seattle adventure! 

Amazing meals aside, we're both always itching to get back in our own kitchen after being on vacation where we're eating out on a regular basis. Babe made some AMAZING tempeh green curry as his first foray back in the kitchen, and I spent the better part of a day slowly working through the creation of this recipe while taking advantage of long cooking times to get some housework done. 

DSC_0466.jpg

Now, for the tacos! 

Tacos are pure heaven in my mind, and they grace our table on a rather regular basis as they can be a quick affair. While often the answer to what we put inside of our tacos is based simply on the status of what we can find in the fridge (there is always something that can be taco-i-fied in the fridge), these black bean and squash tacos are totally worth planning for! 

Black Bean and Squash Tacos with Lime Recipe

Black beans and squash are a match made in heaven, so when spiced to be paired together there isn't much that could possibly go wrong. The instructions for this recipe have you start with dry beans, and cook them with spices to ensure they're extra flavorful. That said, I understand completely that we don't always have the time to start from dry beans (or we don't plan that far ahead), so I've included an alternative note at the end with instructions for making these tacos with canned beans. Follow those instructions and you'll have dinner on the table in one hour flat with very little hands-on work! 

DSC_0464.jpg

This recipe can be made totally vegan, vegetarian, or (as I prefer it) with some bacon grease depending on your diet and what you have on hand. As written, you'll have dinner for two, but the recipe can be doubled, tripled, or more if you want to serve more or have left overs. You can even just use one larger squash rather than lots of delicatas in that case! 

ingredients: 

1 cup dry black beans 

1 Tbsp Better than Bouillon (or other bullion cubes) 

1 big pinches dry rubbed sage 

1 bay leaf 

1 tsp whole cumin seeds 

1 delicata squash, cut to 1/2 inch cubes (you can peel the squash or leave the skin on. the more mature the squash, the tougher the skin is going to be when it comes out of the oven). 

1 Tbsp olive oil 

1 tsp paprika 

1/2 tsp ground chipotle 

1/4 tsp cayenne 

salt & pepper to taste 

2 cloves garlic, minced 

1/2 a medium onion, cut to a small dice 

1 Tbsp bacon grease or butter (or oil if you're vegan) 

fresh masa for homemade tortillas, or corn tortillas 

cilantro, lime, and grated cheese for garnish

instructions: 

  • First, you'll want to soak your beans. You can cover them in cold water and let soak overnight or for at least 8 hours, or you can cover them with boiling water and let them soak about 1 hour. Either way, make sure to add about 1 tsp of salt to the water. 
  • Strain and rinse soaked beans, then put in a medium pot along with bouillon, sage, bay leaf, cumin seeds, and some salt and pepper. Cover the beans and spices with water at least 2 inches above the beans then place over medium high heat. Give the bullion a stir using a fork to help break it up a bit. Once the water has come to a boil, turn down to a simmer and let cook for about an hour and a half, until the beans are very soft. Strain excess water and set aside until you're ready to cook the meal (this can be done days ahead of time!). 
  • About an hour before you want to eat, toss the squash cubes with olive oil, paprika, chipotle, cayenne, and a little salt and pepper. Spread them on a baking sheet and bake at 350 degrees for about an hour, until the squash is soft and lightly browned on the edges. 
  • Heat a medium pan over medium heat, adding bacon grease/butter/oil when the pan is hot. Sautee onions and garlic in the oil until they're translucent and starting to brown, about 10 minutes. Then add the cooked beans and 1/2 cup of water. Let simmer to reheat the beans, then use the back of a spoon to smash the beans to your desired consistency. I just like to smash some of them, but if you're into smooth refried beans you can even puree the beans to a smooth texture! 
  • Now, we're ready to assemble! If you're making homemade tortillas, cook based on the package's instructions. If you're using store-bought tortillas, warm them up in the oven wrapped in foil or in the microwave wrapped in a towel. 
  • Top each tortilla with a scoop of beans, some squash, cilantro, cheese, and a squeeze of lime juice! 

Canned Beans Alternative! 

Lets be honest... sometimes you just don't plan ahead to actually cook your own beans. I like to keep canned black beans and chickpeas on hand for those days when I'm craving beans but don't have any cooked or the time to cook them! Here's how to make delicious beans without cooking them yourself! 

Skip the bean cooking step, and just add 1 tsp ground cumin, 1 tsp ground coriander, and 1 pinch of sage when the onions and garlic are cooked. Stir briefly until it starts to smell delicious (about 20 seconds), then add your canned beans and the water. Follow the rest of the instructions as is. Super easy and super fast! 


Comment

ginger nutty granola clusters

Comment

ginger nutty granola clusters

Granola is my go to breakfast when we have it in the cupboard (and my babe's go to as well!) so I try to bake my own on a regular basis. It's generally cheaper, lower in sugar, and more delicious this way! So now that the weather is cooling, I can't help but pop a tray in the oven whenever we're running low. 

Ginger Granola Clusters

Now, the serious specialness about this granola recipe in particular... the major clumping! I've been working on making clumpy granola for quite some time and I've finally mastered it with this recipe! There is really nothing quite as awesome as chowing down on giant clusters of mapley oaty goodness. This granola comes out of the oven in one large chunk, easily broken into whatever size best suits your cravings. Easy peasy! 

So! What are you waiting for? It's time to get some seriously awesome homemade granola clusters in your oven! Within an hour, you'll be big time snacking on these delicious treats! 

ingredients: 

3 cups thick rolled oats 

1/4 cup flour (whole wheat or all purpose) 

1 cup hazelnuts (or other nuts!), coarsely chopped 

1/2 cup maple syrup 

1/4 cup vegetable oil 

2 tsp vanilla 

1 Tbsp fresh grated ginger 

instructions: 

  • Combine oats, hazelnuts, and flour in a large bowl, and stir until evenly combined. 
  • Add syrup, oil, vanilla, and ginger and stir again until the liquid is evenly distributed throughout the oats and nuts 
  • Cover a baking sheet (or two, depending on the size you use) with parchment or a silicone baking sheet. Spread granola mixture onto baking sheet and flatten with your spatula into a tightly packed layer, about 1/2 inch thick. 
  • Bake at 300 degrees for about 45 minutes, or until the granola is lightly browned. 
  • Let the granola cool in the pan completely, then gently lift the granola off the pan and break into pieces. It should be a (mostly!) solid piece in the pan so you can break the chunks off in whatever size you please! 
  • Store in an airtight container. 


Comment