Ancho pork & sweet potato enchiladas

Comment

Ancho pork & sweet potato enchiladas

I'm back in action! Golly it's been a long time since I've been here writing for you fine folks. As most of you should know by now, I was rather busy the month of September getting married and spending a blissful month in my heart place, northwest Michigan. I'll write more about the wedding when I share the lengthy details of making my own wedding desserts but for now, I couldn't be happier to be back in my own kitchen. 

A month away from home in the place my babes and I love the most was an incredible treat, but it was near impossible to keep up with recipe developing and photographing while staying with friends and family.  So in coming home, it was straight to the kitchen (and straight to the oven since cooler weather has finally arrived!) - which pleasantly resulted in meals like these incredible enchiladas. No complaints here : ) 

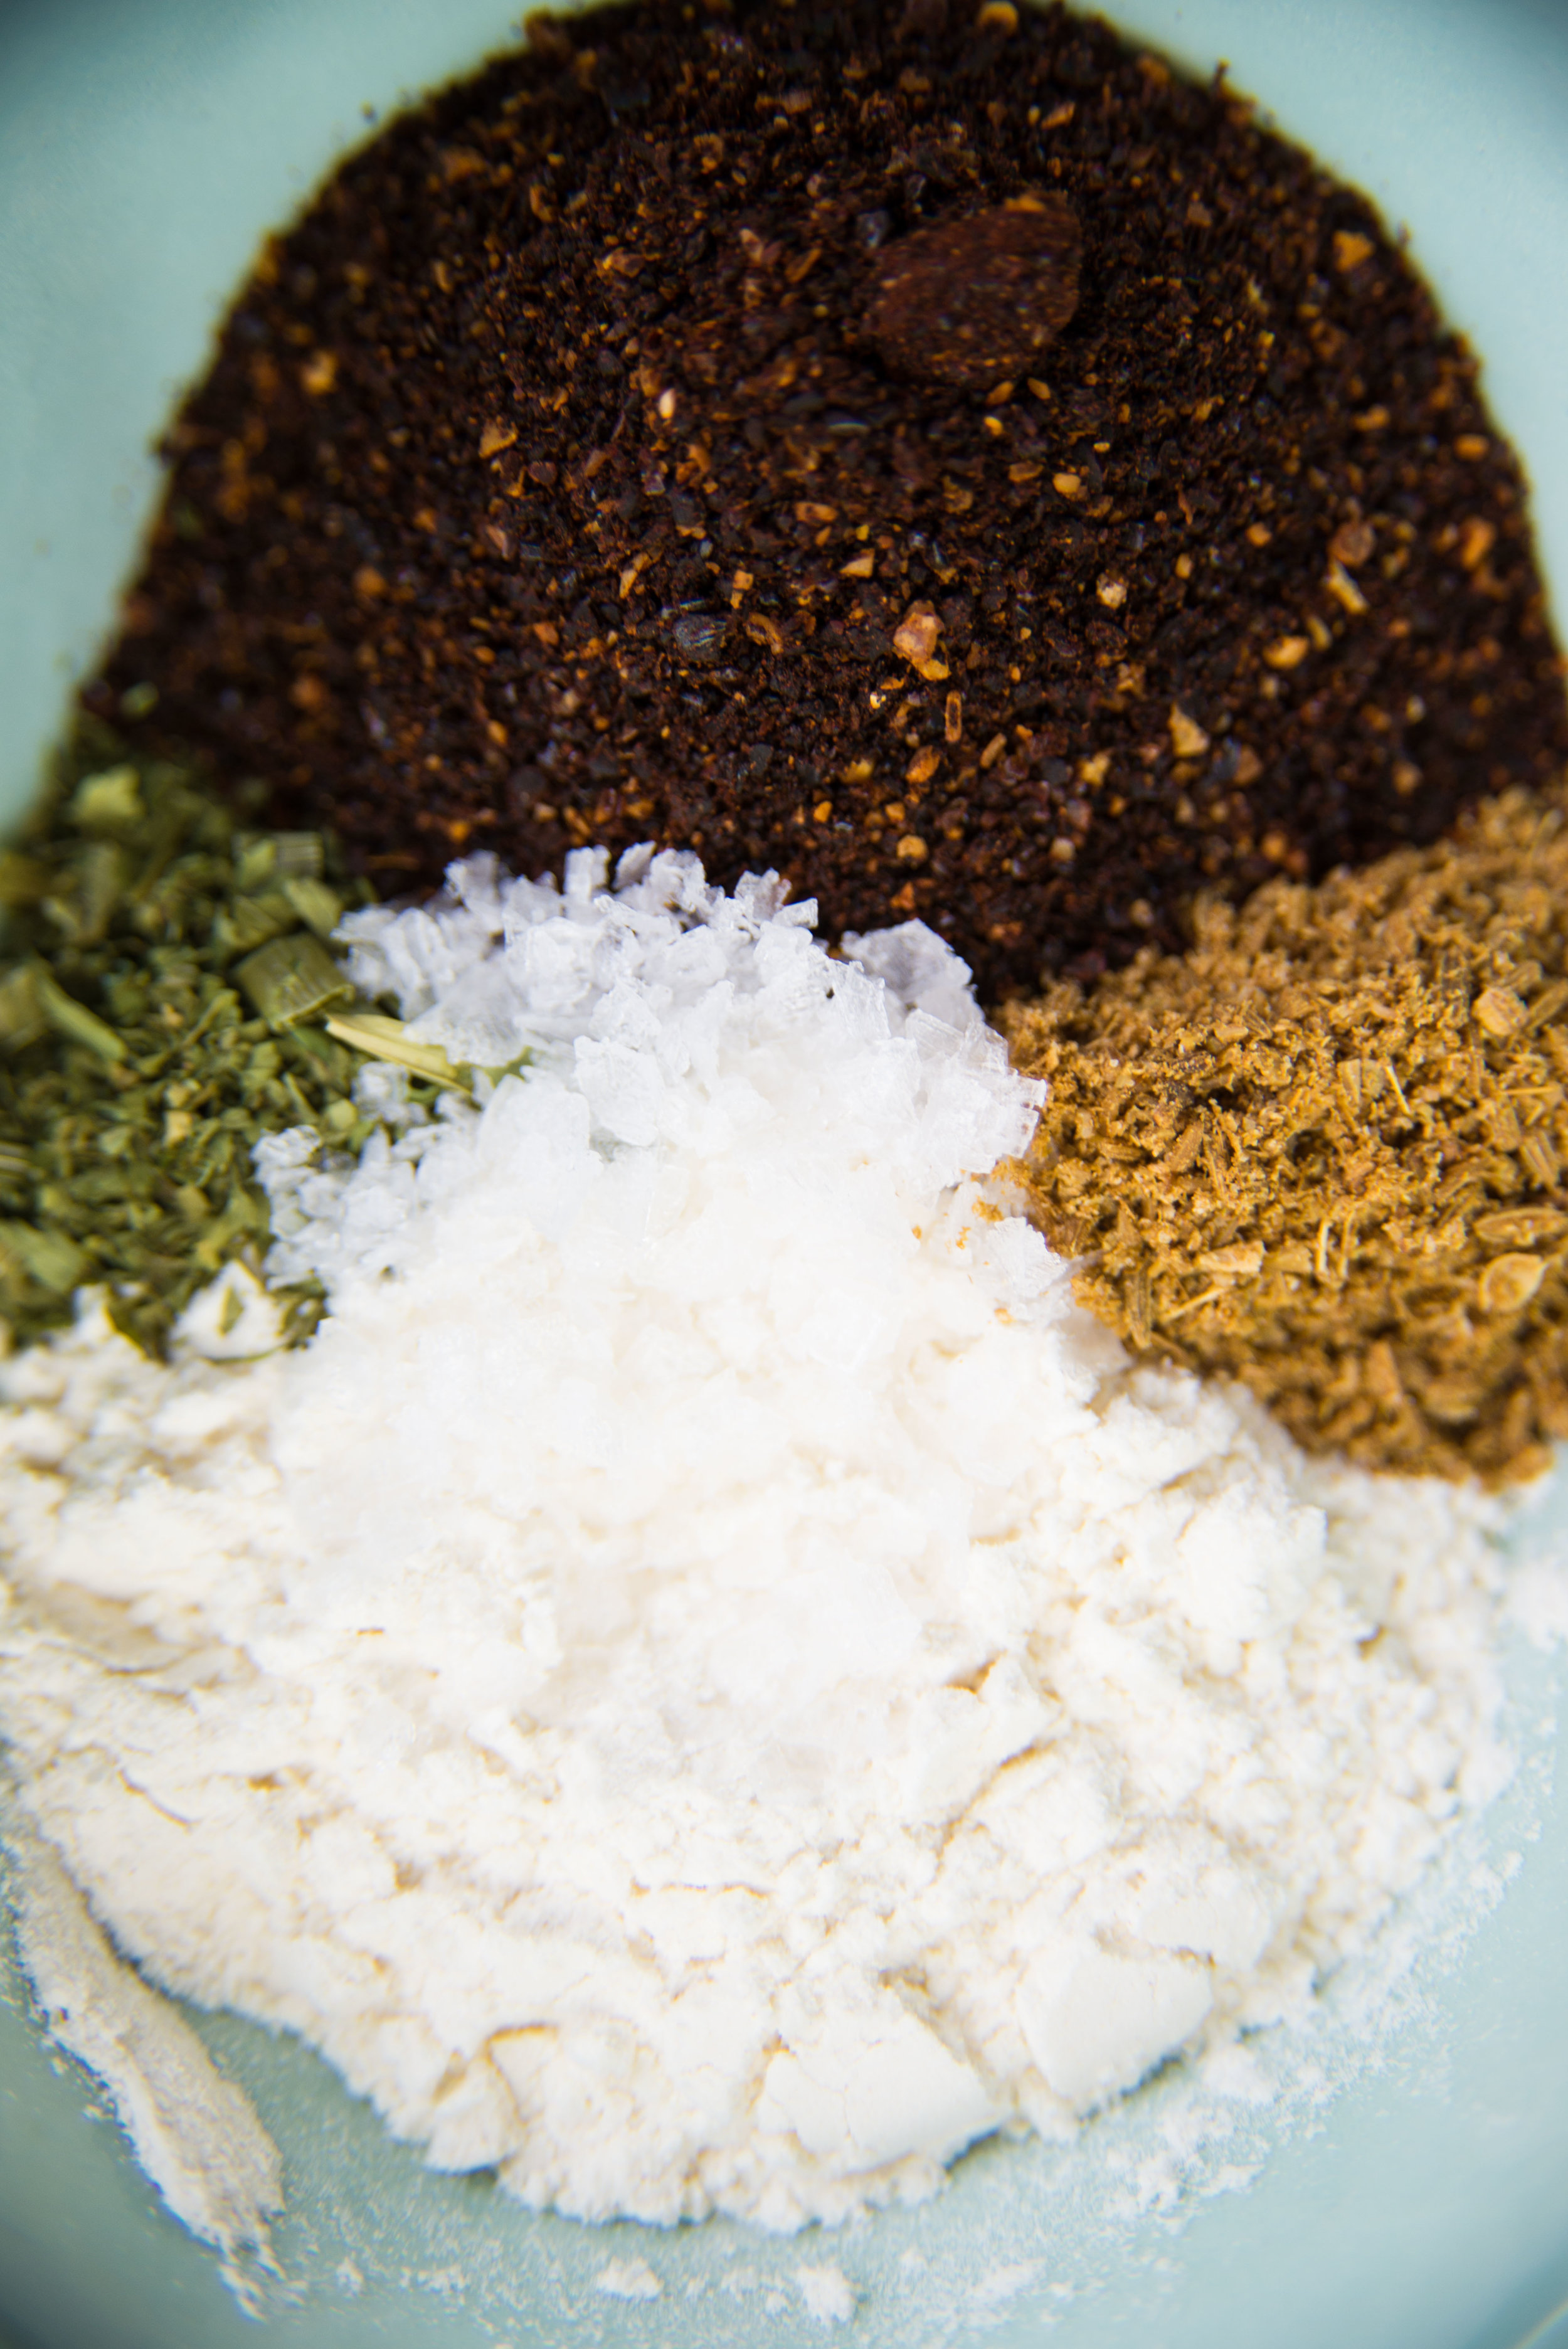
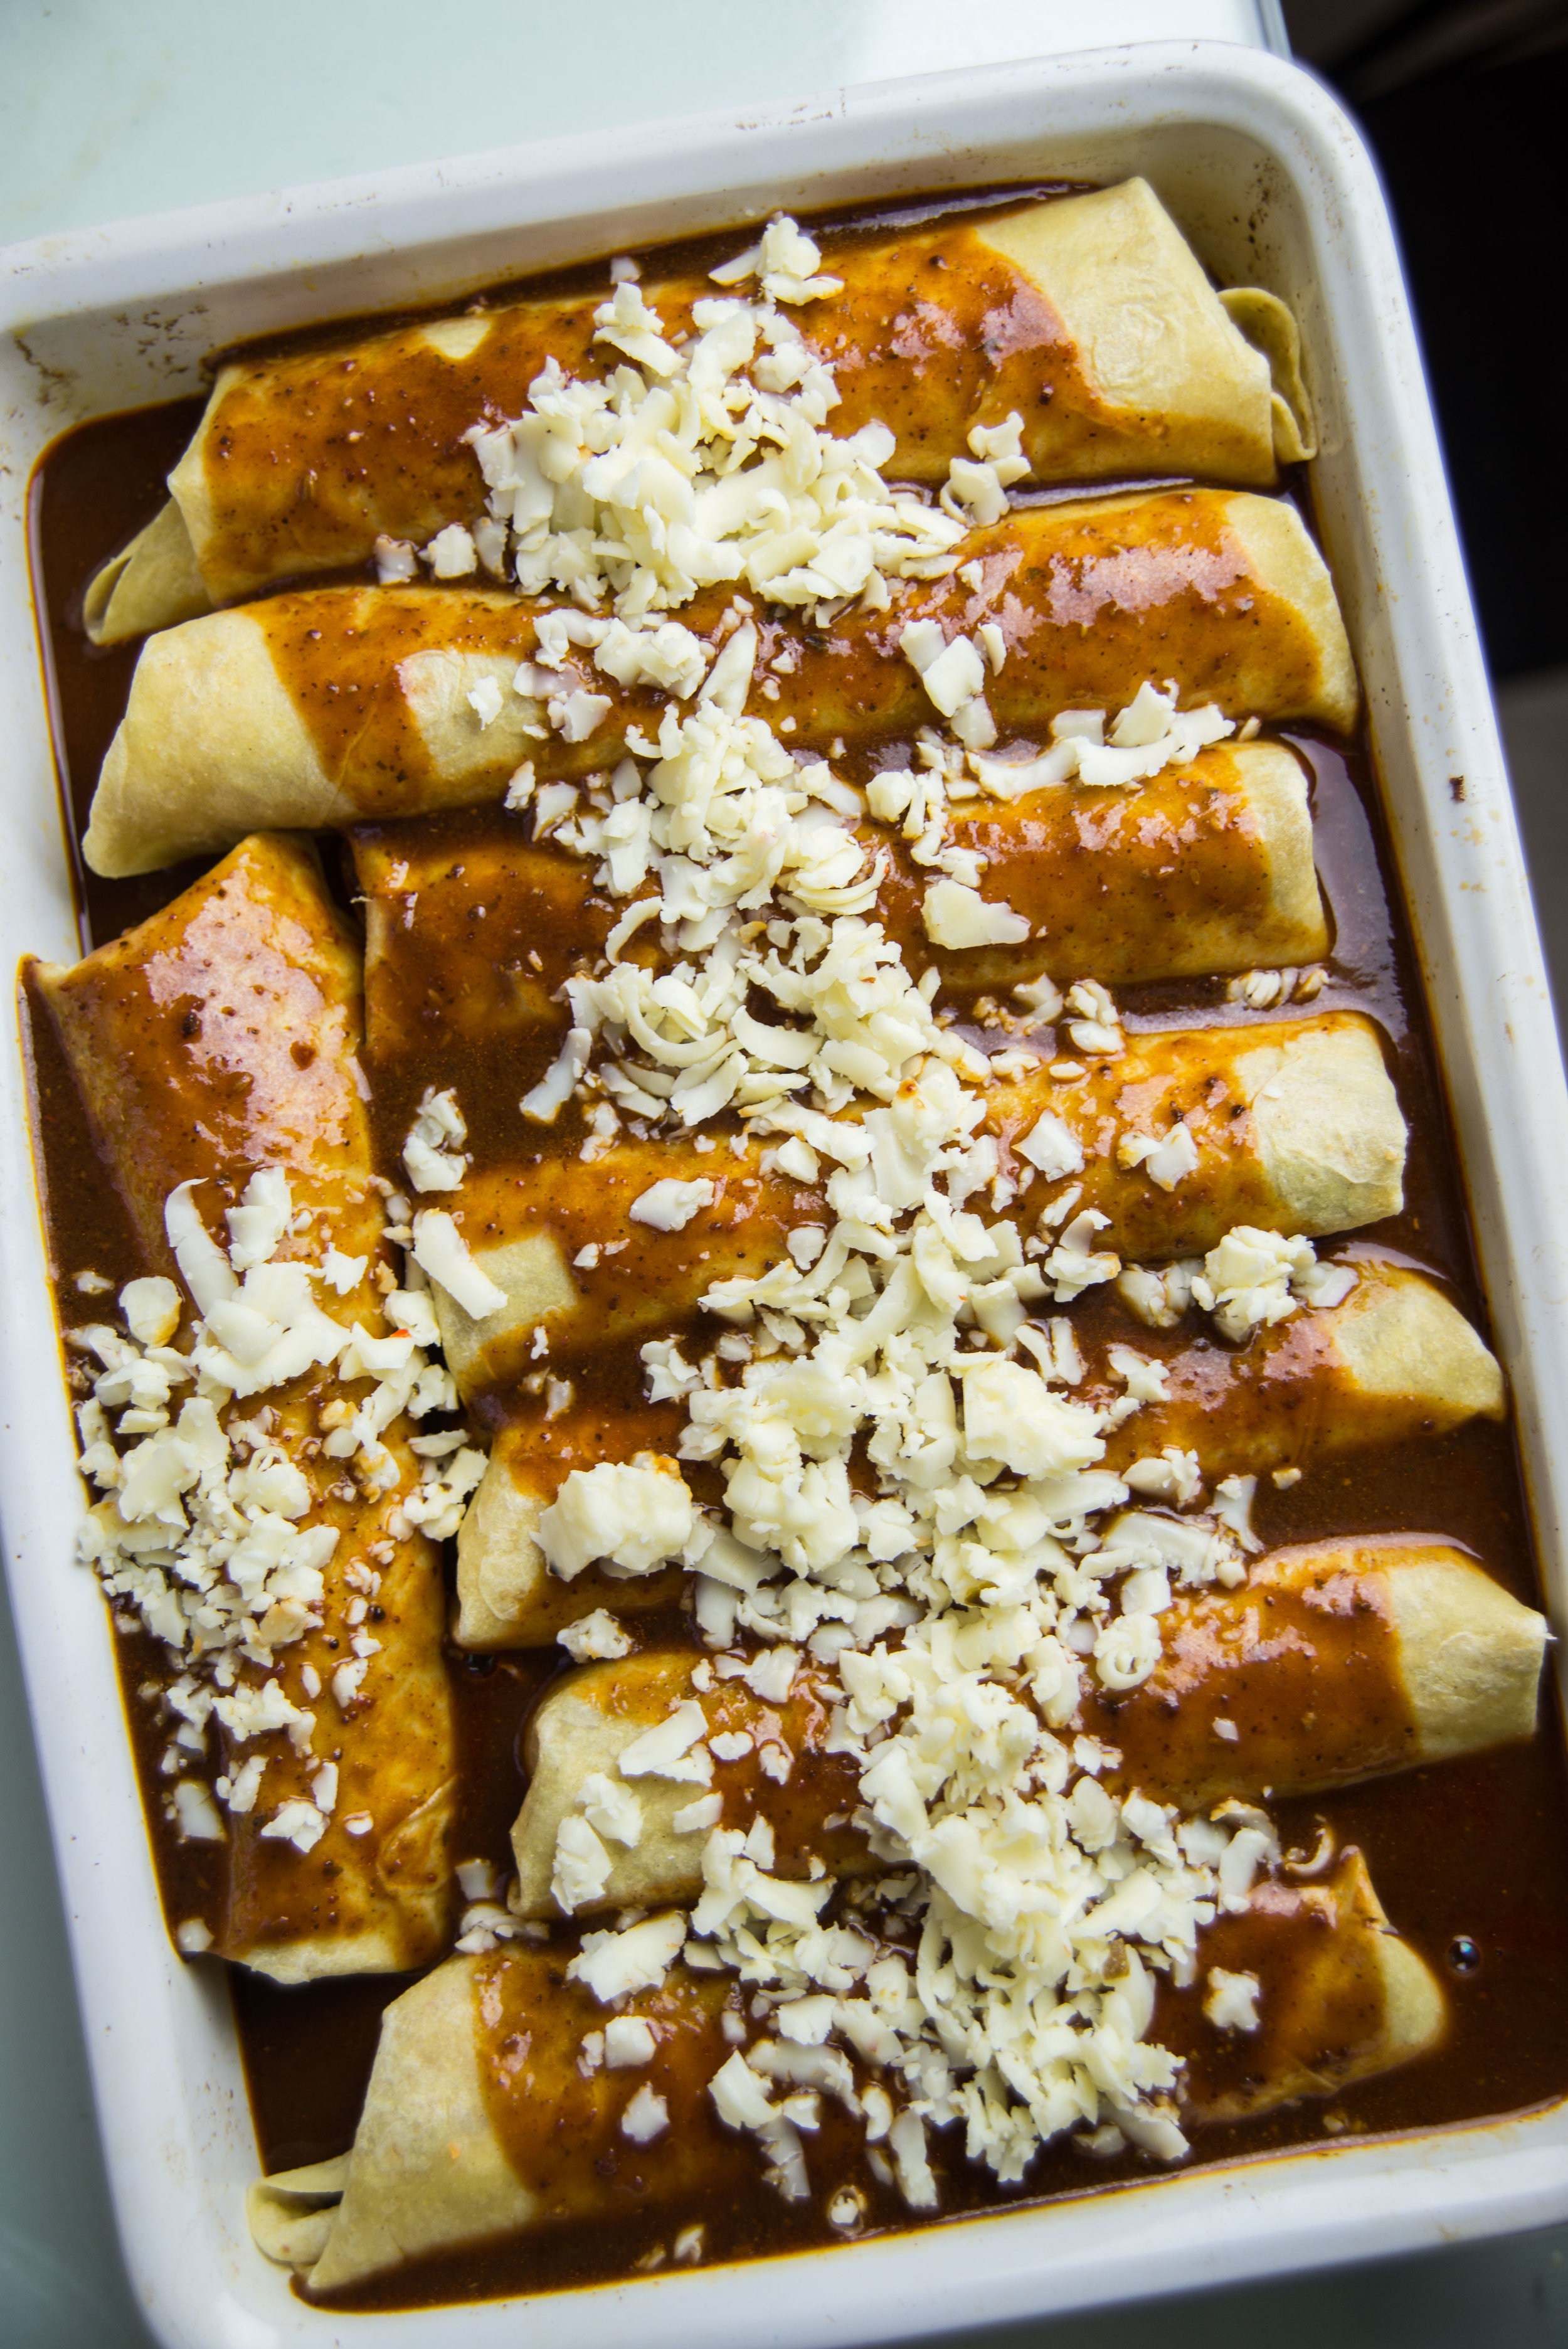
I'm a full convert to Cookie and Kate's killer enchilada sauce recipe, with just one real update in using ancho chile powder for a perfectly smokey sauce. The sauce is made in under 15 minutes, and will totally rock your world. After a long life of my dad's beloved mole enchiladas meaning the process of making this meal had to start the day before we wanted to eat... I'm thankful to have settled on a satisfying and quick version. We'll save those special enchiladas for special occasions.  

DSC_2415.jpg

I had leftover pulled pork on hand from a previously slow cooked pork shoulder, so the process of making these really was a fast one. I couldn't recommend pulled pork enough as a meat to cook a lot of and use in a variety of ways throughout the week. We sliced some of the shoulder before pulling it to use in babes' killer homemade ramen, made this whole pan of enchiladas which served us for a few meals (plus a few in the freezer for a future lazy dinner), and made some soba noodles with pork, carrots, and a miso sauce. 

DSC_2420.jpg

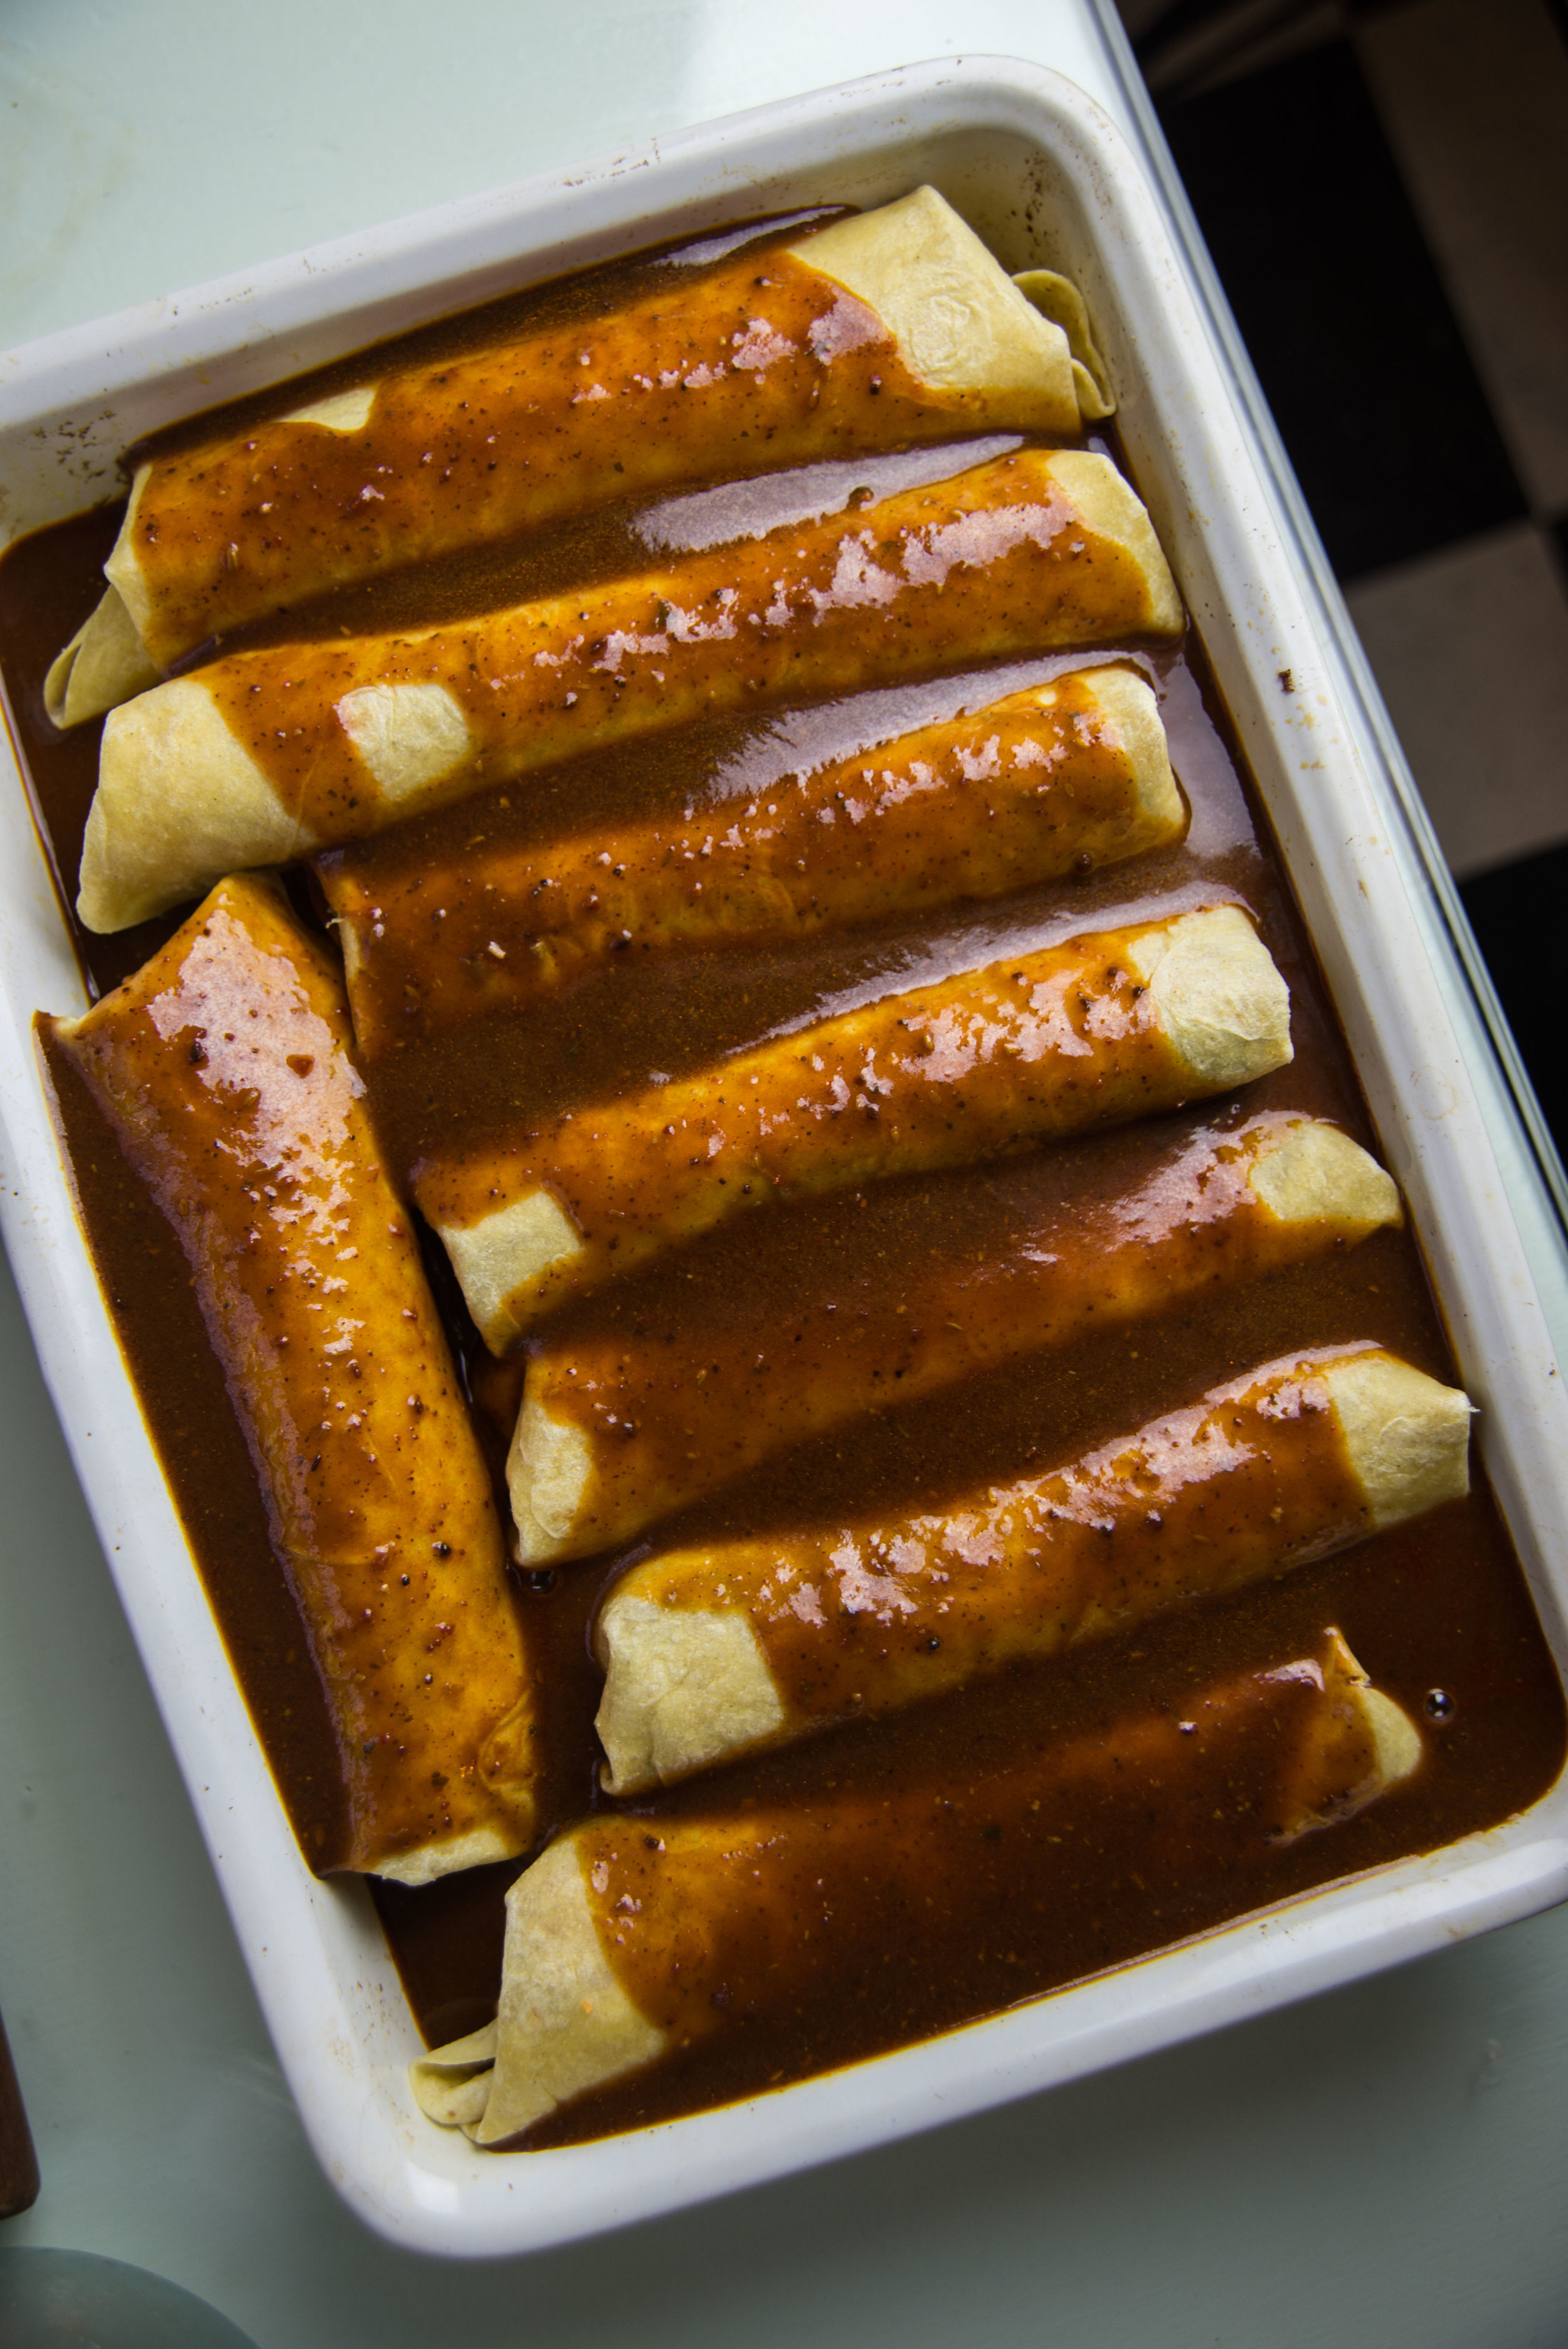
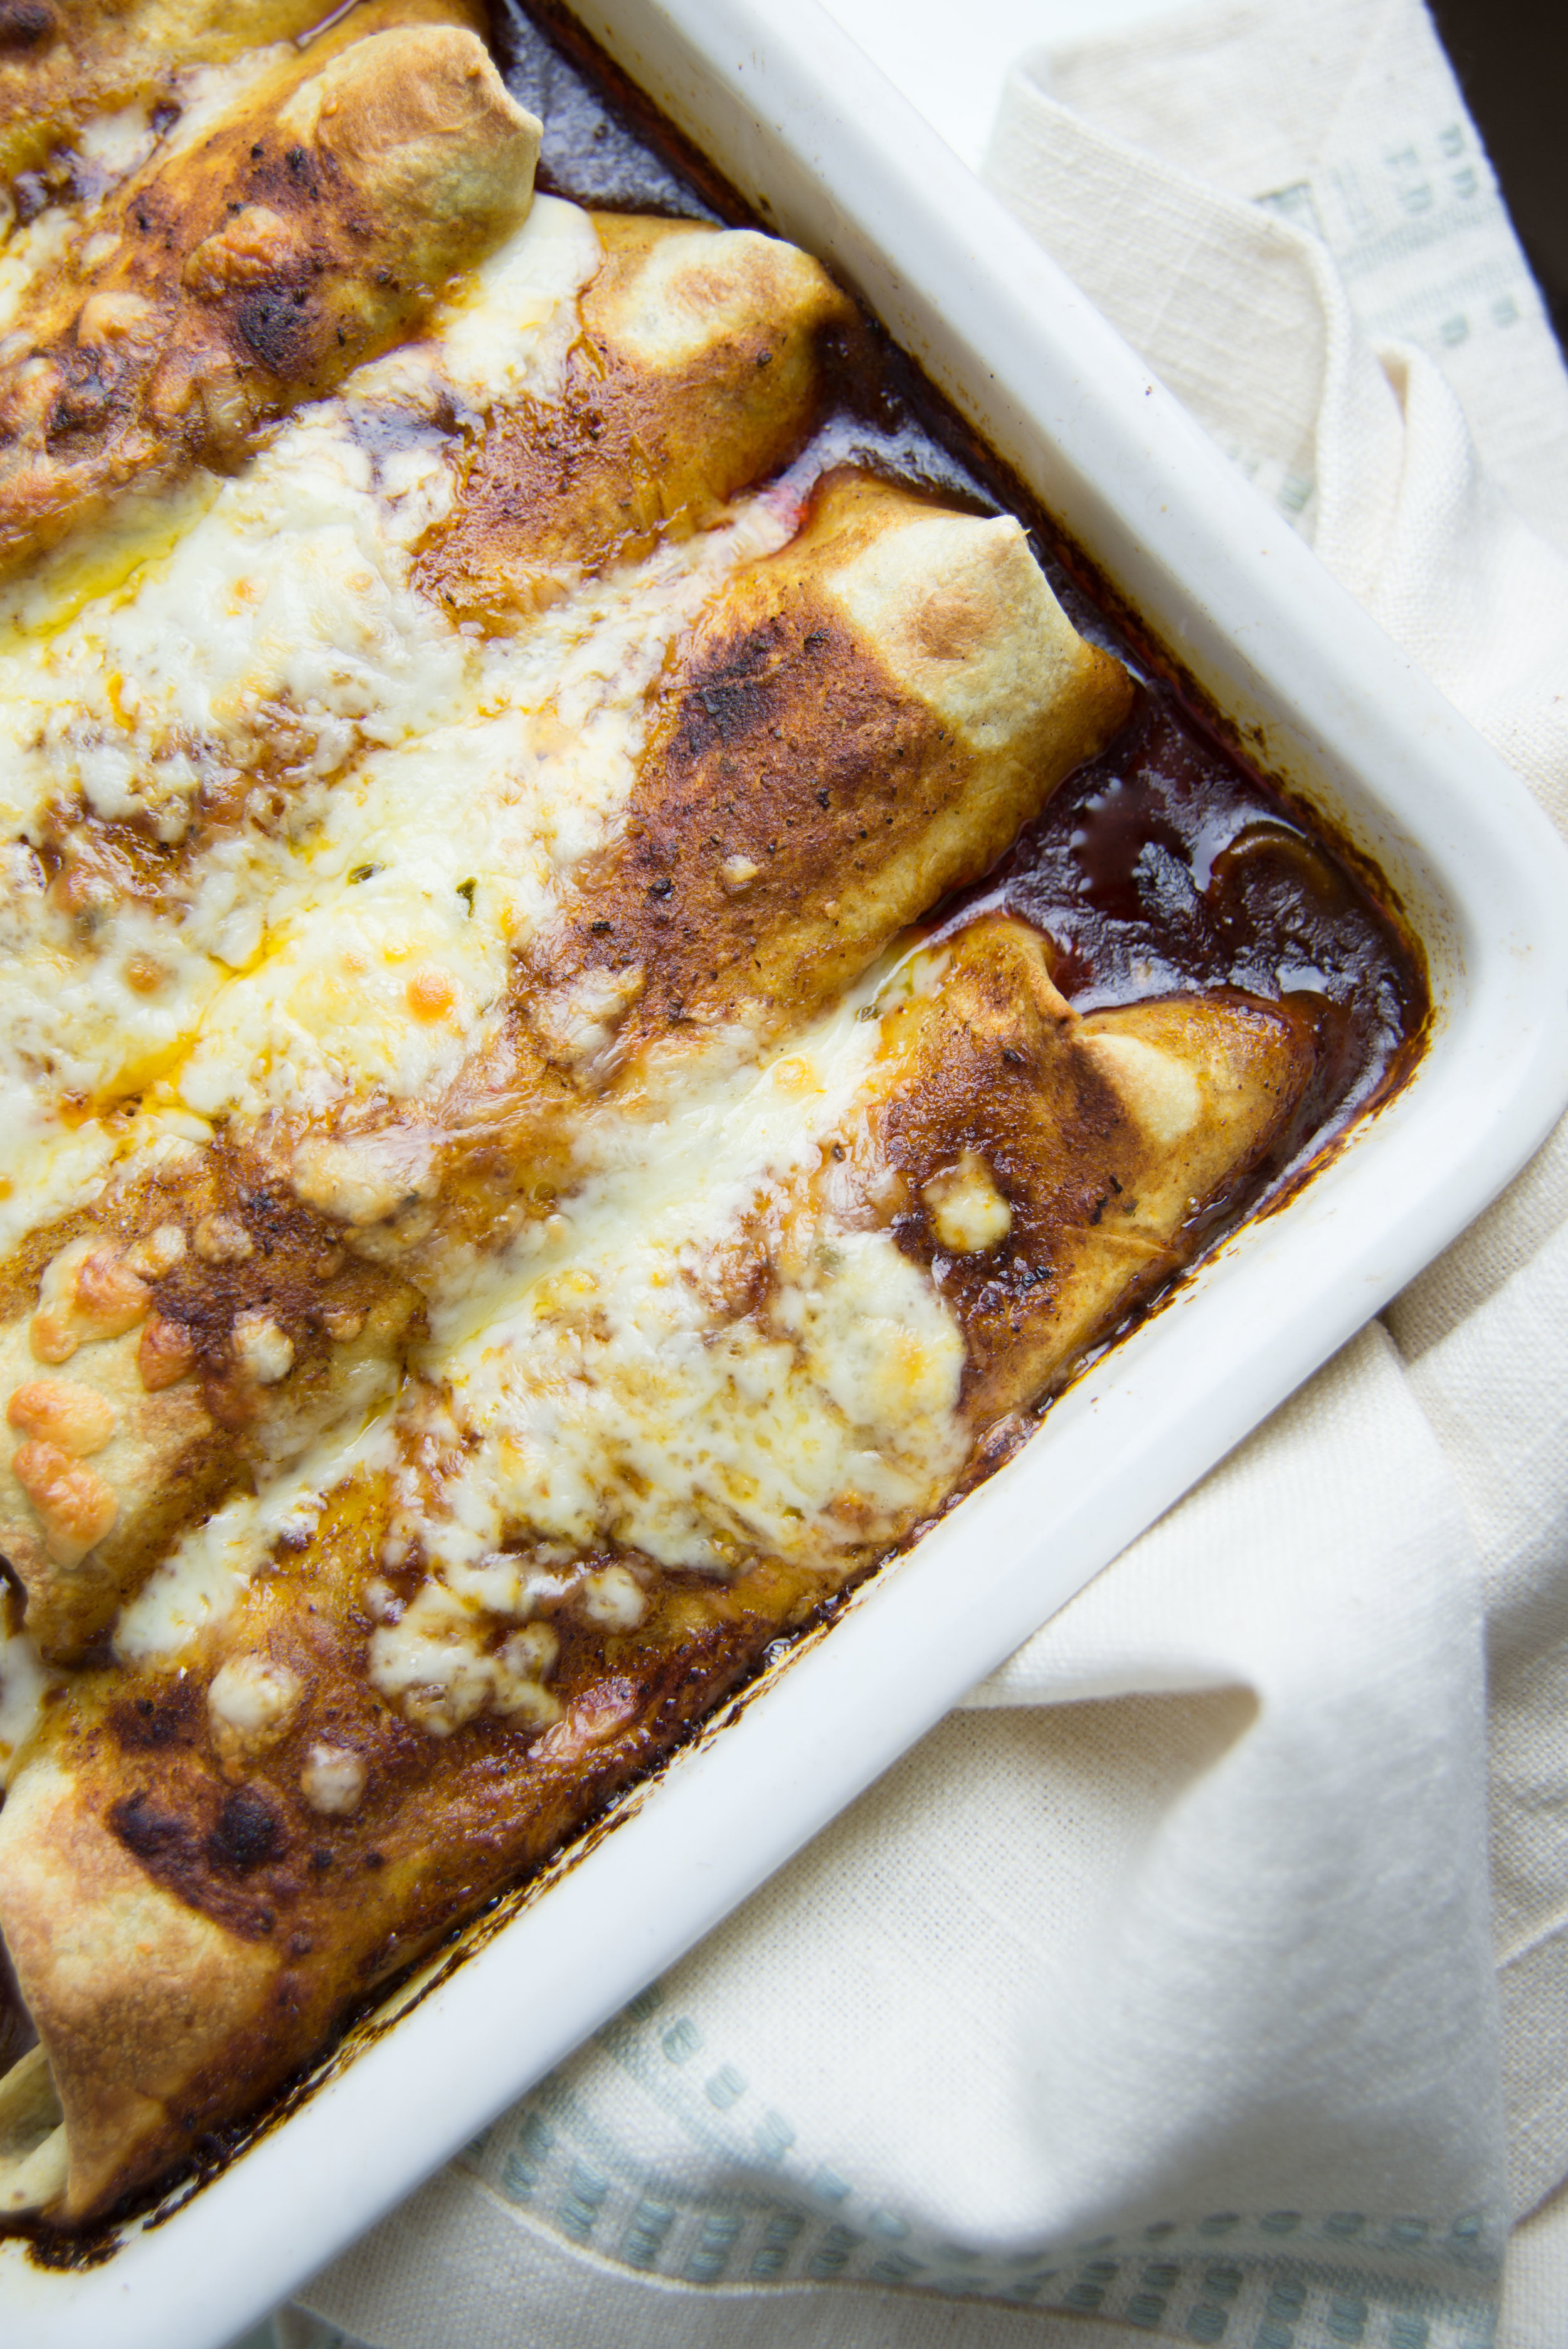
Look at that! It all comes together to this beautiful saucy goodness. This is comfort food at it's finest, folks, perfect for cozying up to these chilly fall evenings. Swoon! 

Ancho Enchiladas with pork, sweet potatoes, and kale

1/4 cup + 1tsp vegetable oil

1/4 cup + 1tsp flour

2 Tbsp ancho chile powder (see notes) 

2 tsp ground cumin

1/2 tsp oregano 

1 tsp salt 

1/4 tsp pepper

3 Tbsp tomato paste 

3 cups stock (see notes)

1tsp apple cider vinegar 

2 medium sweet potatoes, diced and cooked (see notes) 

1 pound pulled pork, cooked (see notes) 

2 tortillas (i used a corn/flour blend) 

1 lb pepper jack cheese, shredded 

about 1/2 bunch kale, roughly chopped 

  • First, we make the sauce. This can be done ahead of time and stored in the fridge or freezer (or you can double the recipe and freeze half for later!). Heat oil in a saucepan over medium heat. While it's heating, measure flour and spices into a small bowl. Add the flour and spices to the hot oil and cook while whisking constantly for about 1 minute. Whisk in the tomato paste, then slowly pour in the broth, whisking while you do to prevent any clumps from forming. Let cook, stirring occasionally, for about 5 minutes until the sauce has thickened a bit. 
  • Cover the bottom of a 9x13 baking dish with a little sauce. 
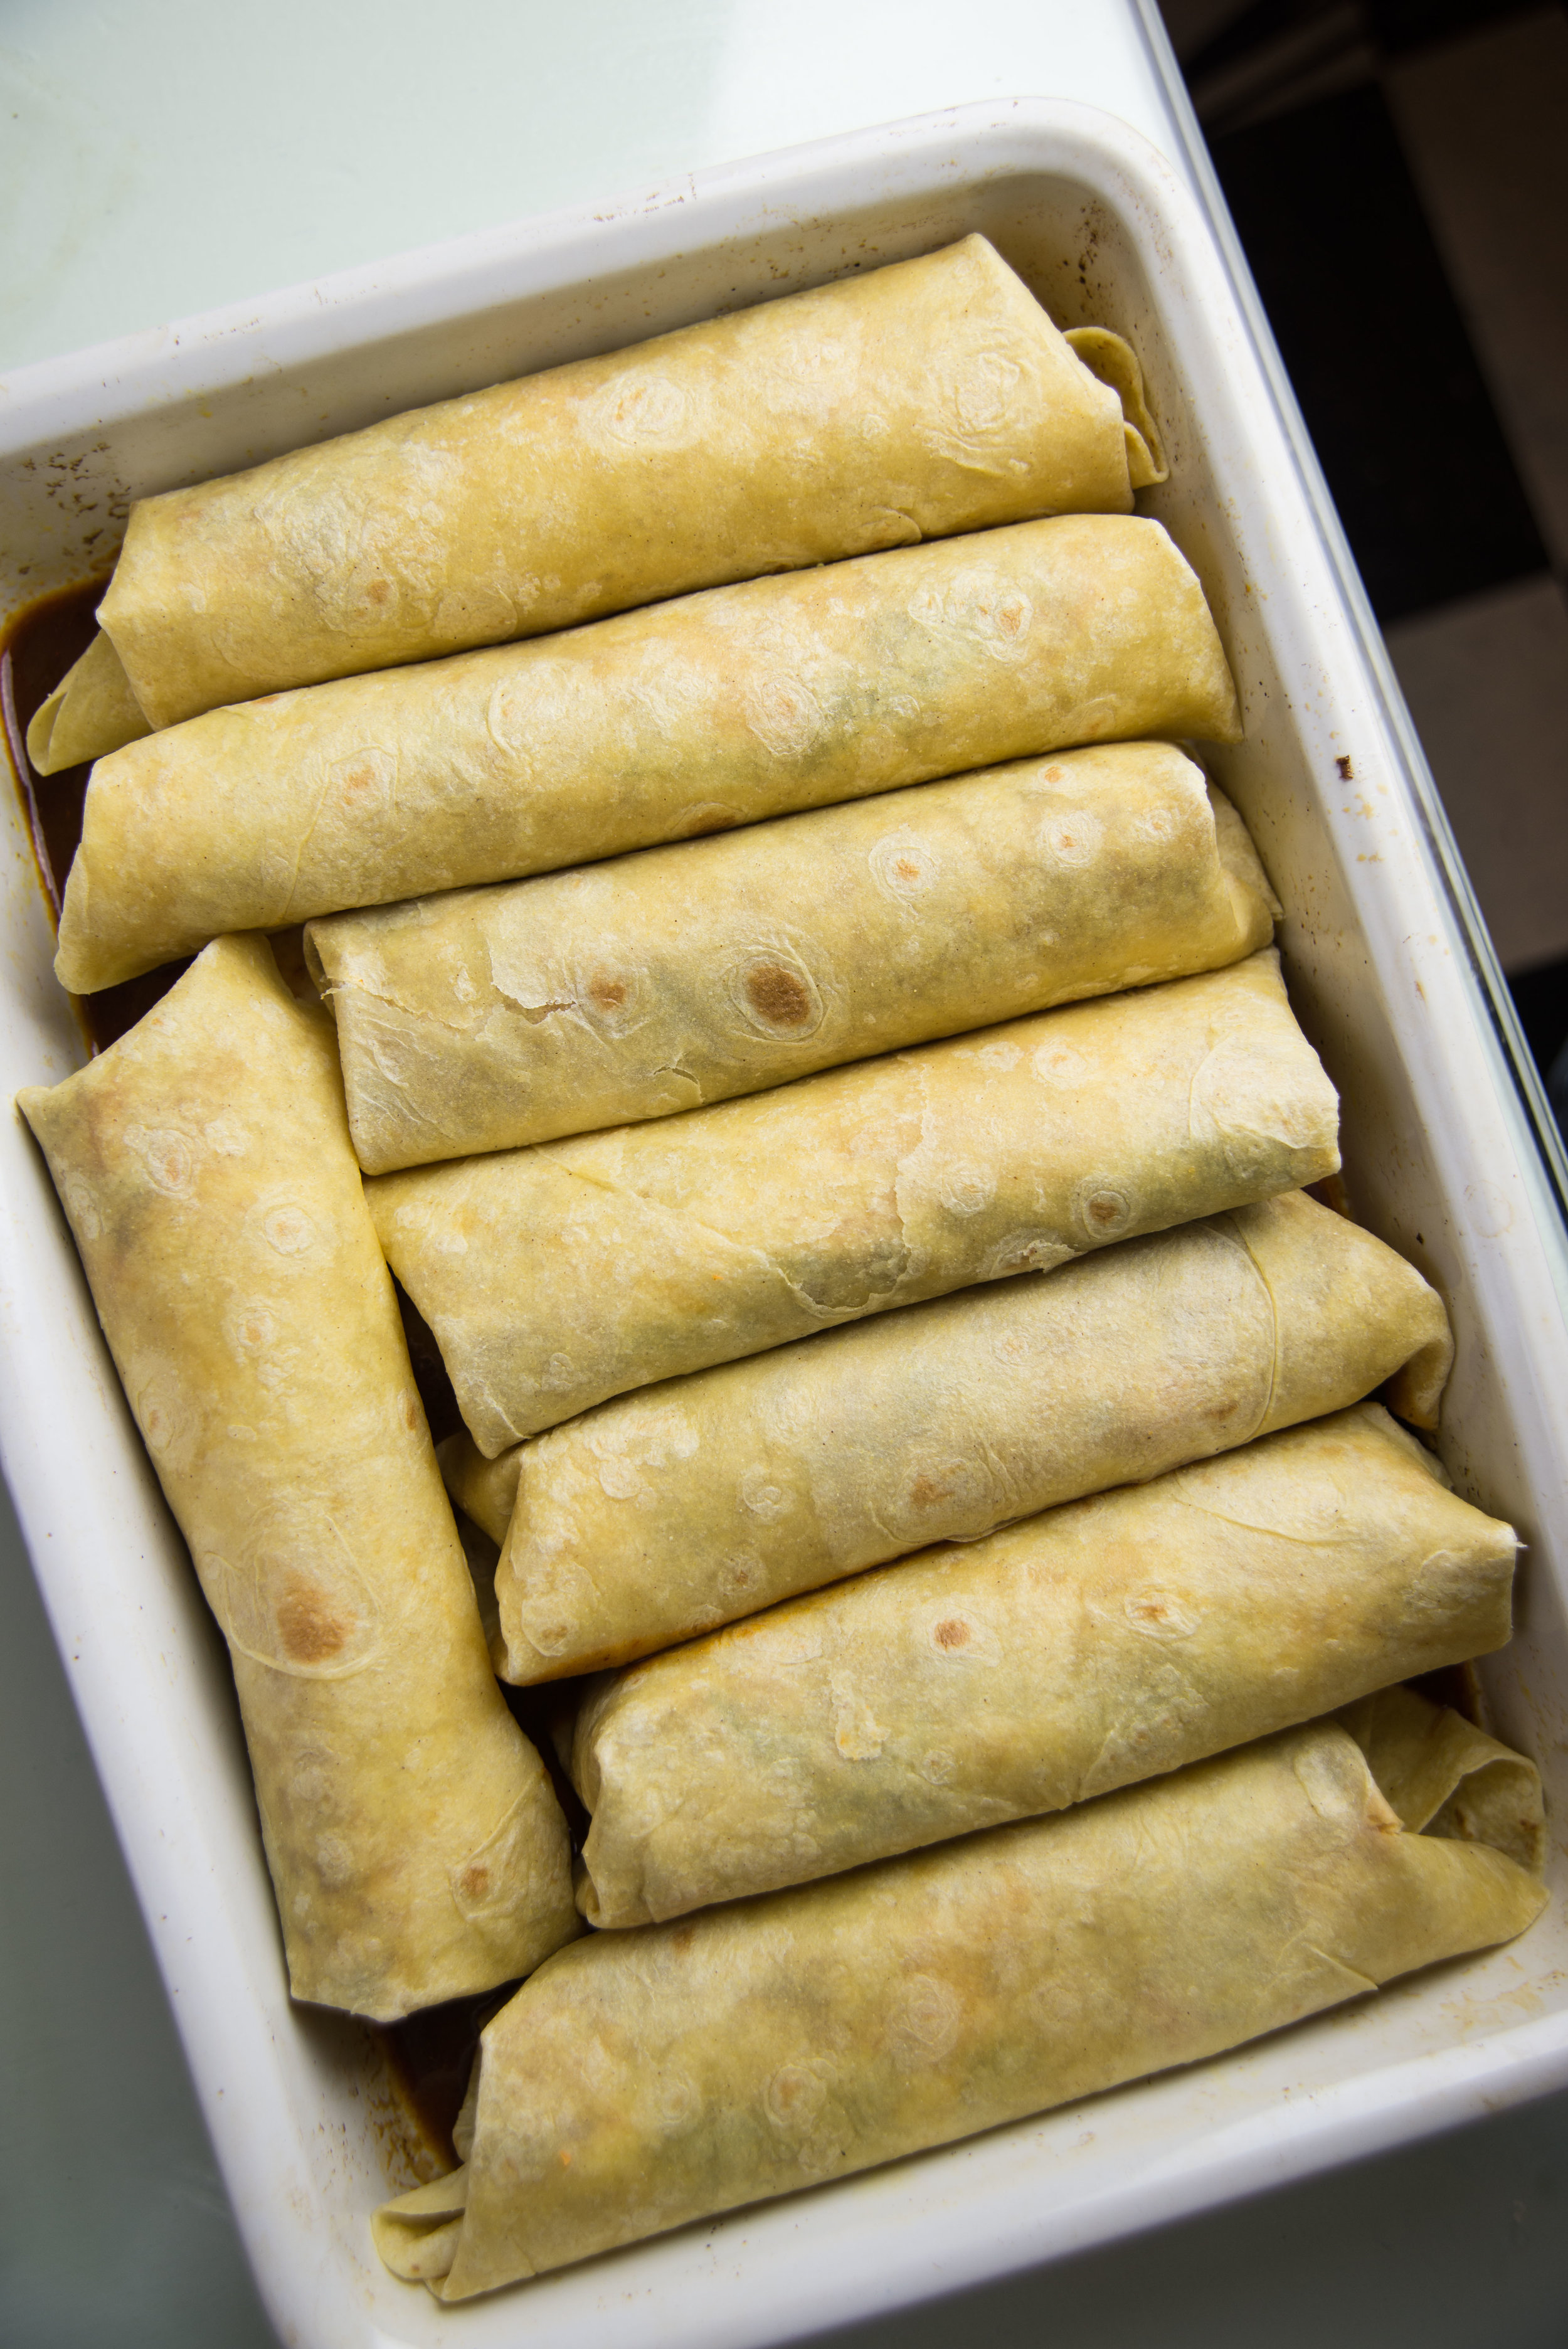
  • Form your enchiladas by piling some pork, sweet potatoes, kale, cheese, and a little sauce in each tortilla. Be sure to set aside some cheese to sprinkle on top! Roll them up and set them in the baking dish as you go. 
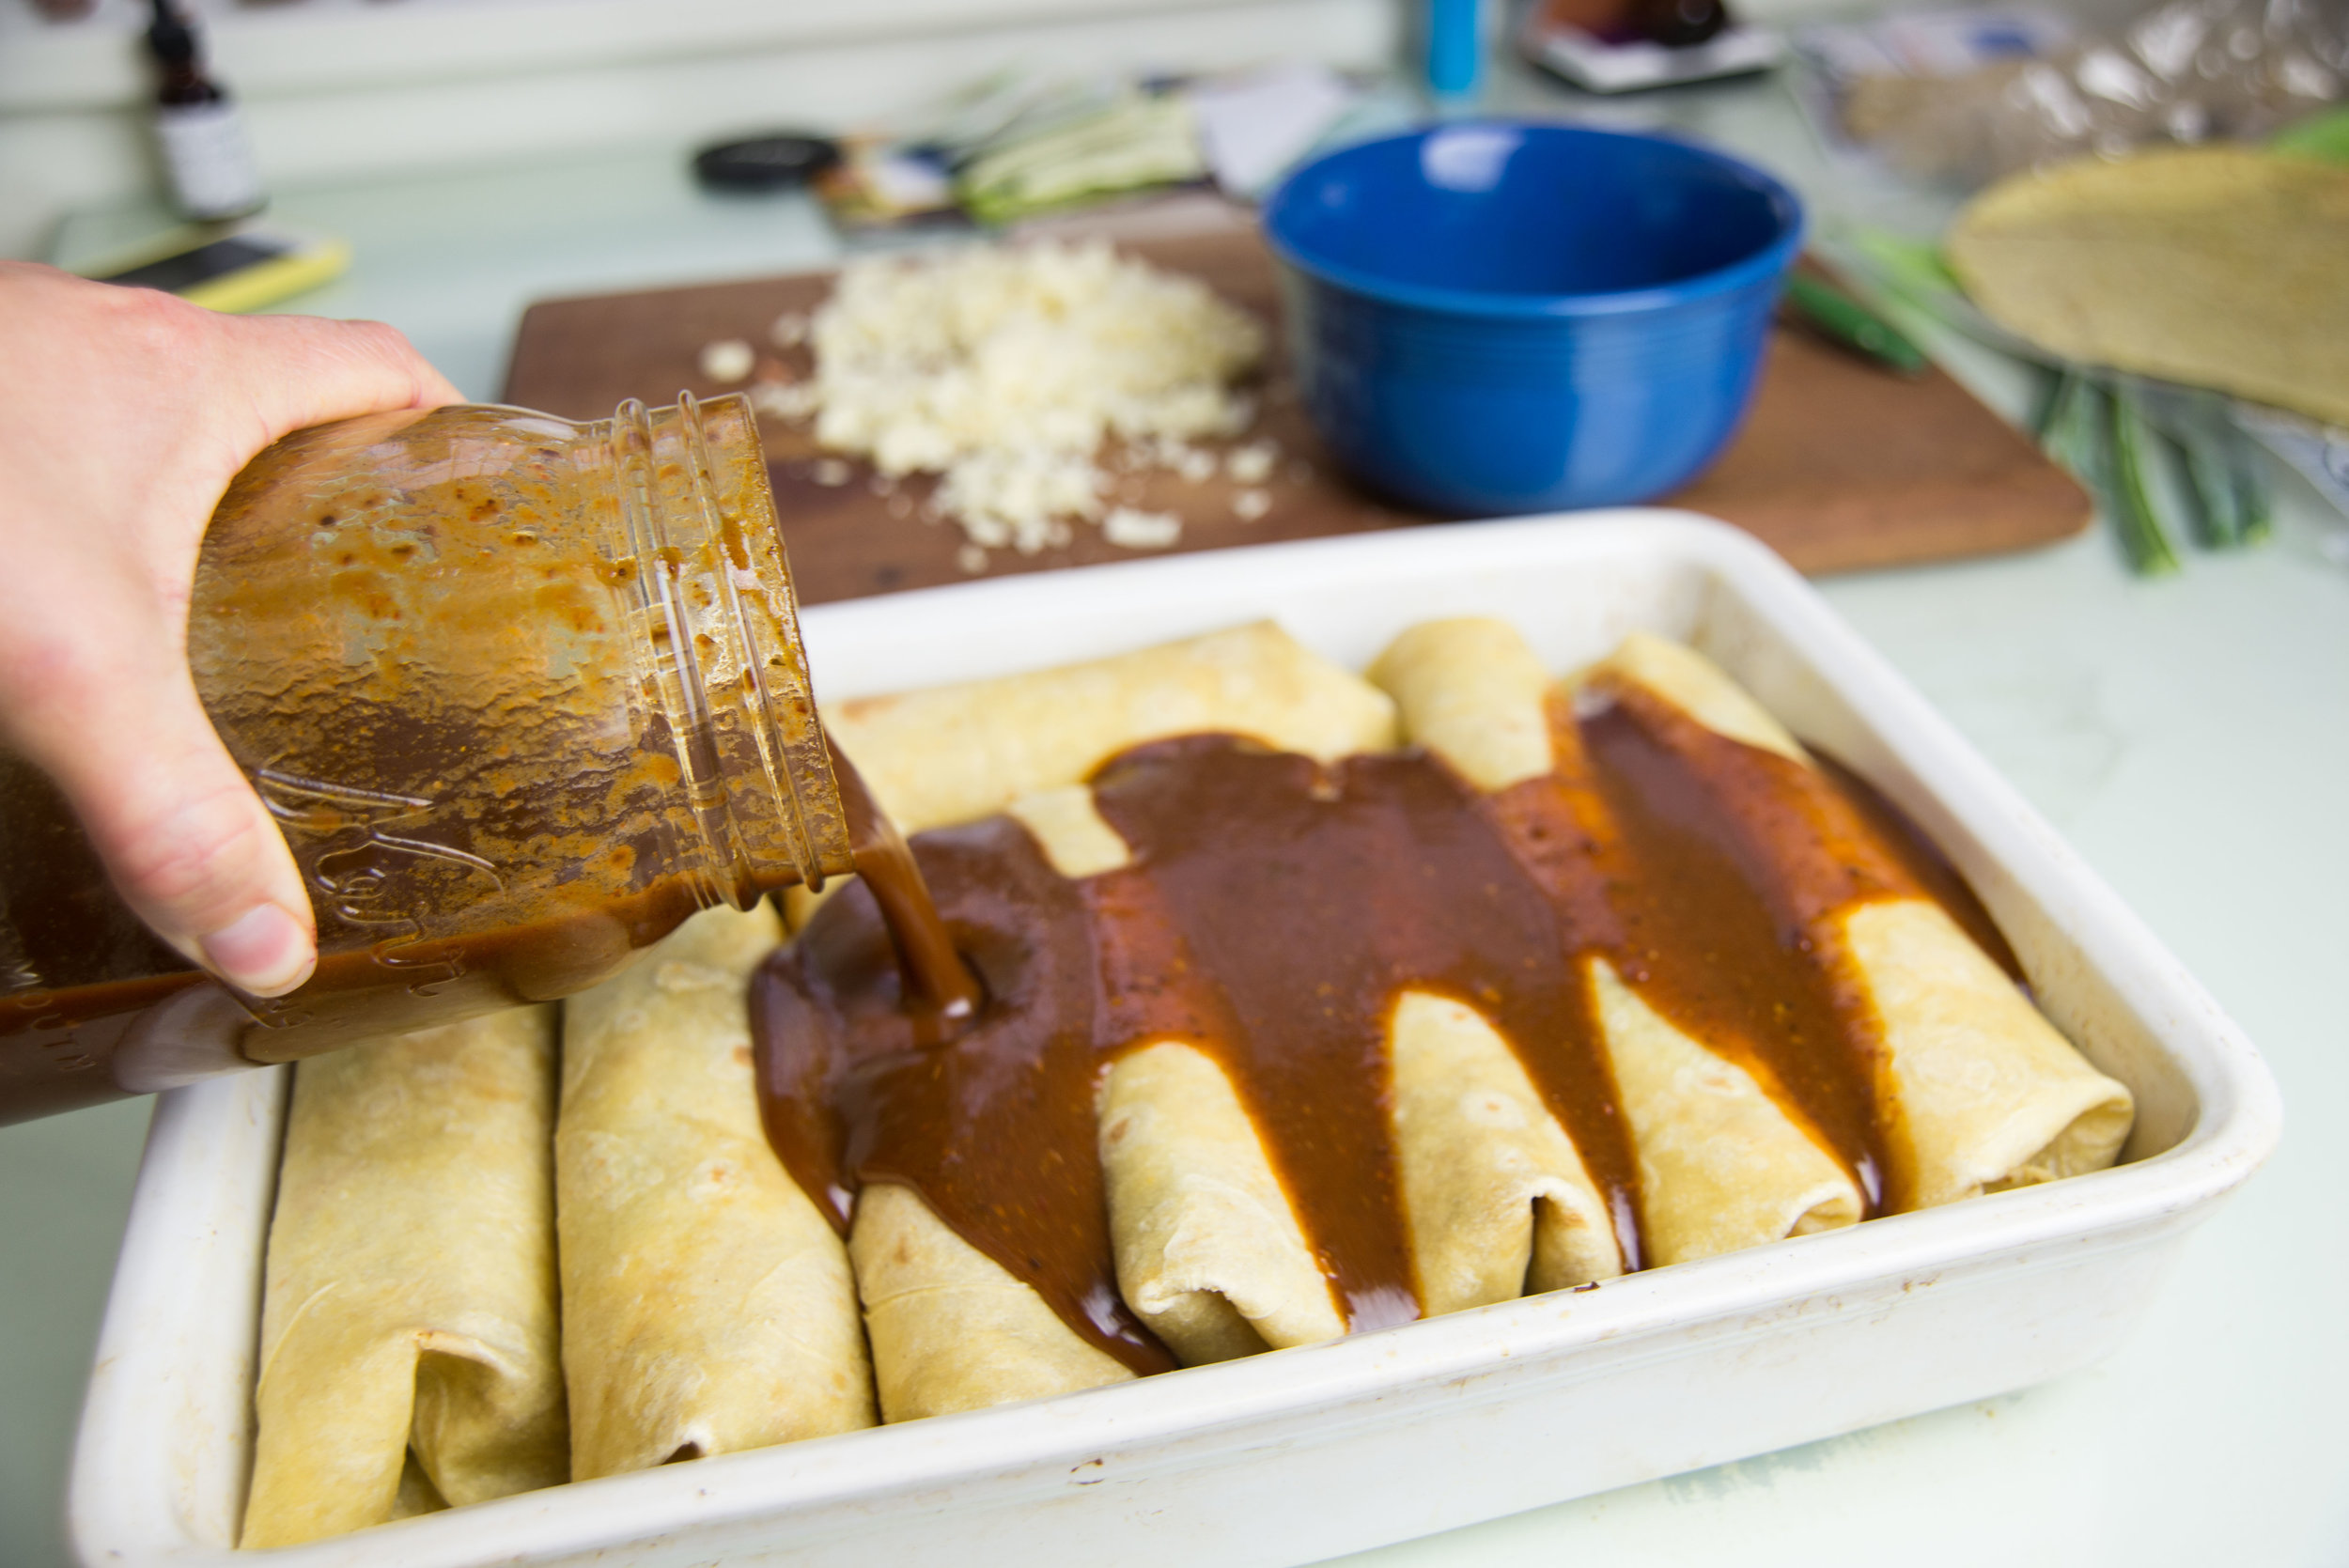
  • Pour the remaining sauce over top of the enchiladas, and sprinkle with the rest of the cheese. 
  • Bake at 375 F for about 30 minutes, until the sauce is bubbling and the cheese on top has browned slightly. Finish with a minute of broiling if you want to further brown the top! 
  • Enjoy! 

Notes: A few notes on the ingredient list! 

Ancho Chile Powder: You can buy this in the spice section, but I like buying a bag of dried ancho chiles from the Mexican market and grinding them into a powder in the blender or spice grinder. 

Stock: You can use veggie stock or a meat stock in this recipe. I used a stock made with a mixture of chicken and pork (I'll be honest... it was ramen broth) because it's what we had on hand. 

Sweet Potatoes: I roasted my sweet potatoes at 375 for about 20 minutes in the 9x13 baking dish, then transferred them into a bowl and used the baking dish for the enchiladas - super simple! You could also steam them, which would only take about 5 minutes. 

Pulled Pork:  Anytime we buy and slow cook pork shoulder, there is always enough left over for a few additional meals. Cooking it in a slow cooker with some broth and minimal spices allows for meat that can be used in any number of ways! 


Comment

Banana Coconut Cashew Popsicles

Comment

Banana Coconut Cashew Popsicles

Have you ever had chocolate-dipped frozen bananas? When I lived in Ecuador, you could buy them for the out-of-control tiny price of 10 cents in the banana growing regions of the country, and I very very quickly fell in love. If you haven't had them before, this is the time to try it out! 

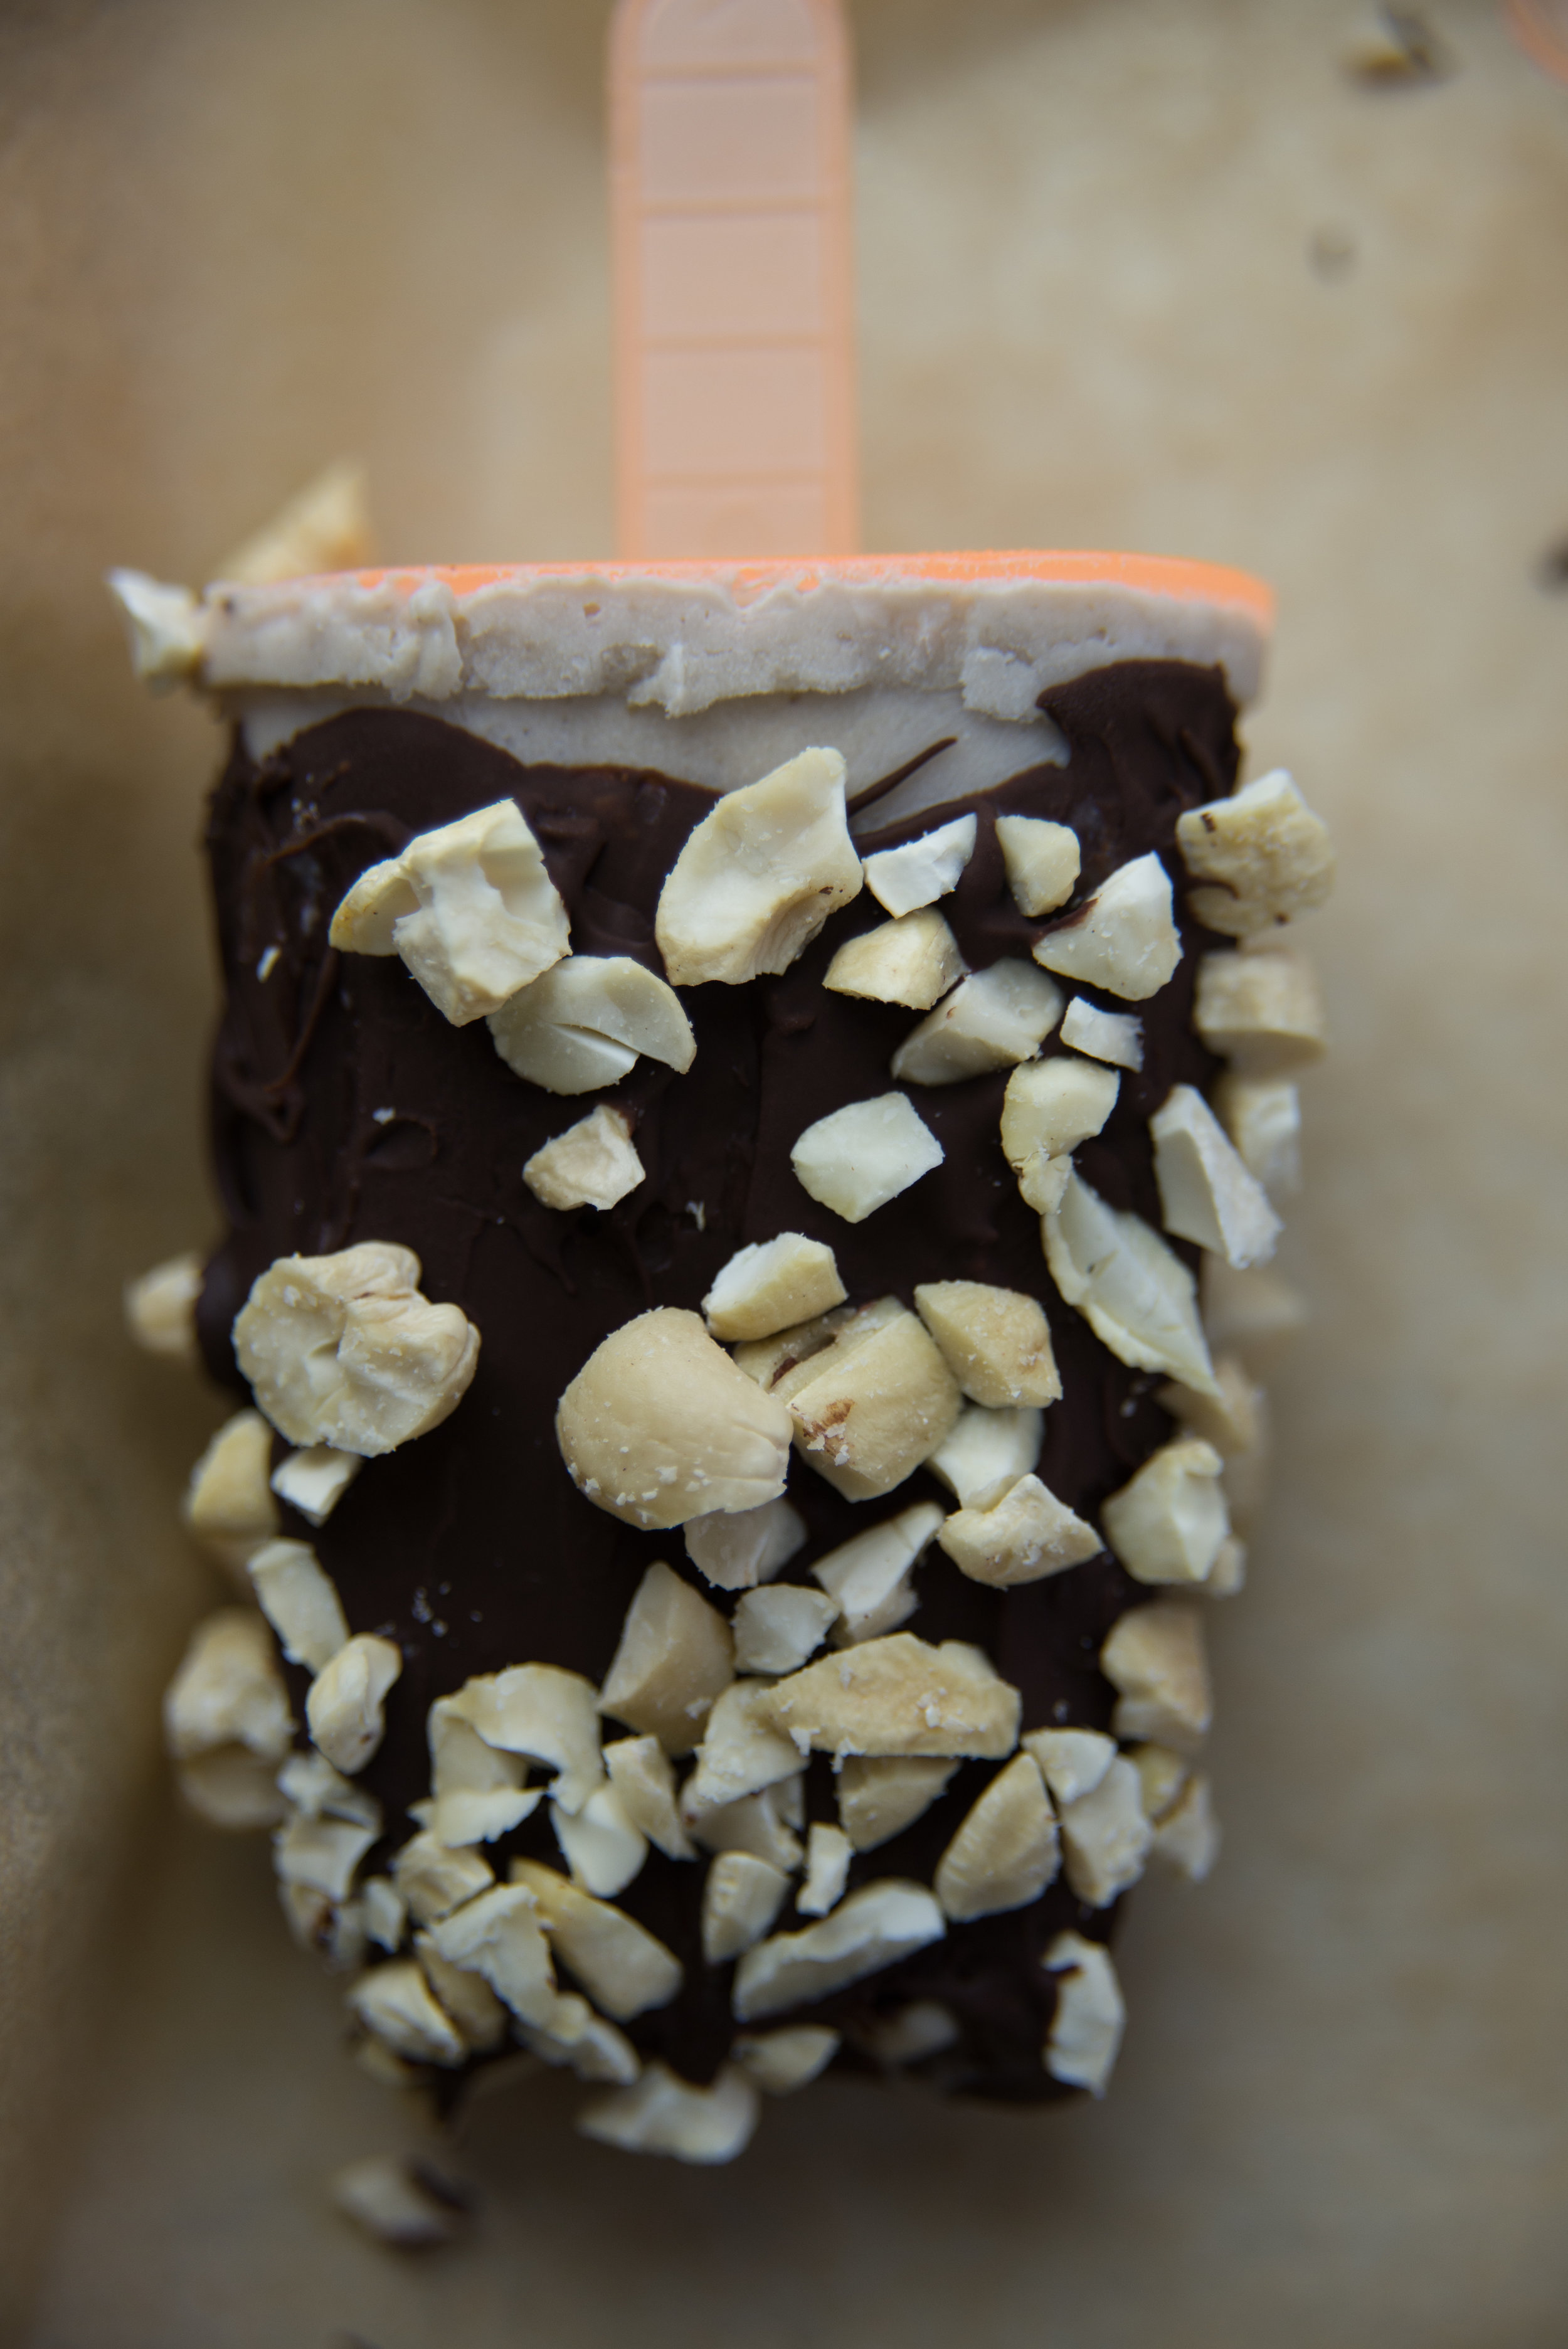
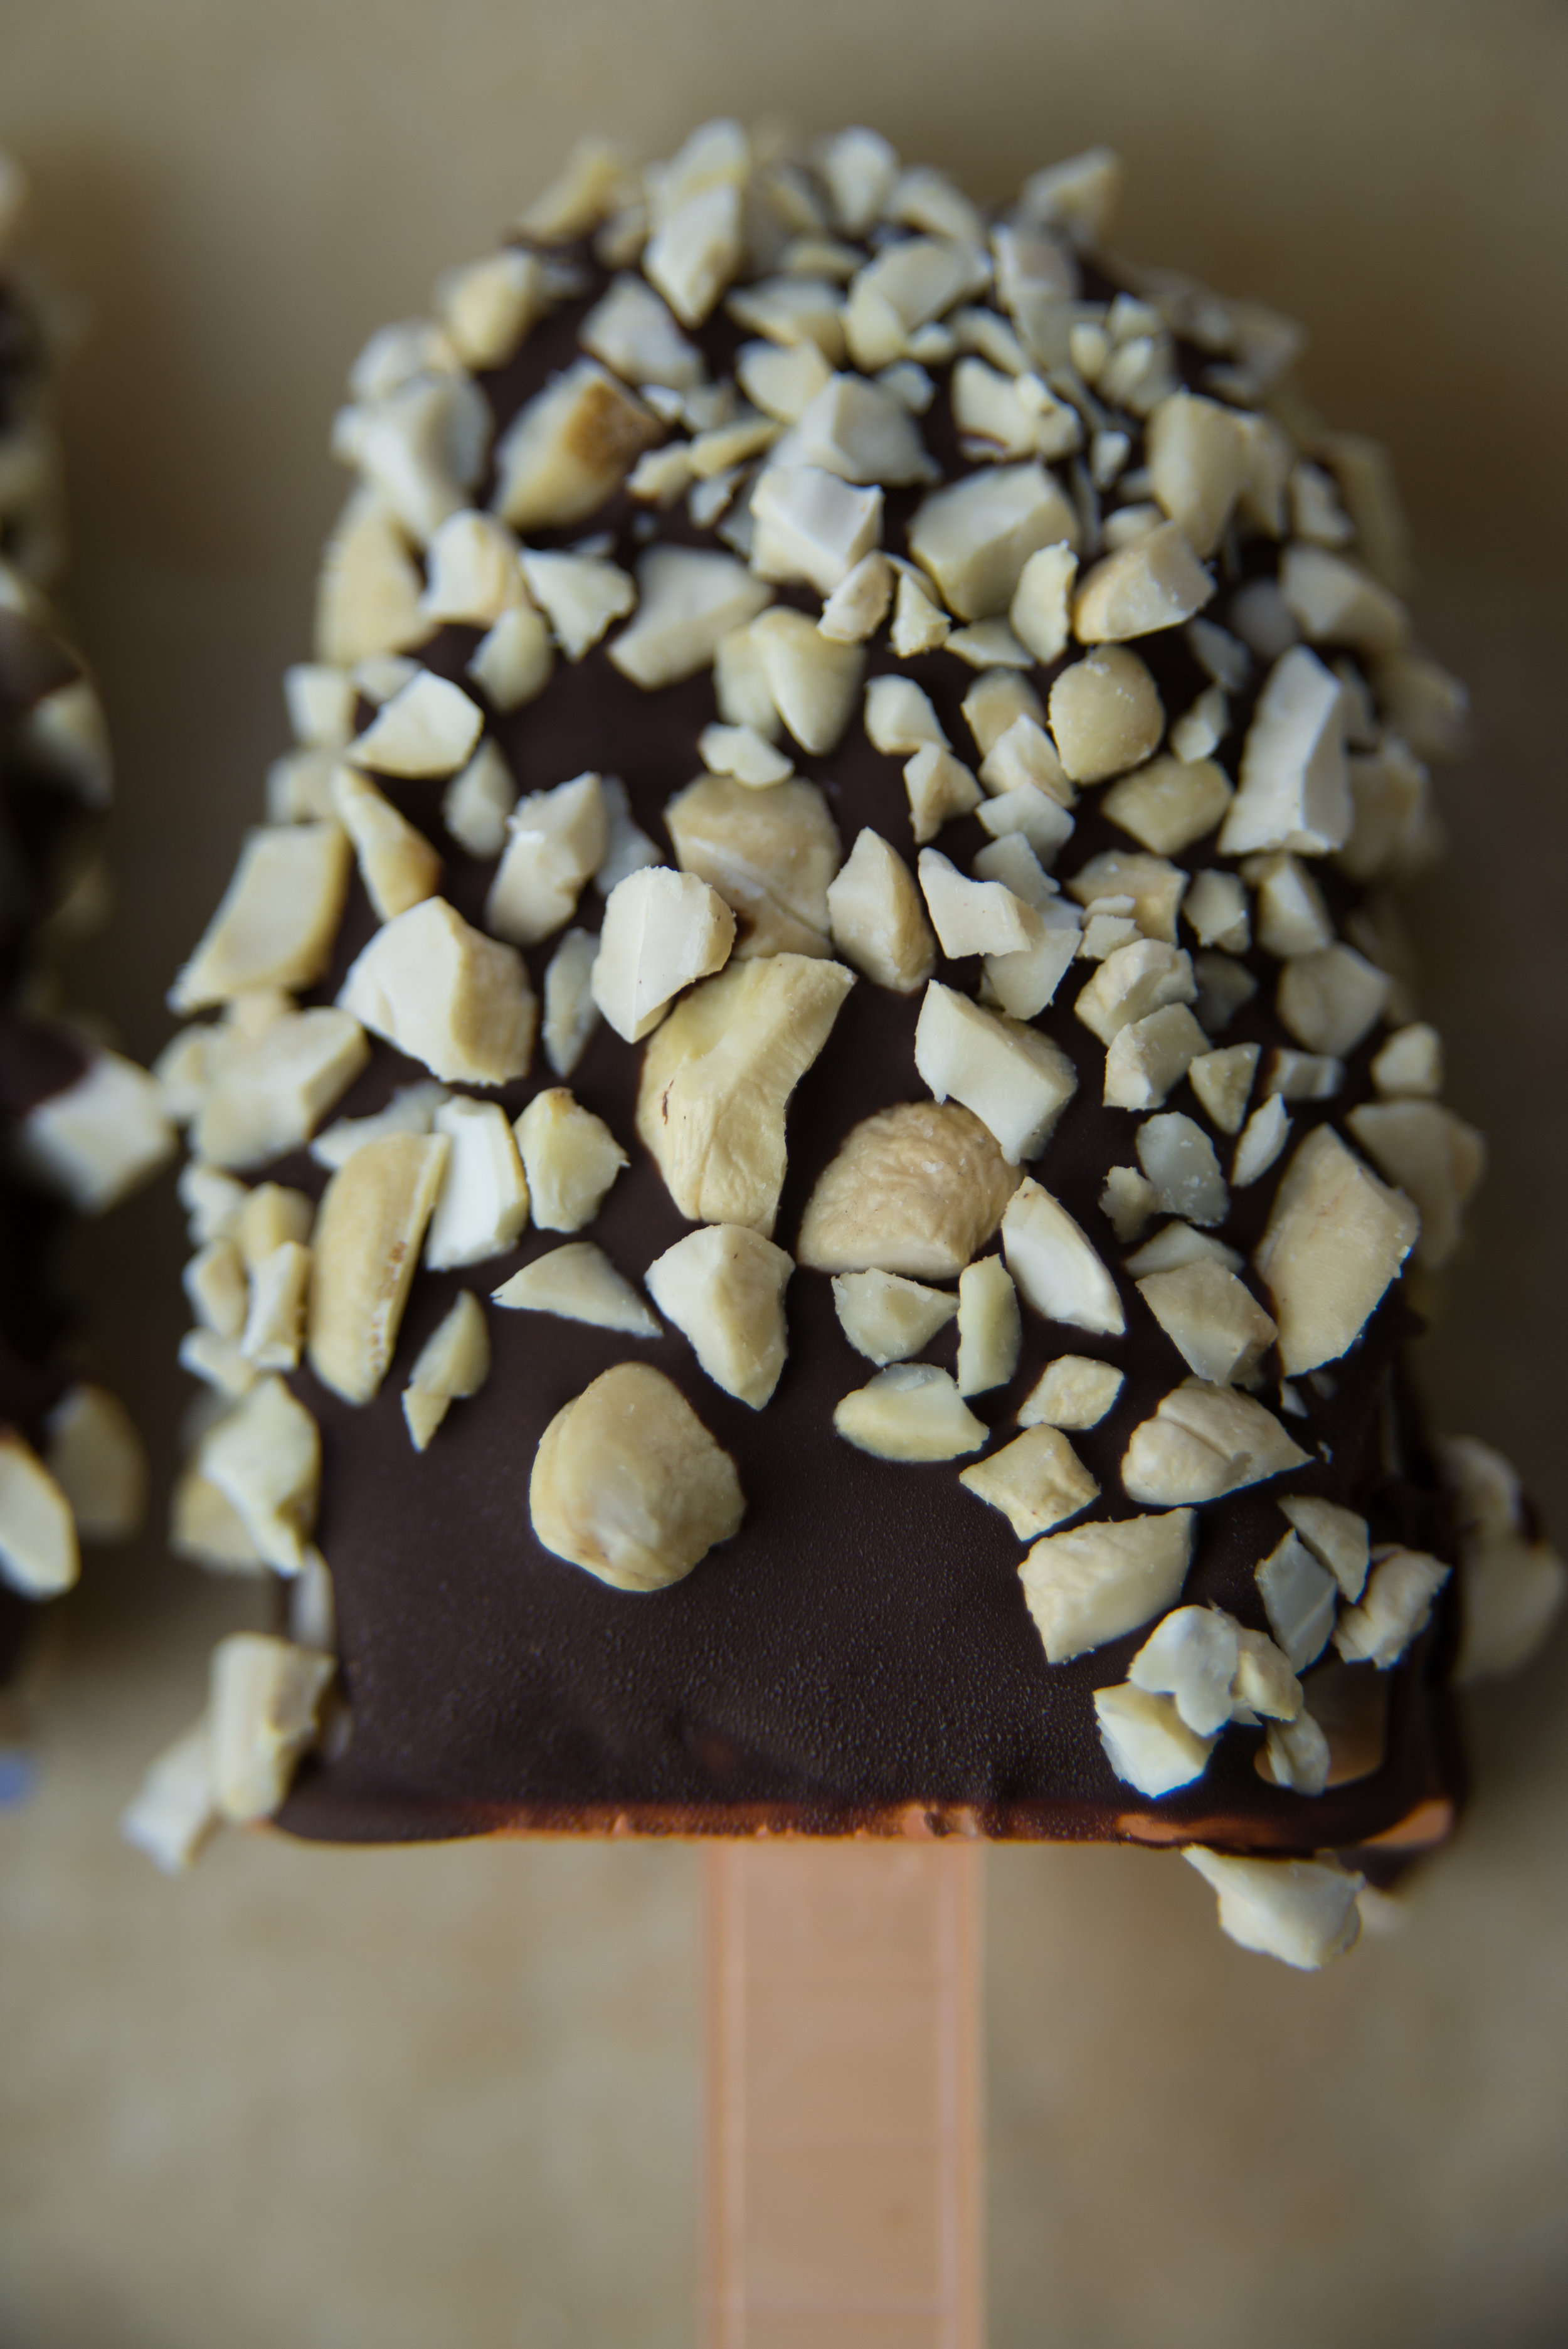
This time around, I decided that it was time to dress up the simple chocolate covered frozen banana into a popsicle and these are what I settled on. With rich, creamy coconut milk, vanilla, and a coating of cashews, these popsicles and a perfectly creamy take on those classic bananas with a nice exterior crunch. 

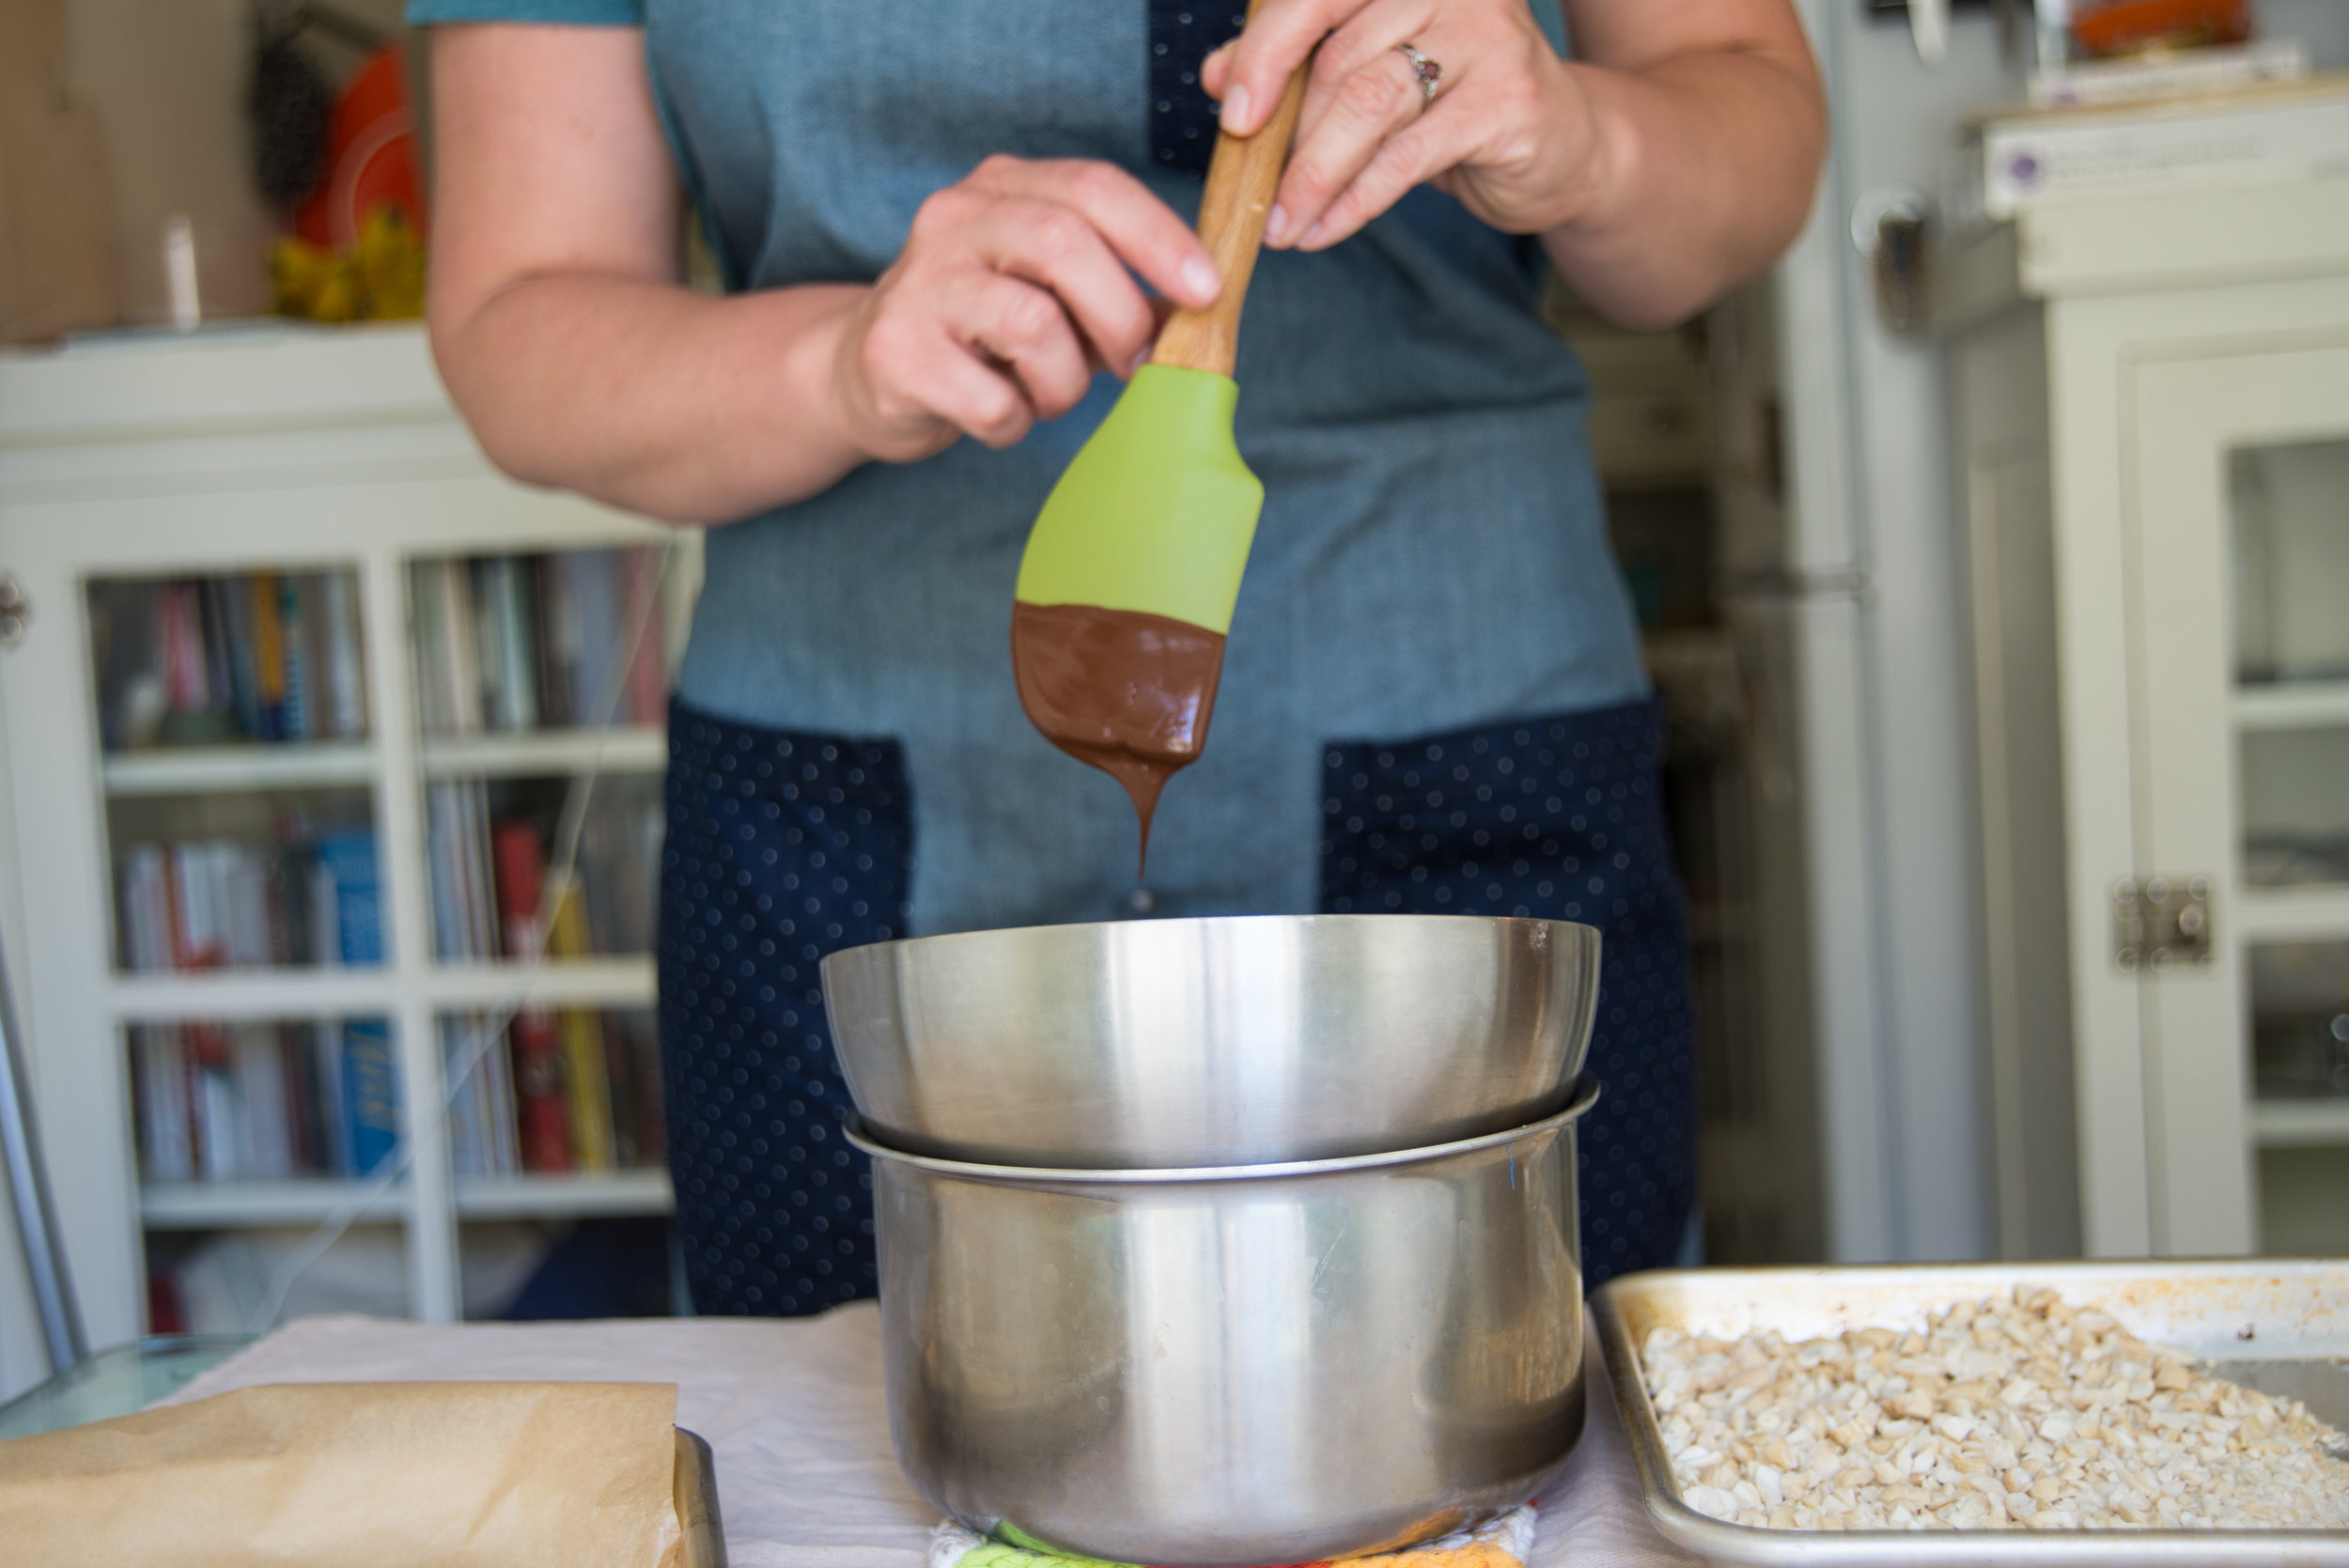
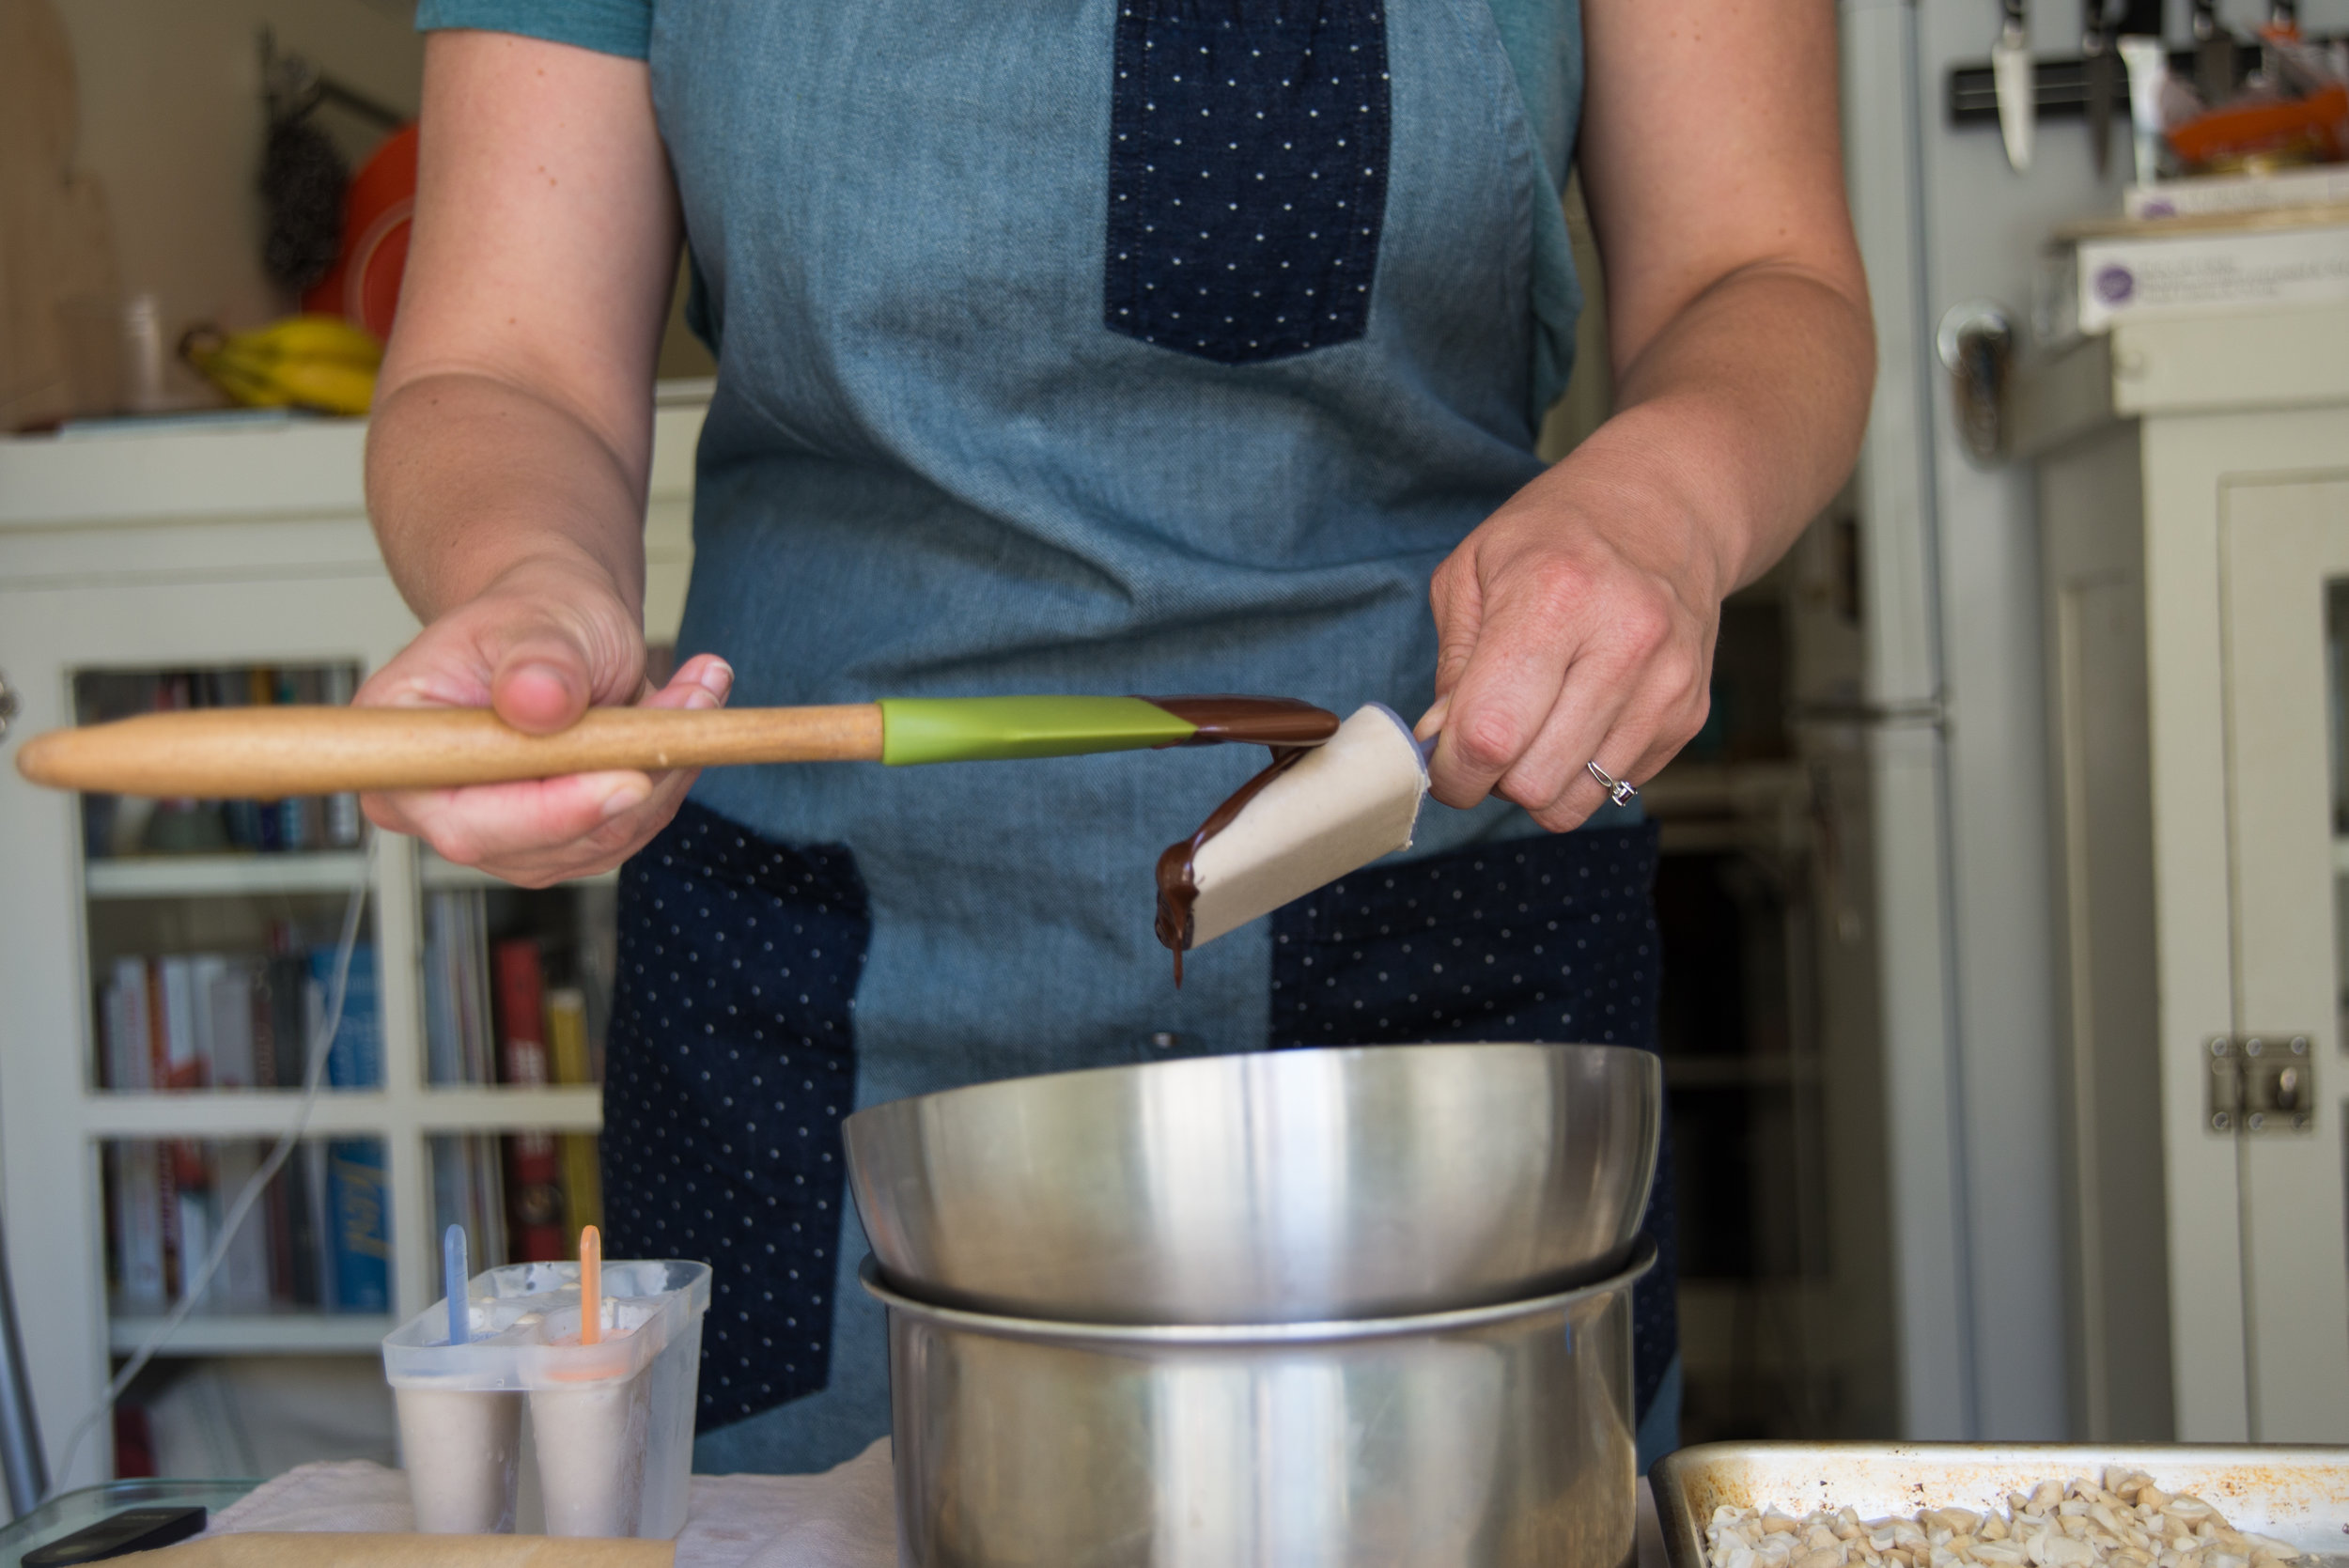
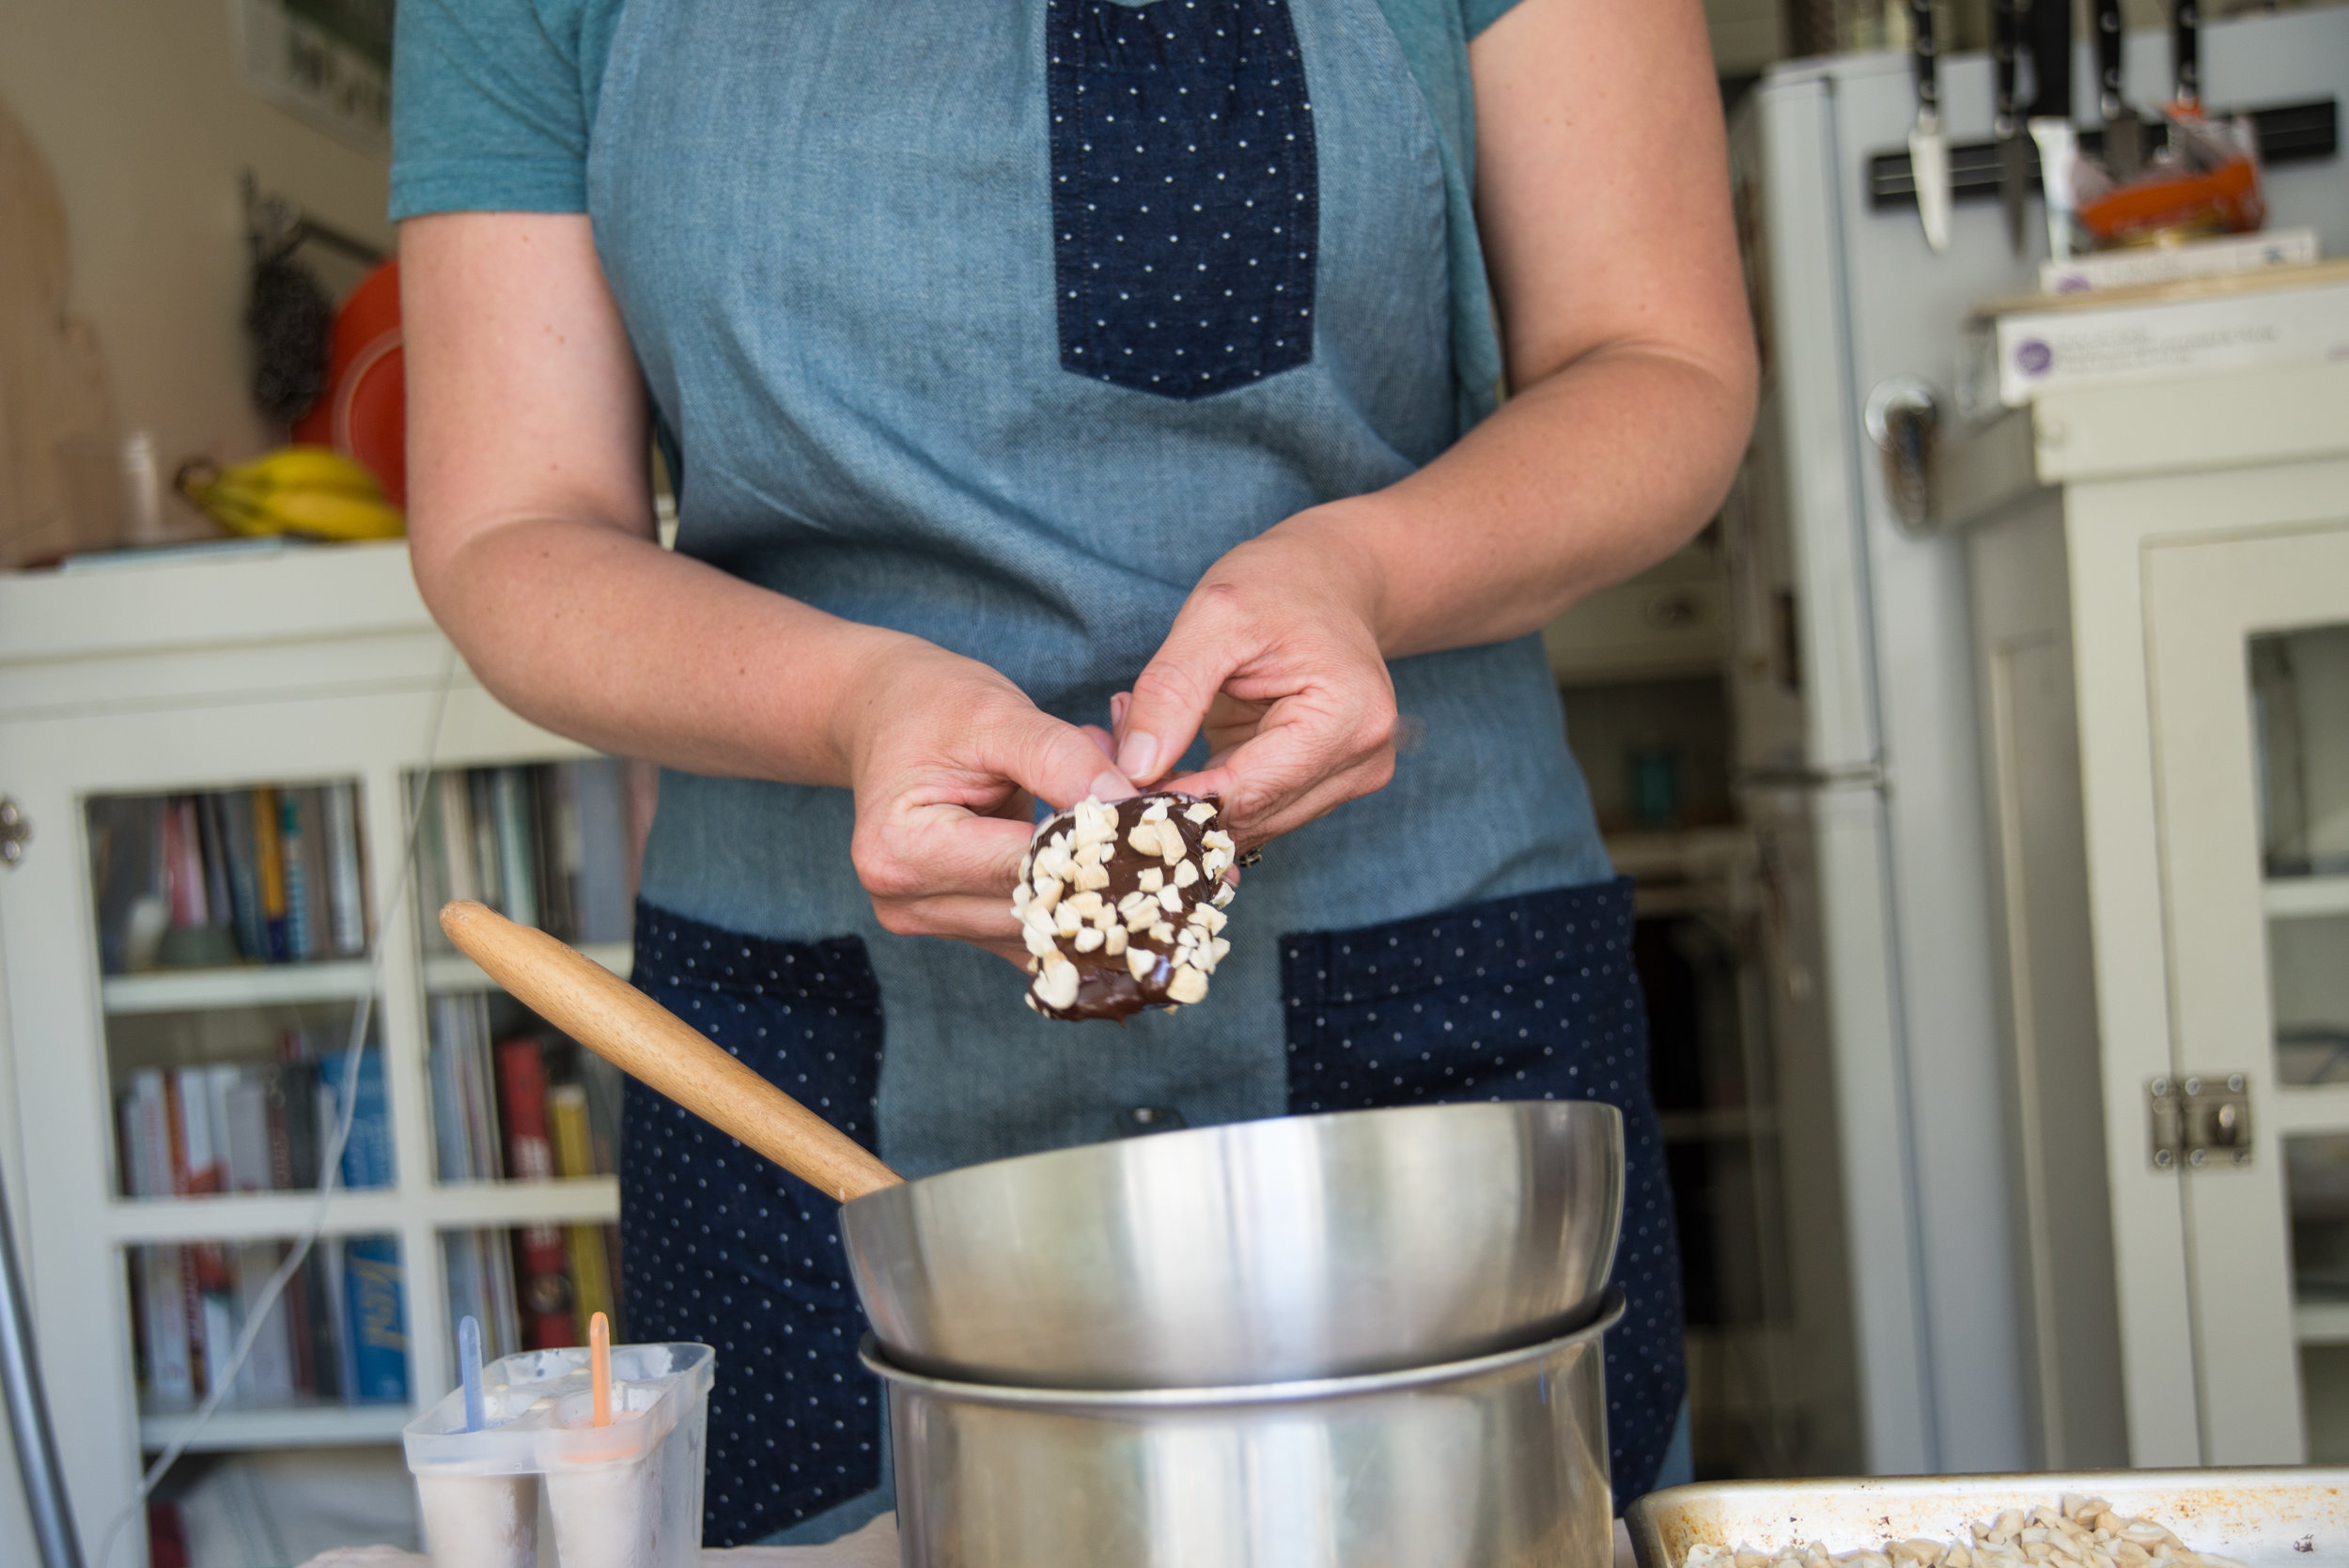
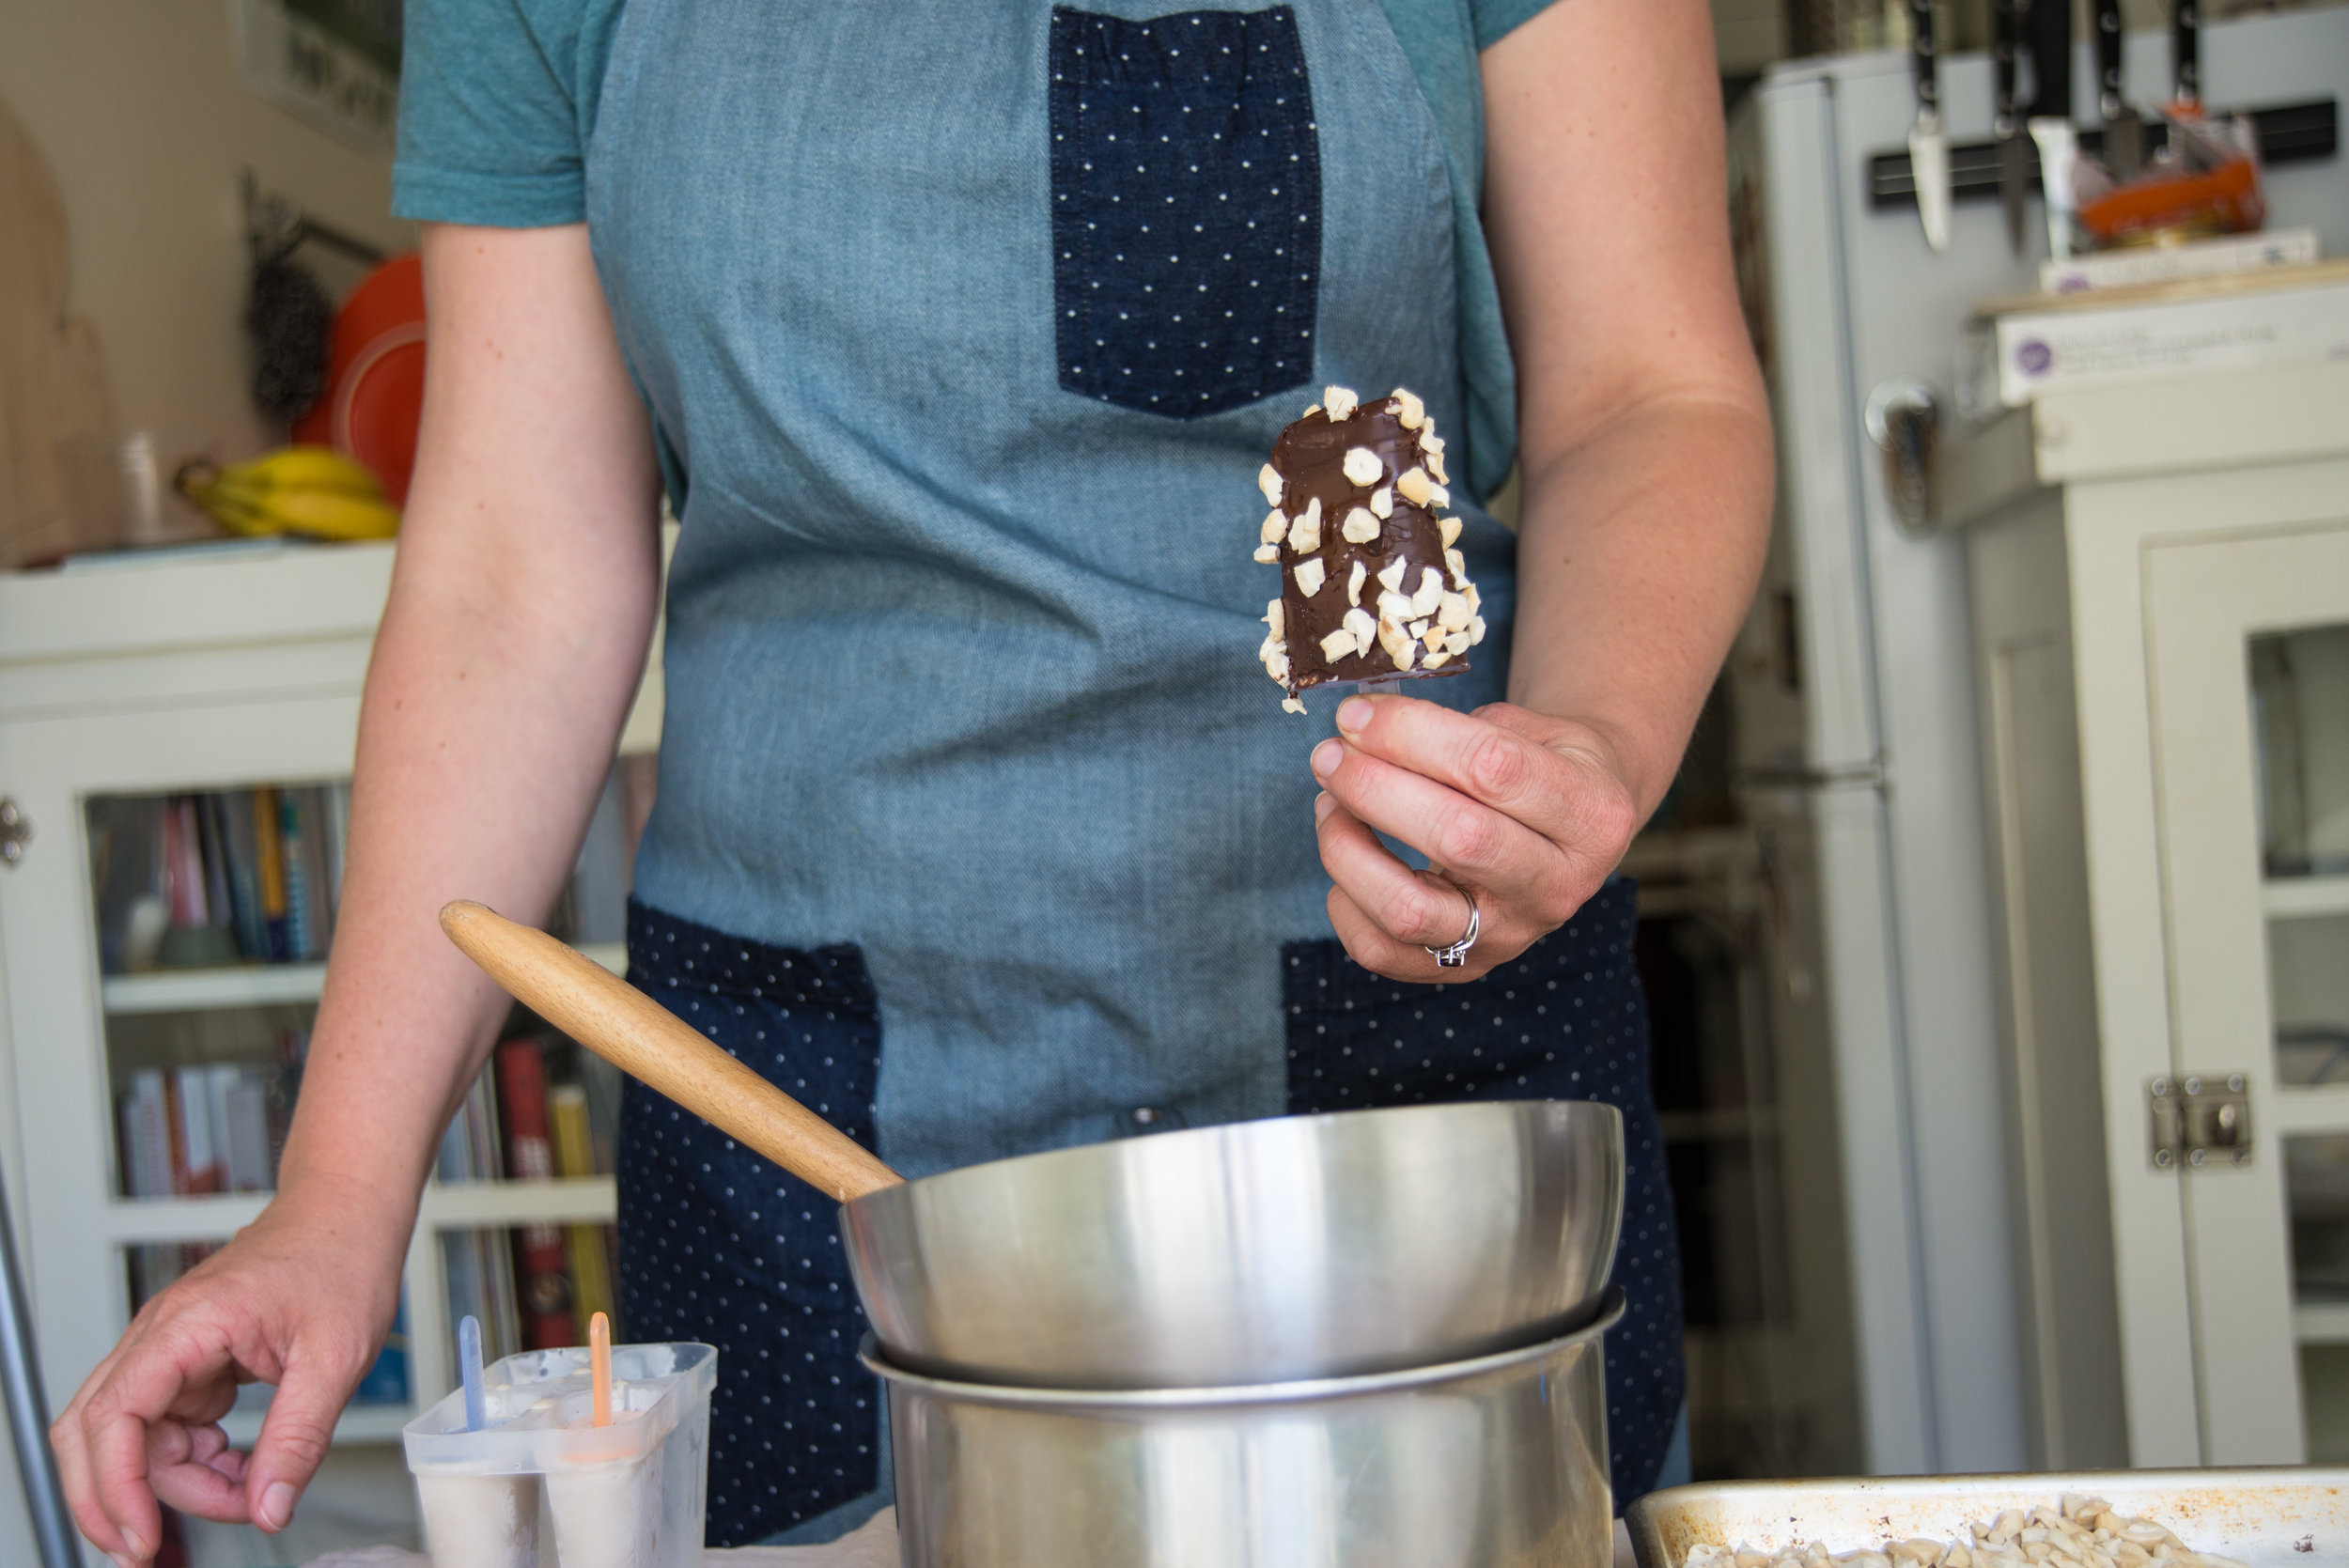
While making these beauties, I kept the melted chocolate off my clothes with my Nomadic Wares apron. My friend Andrew (ironically, from my time in Ecuador where I fell in love with frozen chocolate banana treats) makes these aprons by hand with incredible fabrics for a durable, functional, and beautiful apron that treats me well at home and in professional kitchens. 

I'll leave it to that! It's summer, we're all busy, and it's time to start making some popsicles. Get these sweeties in the freezer so you can go have fun (and know there's a cold treat waiting for you when you return)! 

Banana Coconut Cashew Popsicles 

makes about 8 medium popsicles, depending on your popsicle mold size

3 very ripe bananas 

1/2 tsp vanilla 

14oz can of coconut milk 

2 Tbsp honey (optional or to taste) 

10oz chocolate

1/2 cup cashews, chopped

  • In a blender, combine bananas, vanilla, coconut cream, and honey (if using). Puree until the mixture is smooth. 
  • Pour the mixture into popsicle molds, insert the popsicle sticks, and put into the freezer. 
  • Once the popsicles are frozen (I just wait until the next day, to be sure they're solid), melt the chocolate in a double boiler, or a heatproof bowl over a pot with a little water in the bottom. 
  • When the chocolate is melted, remove the popsicles from the freezer (as few at a time as possible!). Quickly cover each one in as thin a layer of chocolate as possible and roll in the chopped cashews. 
  • Place the popsicles on a baking sheet, and return to the freezer until the chocolate has hardened. Transfer into an airtight bag or container for storage. 

Comment

Chocolate Hazelnut Scones

3 Comments

Chocolate Hazelnut Scones

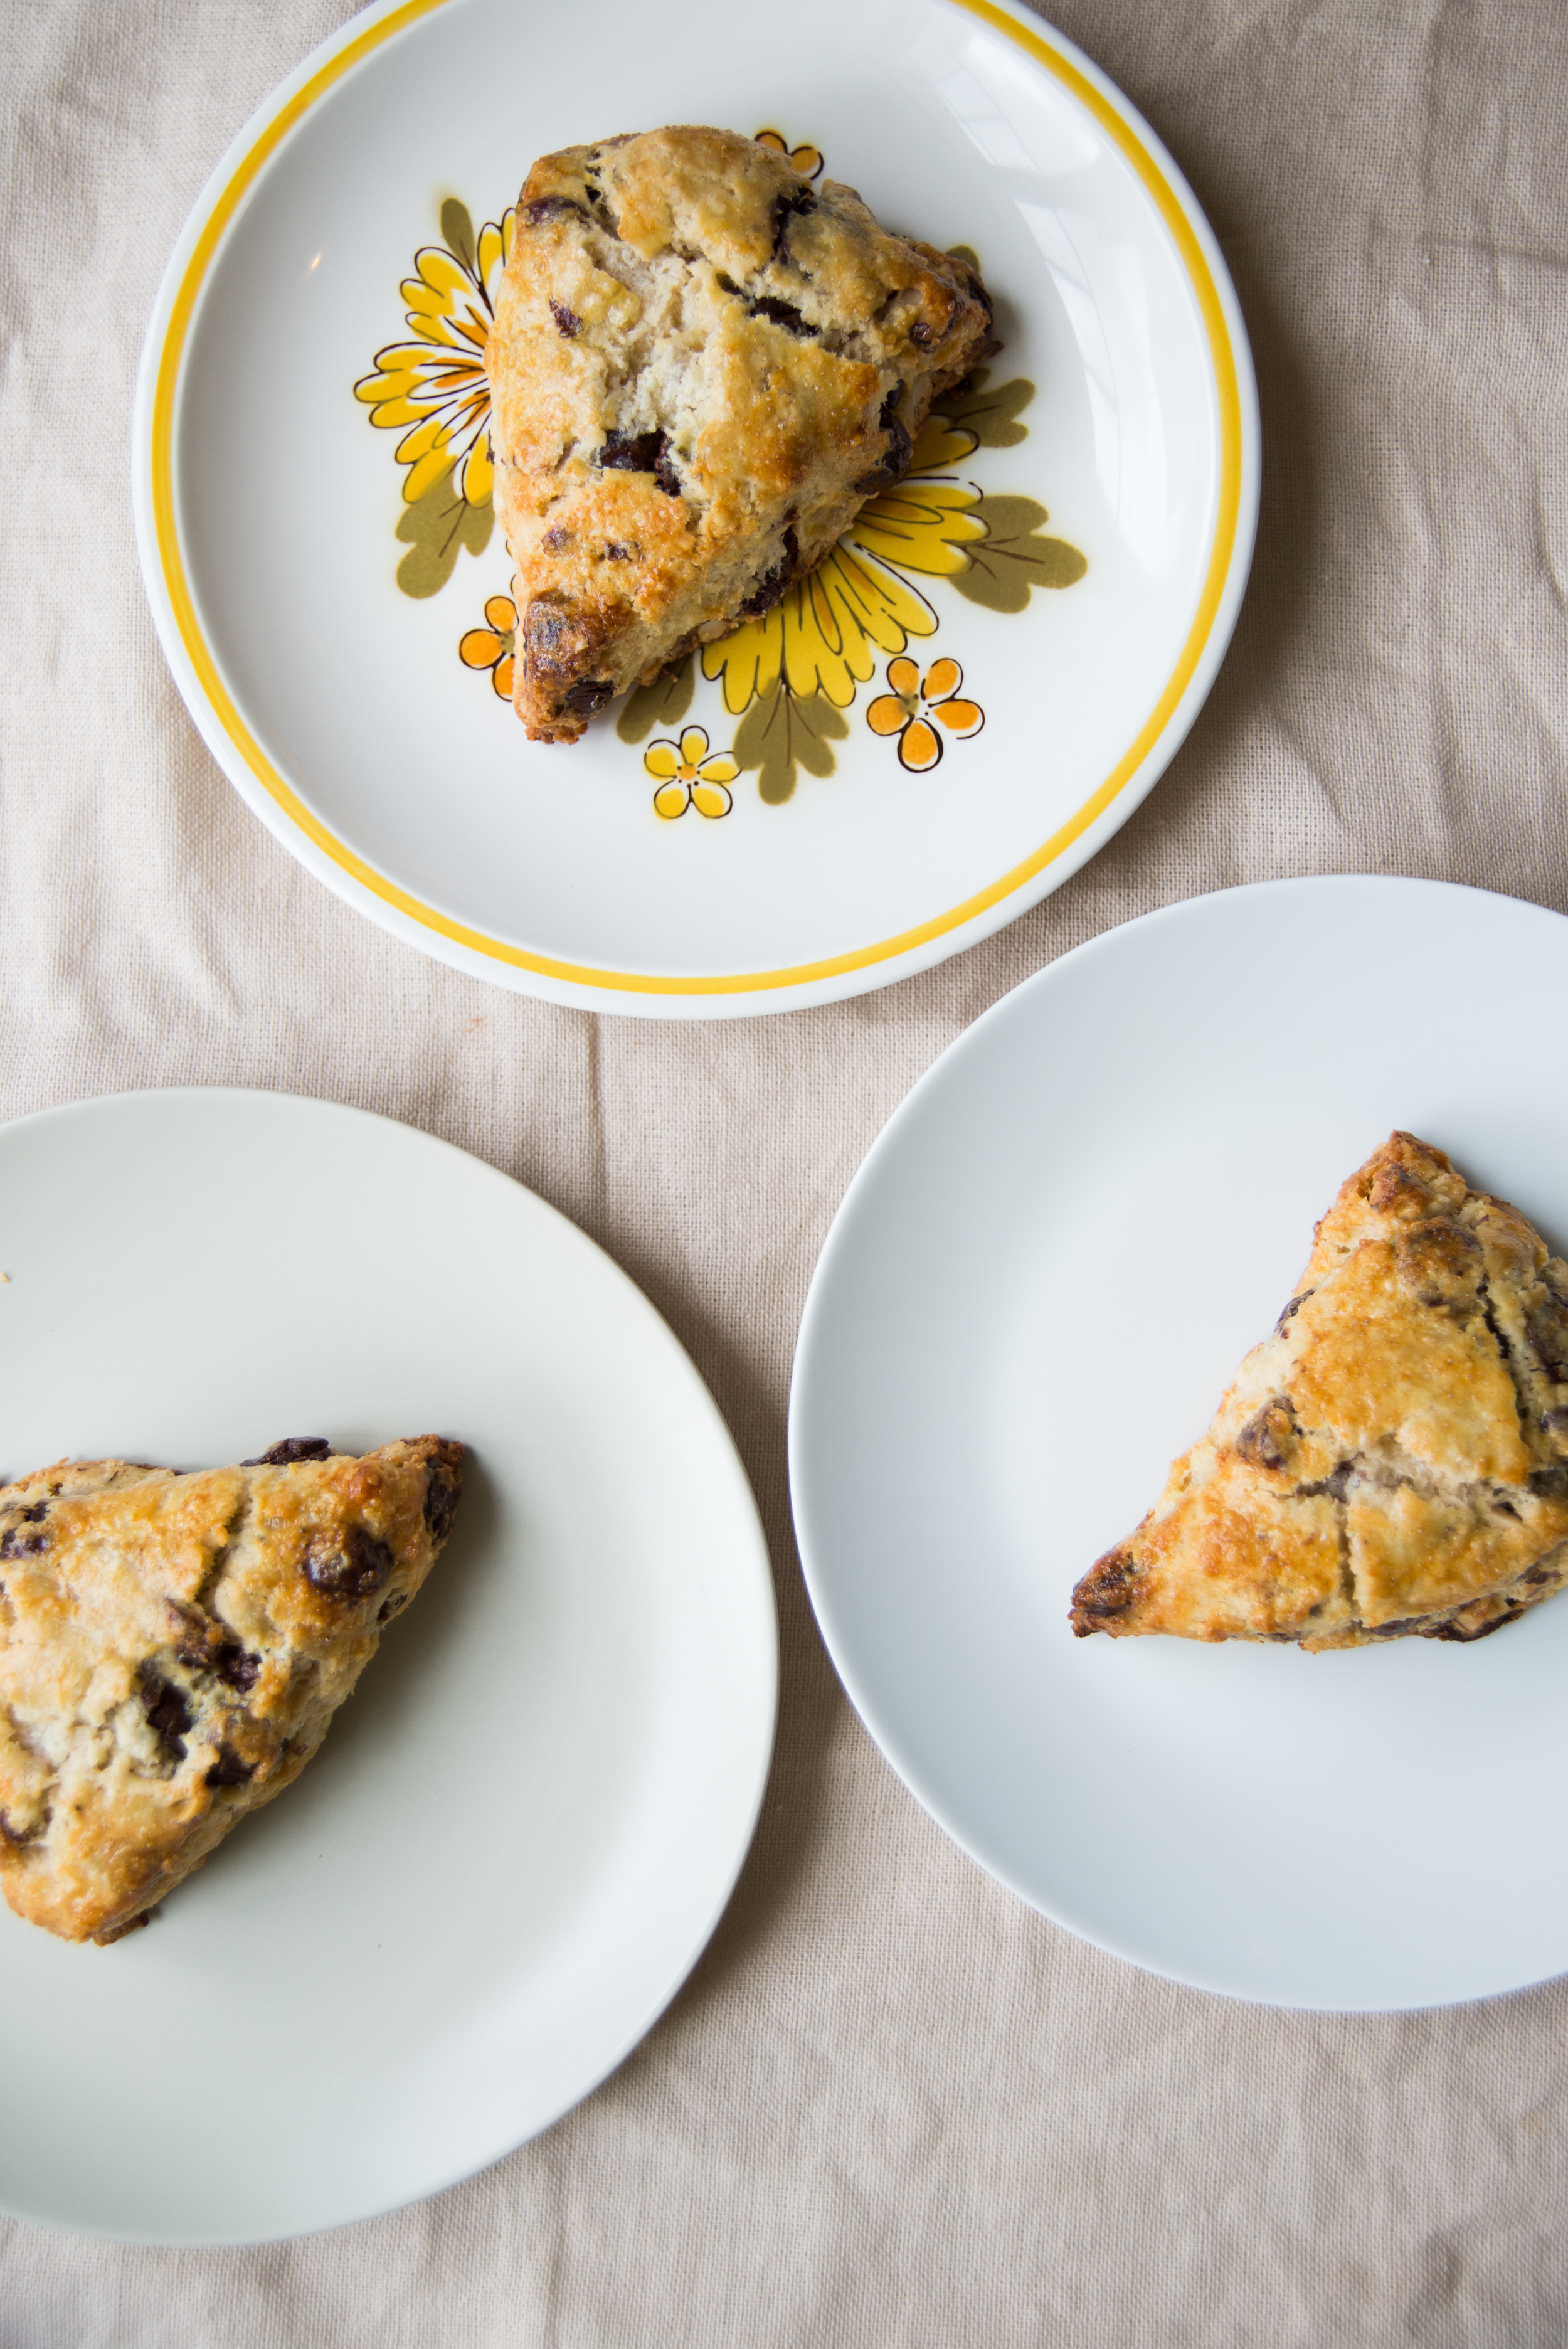
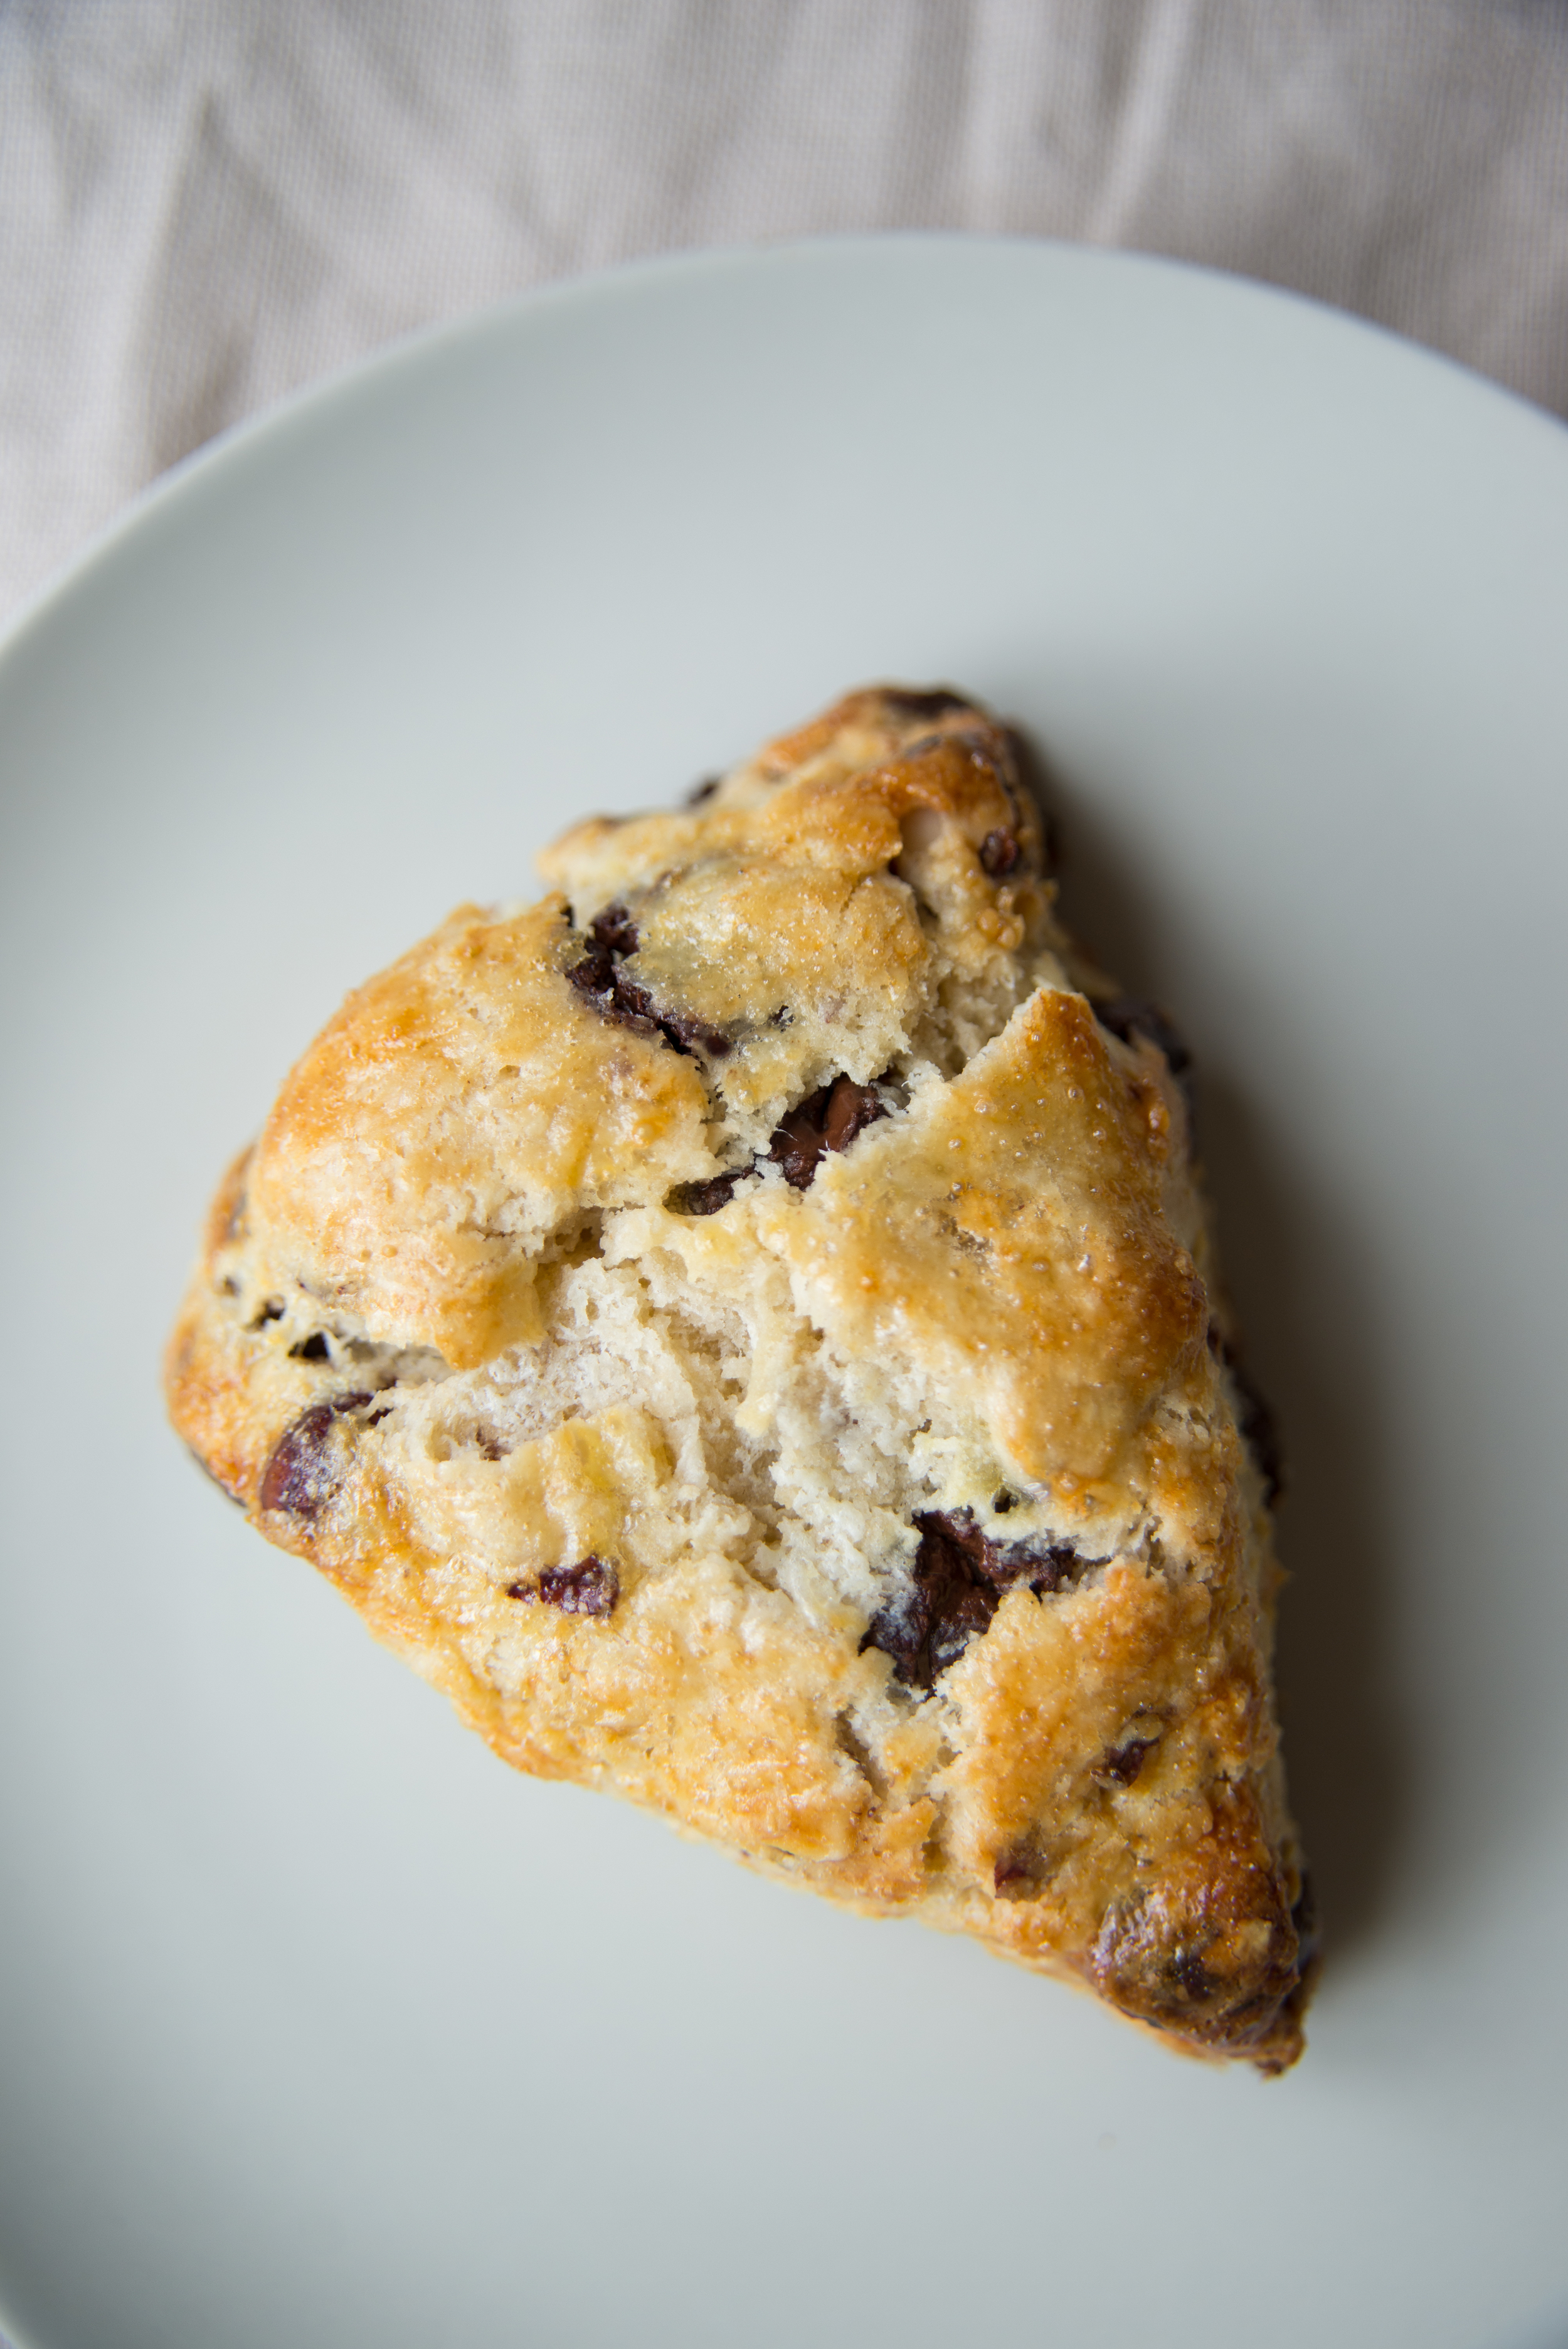
It's possible that my soon-to-be husband falling in love with me had more than a little something to do with these scones. Without really realizing what I was doing, I won a piece of his heart over with baked goods when we first became friends. Going to hang out with him mid chocolate chip cookie recipe testing and baking the dough at his house. Bringing over scones because I had just made a batch and knew my eating the whole batch myself was a horrible idea. Ever since that first batch, he's been a huge believer that my scones are the best there are. And I think they're pretty great too!

So this recipe comes to you after a few weeks of my babes asking me to make a batch of scones (and my finally remembering to pick up some cream at the store for said scones!). The base of this scone recipe has served me well over the years - specked with freshly harvested wild blackberries and served with lemon curd, made with roasted poblano peppers, bacon, and aged cheddar cheese for a birthday morning treat, made simply with no additions to be served alongside Thanksgiving dinner. 

I've been on a chocolate hazelnut kick with the bounty of hazelnuts we're lucky to have in Oregon, so I thought this time around I'd try the recipe in a chocolate hazelnut version, with a bit of whole wheat flour to add a nuttier flavor to the dough - it did not disappoint! 

Dairy is of chief importance when you're making scones! It's the cream and butter that make scones the flaky, tender, delicate treat they are - so don't skimp on these things. I like to buy local grass-fed cream from wherever it is I'm living, and I always suggest using european style butter if you can find/afford it. That said, these beauties will come out great no matter what cream and butter you use! 

One of the great beauties of scones is their flexibility when it comes to the timeline for making them. While scones are absolutely best right out of the oven, that doesn't mean you have to go through the whole process to have them ready first thing in the morning. This scone dough both refrigerates and freezes beautifully. That means you can make the dough and put the cut scones in the fridge to bake the next morning, of freeze them and bake one or two whenever you're in the mood for a treat! 

As I so often do, I encourage you to use this recipe as a guide - adding in whatever scone flavor combinations you can dream up! Just keep the add-ins to about one and a half cups or less. 

Chocolate Hazelnut Scones

1.5 cups all purpose flour

1/2 cup whole wheat pastry flour (you can also use all purpose flour) 

1/4 cup sugar

2 tsp baking powder 

1 tsp salt 

6oz cold unsalted butter 

3/4 cup cream (half and half works as well) 

1 cup hazelnuts, dry roasted and chopped 

3/4 cup dark chocolate chips 

1 egg, beaten 

  • Combine the dry ingredients (flours, sugar, baking powder, salt) in a wide bowl. Whisk or stir to evenly distribute the ingredients. 
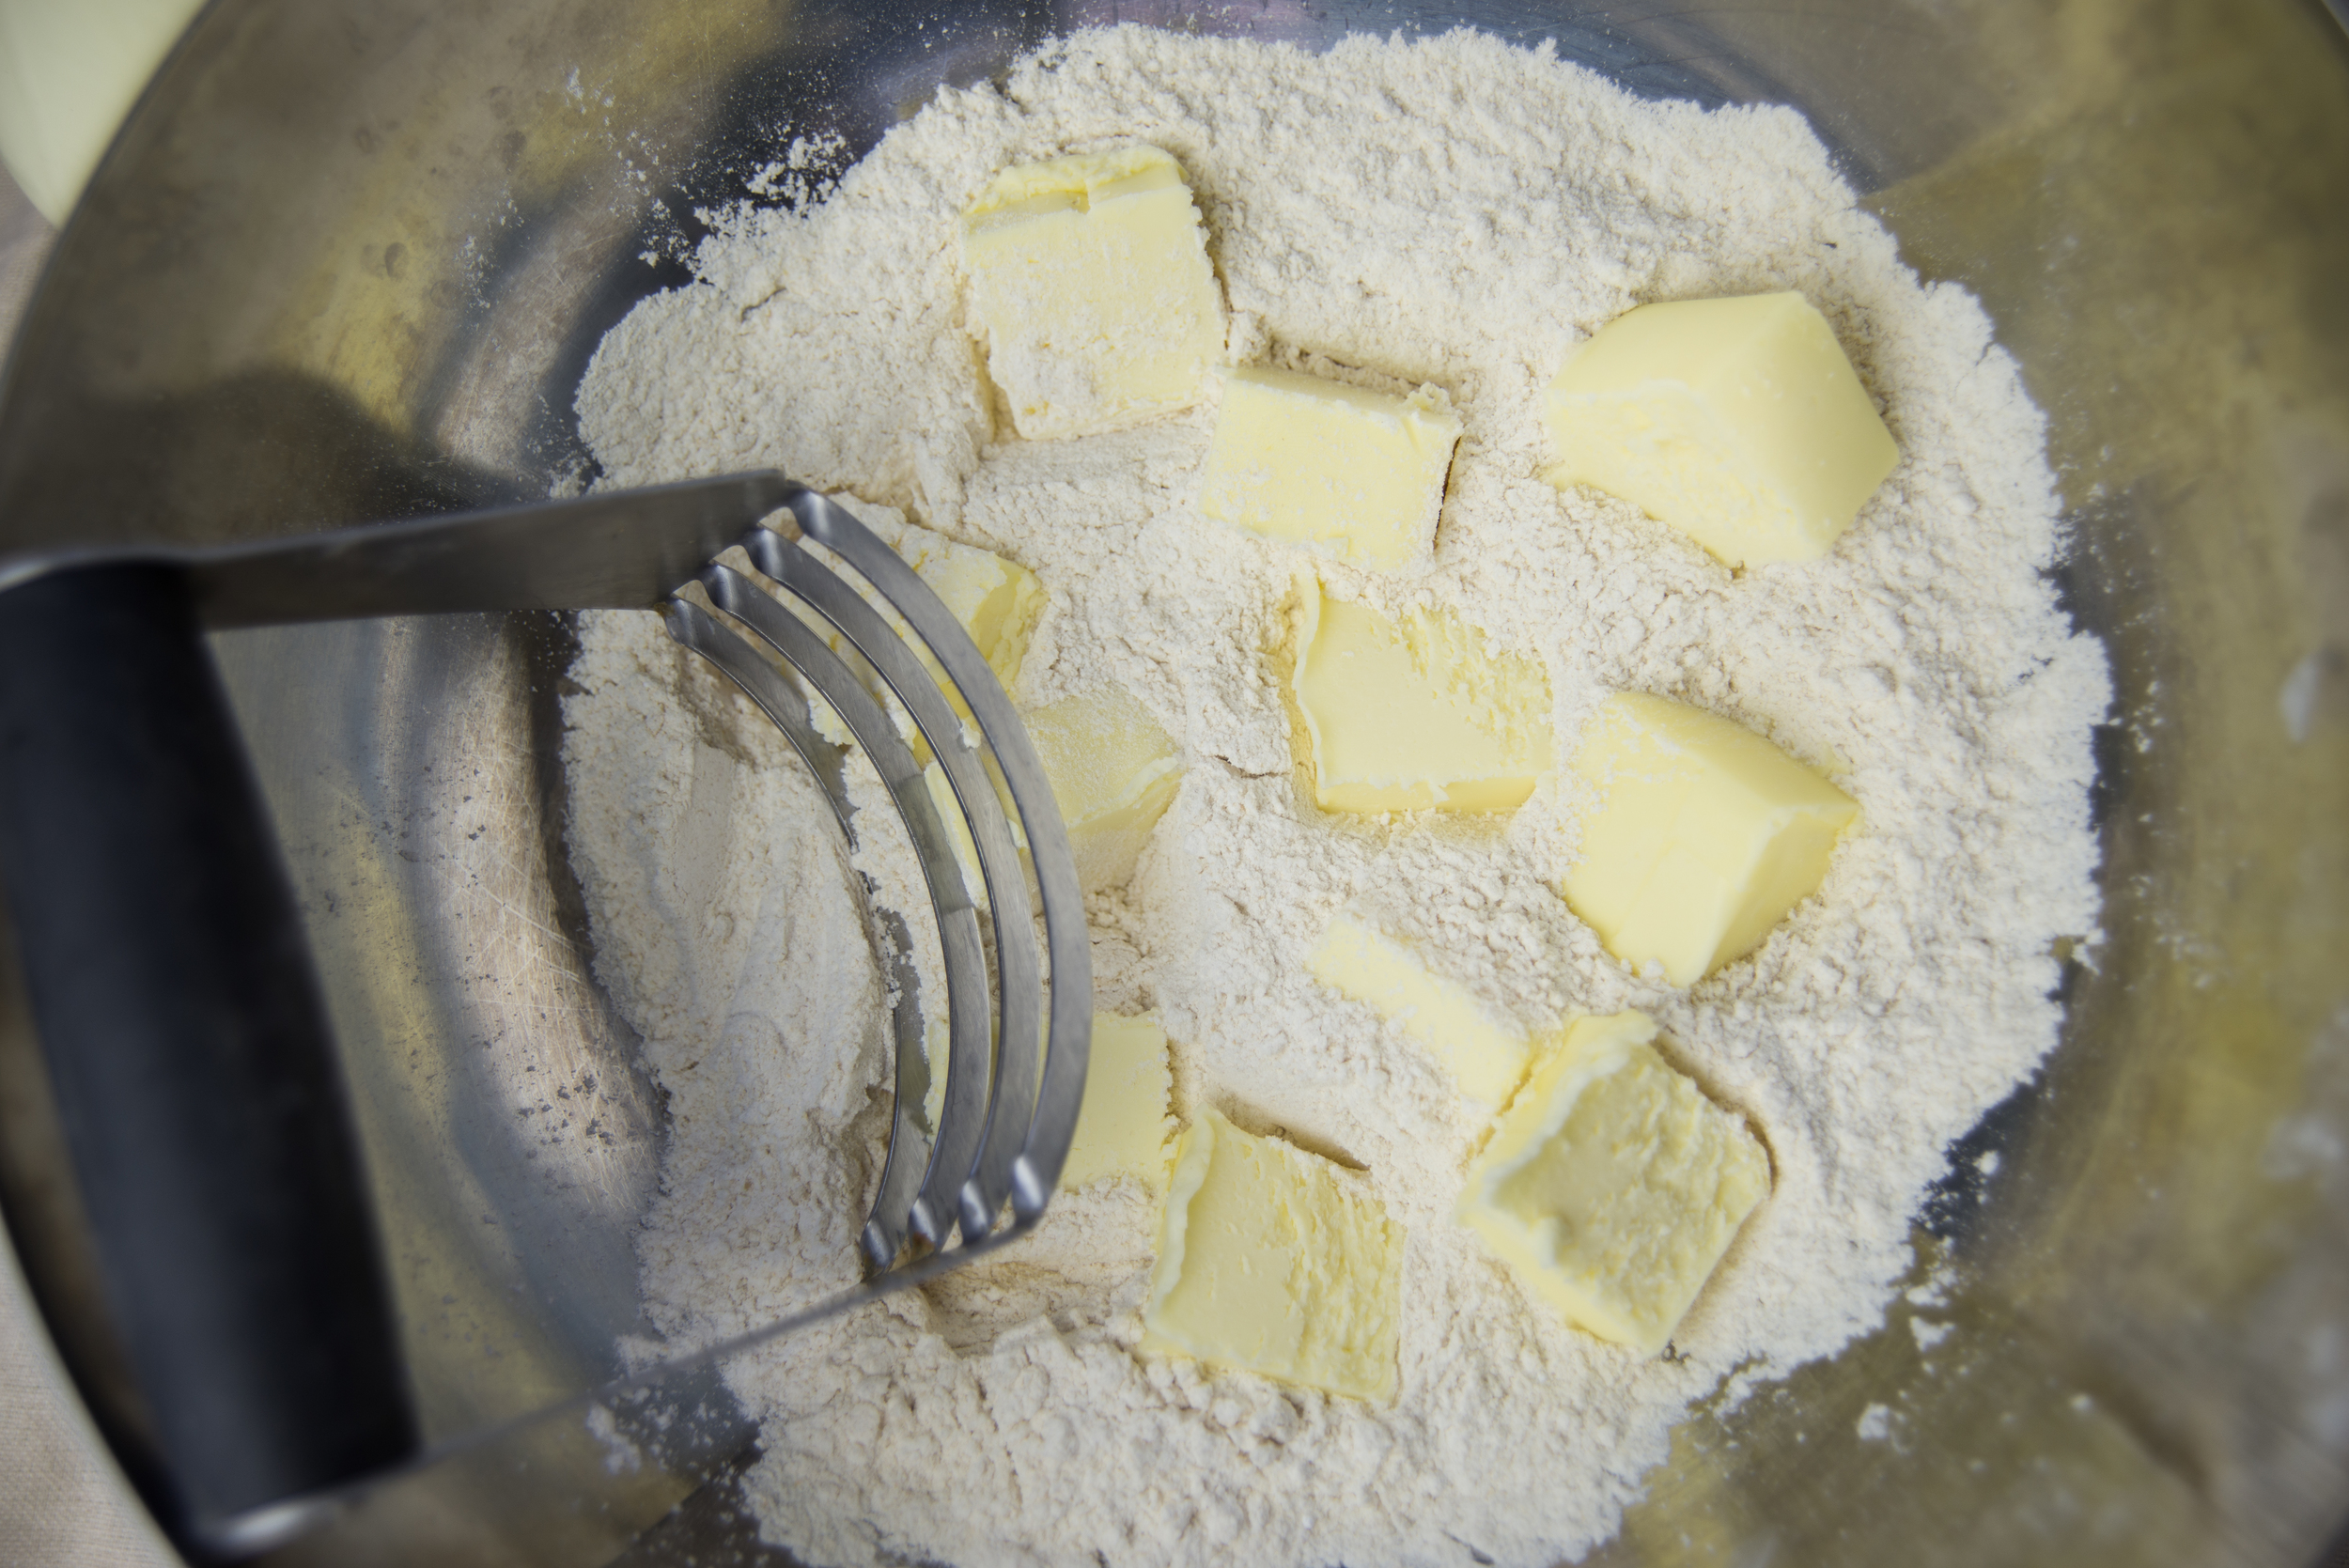
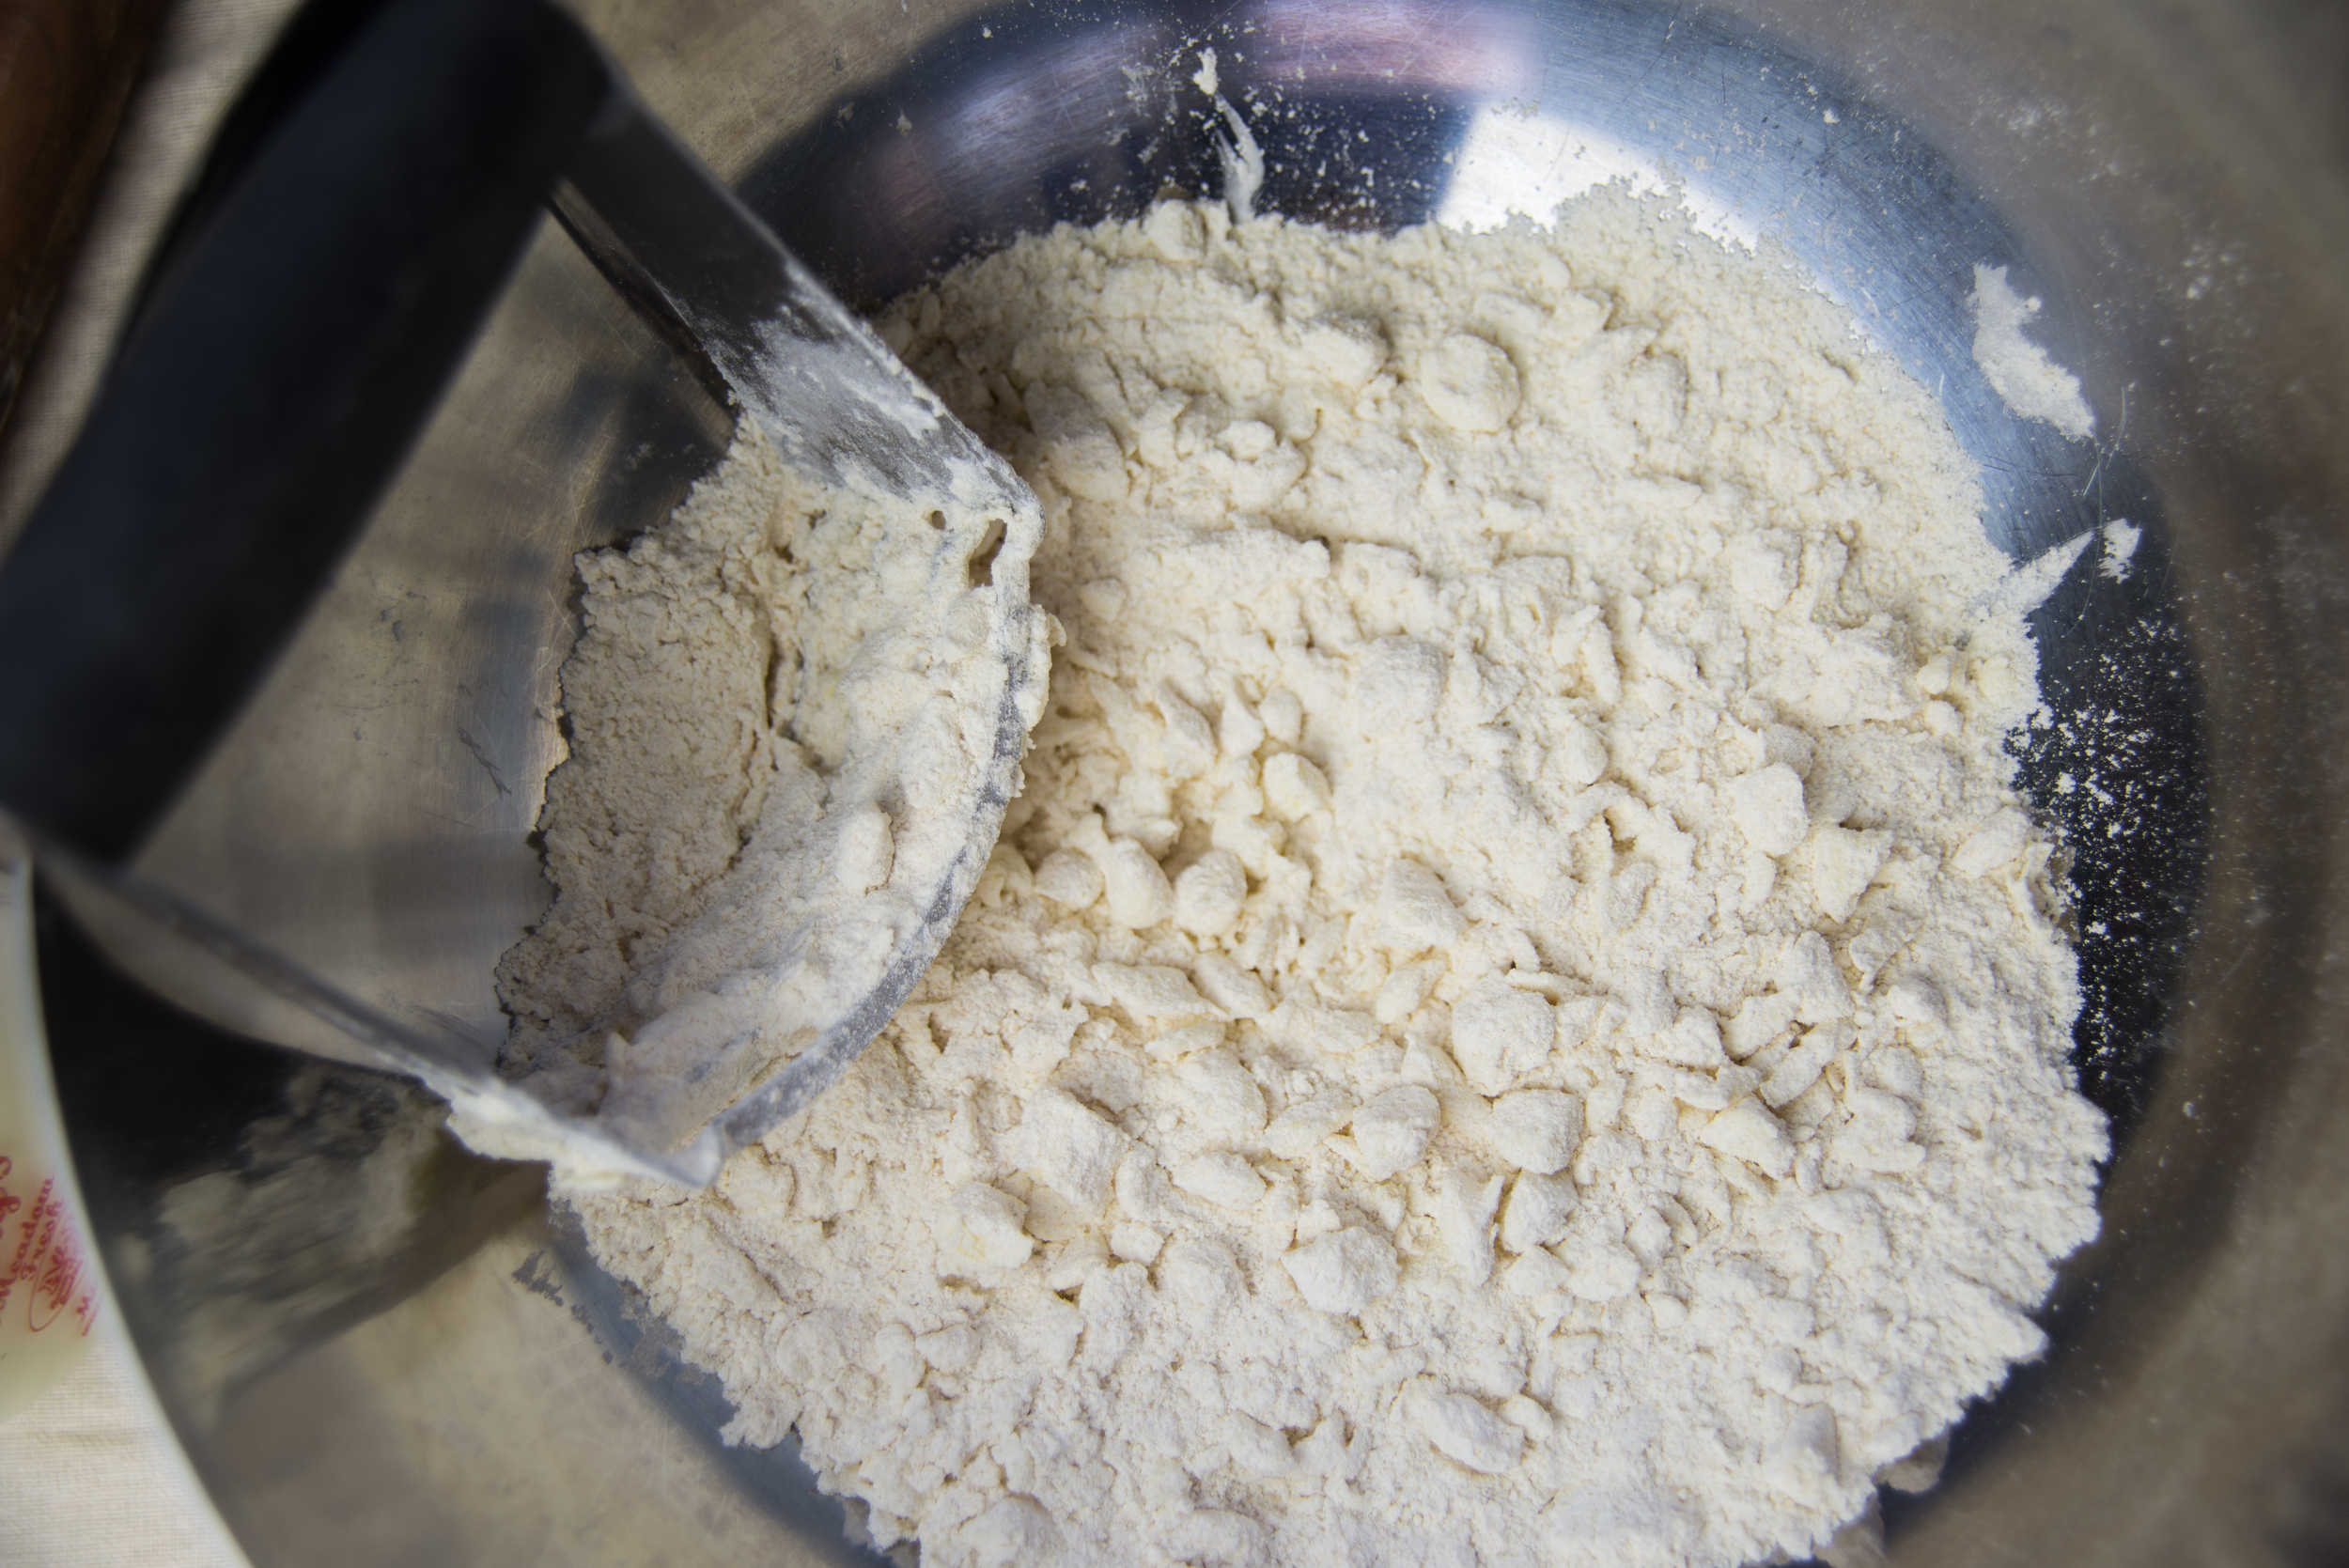
  • Add the cubes of butter to the dry ingredients, and cut the butter into the flour using a pastry cutter. Alternatively, this can be done with two knives (or a food processor, but I prefer my hands). You want the butter to break down to the point that the largest pieces are about the size of pebbles, as can be seen in the photo above. 
  • Pour the cold cream into the bowl, and begin to gently stir using a wooden spoon or a silicone spatula. 
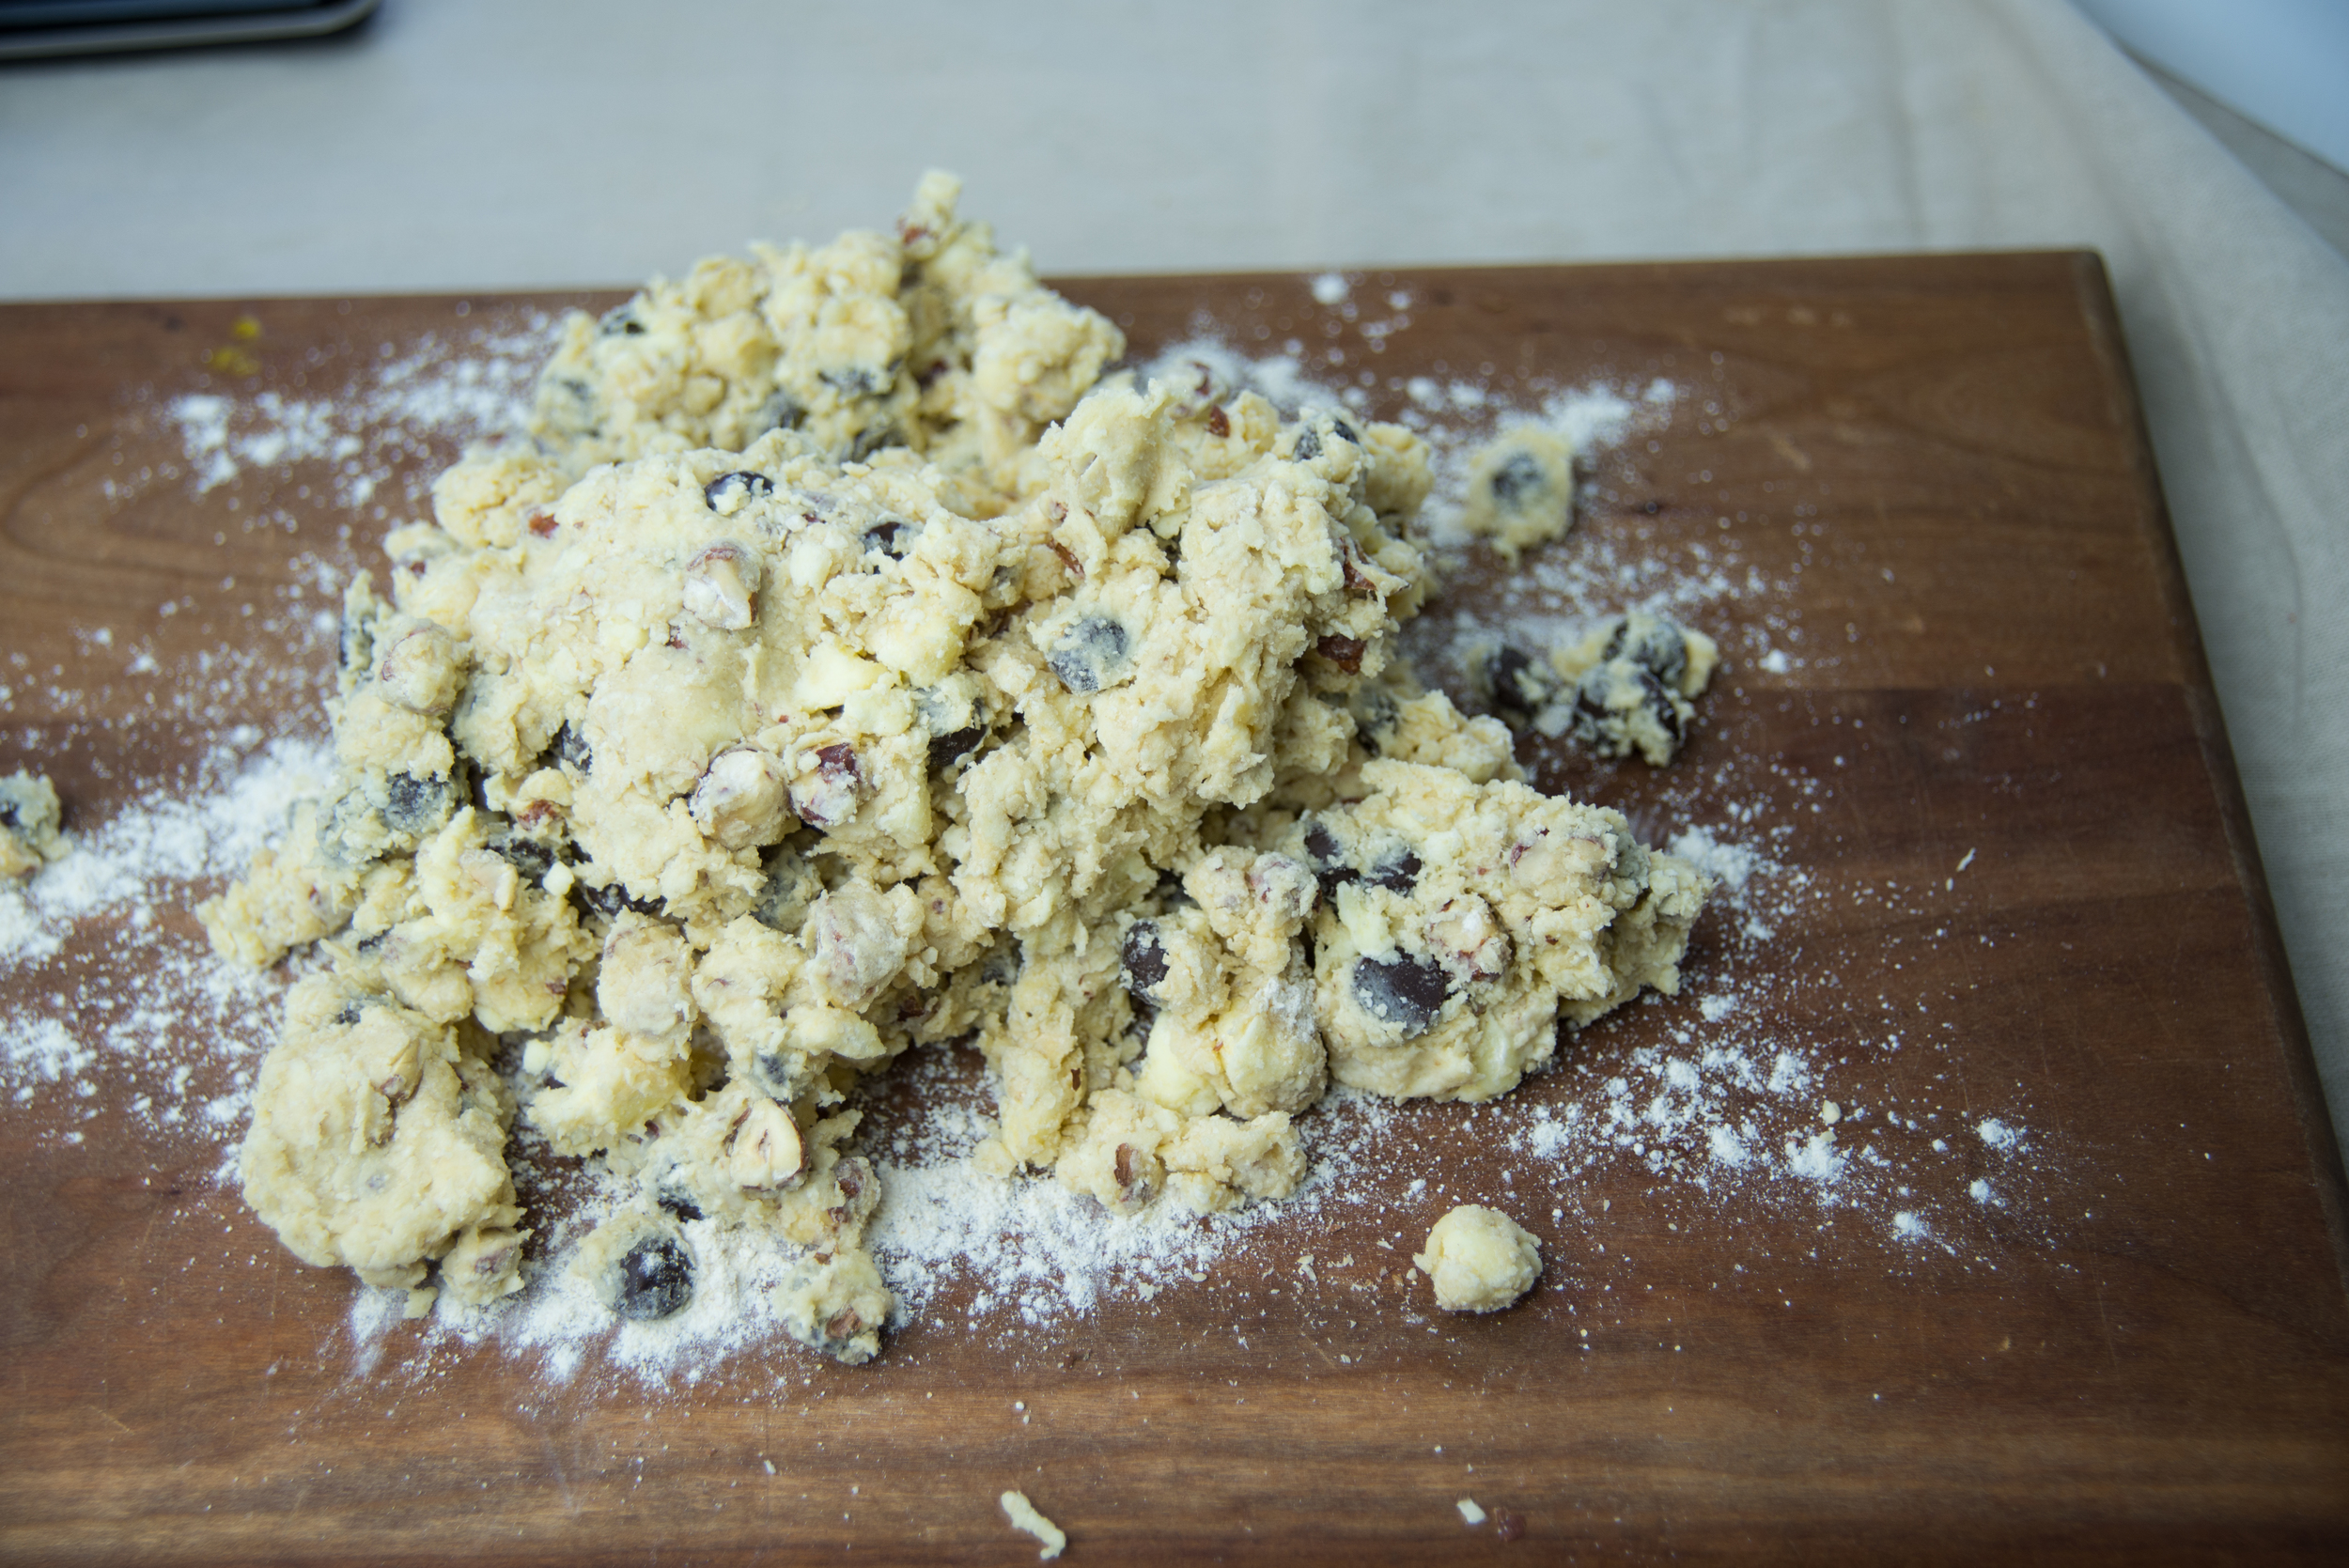
  • When the dough is just starting to come together, add the hazelnuts and chocolate. 
  • Continue stirring until no flour remains at the bottom of the bowl. Add a little extra cream if needed. 
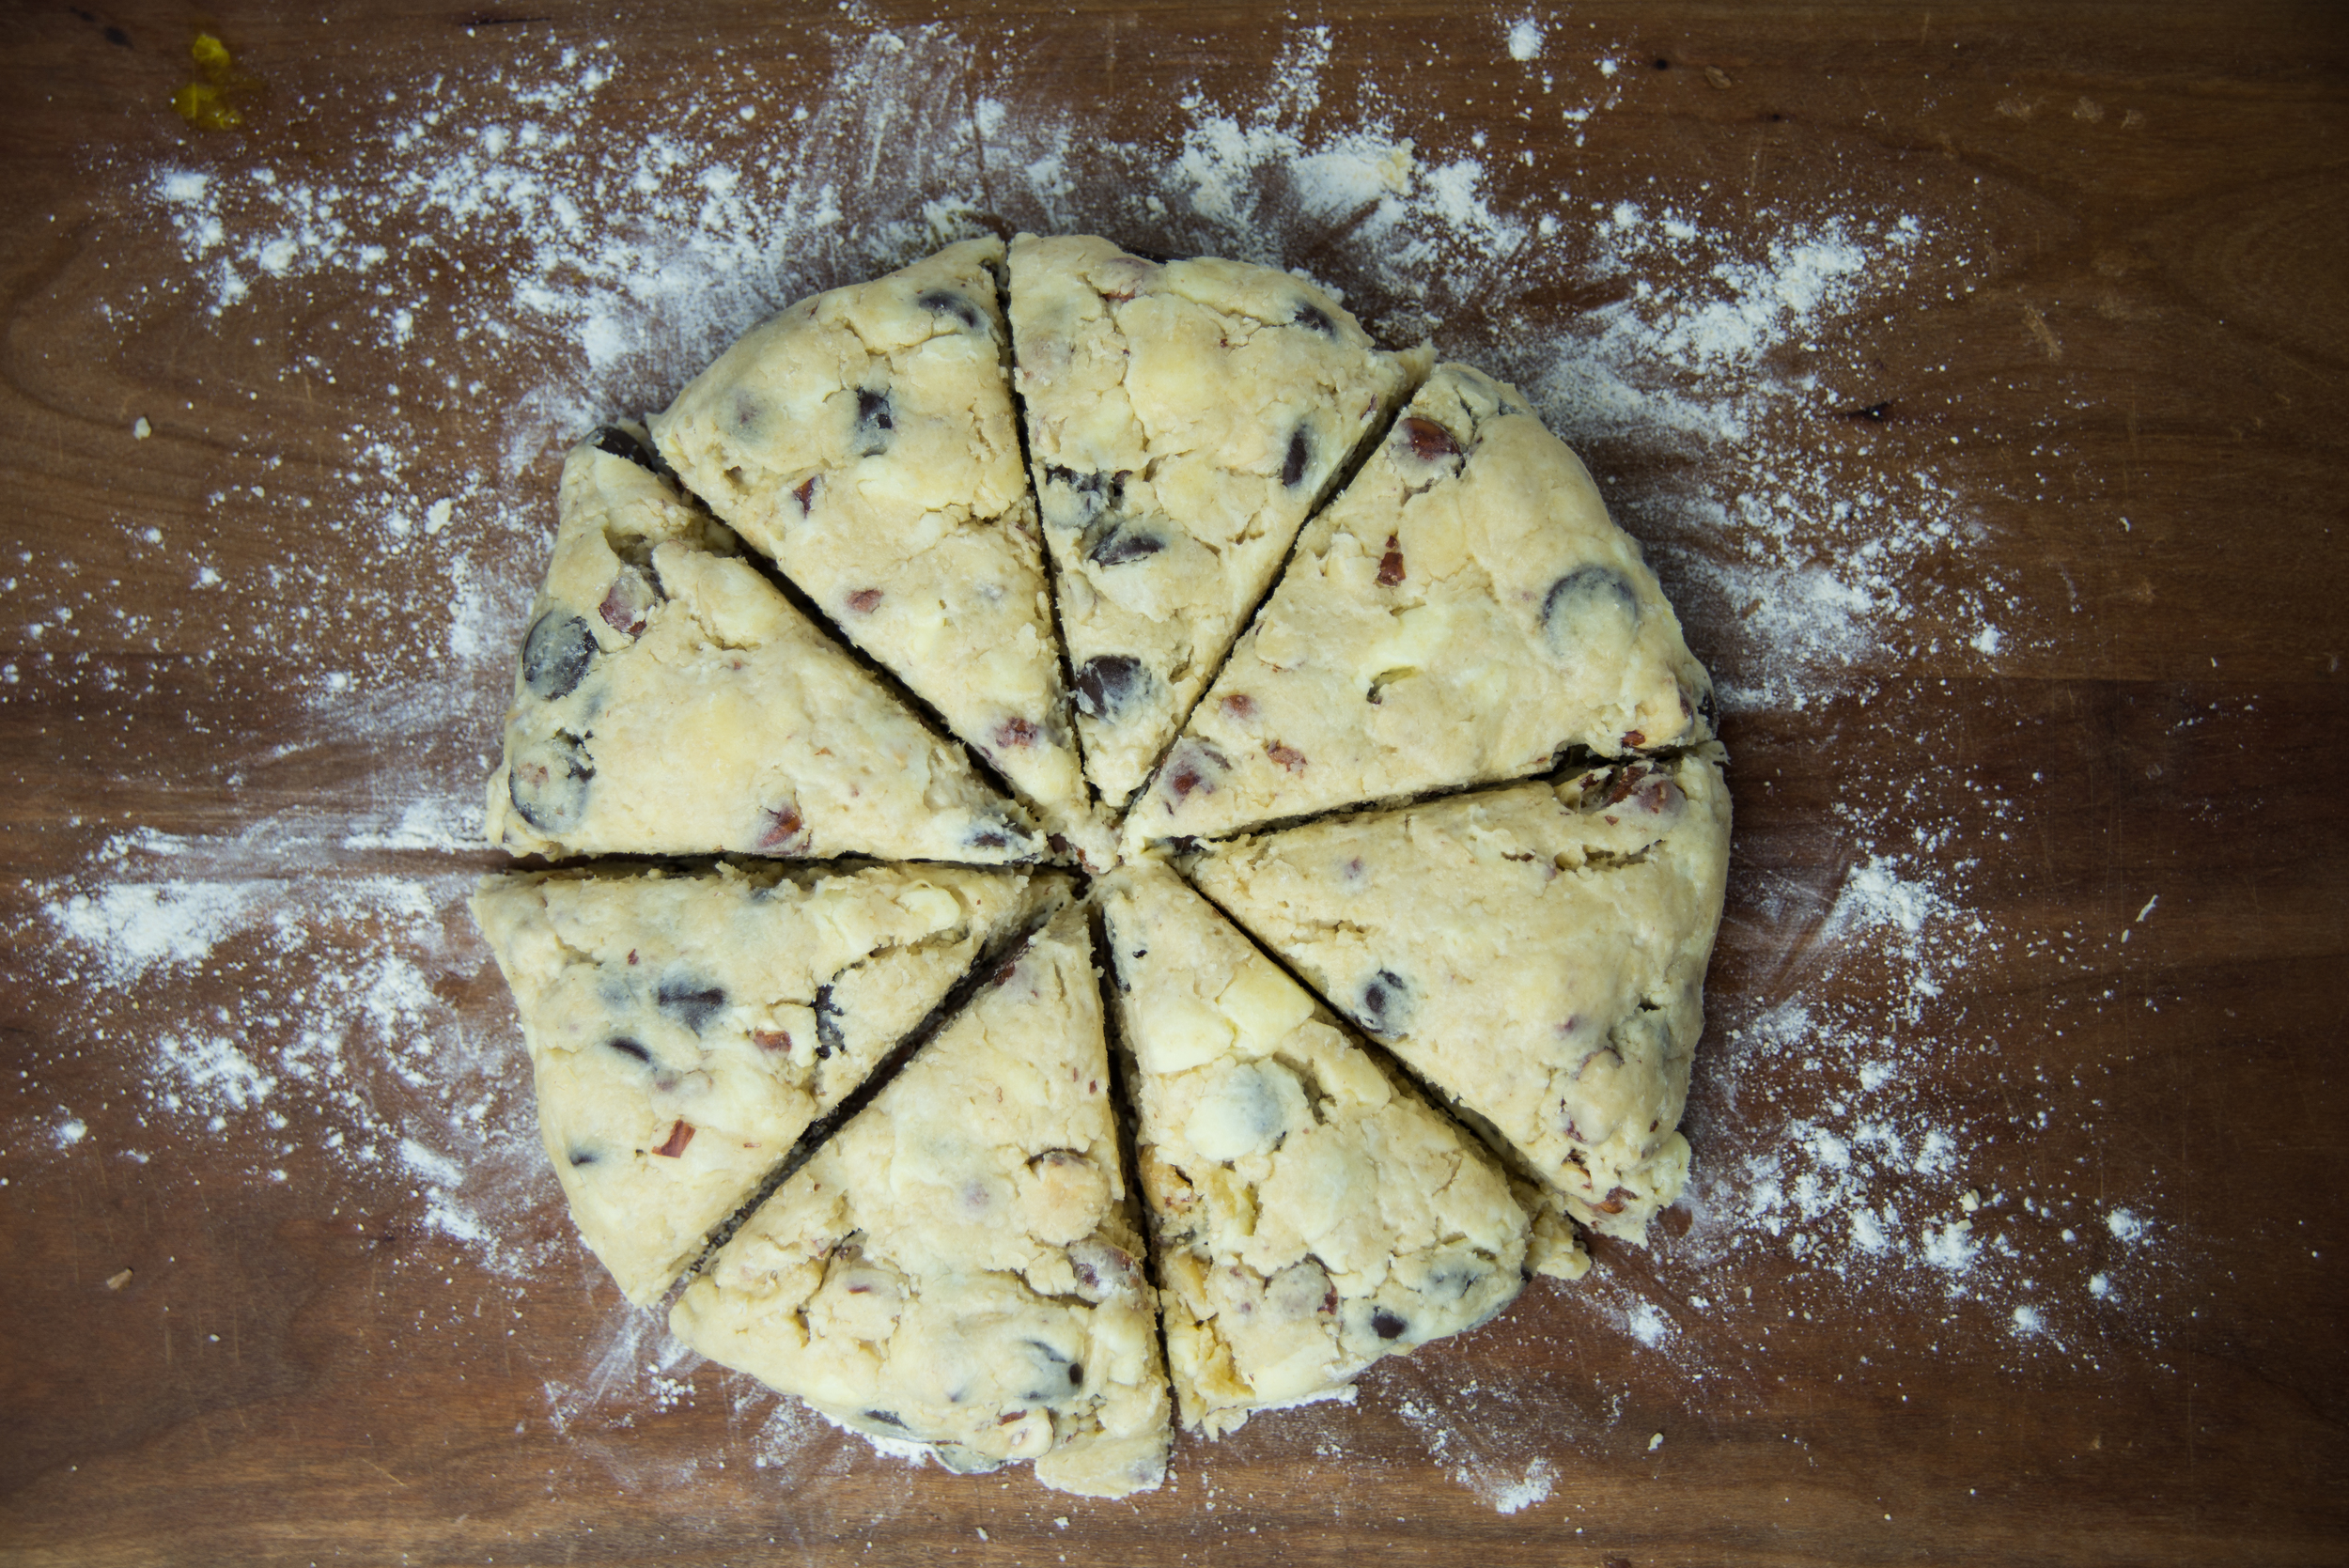
  • Dump the mixture out onto a lightly floured surface and use your hands to form it into a round disc,  about two inches thick. 
  • Cut the dough into 8 pieces, then transfer the scones onto a parchment or baking mat lined baking sheet. 
  • Brush the tops of the scones with the beaten egg. 
  • Bake at 375 for about 20 minutes, or until the tops are nicely browned. It will take longer if baking from the fridge or freezer. 

3 Comments