Basil Ricotta Ravioli with EVOO

Comment

Basil Ricotta Ravioli with EVOO

I had some girlfriends over for dinner a few weeks ago and along with some other delights, we had homemade dried pasta and homemade pesto out of the freezer. It was a brilliant reminder of the joy that comes with making large batches of homemade ingredients so your future self has seriously easy, totally homemade meals that can be thrown together in twenty minutes flat. Ravioli is the epitome of that joy in my mind as homemade ravioli feels really fancy (even though it isn't difficult to make). A ravioli meal never goes by in our house without a bag-full making it into the freezer for quick weeknight meals. 

This ravioli came out of celebration over the first local basil of the year arriving at our neighborhood farmers market. Basil has always been a summer delight to me, and I had grown accustomed to waiting quite a long time for it in the cold Michigan spring. I couldn't help but buy a bunch the minute I spotted it at the market, and instantly knew I would be making ravioli with it. A simple blend of ricotta cheese, basil, and garlic allows that herbal flavor to shine. 

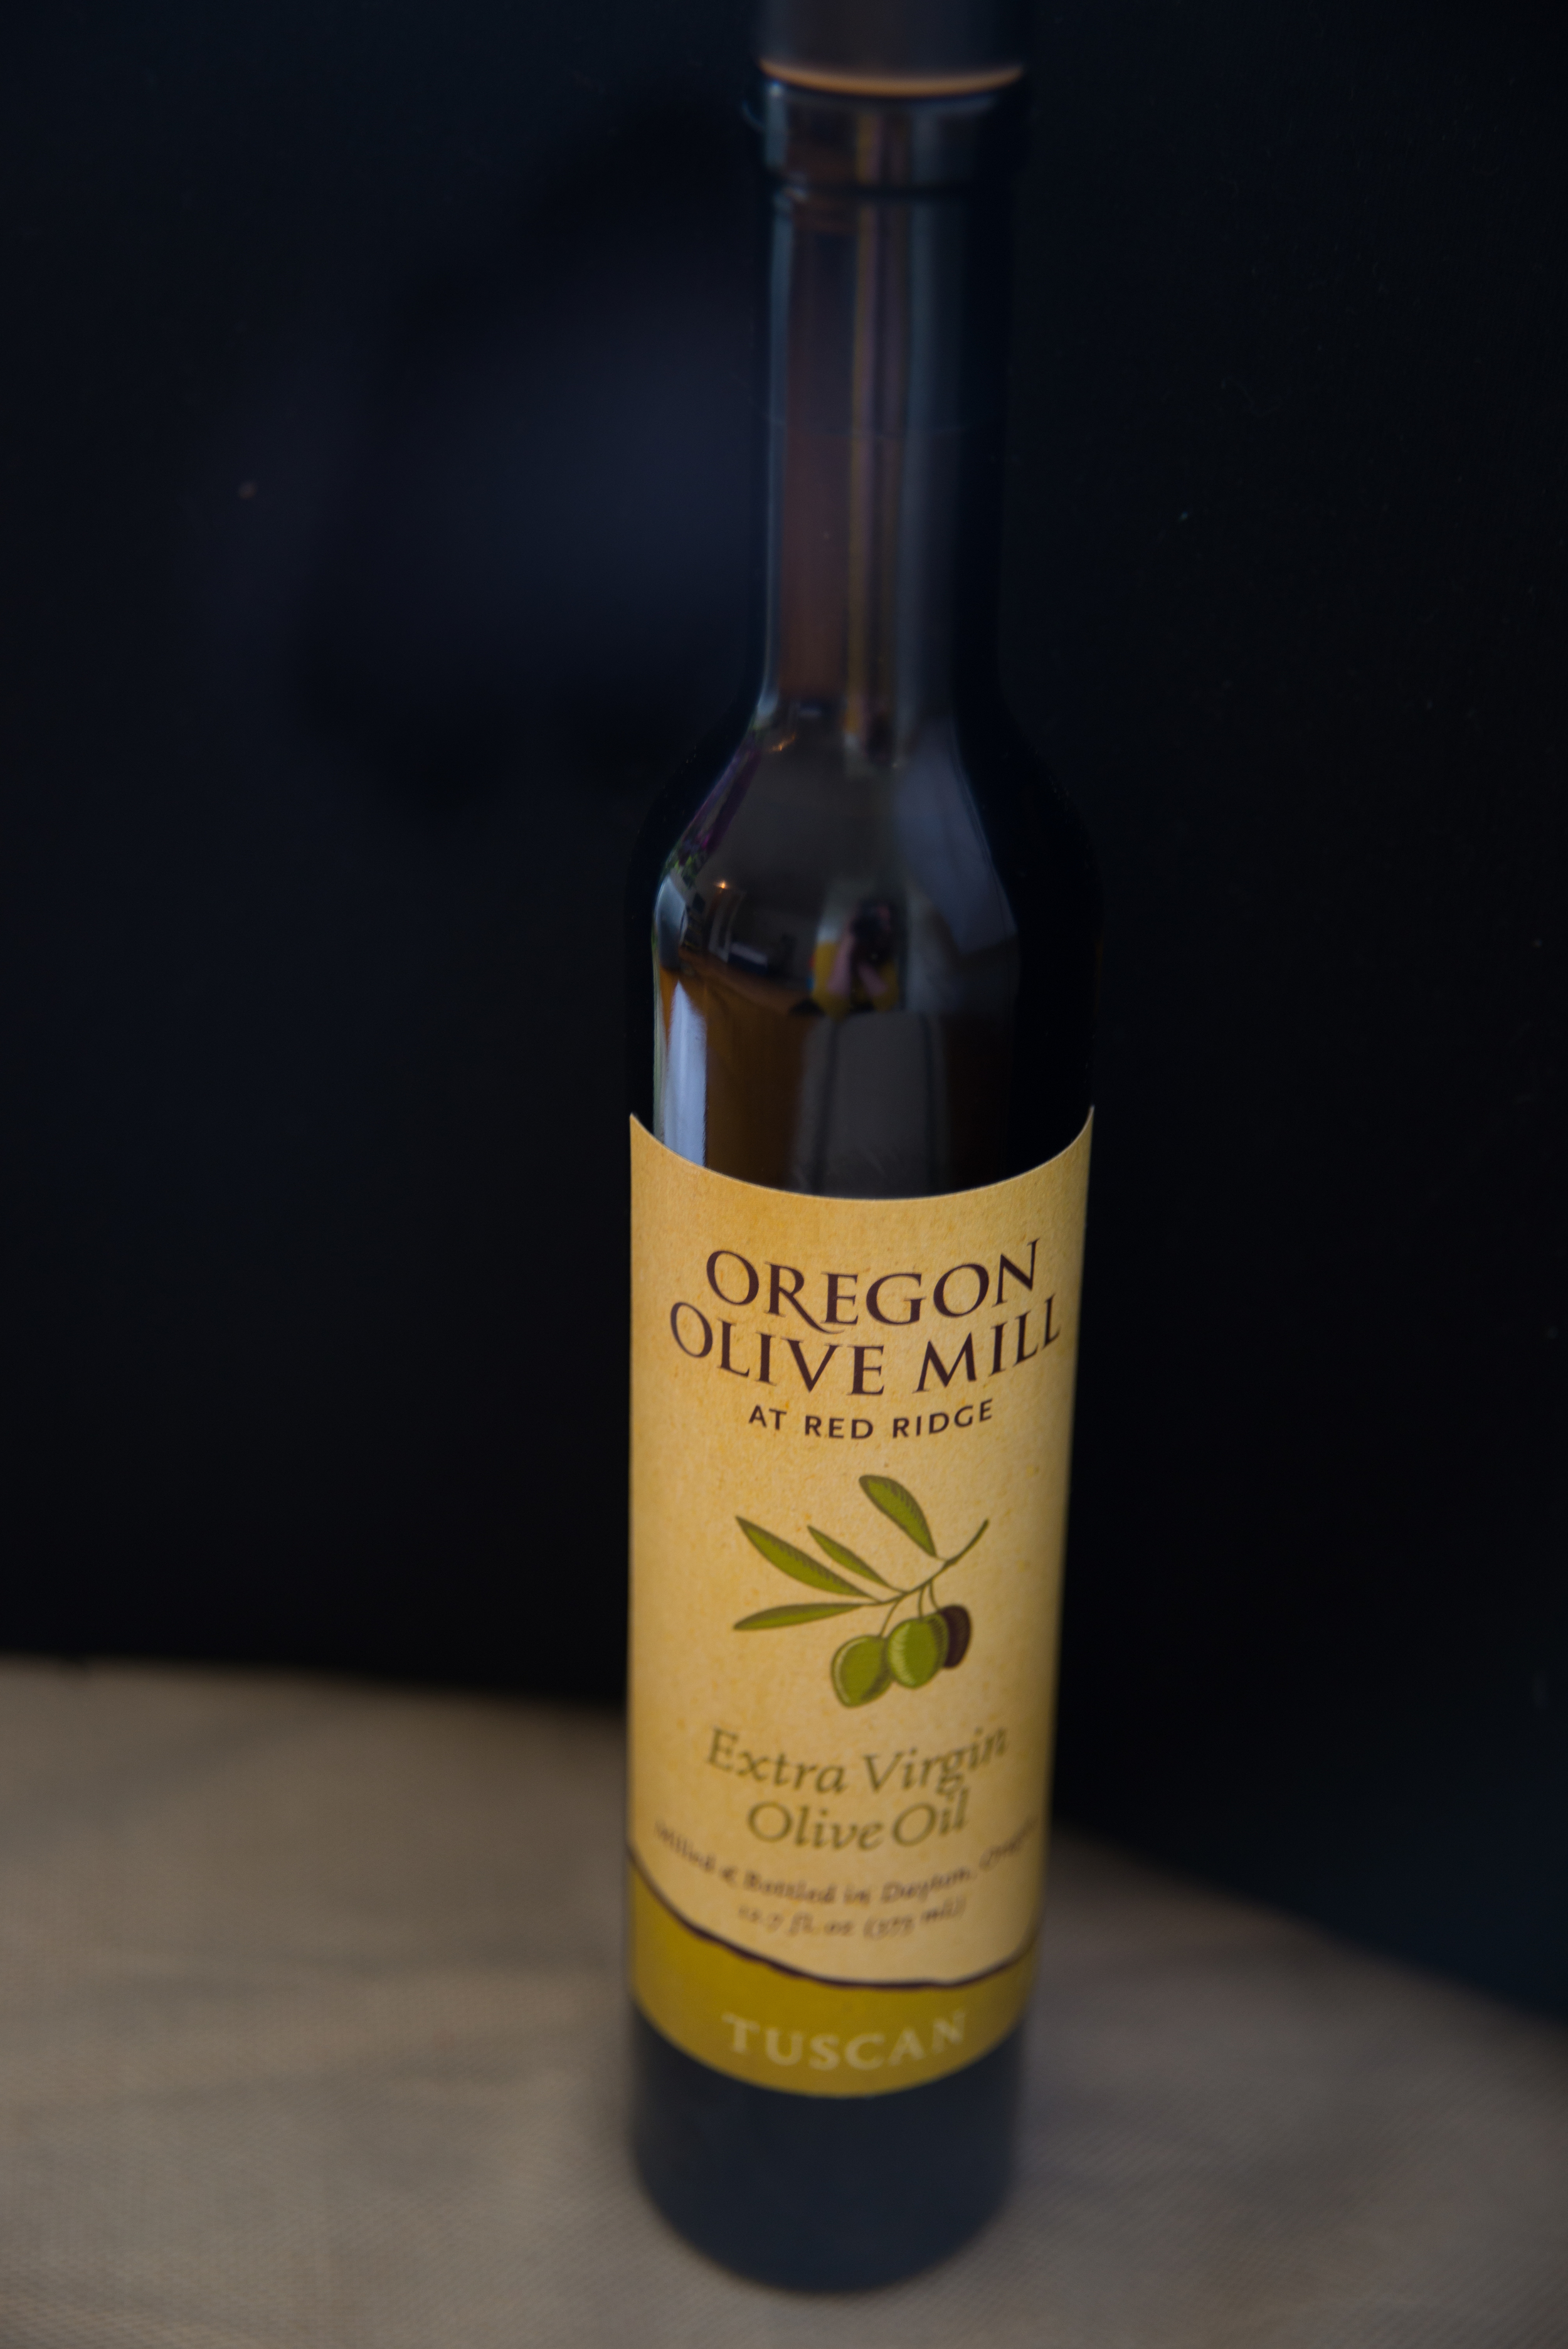
Homemade raviolis are such a special treat that I rarely find the need to cover them in sauce. Instead, I find them best served with a drizzle of a flavorful olive oil and maybe a bit of parmesan cheese. I used Oregon Olive Mill's Tuscan EVOO this time around, which lent a perfectly peppery note to the dish.  Upon moving to Oregon, I was beyond excited to learn that I could support a local farm and business in purchasing olive oil (an ingredient that in Michigan was one of those things you always had to buy from afar). Oregon Olive Mill at Red Ridge Farms has 12,000 olive trees in their orchard, and makes their oil from a blend of their own olives and some from California. Yum! 

This recipe will make about seven servings of ravioli, which means a few meals for our family of two. If you want to save some of your raviolis, line them up on a baking sheet and toss them in the freezer. Once they're solid, transfer them into an airtight freezer bag. They can be cooked straight from the freezer. 

Pasta Dough 

7oz semolina flour 

7oz whole wheat pastry flour (or white flour if you prefer!) 

4 large eggs 

  • Whisk together flours in a wide medium bowl. Create a well in the middle, and crack the eggs into it. 
  • Whisk the eggs to break the yolks, then slowly start to incorporate the flour while continuing to whisk. Continue whisking until enough flour has mixed in that the whisk is no longer an appropriate tool. 
  • Switch to a wooden spoon and stir to combine the rest of the flour, leaving behind any flour that is difficult for you to incorporate (eggs vary in size, so the amount of flour you'll use will too). 
  • Dump the dough out onto a clean work surface and knead for 5-8 minutes, working in more flour if the dough is sticky. 
  • Let the dough rest for about 30 minutes before using. 

Filling 

1.5 cup whole milk ricotta cheese 

2.5 cups fresh basil, finely chopped 

3 Tbsp green garlic or 2 garlic cloves, minced 

salt & freshly crushed pepper to taste 

  • Simply stir together all ingredients until they're evenly combined. 

Assembling & Serving

This process will depend a bit on whether or not you own a pasta roller and/or ravioli maker. I happen to make ravioli on a pretty regular basis, so I have both. I use a pasta roller attachment for my stand mixer, and have a super simple ravioli maker like this one. The ravioli maker is nice to make raviolis that all look exactly the same, but I made plenty of raviolis before having this tool (or the pasta roller!). 

extra virgin olive oil 

  • Start by rolling a small amount of the pasta dough. I like to roll it to the #6 thickness on my Kitchenaid pasta rolling attachment. Alternatively, you can roll it as thin as you can get it with a rolling pin. 
  • If you have a ravioli maker, follow whatever process makes sense for the model you own - they're all a little different. 
  • If you don't have a ravioli maker, start with a strip of dough that is 3-4 inches wide. Dollop spoonfuls of filling along one half of the strip, then fold it over so each dollop of filling is covered by a second layer of pasta. Using your fingers, gently push the air out and close the pasta around the filling. Using a knife or pizza cutter, cut each ravioli apart. As you move each one off the work space, give the edges a little pinch to make sure it's sealed. Freeze any you won't be eating right away. 
  • Cook the ravioli's in boiling salted water for about 5 minutes, just until the pasta is cooked through.
  • Serve with a drizzle of extra virgin olive oil and a little bit of basil. 


* I received free product or money from the noted business before writing this post. I hold the content of this blog to the greatest scrutiny, and promise to never recommend products to you that I would not purchase with my own money and use in my kitchen. Accepting free product or money from brands that I trust and believe in allows me to devote my time to sharing the wonders of my kitchen with all of you. 

Comment

Ginger Molasses Granola

2 Comments

Ginger Molasses Granola

Granola has played a pretty big role in my life for a long time. It's one of those things that I always have in the house, and when I'm out of it... things never seem to go quite as smoothly as I plan. Mornings I'm in need of a snack while running out the door leave me stranded with a handful of nuts. And, well, that just isn't nearly as satisfying as these big granola clusters! 

You may have previously seen my classic spiced maple granola, or my granola clusters (also sweetened with maple syrup) on the blog. Those recipes are still great standbys, but a few things have changed in our house to lead me to this new molasses-packed version.

First of all, our joyful annual spring staycation housesitting for some friends and their maple syrup operation wasn't possible with our move to Oregon... so we're sorely lacking in the endless bounty of maple syrup that trip afforded us.  (And sorely lacking in the joy of sitting in front of this raging fire while the sap boils, slowly sweetening into golden syrup perfection). 

Second, I've been trying to be a little more aware of the amount of sugar that enters my body, especially early in the morning and late at night. Molasses lowers the sugar content of this granola a bit from a maple syrup based version. Plus, it adds that rich and addictive molasses flavor I can't get enough of! While molasses is still a sugar cane based sweetener, it contains a lot more minerals and nutrients than your basic sugar, including a hefty serving of iron. This is great for those of you who are women, and anyone who doesn't eat meat regularly or often finds they're a little low on iron (all of the above are accurate for me, so this granola is a godsend!). 

The best part? This granola is basically a ginger molasses cookie you can feel good about eating for breakfast! I've added both ground ginger and fresh grated ginger to make the flavor shines through that flavorful molasses. Ginger lovers rejoice! 

Ginger Molasses Granola 

Note: To make a granola that doesn't clump at all, omit the flour and stir the granola every 15 minutes or so while baking. To make a granola that is between totally loose and big clumps, include the flour and very gently stir the granola once during the baking process. This recipe also doubles very well, for those of you who eat through granola faster than you imagine possible. 

3 cups thick rolled oats  

1 cup shredded unsweetened coconut  

1 cup nuts (almonds and walnuts are great choices!), roughly chopped 

1/4 cup flour (white or whole wheat will work) 

2 tsp ground ginger  

2 tsp cinnamon  

1/2 cup blackstrap molasses 

1/4 cup vegetable oil or melted butter  

2 Tbsp fresh ginger, finely grated  

  • Place oats, coconut, nuts, flour, ground ginger, and cinnamon in large mixing bowl and stir to combine. You want the flour and spices to distribute throughout the rest of the ingredients.
  • Add the molasses, oil, and fresh ginger then stir until everything is evenly coated in the liquids.  
  • Spread the mixture evenly on one large (or two small) baking sheets covered with parchment or a silicone baking mat. If you're shooting for the clumpiest granola, use a silicone spatula to flatten the mixture into a tightly packed layer about 1/2 inch thick. Make sure it is a similar thickness over the entire tray, not thinner at the edges, so it cooks evenly. 
  • Bake at 325 degrees for about 45 minutes, until the granola feels dry to the touch. Knowing when to take this granola out of the oven can be a little tricky, because the molasses is so dark you can't watch it browning. But you got this!  
  • Let the granola cool completely on the pan. If you're making the super clumpy version, it should come off of the pan in basically one solid piece. Break it into large chunks for snacking straight from the jar, or smaller chunks for eating with milk or yogurt.  
  • Granola will keep in an airtight container for at least two weeks.  

2 Comments

Homemade Samoas!

Comment

Homemade Samoas!

When girl scout cookie season arrived this year, I couldn't help but instantly start craving samoas... it happens every year. Those caramel coconut chocolate wonders combine some of my favorite flavors of the dessert world into one package. But every time I buy them these days, they never quite live up to the hype I have in my mind. So this year I decided to put together my own homemade version of the samoa - and I think you'll agree that homemade is so much better in this (and most) case(s)! 

And you can always give those girl scouts a cash donation, which will be much more useful to them than the fraction they get from the price of that box of cookies! 

Plus, this means we can have access to samoas any time of the year we might start craving them - a definite bonus! 

The process is actually quite simple. We make a classic shortbread cookie circle (if you're felling really crafty, cut a hole in the center of the cookies to mimic the originals... but that seemed like a lot of work for very little reward to me), then make a caramel packed with shredded coconut and spoon that on top of the cookies. Top it off with a drizzle of chocolate and a sprinkle of sea salt and you're all set! 

So here we have the recipe, broken down into three separate sections so you don't feel too daunted by the task. Believe me, it's going to be worth it! 

the shortbread cookies

3/4 cup powdered sugar

1 cup unsalted butter, softened

1 tsp vanilla

2 cups white flour

pinch of salt

  • Using a stand mixer with the paddle attachment, an electric mixer, or a strong arm, cream together butter and powdered sugar until it reaches a nice fluffy texture. If my butter is fully softened, I usually run the stand mixer for two minutes or so, longer if i'm starting with butter that is still a little cold. 
  • Add the vanilla and mix until combined. Then add the flour and salt, and mix until just fully combined. 
  • Using your hands, reach into the bowl and clump the dough together. Move it to a lightly floured work surface, and roll the dough out to about 1/4in thick. 
  • Cut the dough into circles using a medium circular cookie cutter, a glass, or whatever you have on hand! You can make them whatever size you prefer. 
  • Place cookies on a baking sheet covered with parchment or a silicone baking mat. They'll only expand a little bit so you can put them pretty close together. 
  • Bake the cookies at 360 degrees for about 15 minutes, until the edges are just lightly golden. 
  • Cool completely on a wire rack. 

The Coconut Caramel 

Note: If you'd like to make these cookies but don't want to take on caramel making, you could melt down some purchased caramels and mix in the coconut. 

1/2 cup heavy cream 

2 Tbsp unsalted butter

3/4 cup cane sugar 

2 Tbsp corn syrup 

2 Tbsp water 

1/2 tsp vanilla 

1/2 tsp sea salt

1 cup unsweetened shredded coconut 

  • Melt the butter with the cream over medium heat. When the butter is fully melted, give it a good stir and set it aside. 
  • Combine the sugar, corn syrup, and water in a high sided saucepan of at least 2 quarts. Stir these ingredients together until fully combined into a thick granular paste. Using a wet pastry brush, rinse the sides of the pan to remove any stray grains of sugar. Without stirring, cook the sugar mixture over medium heat until it reaches 300 degrees. 
  • Whisk in the cream and butter, then slowly bring the caramel up to between 245 and 250 degrees. Remove from heat immediately. 
  • Whisk in vanilla and salt, then coconut. 
  • Allow the caramel to cool slightly, so that you can spoon it on top of the cookies without it spilling off the sides. 

Cookie Assembly! 

1 cup chocolate chips, melted in a double boiler 

sea salt 

  • When the caramel has cooled enough that it will still spoon easily, but won't spill off the sides of your cookies, top each cookie with a bit of caramel. Use a spoon to scoop it on top of each cookie and gently push it as close to the edges as you can, without pushing it over the edge. 
  • Let the caramel set while you melt the chocolate. 
  • If you want, dip the bottoms of the cookies in the melted chocolate to more precisely mimic those classic samoas. 
  • Use a fork, or a pastry bag fitted with a small round tip to drizzle the chocolate over the top of the cookies. 
  • Sprinkle the cookies with a small pinch of sea salt on each one. 
  • Cool the cookies in a cool spot in your home or in the fridge until the caramel is solid and the chocolate has hardened. 
  • Store the cookies in an airtight container, with parchment separating layers, in the fridge. These cookies keep well in the fridge for about a week, but good luck keeping them around for that long! 


Comment