Palak Paneer

Comment

Palak Paneer

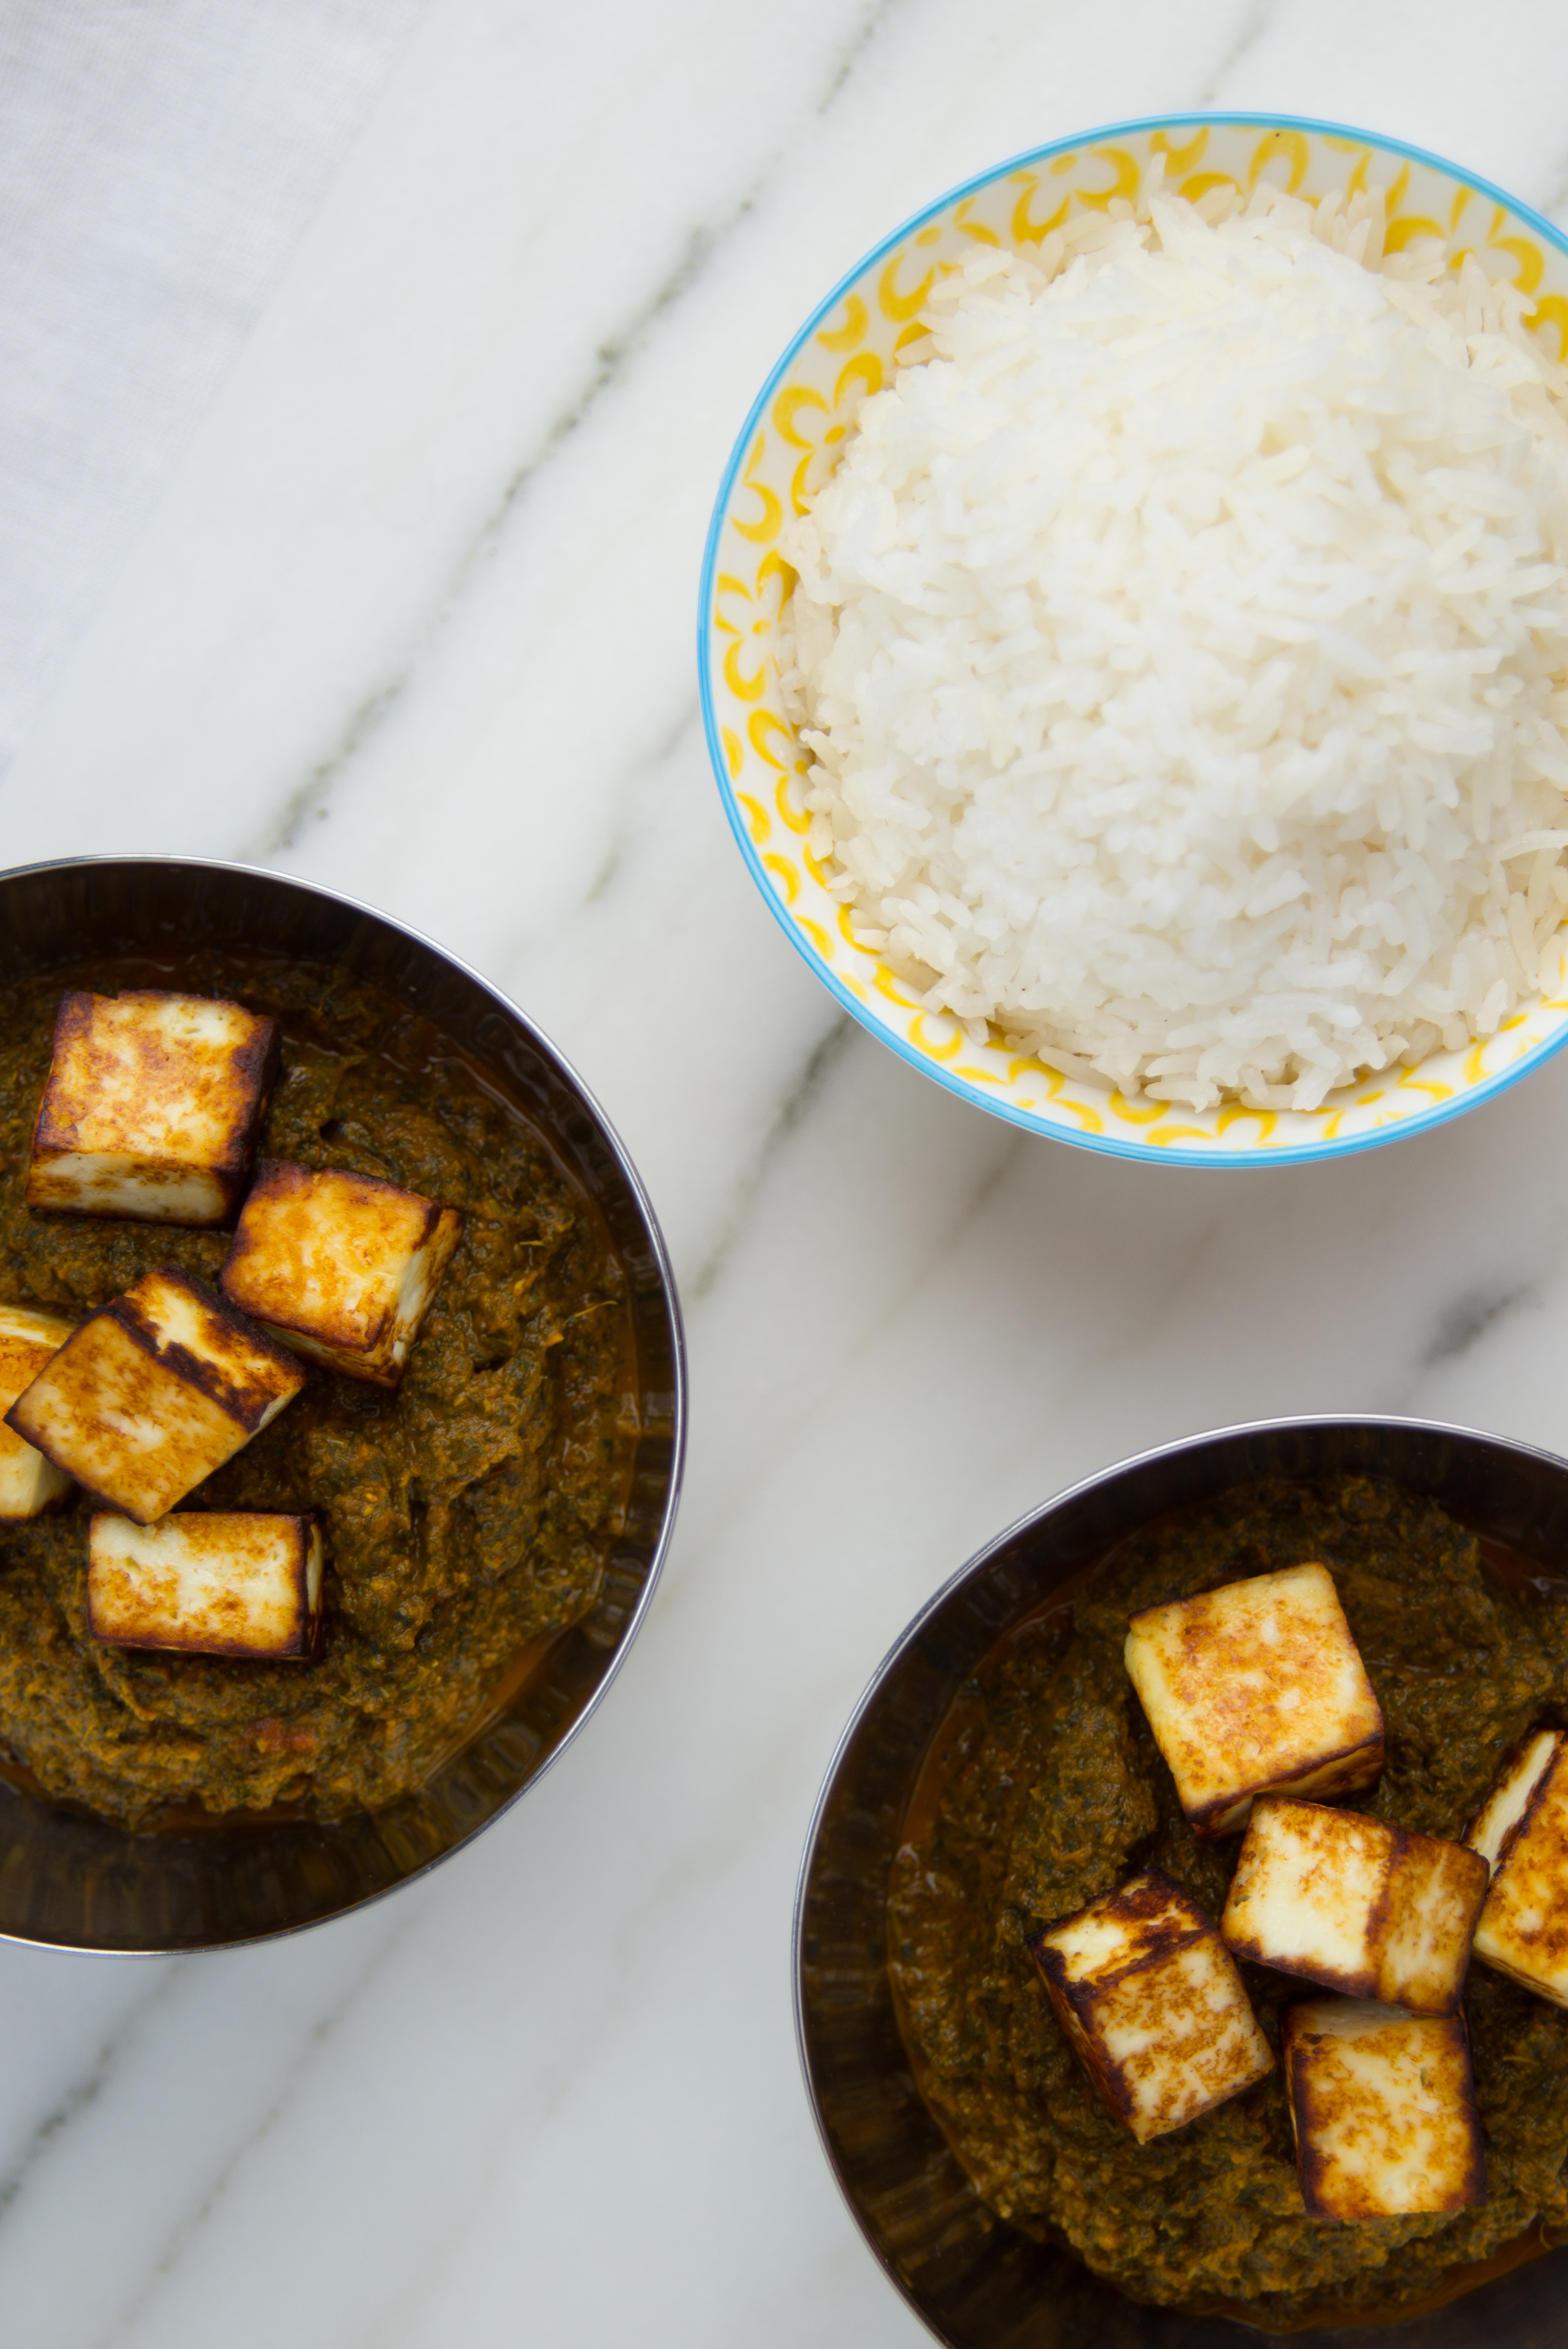
In sharing my recipe for Chana Masala, I shared about my apprehension to make Indian food, followed by serious excitement once I actually started doing it and realized that it isn't so difficult. Palak Paneer has since been my other go-to Indian dish, gracing our table particularly often come the season of endless greens. 

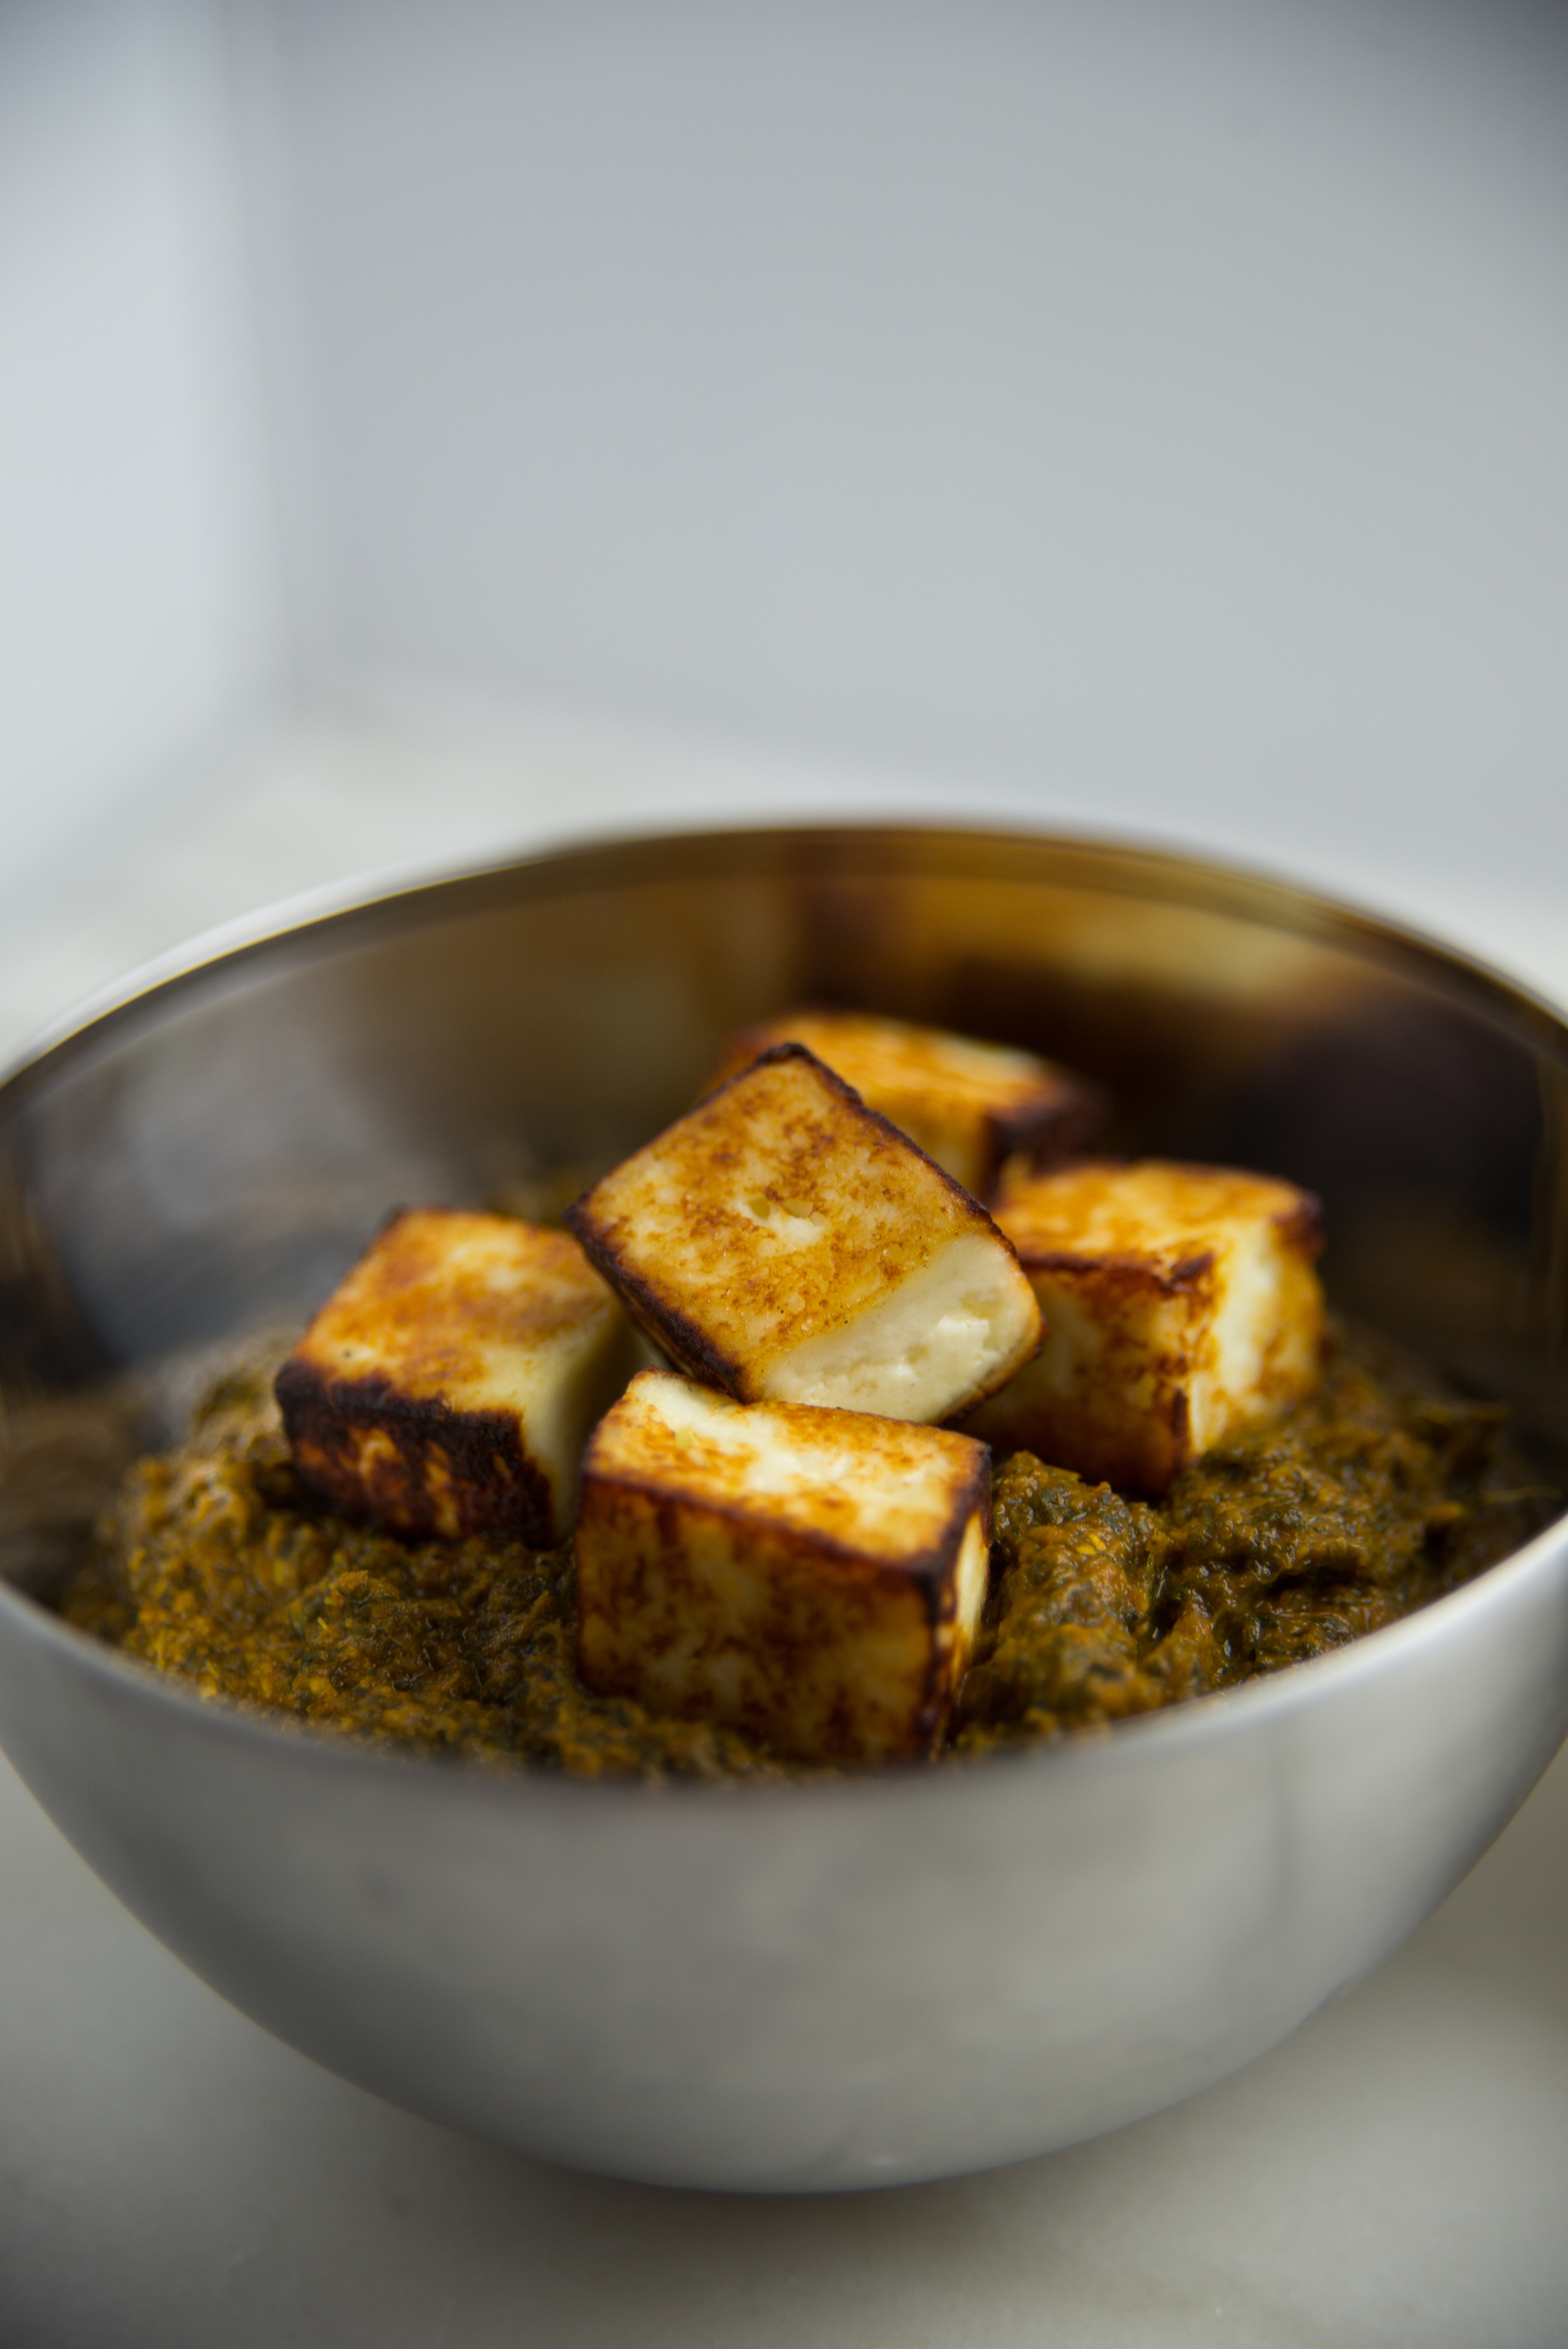
For those of you who haven't had it before, palak paneer is a dish of spinach, tomato, and spices simmered into a thick sauce and tossed with cubes of paneer cheese. While Indian folks may scoff, I make palak paneer with whatever greens I have on hand and sometimes even replace the paneer with cubes of tofu (!!!). Of course it always tastes best with the paneer, but sometimes we're on a healthy kick or just don't have milk or paneer on hand. 

As for what greens to use, I've used a lot of different things with great success across the board. Spinach of course. Kale. Radish greens. Beet greens. Chard. A mixture of whatever we have! The meal of palak paneer photographed in this post was actually made with 100% stinging nettle greens that we harvested while hiking in the Colombia River Gorge. They're packed with amazing nutrition and made an amazing substitute for spinach - yum! Plus, a meal always tastes better when you harvested some of the ingredients yourself. 

It wouldn't be a discussion of cooking Indian food at home without me making a plug for grinding your own spices! They taste so much more flavorful, and the little bit of work it takes is totally worth it. Plus, if you do the job in a mortar and pestle - it's a good dose of free stress release pounding the heck out of those spices : ) you're welcome. 

Now, the paneer! Another day I'll share my recipe for making paneer at home, but if you're interested for the time being, check out this resource from The Kitchn to learn more. Making cheese at home may seem like a difficult task... but paneer is the number one easiest cheese you can make yourself. It's a great way to learn the beginnings of cheesemaking, and enjoy paneer if you live somewhere it is difficult to find! 

Alright friends - lets all soak up the springtime vibes with a nice big bowl of palak paneer to enjoy! 

Palak Paneer 

3 Tbsp ghee or high heat oil 

1 small onion, diced 

2 medium tomatoes 

1 Tbsp fresh ginger, grated

2 tsp whole coriander, ground 

2 tsp cumin seed, ground 

1 tsp turmeric 

1 tsp chili powder 

pinch of hing powder (if you don't have this, the dish will still taste great without it!) 

1 tsp salt 

4 cups packed chopped spinach, or any other green you please 

1/3 lb paneer cheese or tofu, cut into cubes 

1/3 cup cream (optional) 

  • Heat a wide bottomed pot or deep-sided pan over medium heat, add 1 Tbsp of the ghee or oil and let it heat. Add the onions and let them cook, stirring occasionally until they start to brown. 
  • While the onions are cooking, puree the tomatoes and ginger in a blender. Set aside. 
  • Once the onions are starting to brown, add in the coriander, cumin, turmeric, chili powder, and hing. Stir the spices in with the onions and let them toast until fragrant. This should take about 30 seconds. 
  • Once the spices are fragrant, quickly add in the pureed tomatoes so they don't burn. Stirring occasionally, cook the mixture for a few minutes until the liquid has reduced by almost half. 
  • Add the spinach, and cook until it is fully wilted. 
  • Transfer the entire contents of the pot into your blender, or use an immersion blender, and blend it a bit to break down the spinach. 
  • Return to the pot, and let simmer over for about 10 minutes, or until it has thickened. If you're using the cream, stir it in towards the end of this process. 
  • While the final simmer is happening, we'll brown the paneer cheese or tofu. Heat the remaining 2 Tbsp of ghee or oil over medium high heat in a pan large enough for the paneer cubes to fit in one layer with a little space between each one. Brown the cubes by cooking for about a minute on each side (or at least most of the sides!). 
  • Stir the paneer into the spinach, or place it on top of each bowl when you serve. 
  • Serve with rice or naan

Comment

Blueberry Mint Rhubarbade

Comment

Blueberry Mint Rhubarbade

One of my favorite things about living in a new place is exploring the seasons in a new way, always a little unsure exactly when they'll show up and what new surprises they'll bring. An early and out-of-control beautiful spring has been one of my favorite seasonal surprises in Portland thus far. If you haven't been, I might just go so far as to say that this is the absolute best time to be here! 

Come on and visit! 

And with spring comes rhubarb, glorious magical perfectly tart rhubarb! While it definitely isn't a fruit, rhubarb always gets me excited for the progression of fruit harvests to follow. Each spring, it's the first taste of the seasons to really beg my attention in the kitchen.  Rhubarb is so unique in it's flavor, requiring a bit of coaxing to really make it sing - something to balance that characteristic sour flavor. 

Lucky for me, there always seems to be some blueberries lurking in the freezer this time of year, and blueberries make a great compliment to rhubarb before the strawberries start to show their beautiful red flesh. Blueberries are so incredibly easy to freeze, I always freeze way more of them than I need... and not enough of things like strawberries and cherries that require more work to freeze and disappear before the holidays. Thankfully, rhubarb season always solves that with things like this refreshing drink and blueberry rhubarb crisps! 

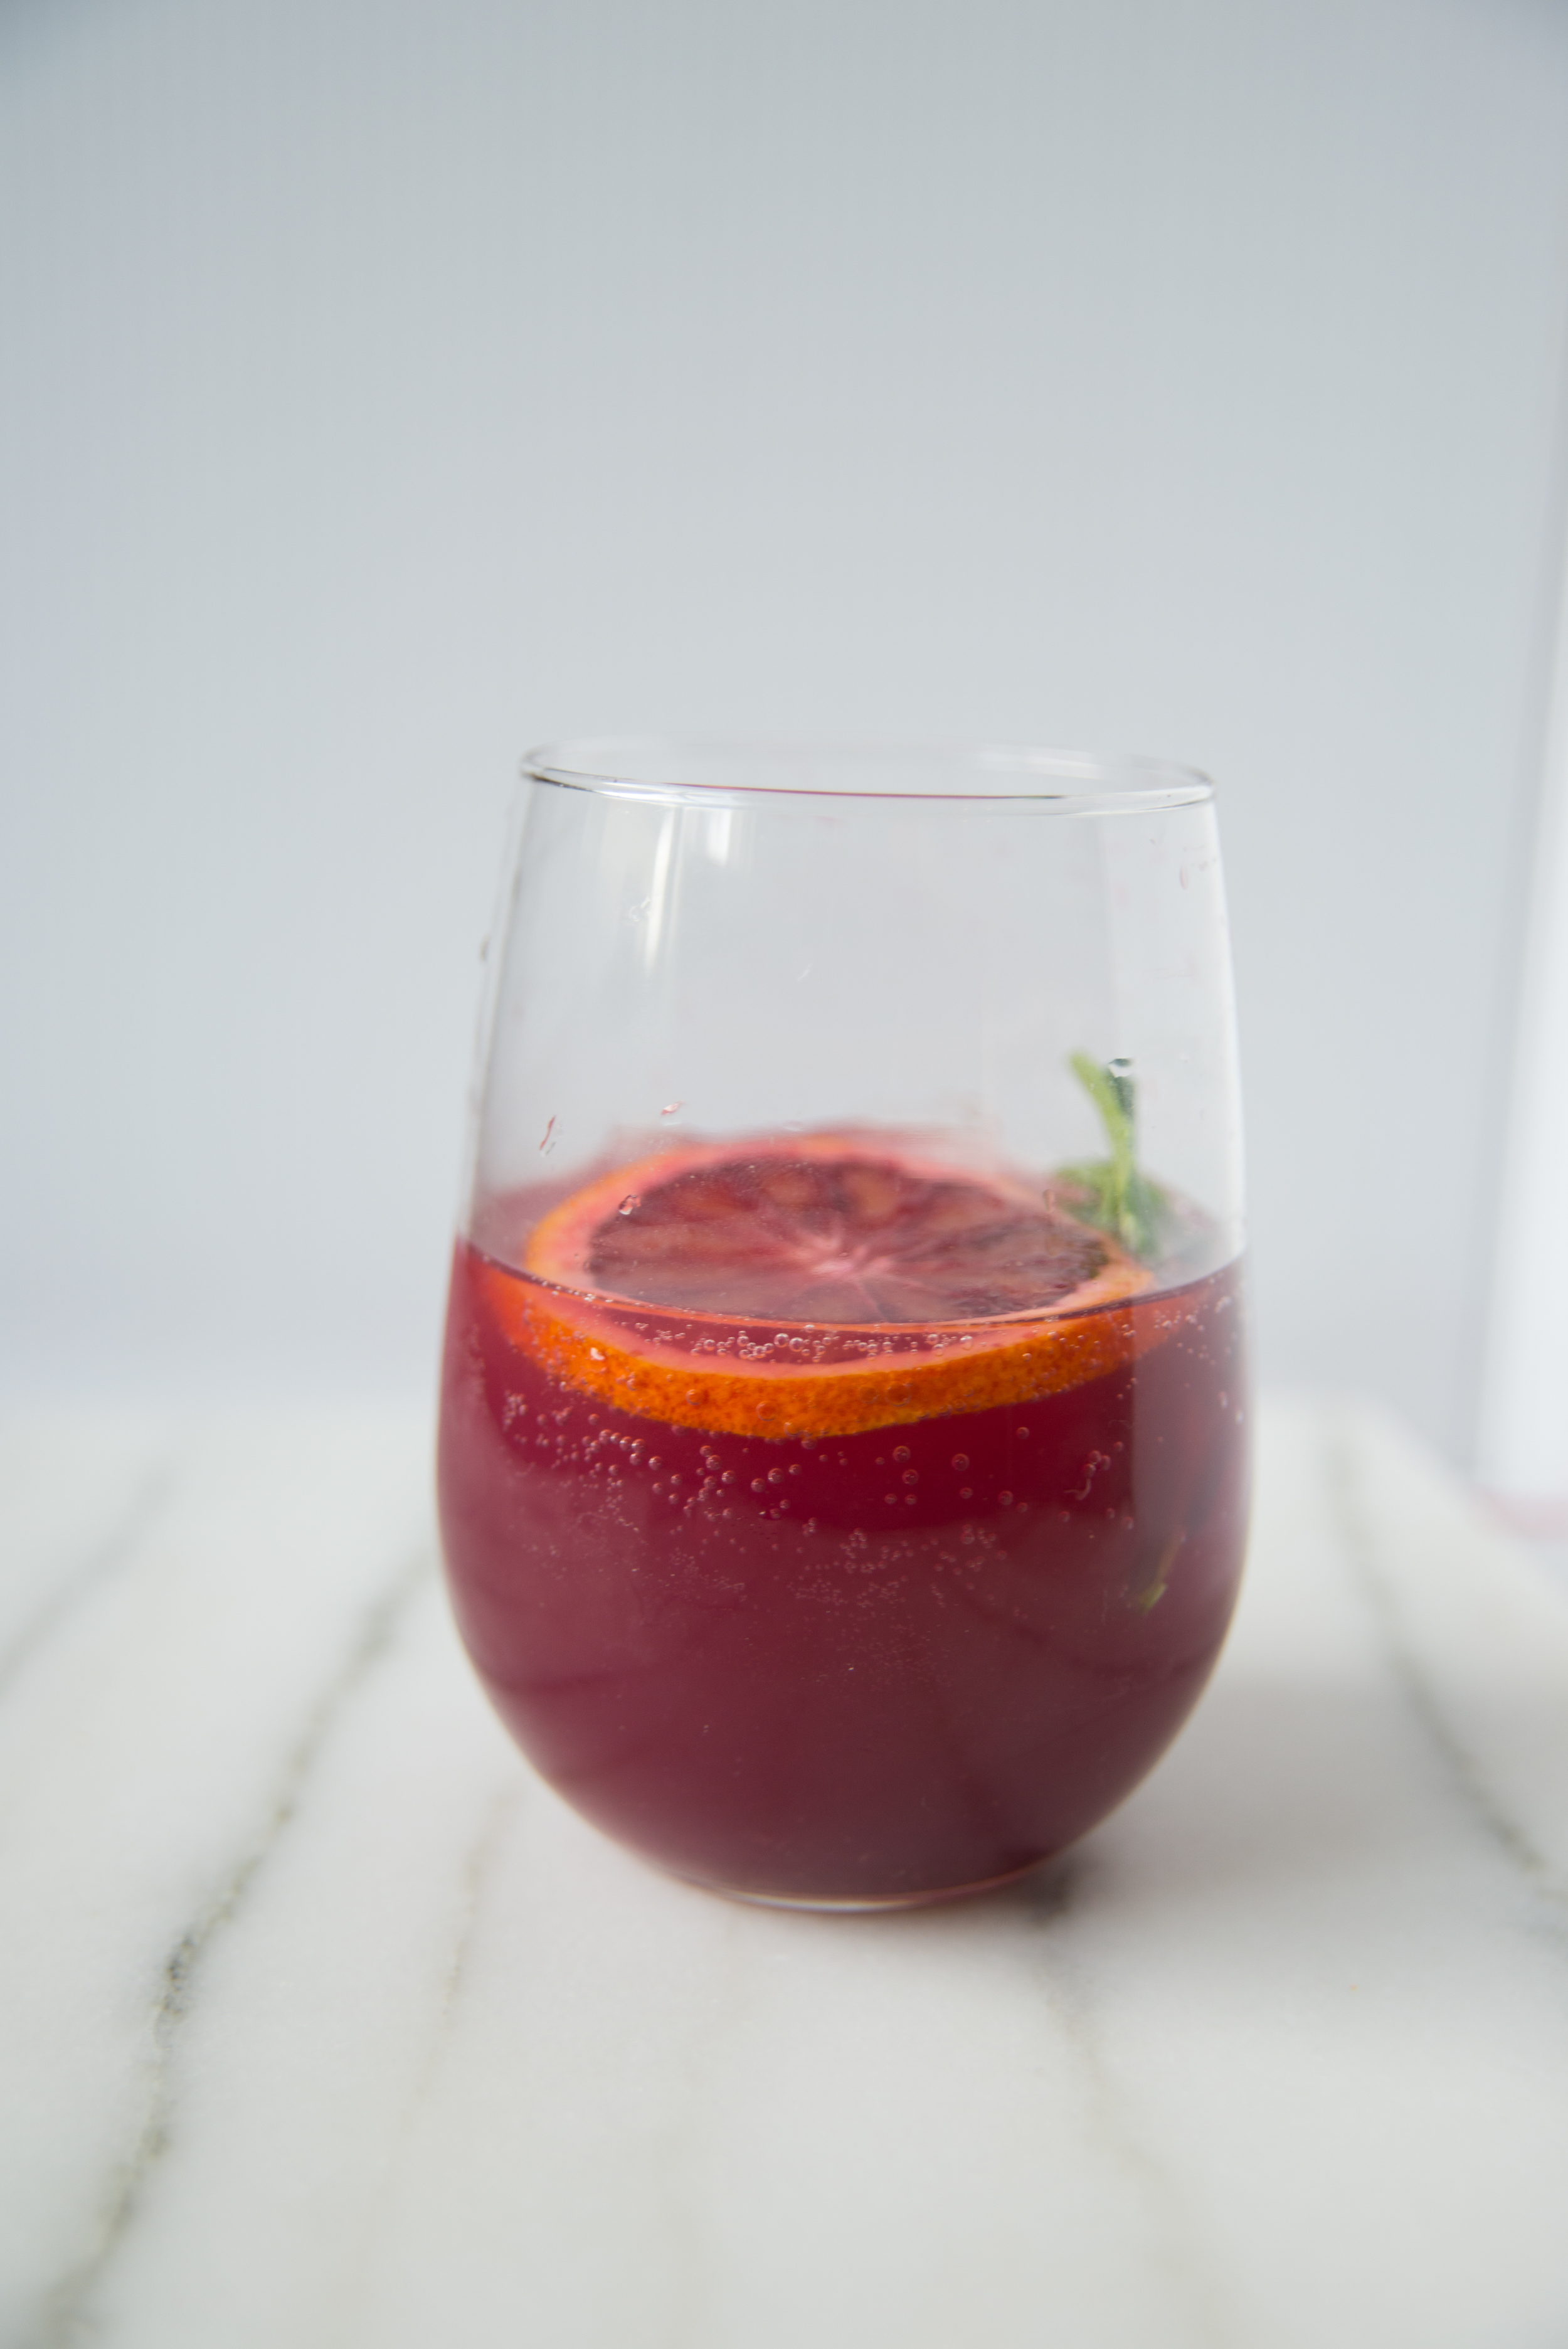
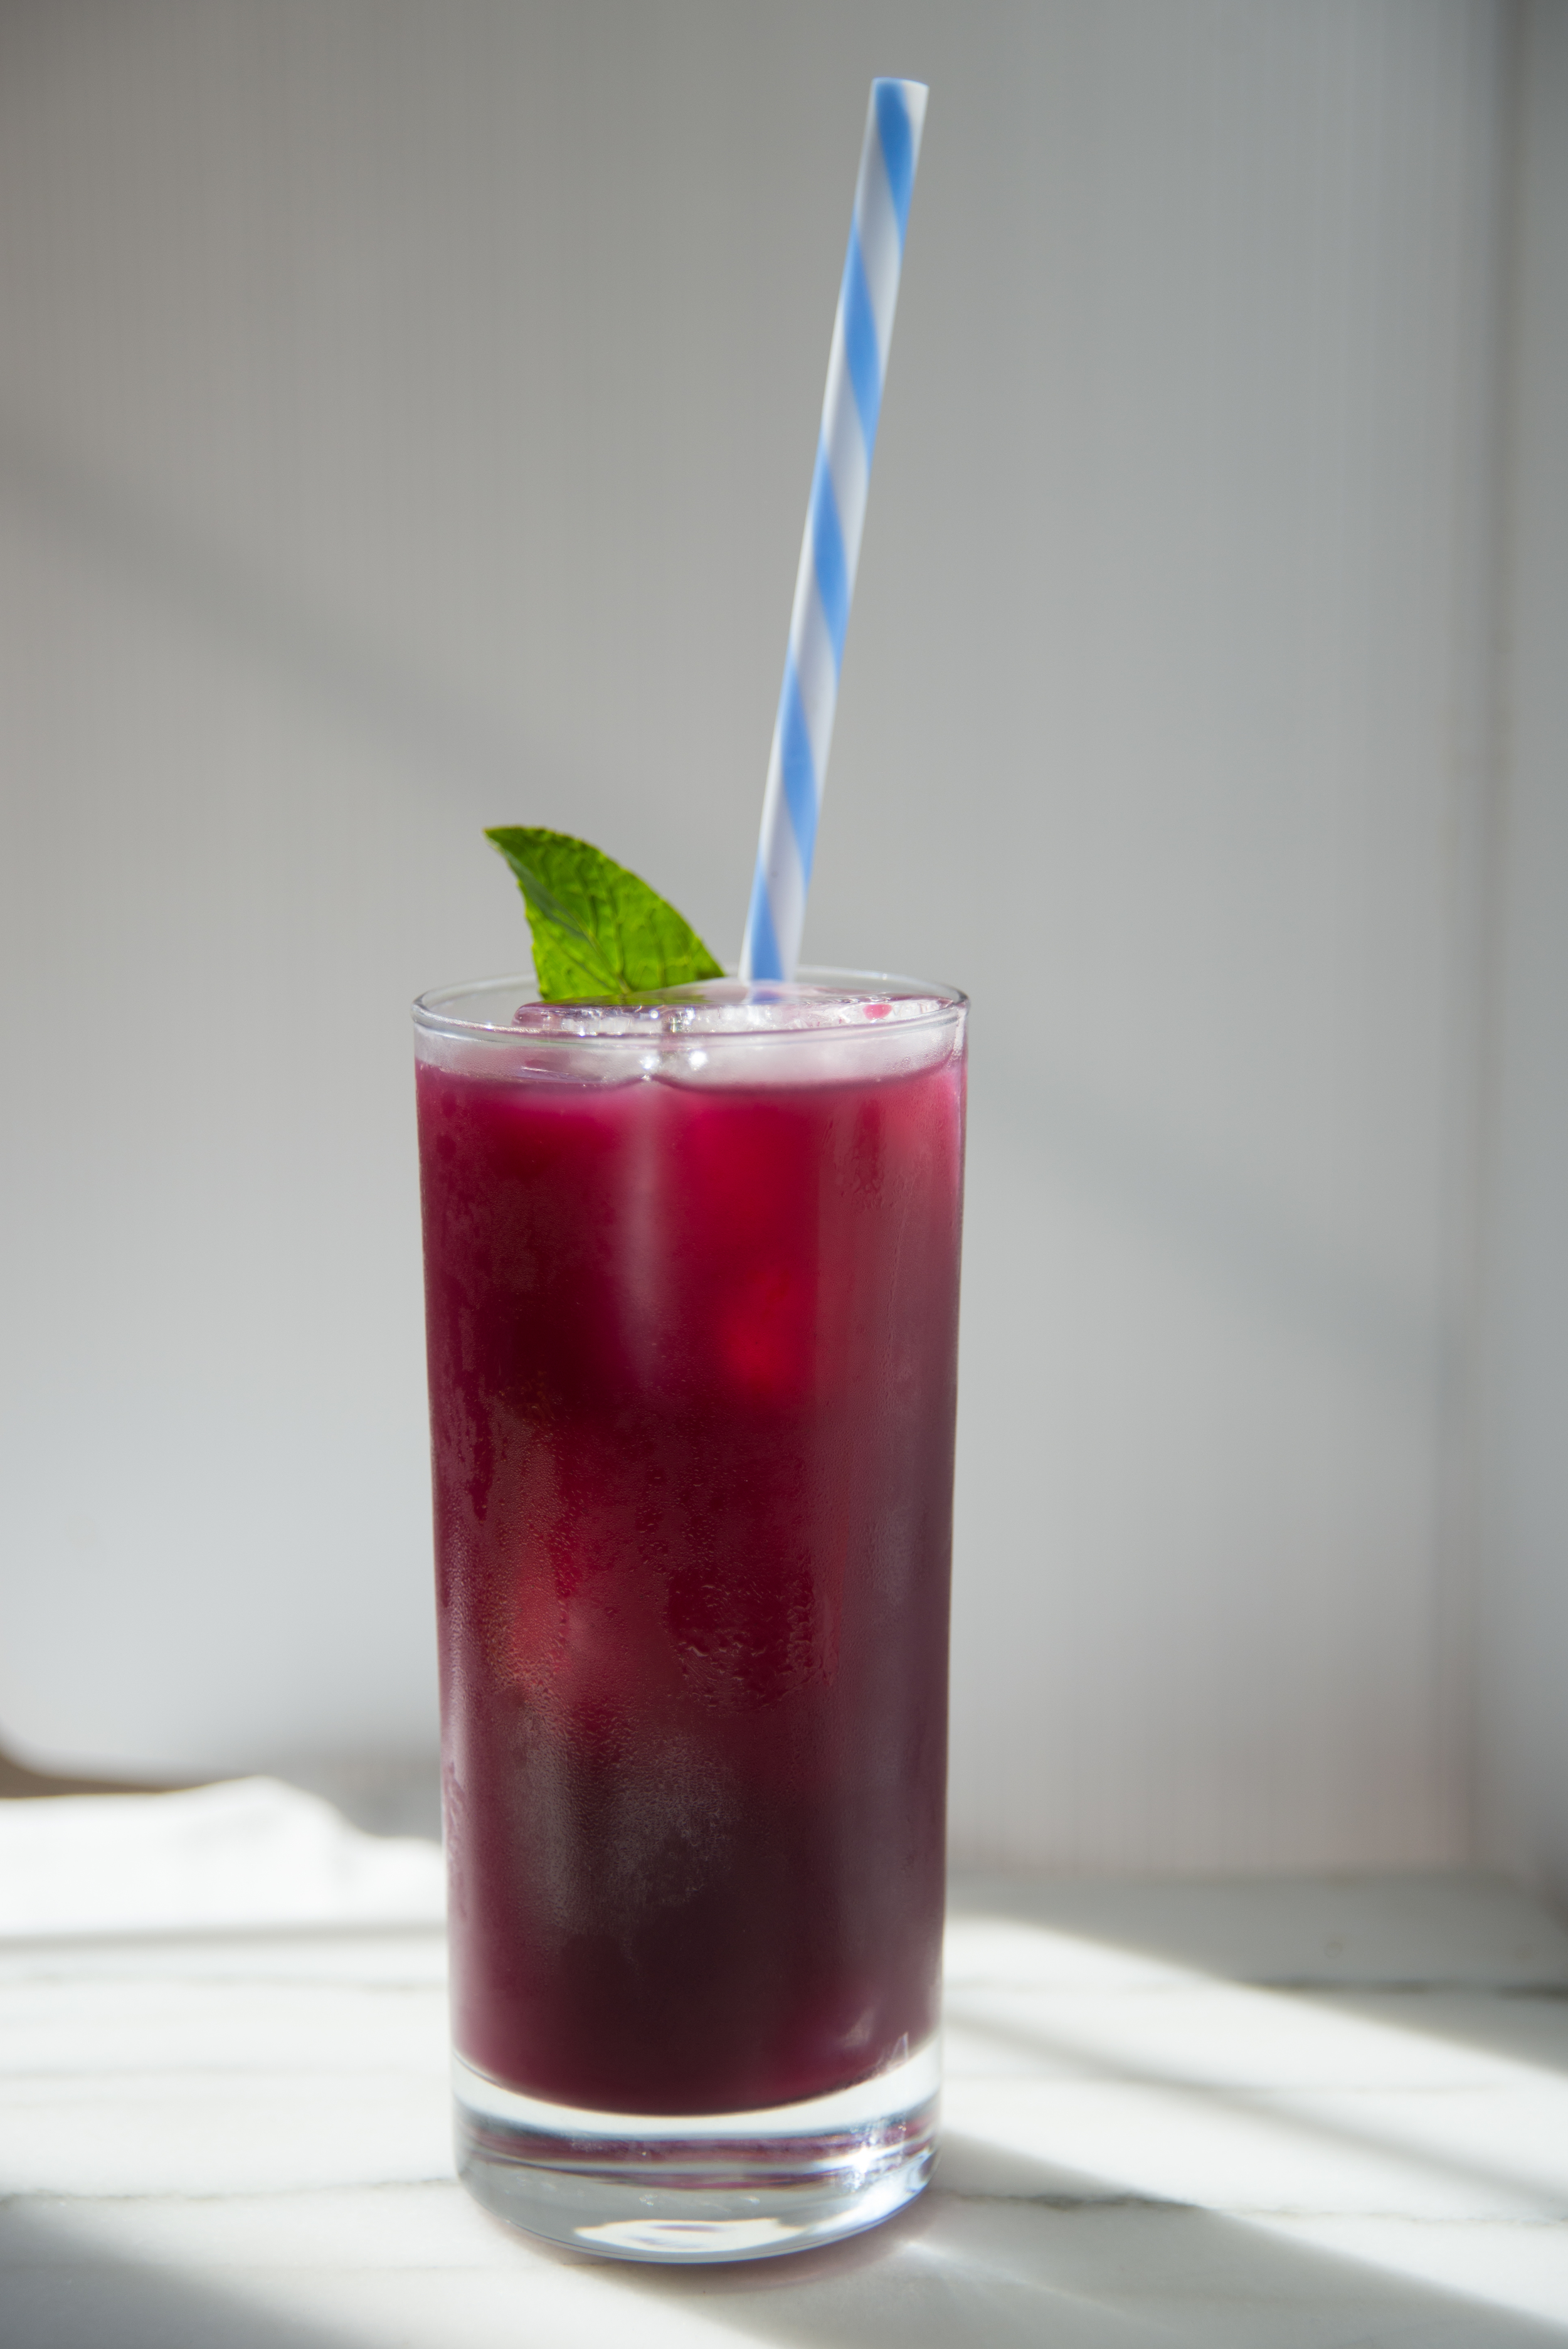
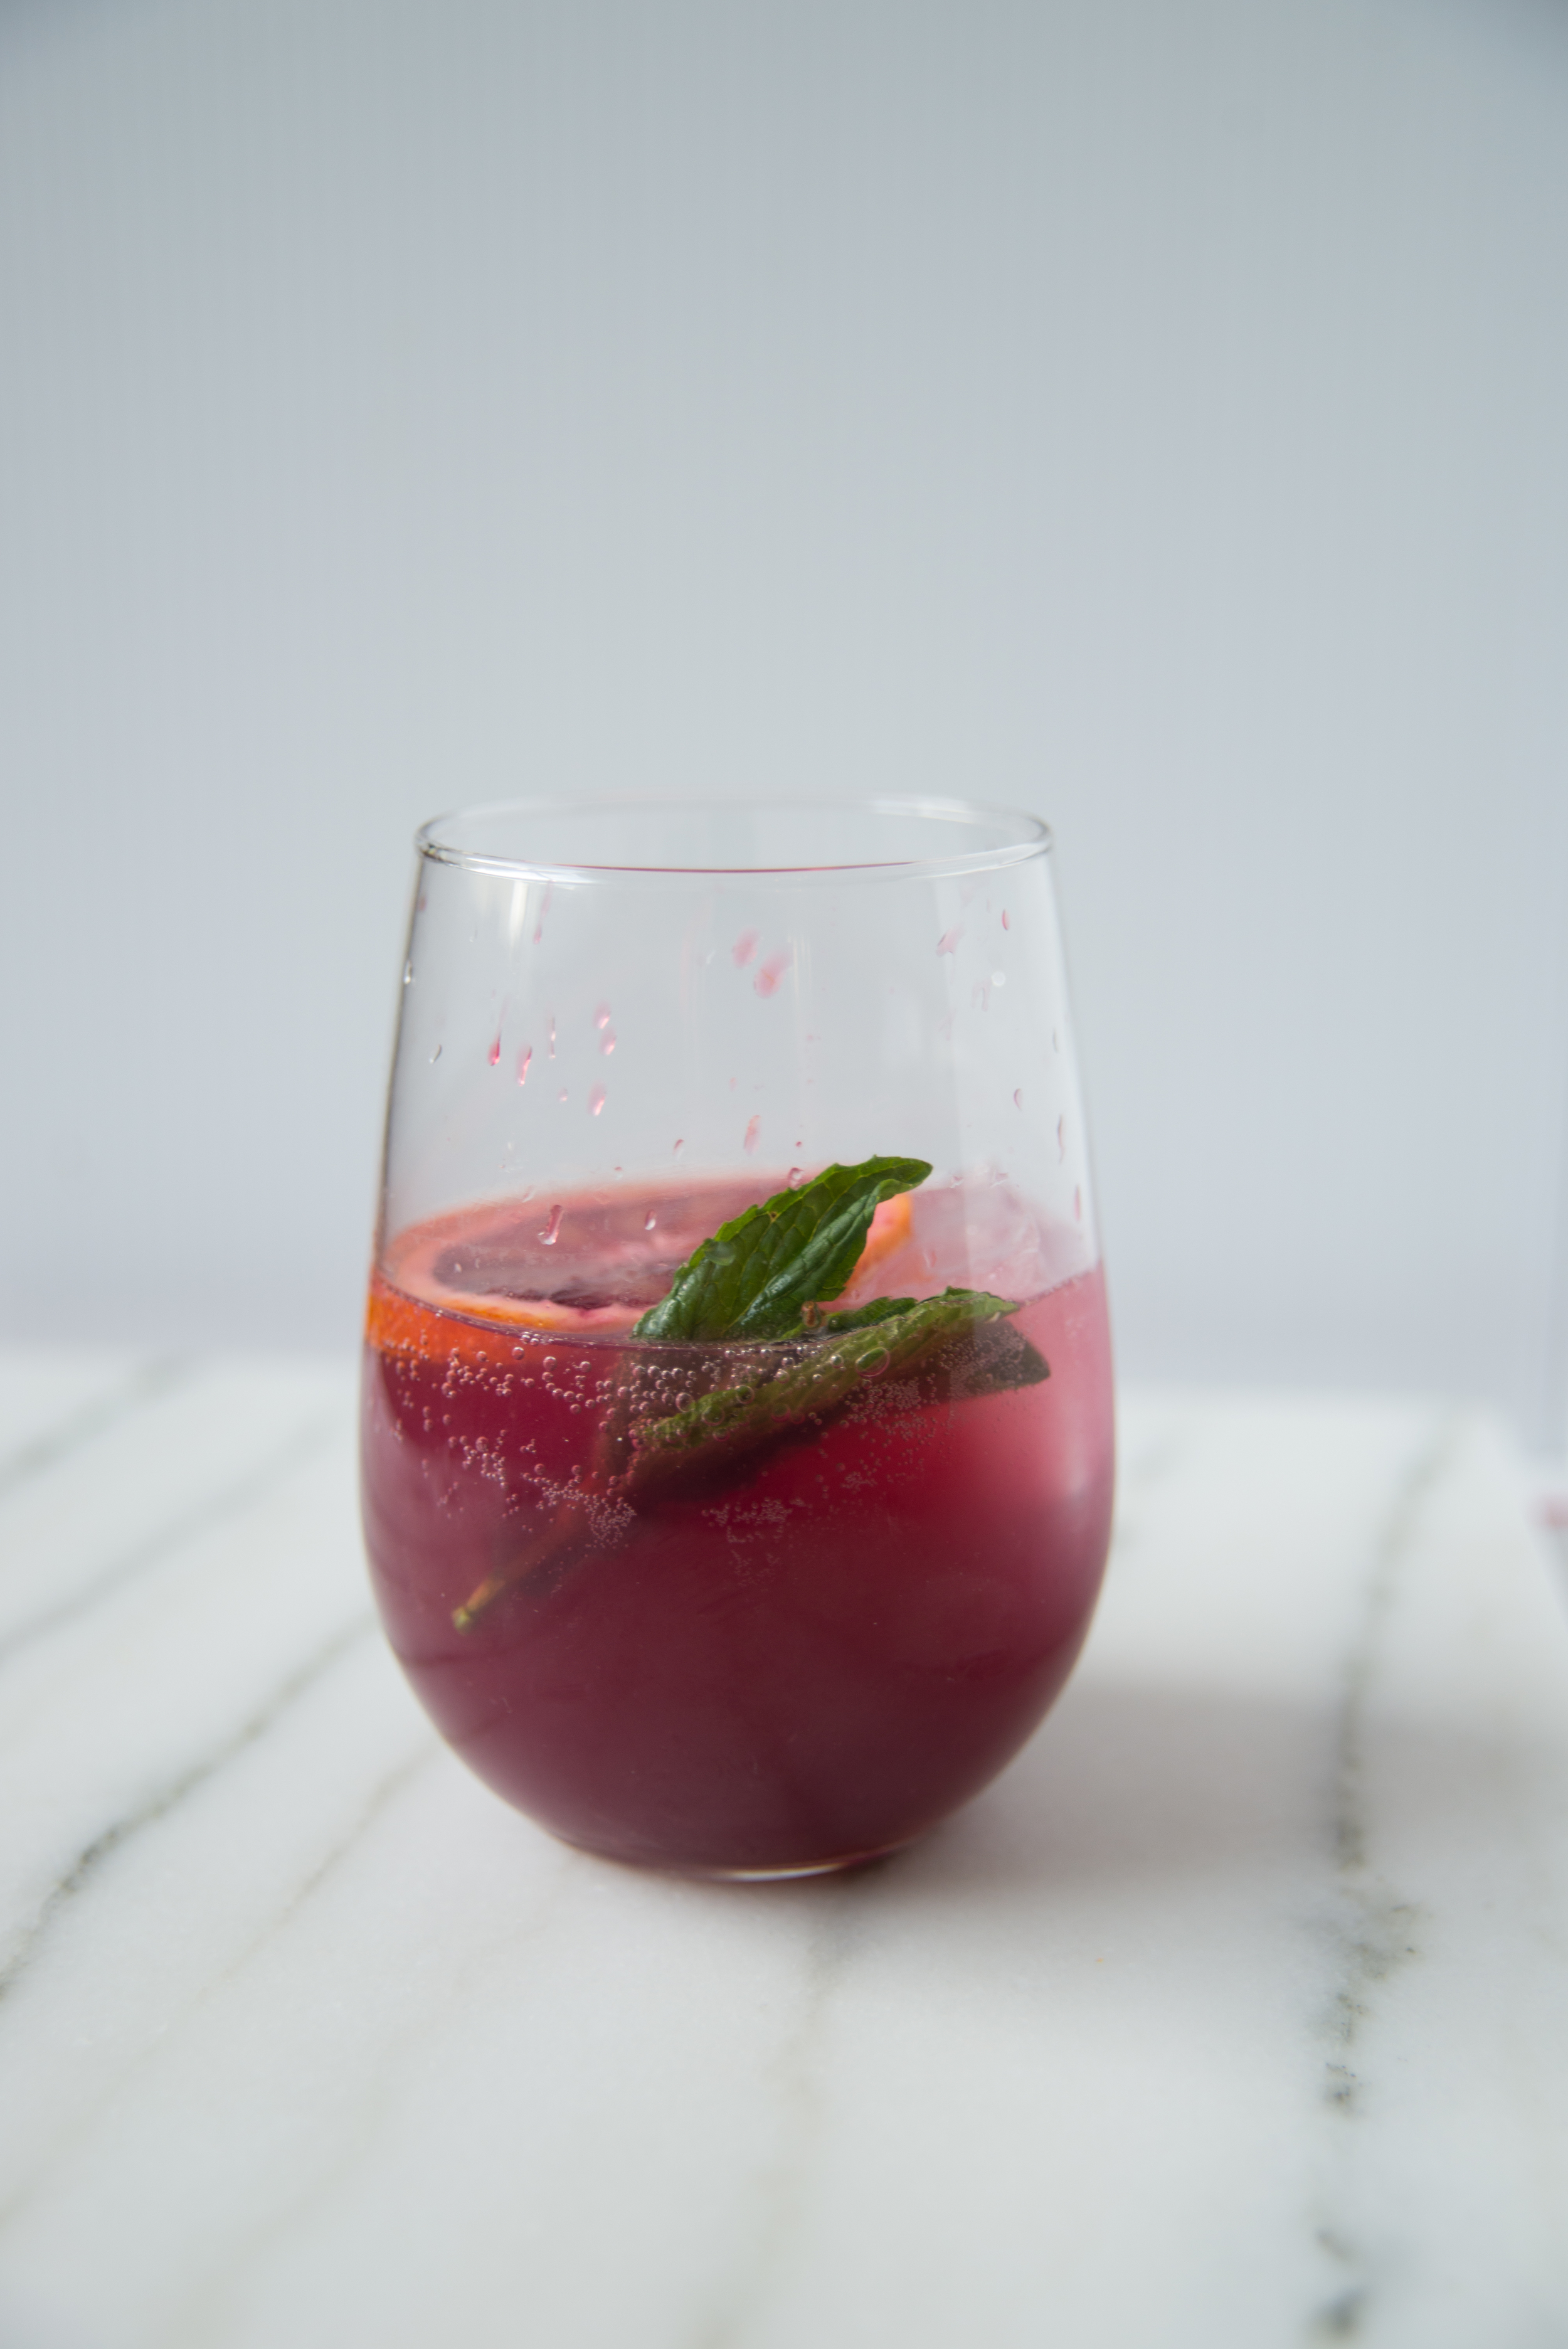
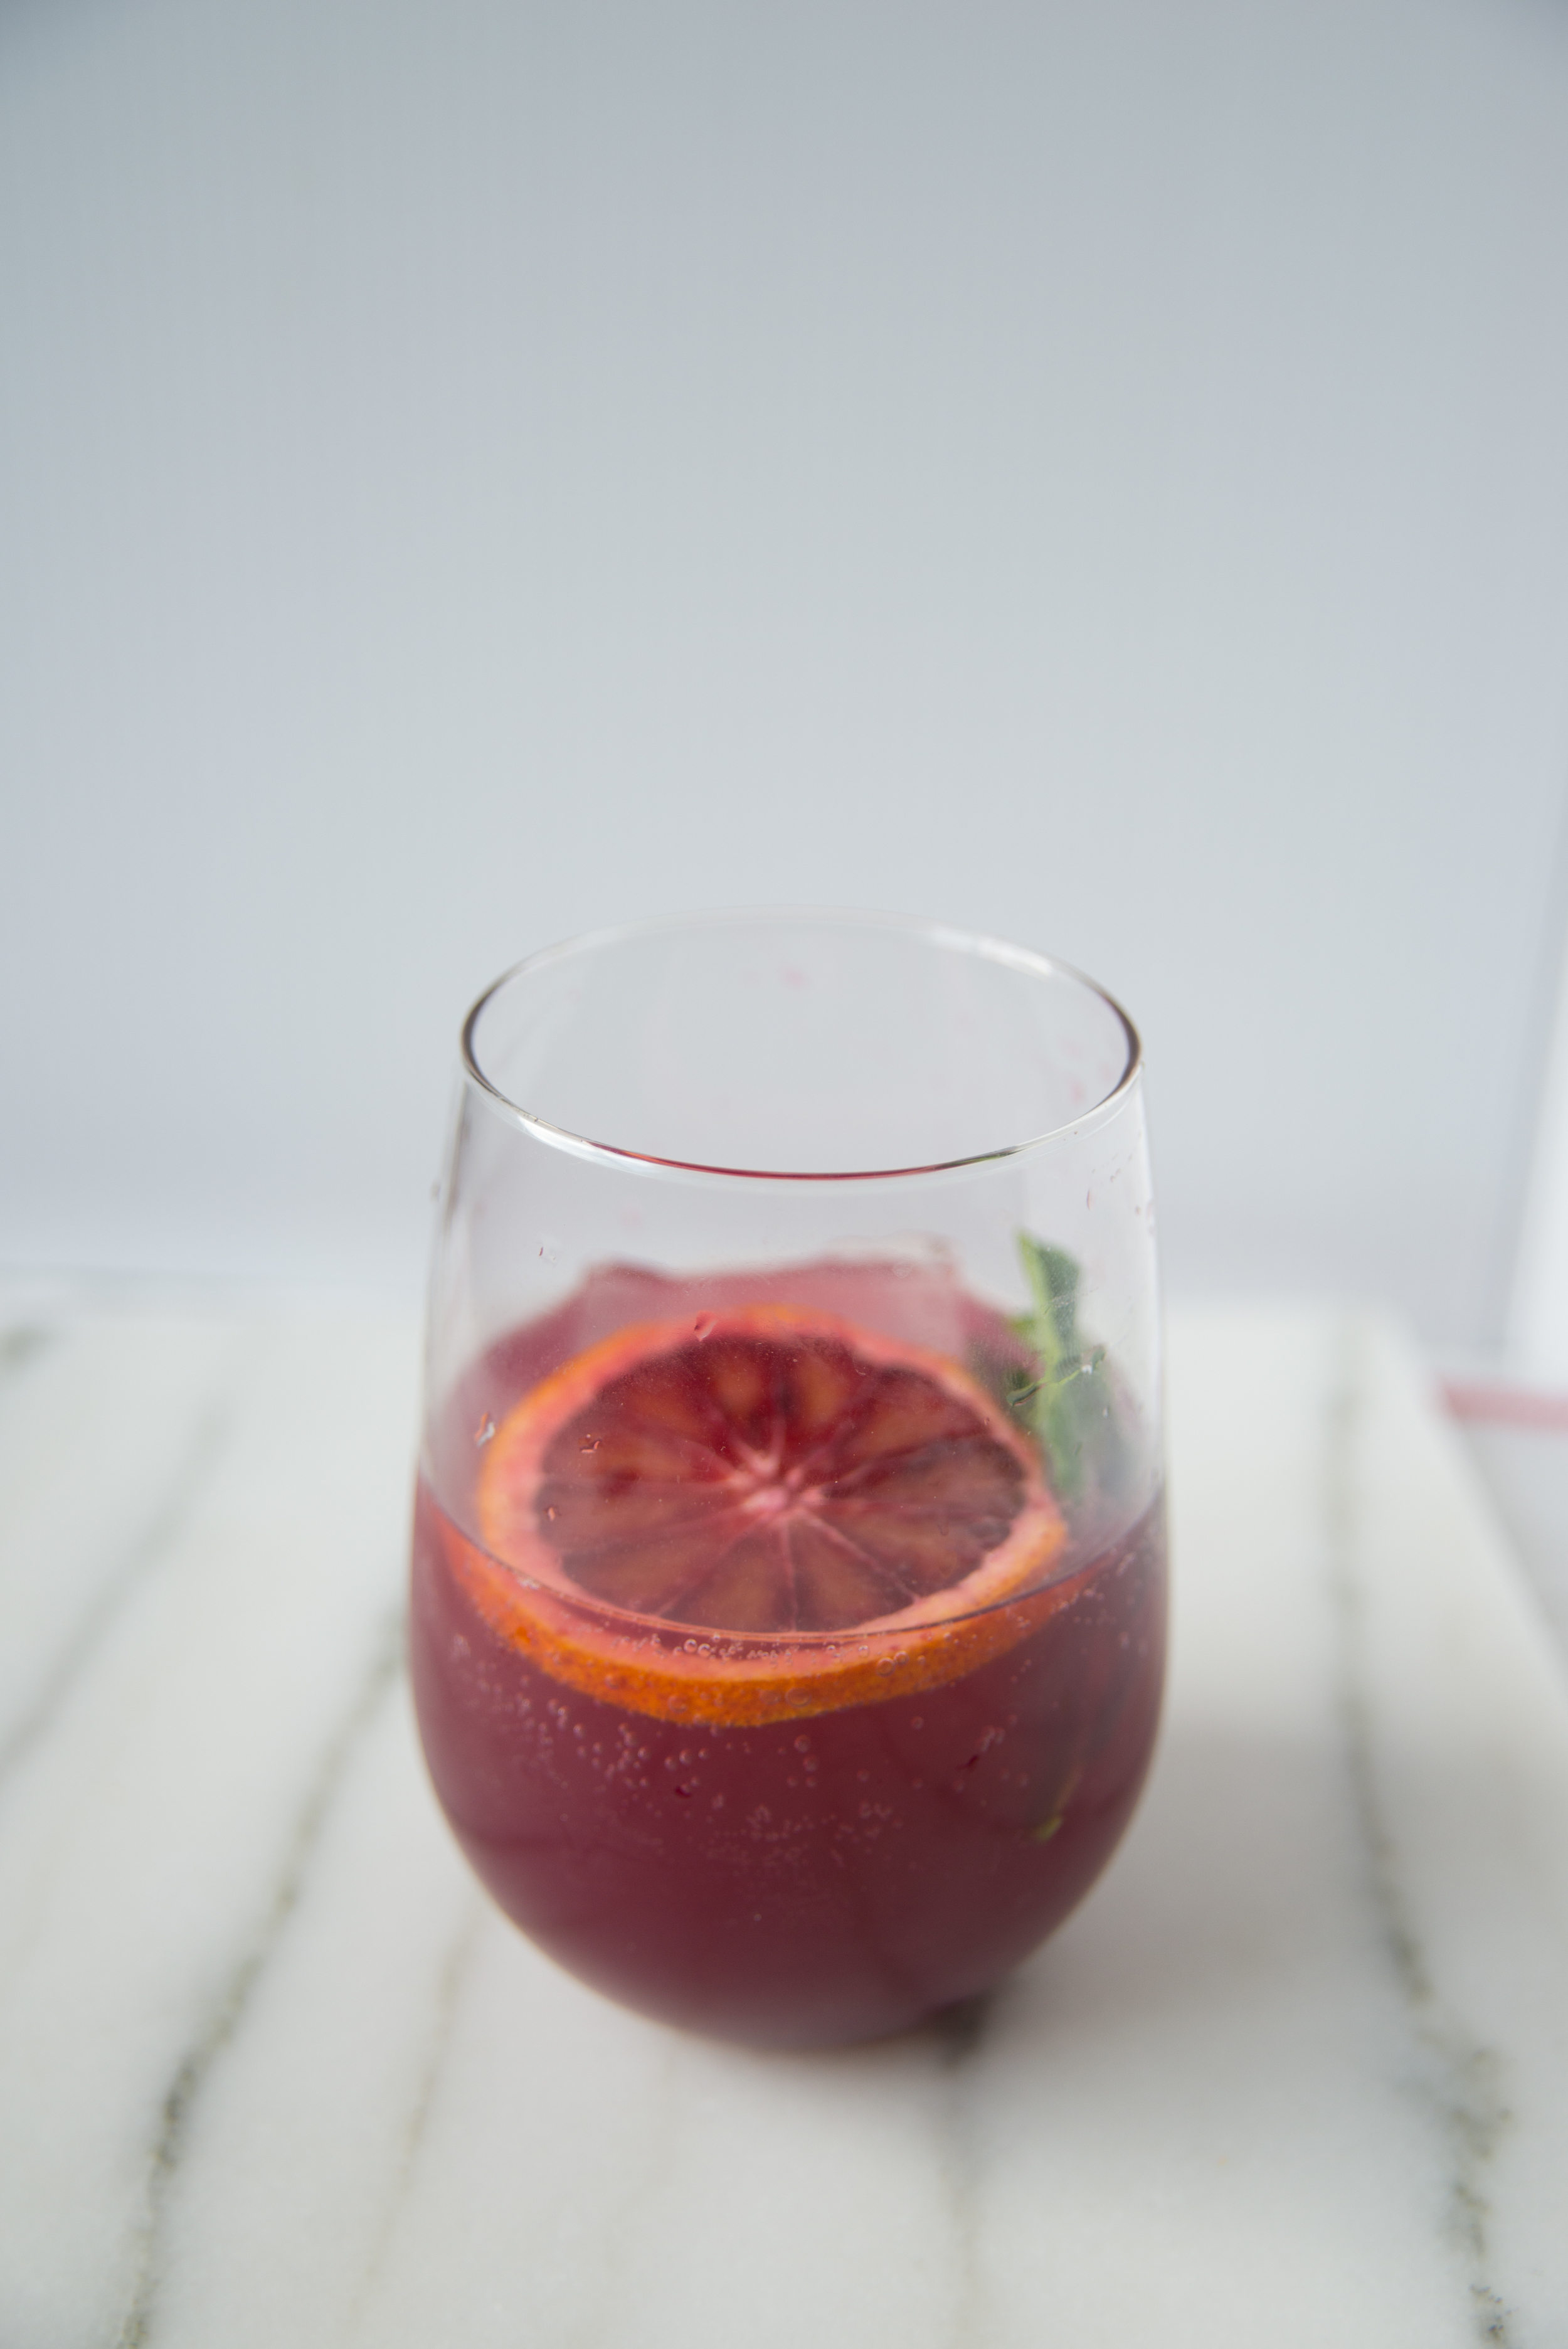
This rhubarbade is perfect for my fellow rhubarb lovers and folks who aren't quite sure about that tart stalk just yet. The floral scent of the rhubarb perfectly balancing the blueberries and mint. Pour it over ice and drink it straight, or try it with a little Ransom Old Tom Gin mixed in! 

Blueberry Mint Rhubarb-ade

2 cups blueberries (fresh or frozen) 

1 cup fresh mint 

1/2 lb rhubarb, roughly chopped 

1/4 cup sugar (or another sweetener!) 

5 cups water 

2 Tbsp lemon juice 

  • Combine all ingredients in a blender and blend on high for 1-2 minutes, until it's really smooth. 
  • While the juice is blending, set up a strainer over a jar or bowl. I used a nut-milk bag over a mesh strainer, but you could use just the mesh strainer or add cheesecloth or a clean towel to keep the final product totally pulp-free. 
  • Pour the juice through the strainer to remove the pulp, and viola - rhubarbade! 
  • The rhubarbade will keep in the refrigerator for about a week. 


Comment

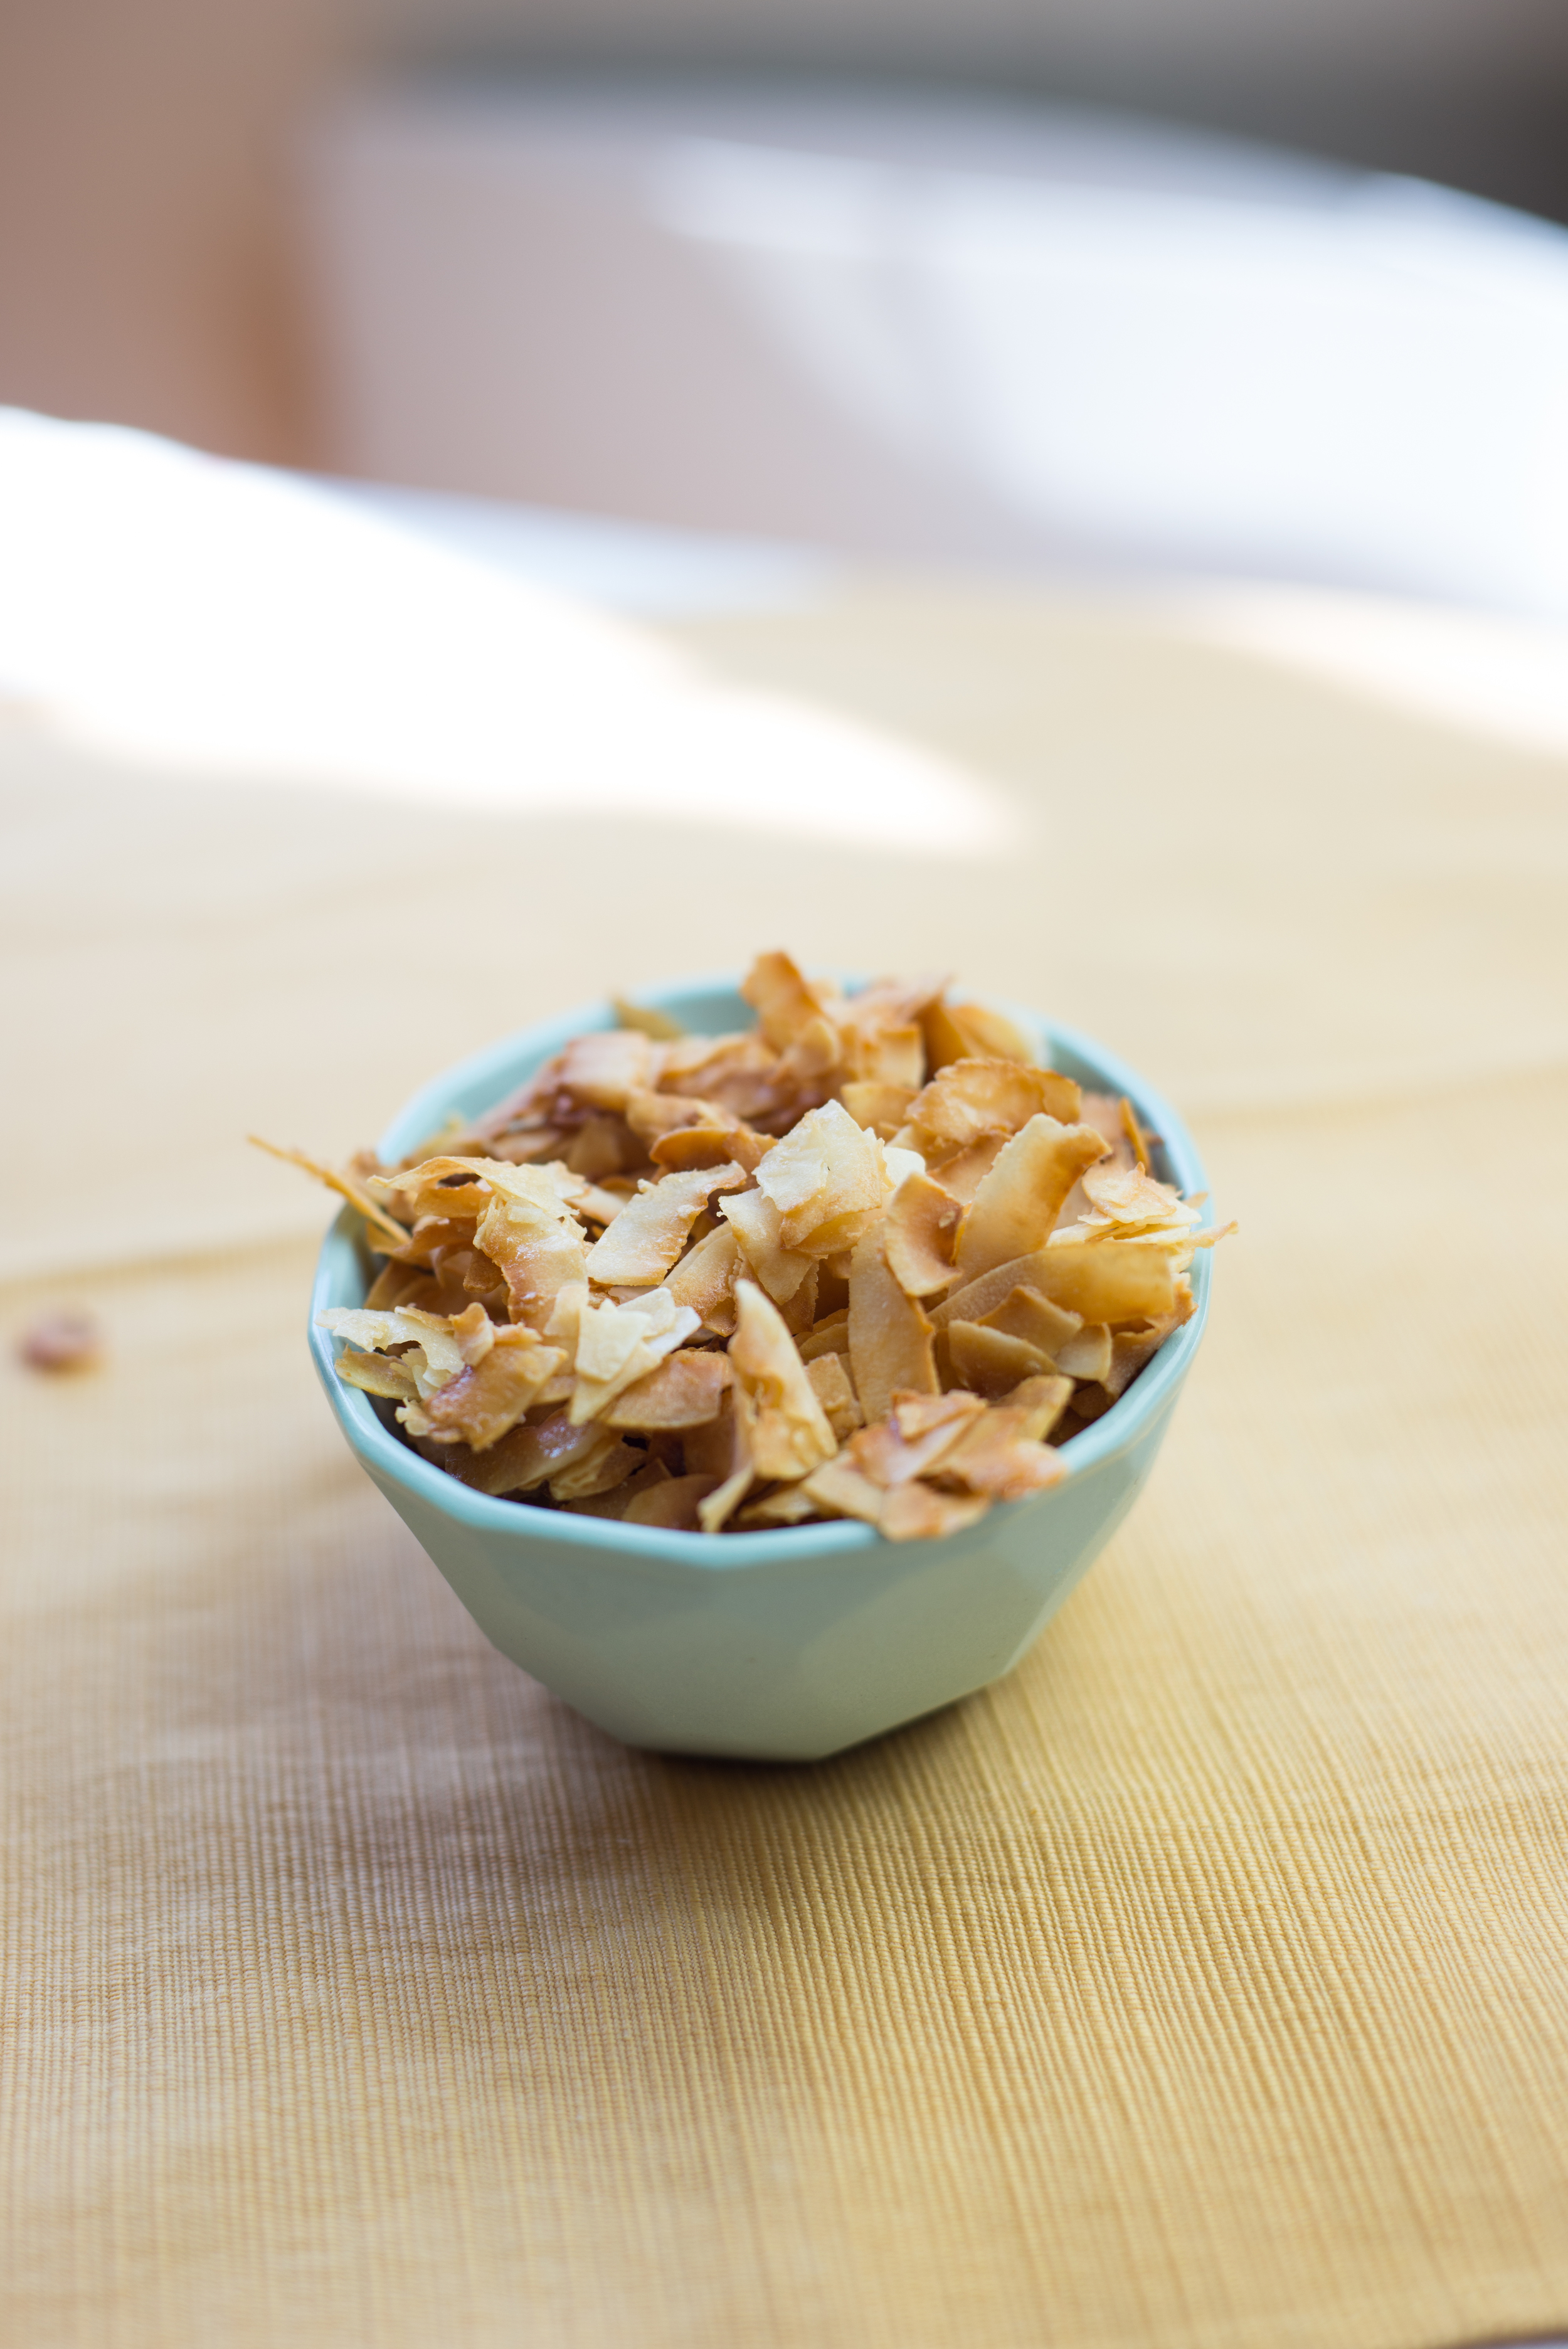
Toasted Coconut Chips

Comment

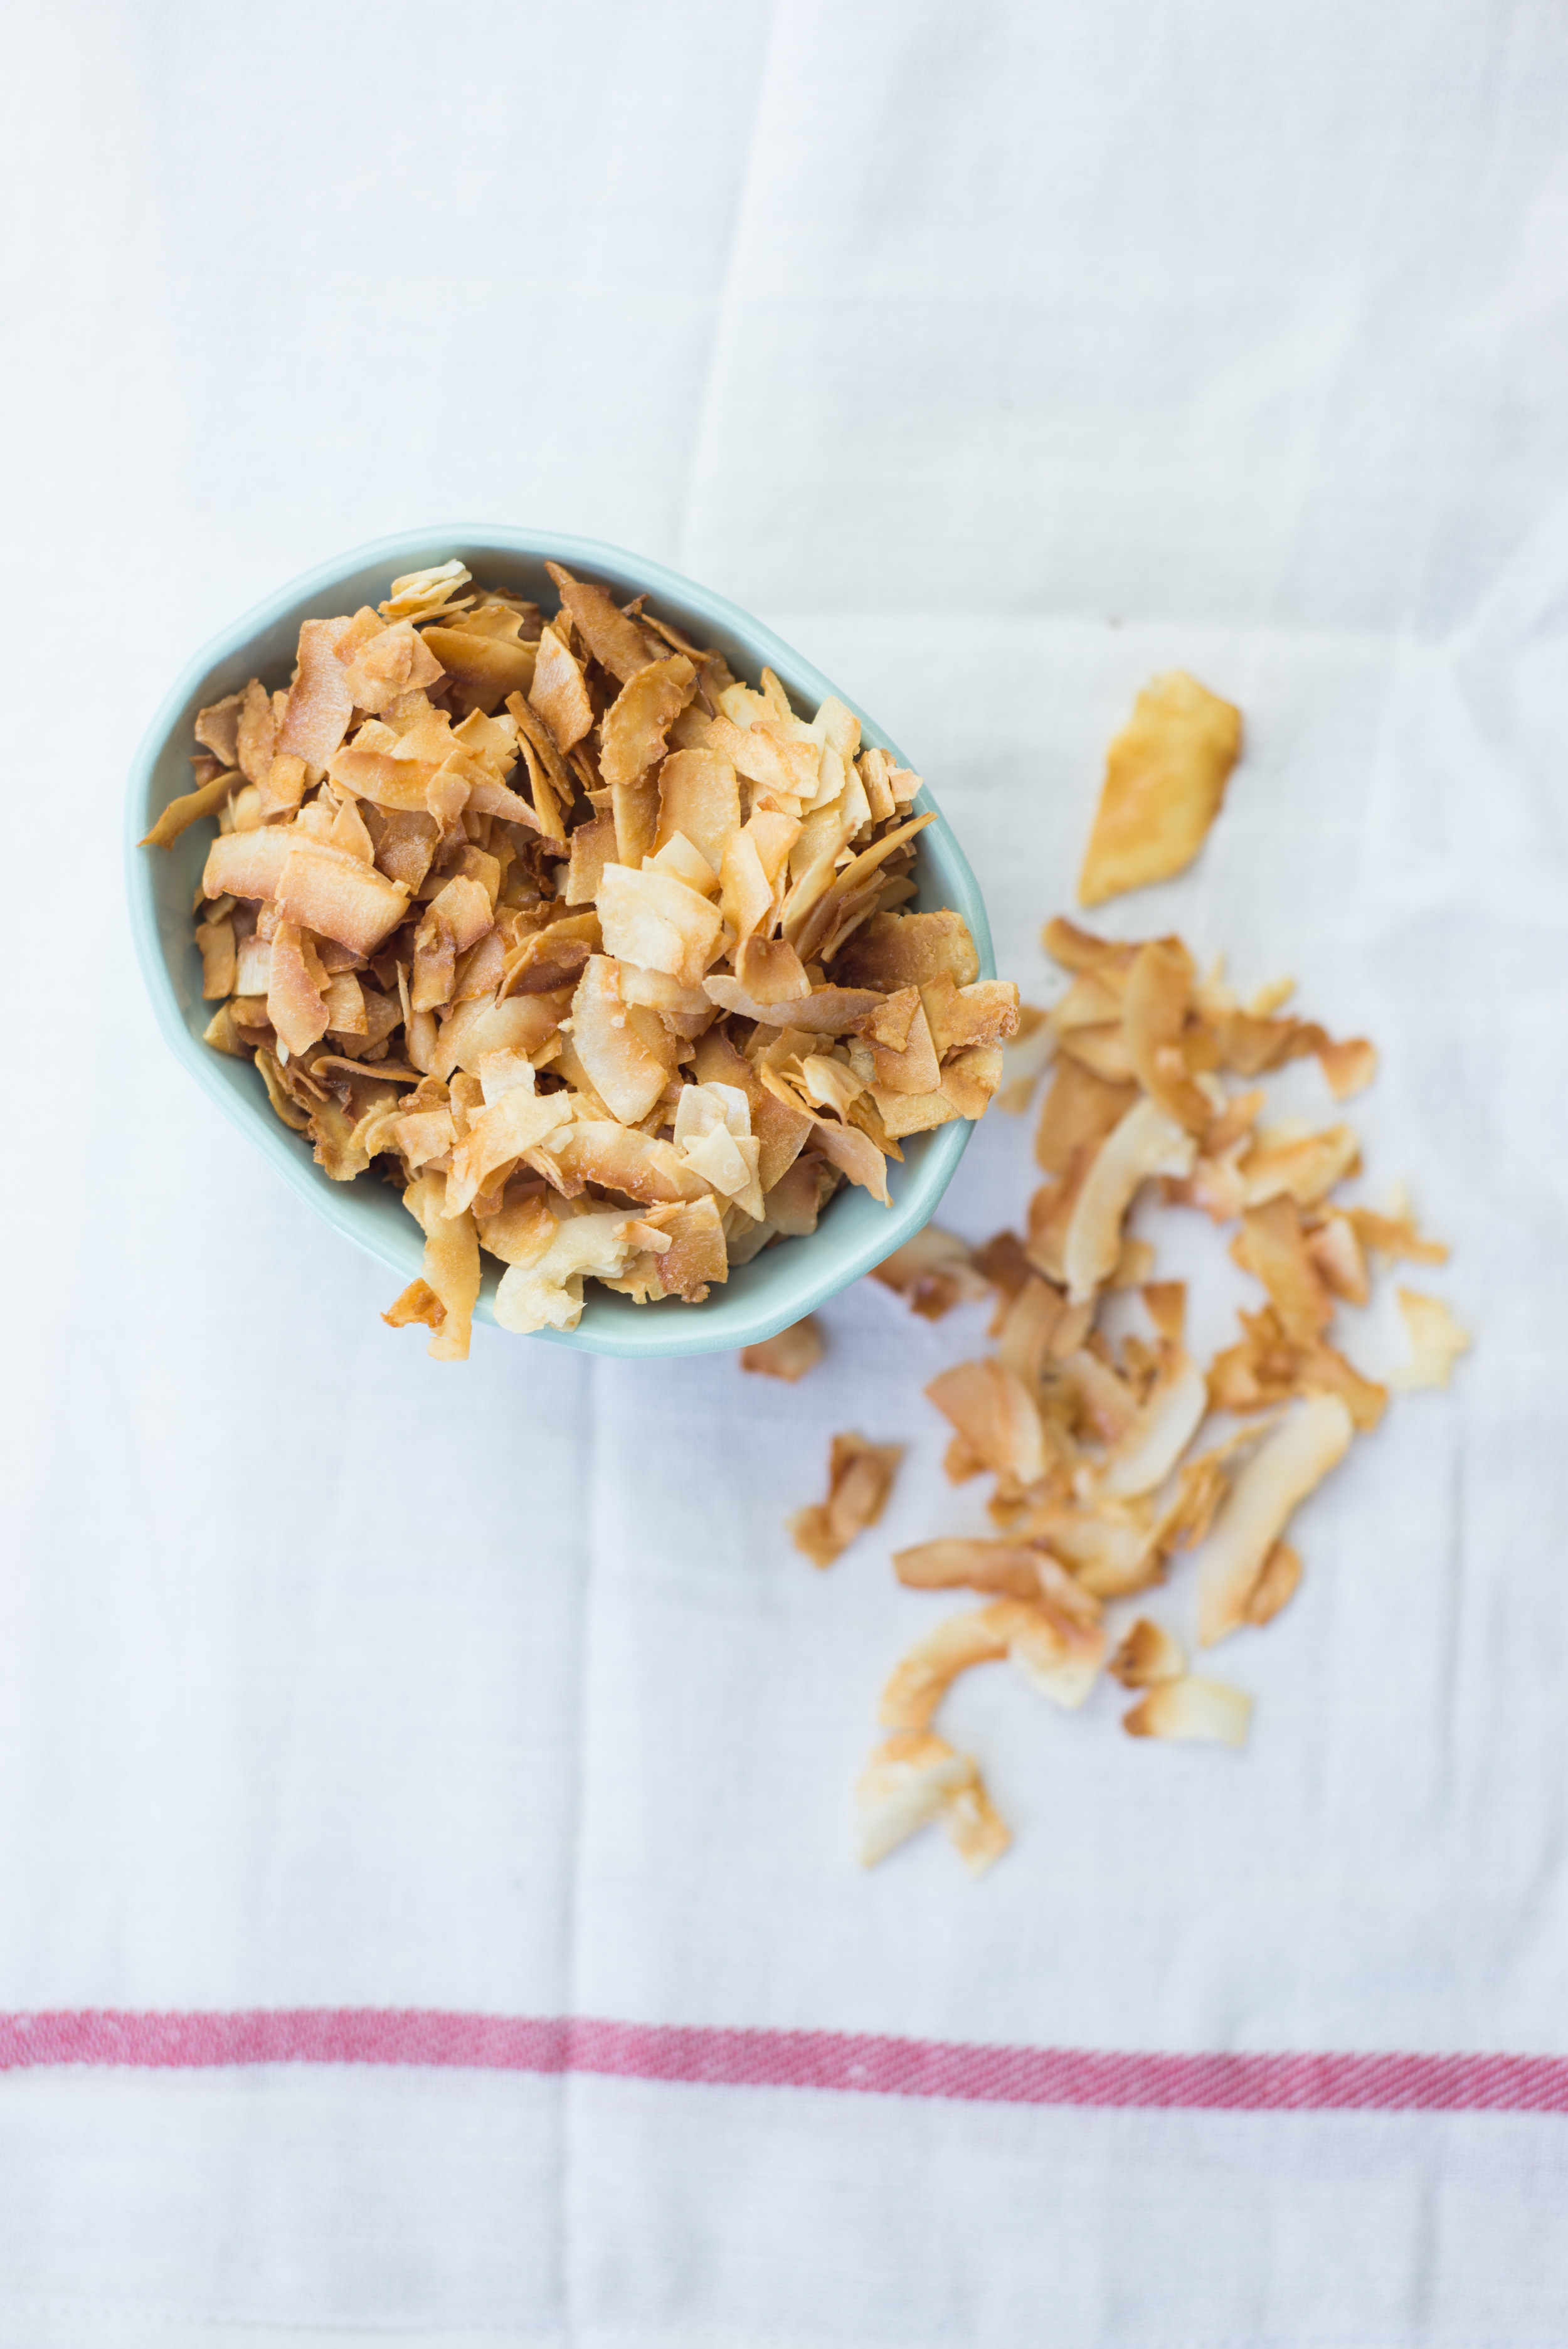
Toasted Coconut Chips

Have you beautiful people ever tried Dang Coconut Chips? They are out of control amazing coconut chips - perfectly crisp and crunchy, and just sweet enough. We brought some on our last camping trip to Smith Rock State Park, and devoured them as a snack straight from the bag and sprinkled over our morning oatmeal. Pure heaven! 

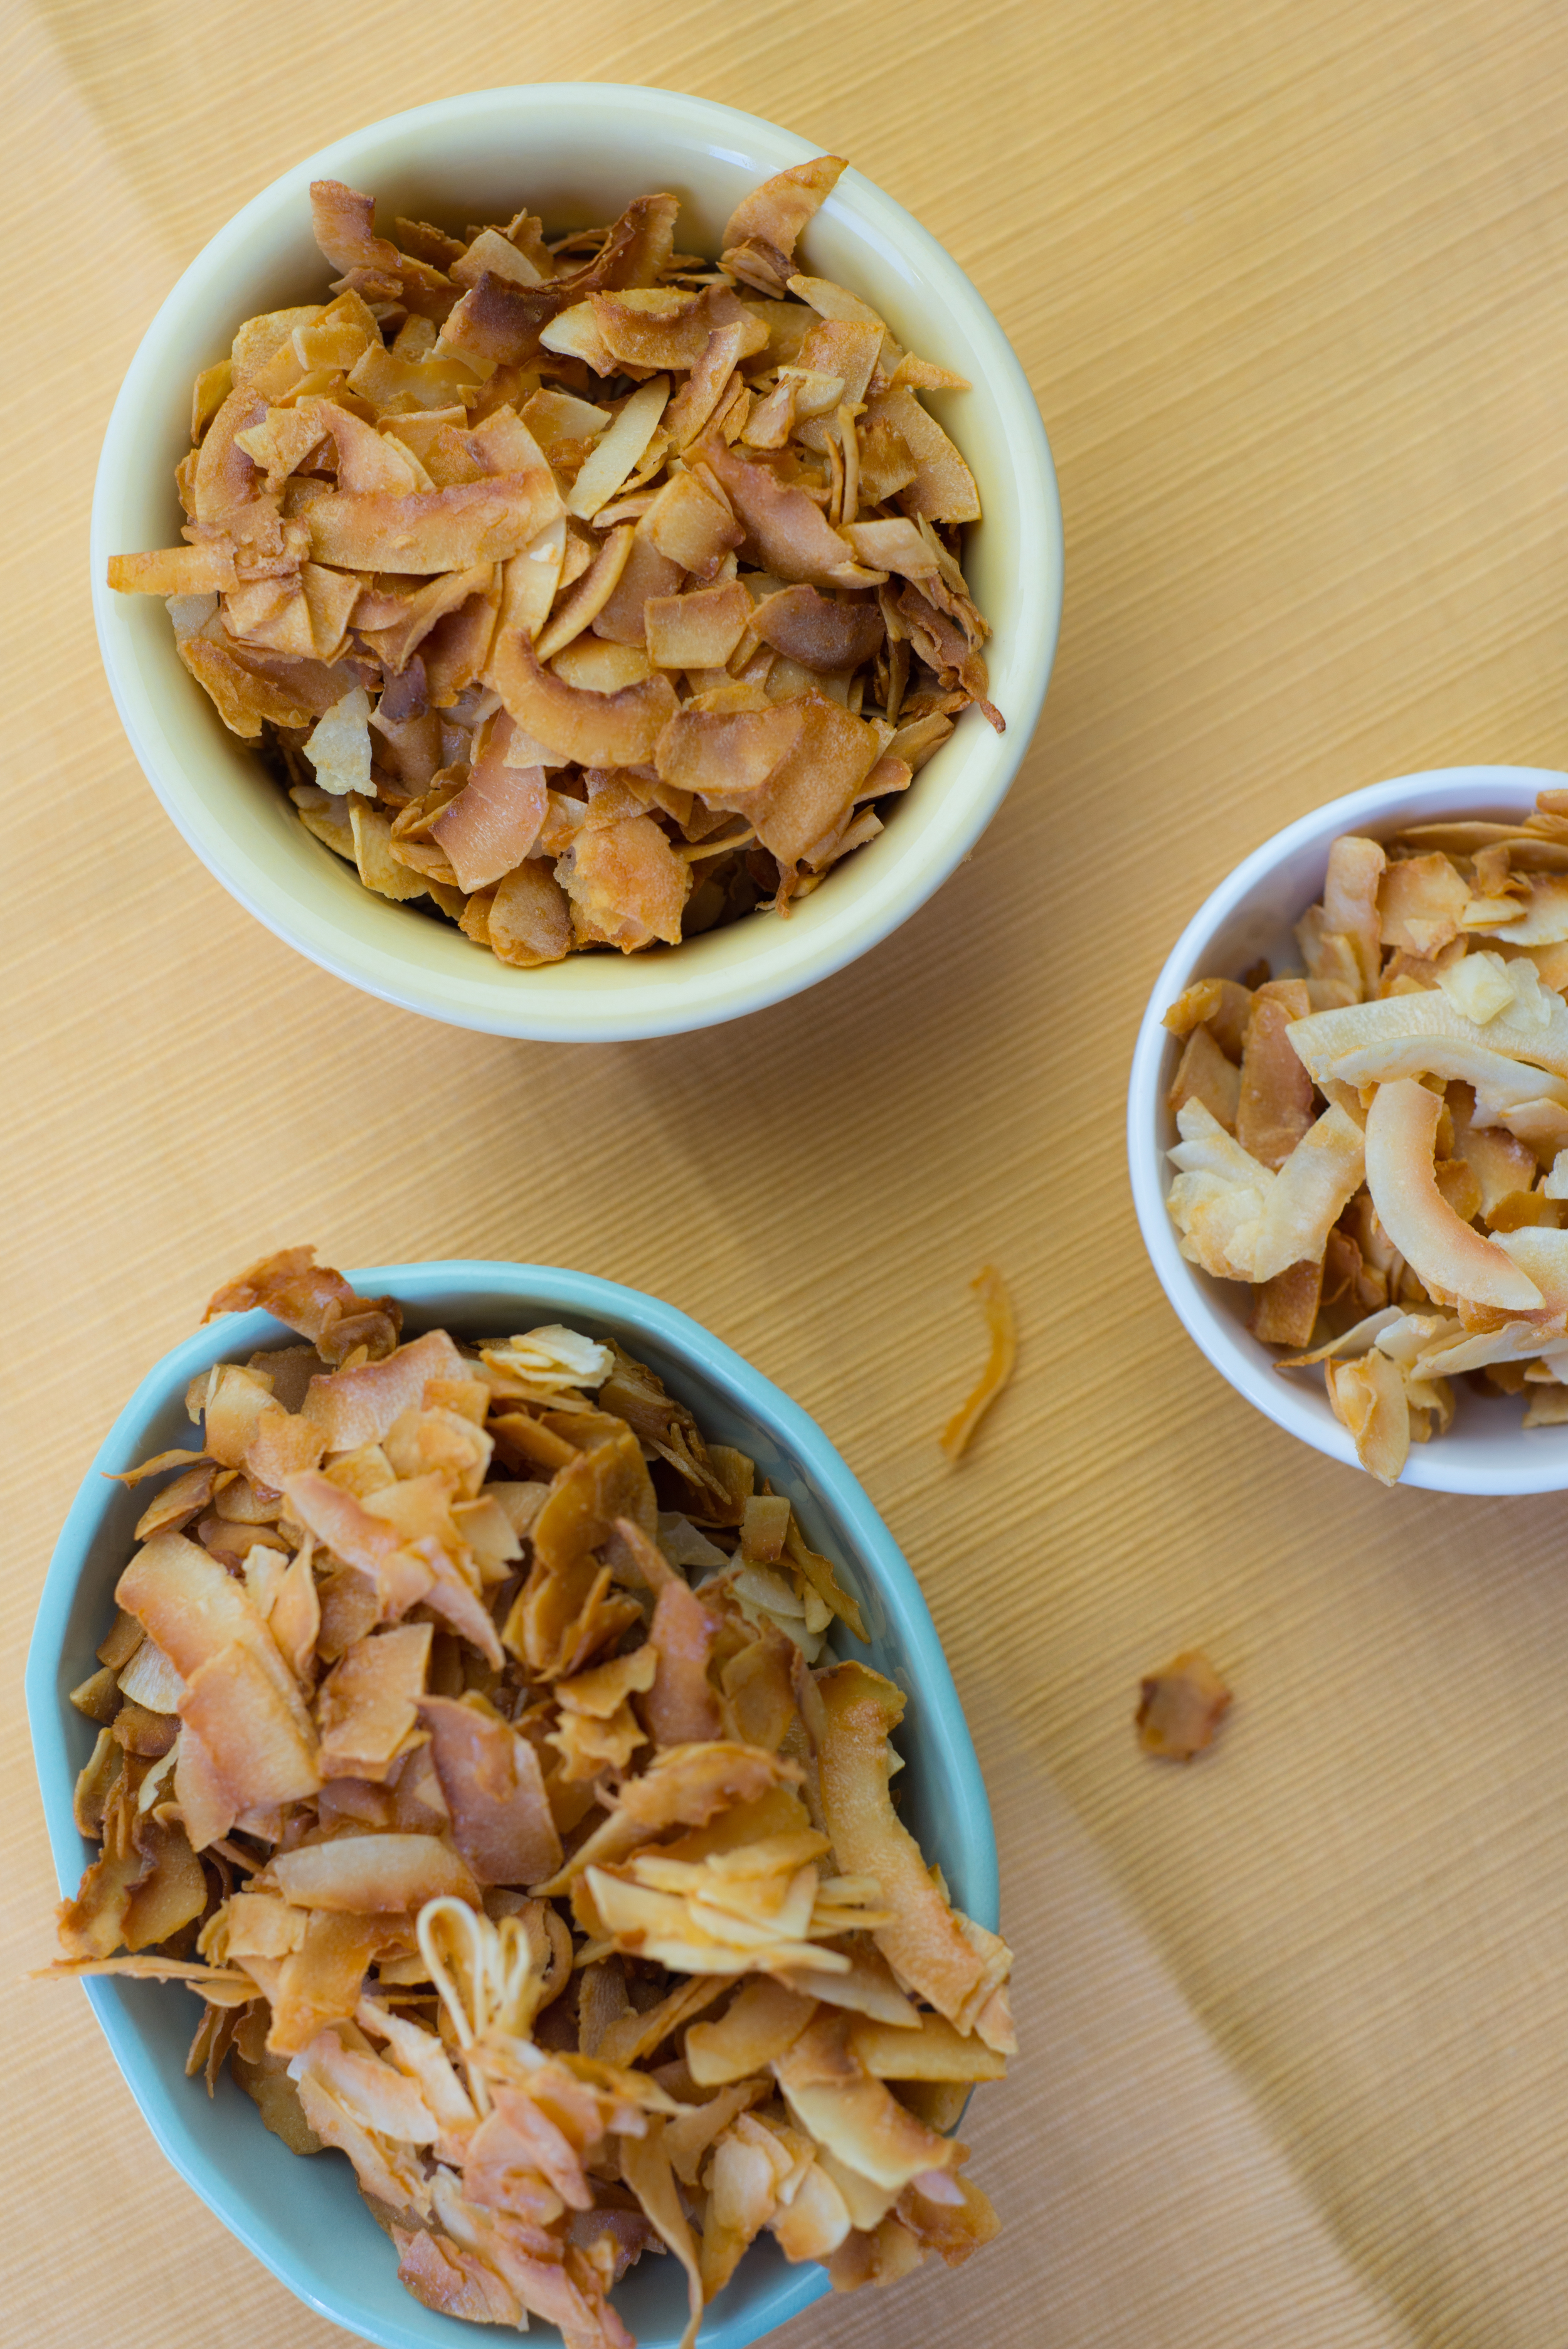
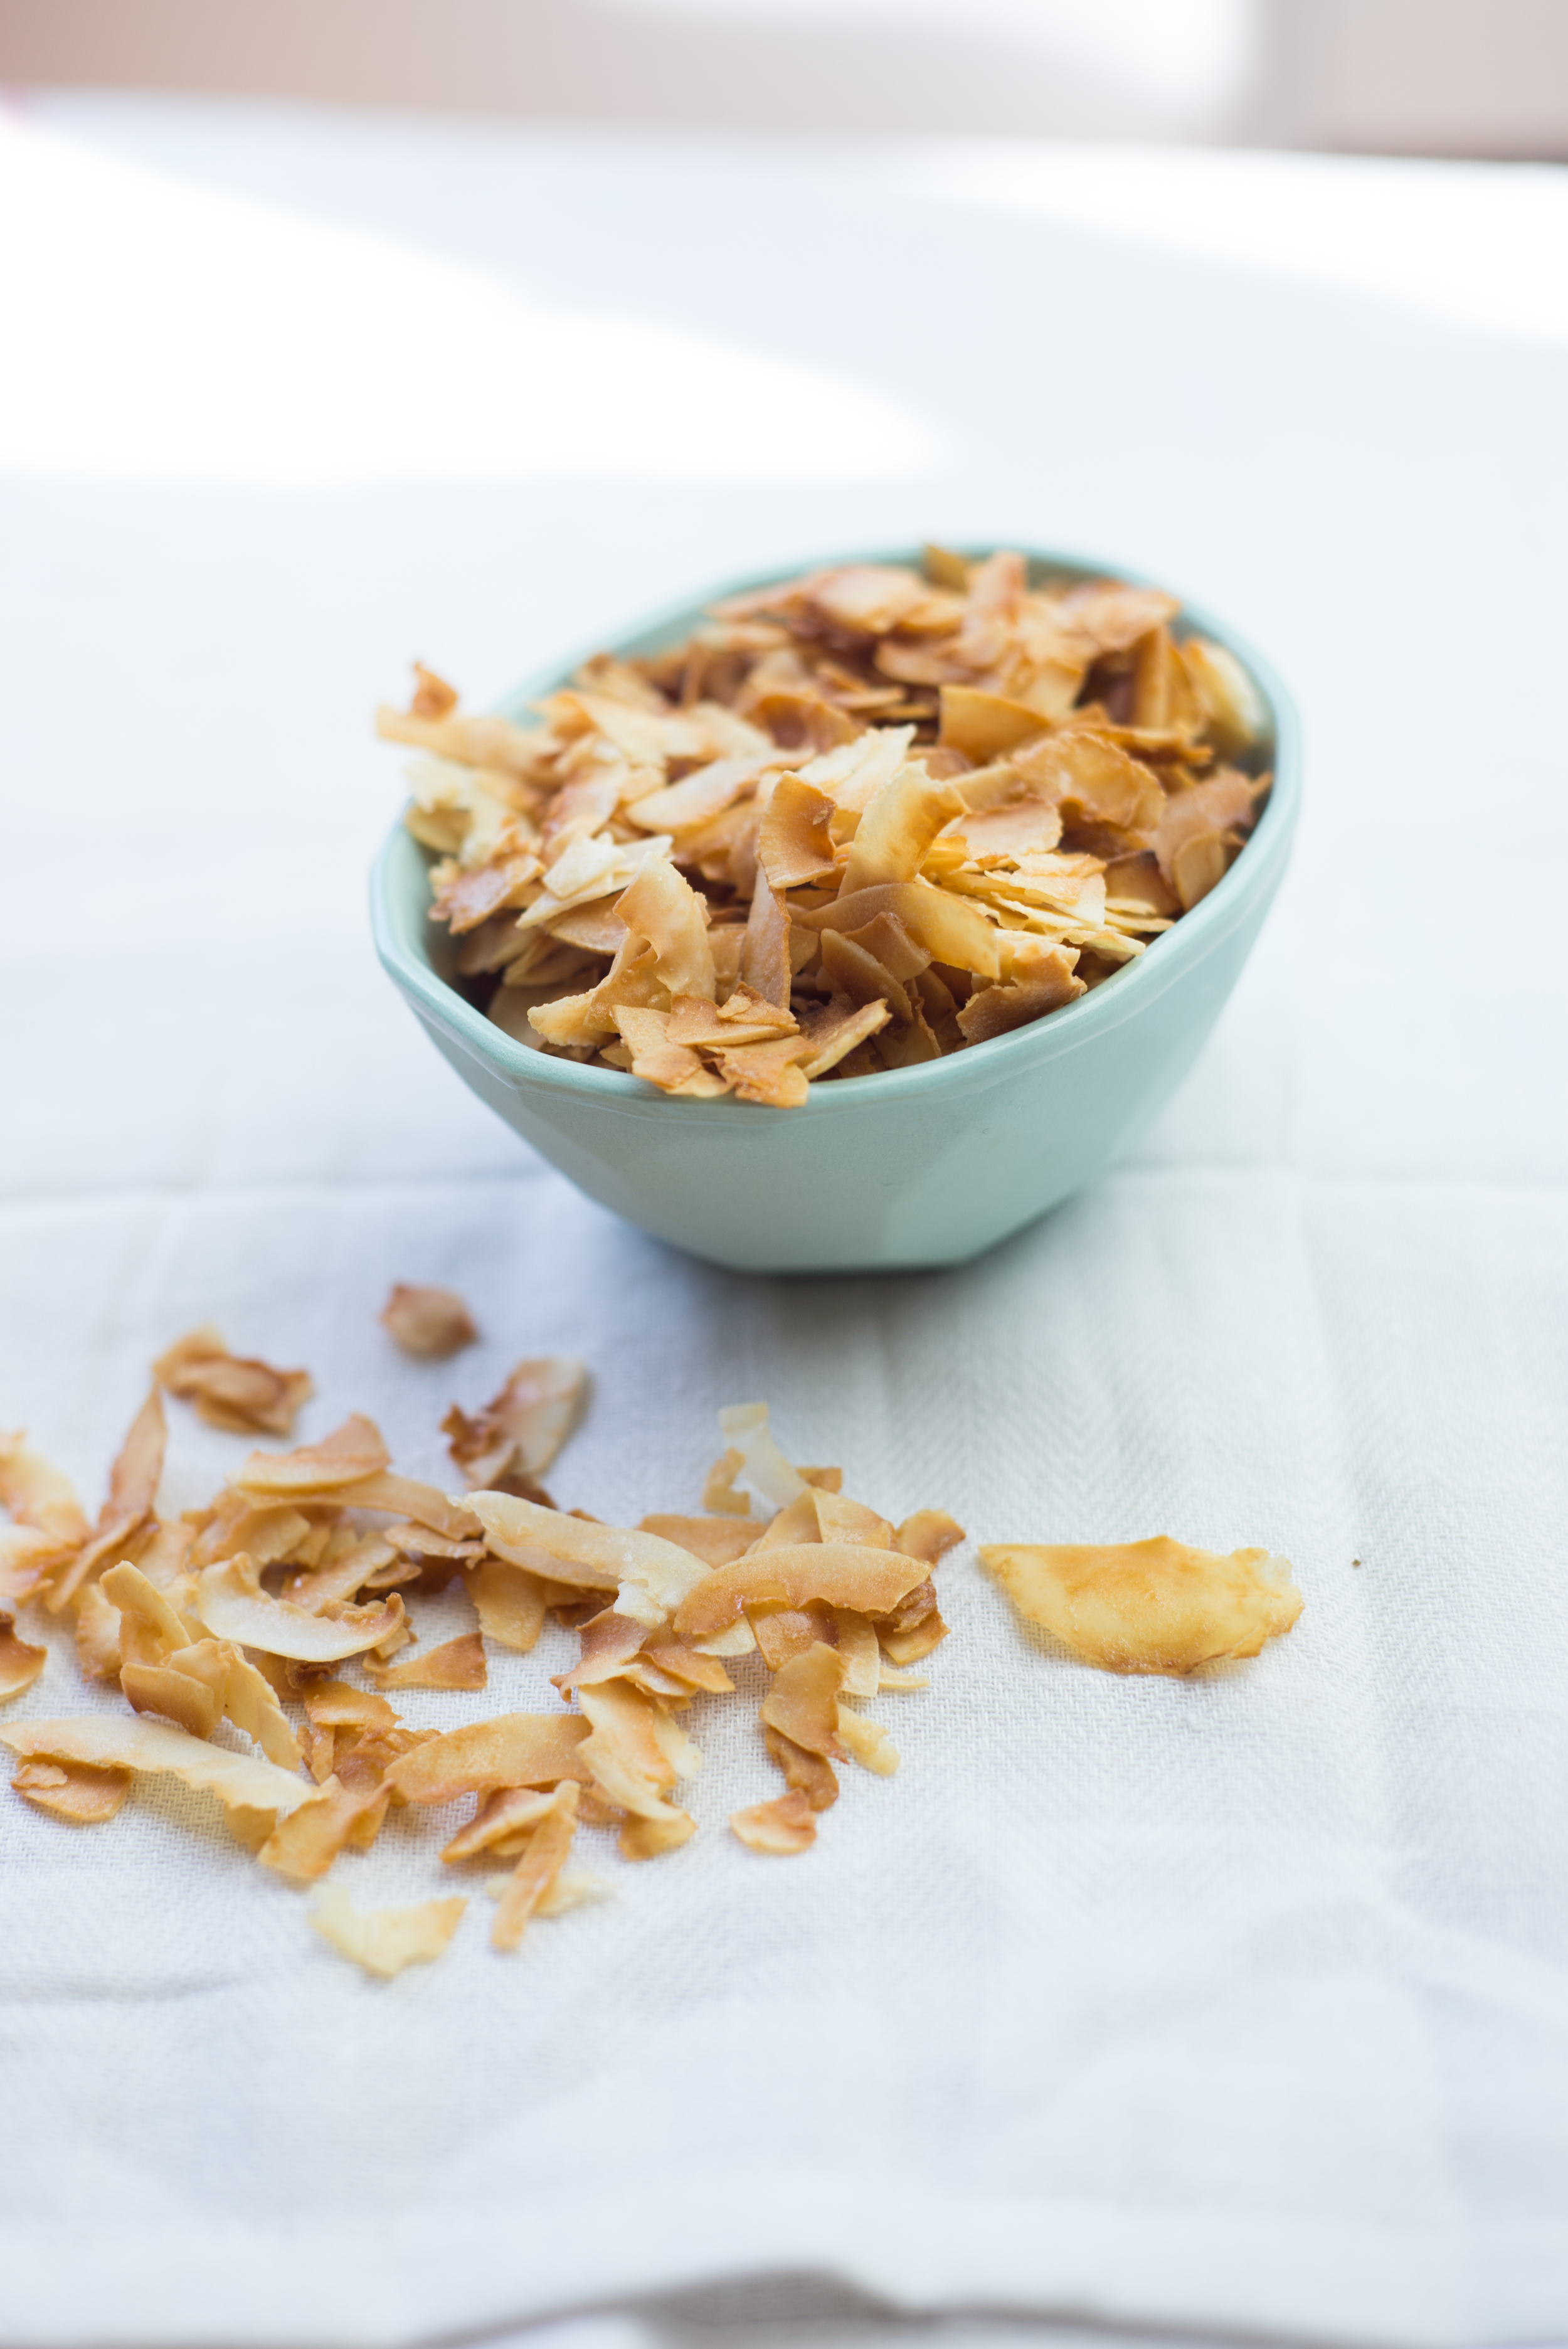
I'll definitely still be buying Dang as a treat, but I've been working on re-creating something just as satisfying at home. I think to truly recreate the thicker slices of coconut in Dang chips, fresh coconut would be required. This version, however, uses the coconut flakes that you can easily find inexpensively at your grocery store making this a super affordable alternative to those addicting Dang chips. This recipe is also SO incredibly easy, and makes a delicious snack or topping for all sorts of things - like ice cream, oatmeal, yogurt, smoothie bowls - the list goes on! 

But lets be honest... every time I've made these I end up eating more than half of them straight from their container. Handful by handful : ) And no one's judging if you do the exact same! 

Also, in case you missed my reference to ice cream before, I'm just going to reiterate it for you here. Because ice cream is pretty darn important. Chocolate ice cream (this is actually Talenti fudge brownie gelato... takin' it to the next level!) + toasted coconut chips = HEAVEN! 

Maybe someday I'll try what I think would be a more authentic version made from fresh coconut, but for now - this is the easiest and most affordable way to get my coconut snack on! 

Toasted Coconut Chips 

4 cups unsweetened coconut flakes 

1/4 cup maple syrup

a few pinches of sea salt 

  • In a medium bowl, drizzle maple syrup over coconut flakes. Sprinkle with salt. Gently stir to coat the coconut flakes evenly with the syrup without breaking too many of those nice big flakes. 
  • Spread coconut evenly over a baking sheet lined with parchment or a silicone baking mat. 
  • Bake at 375 degrees for about 20 minutes, until the coconut is lightly browned and starting to crisp. You'll want to stir it every 5 minutes or so for the entire baking time. 
  • Let coconut cool completely, then store in an airtight container. 

Comment