Viewing entries in
snacks

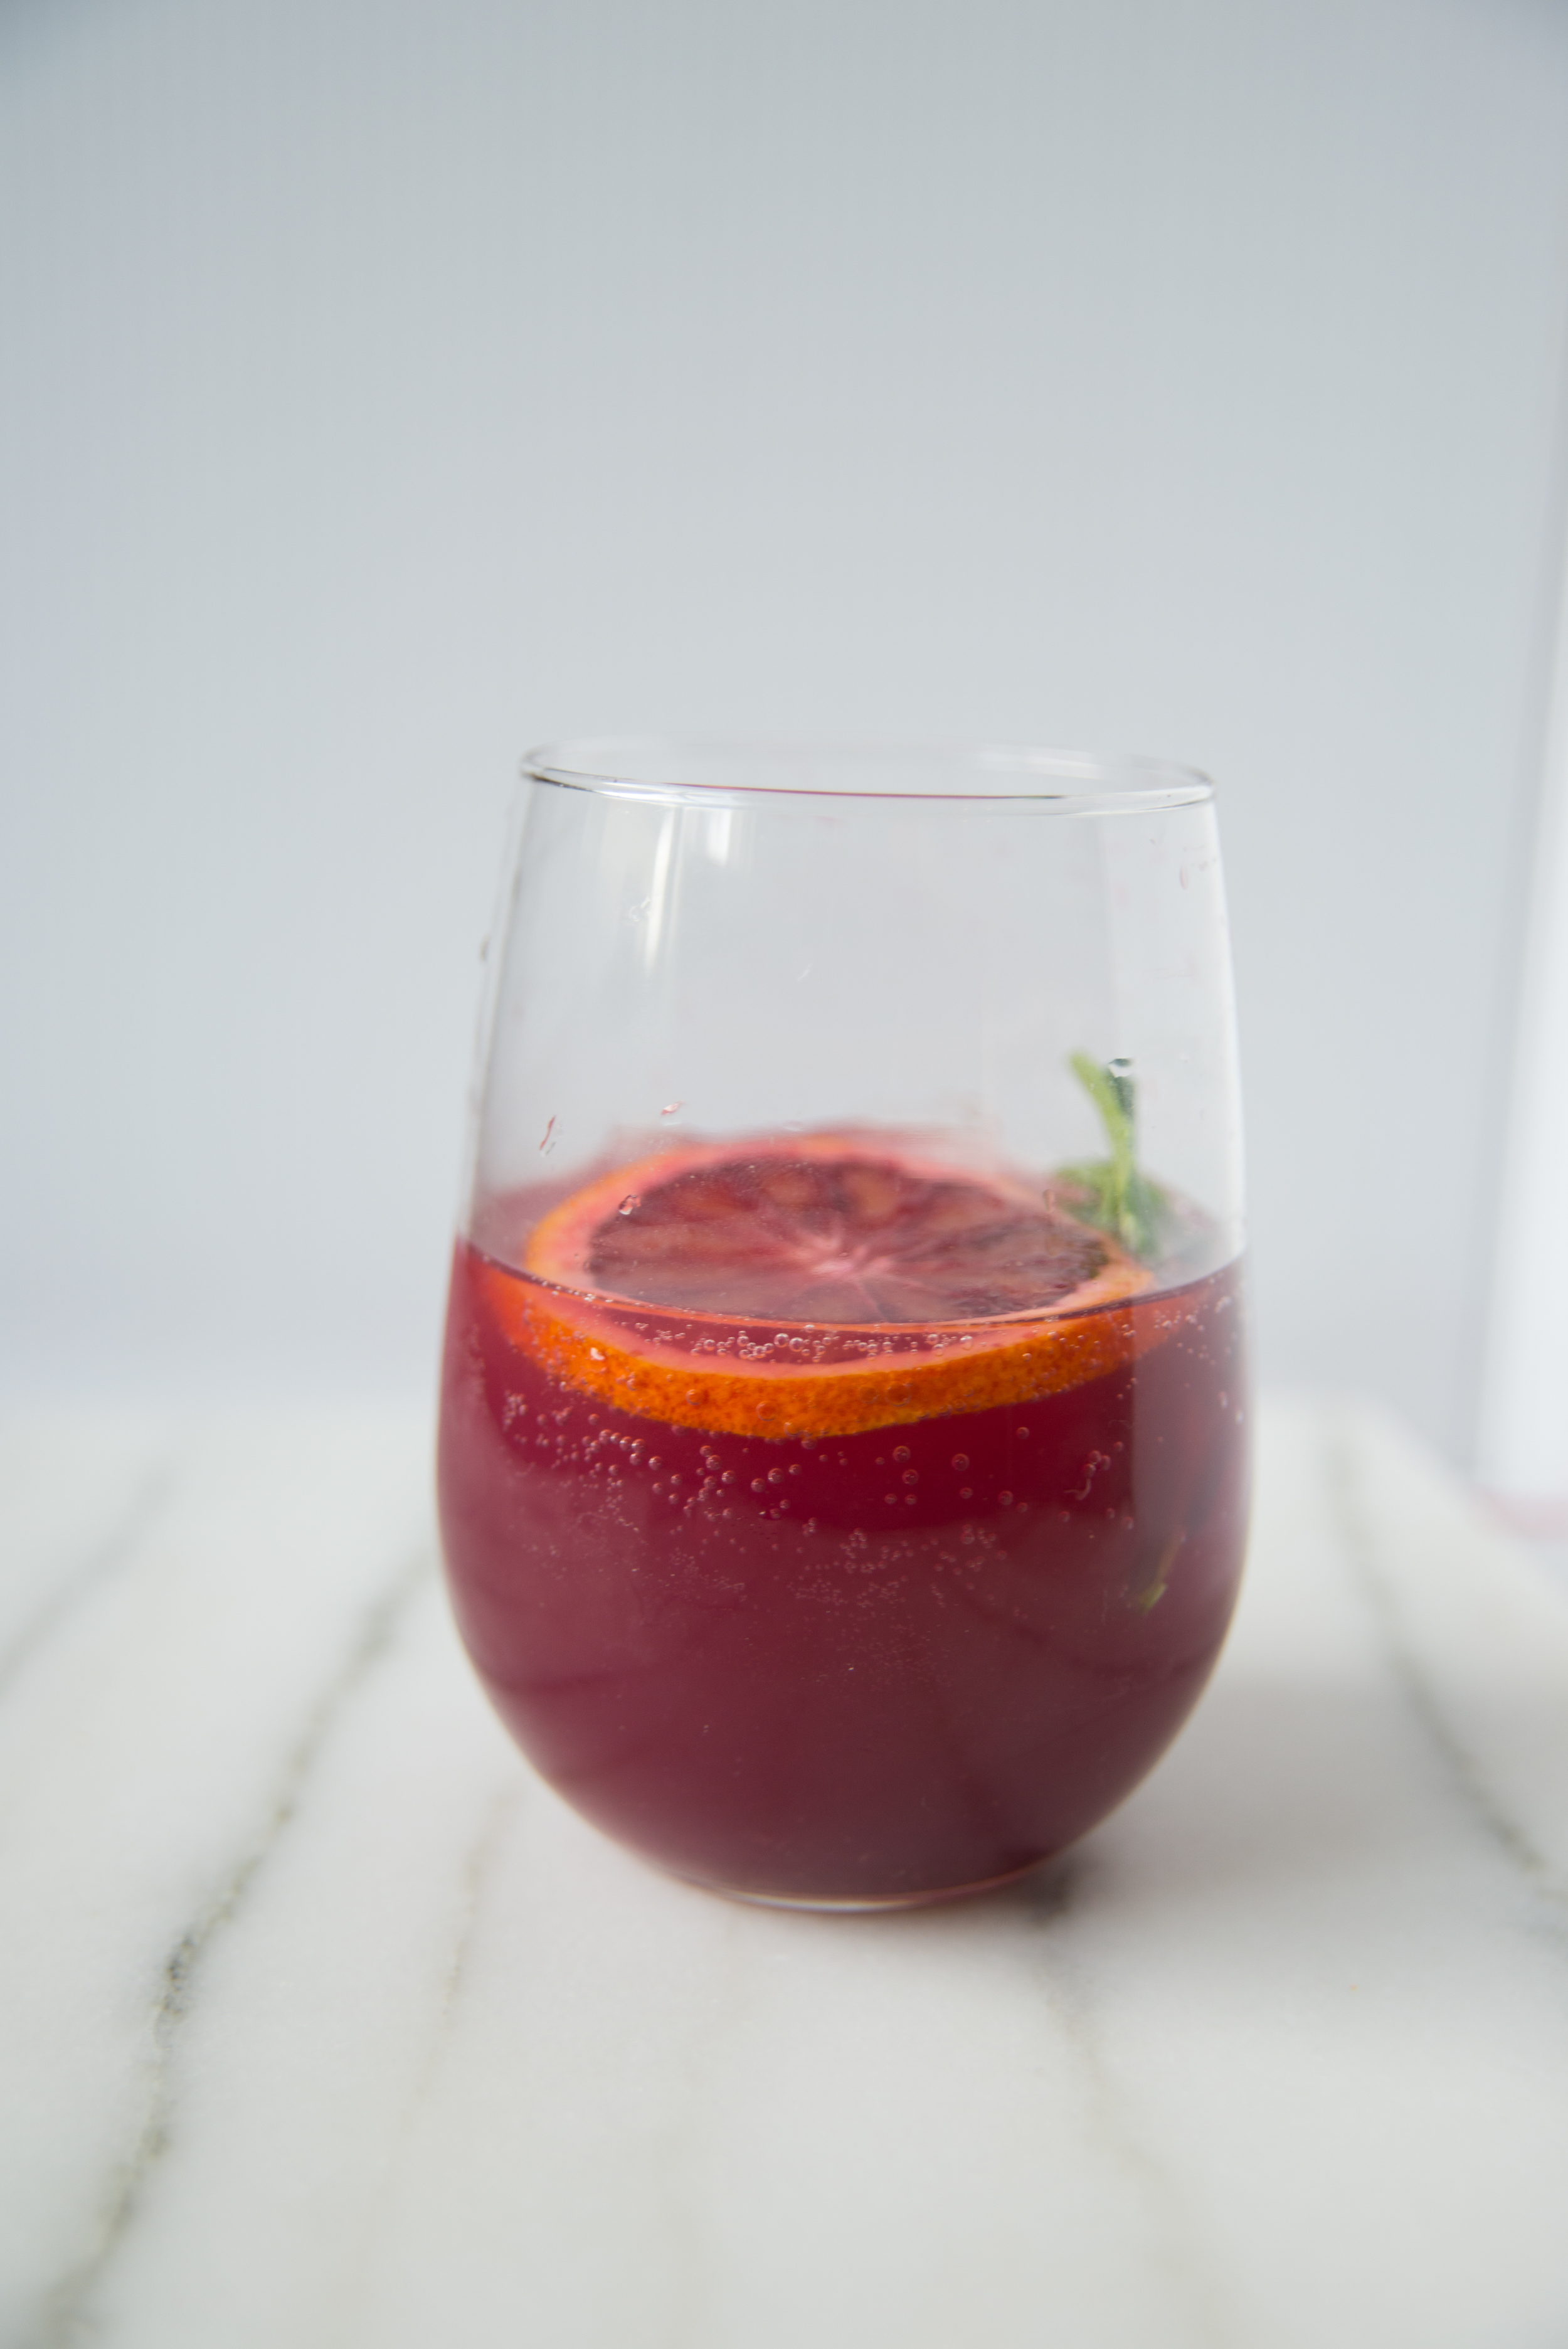
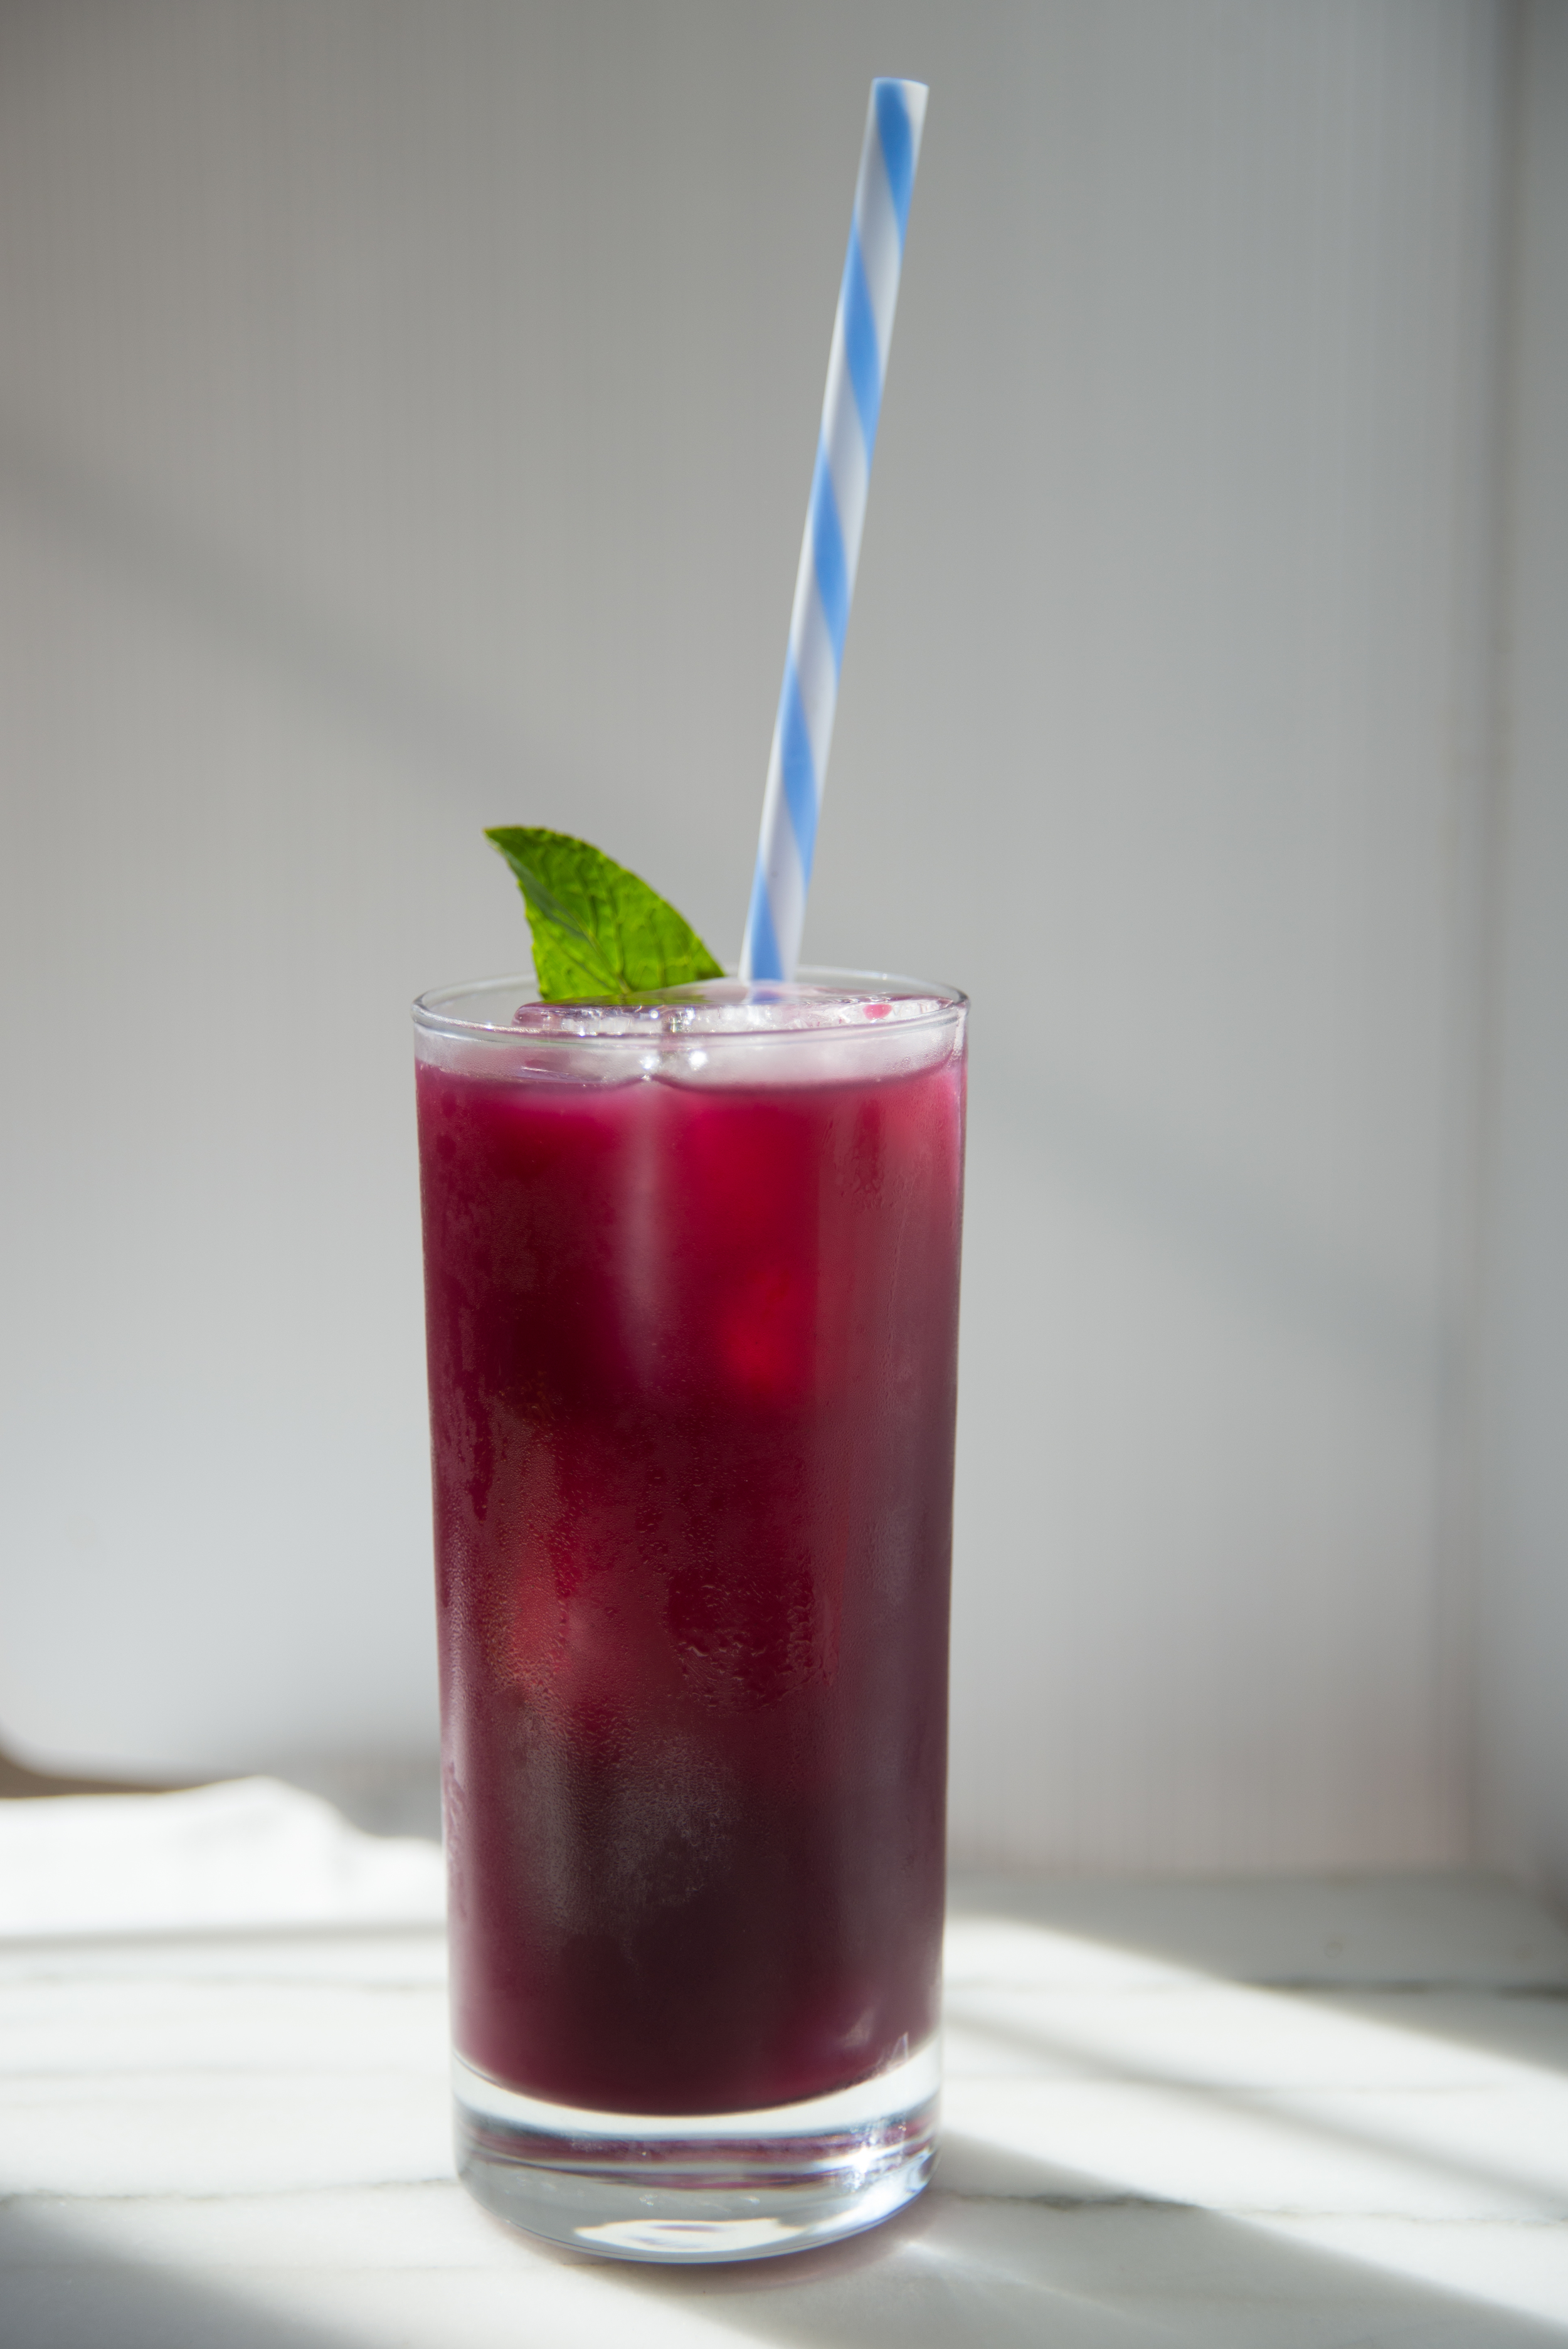
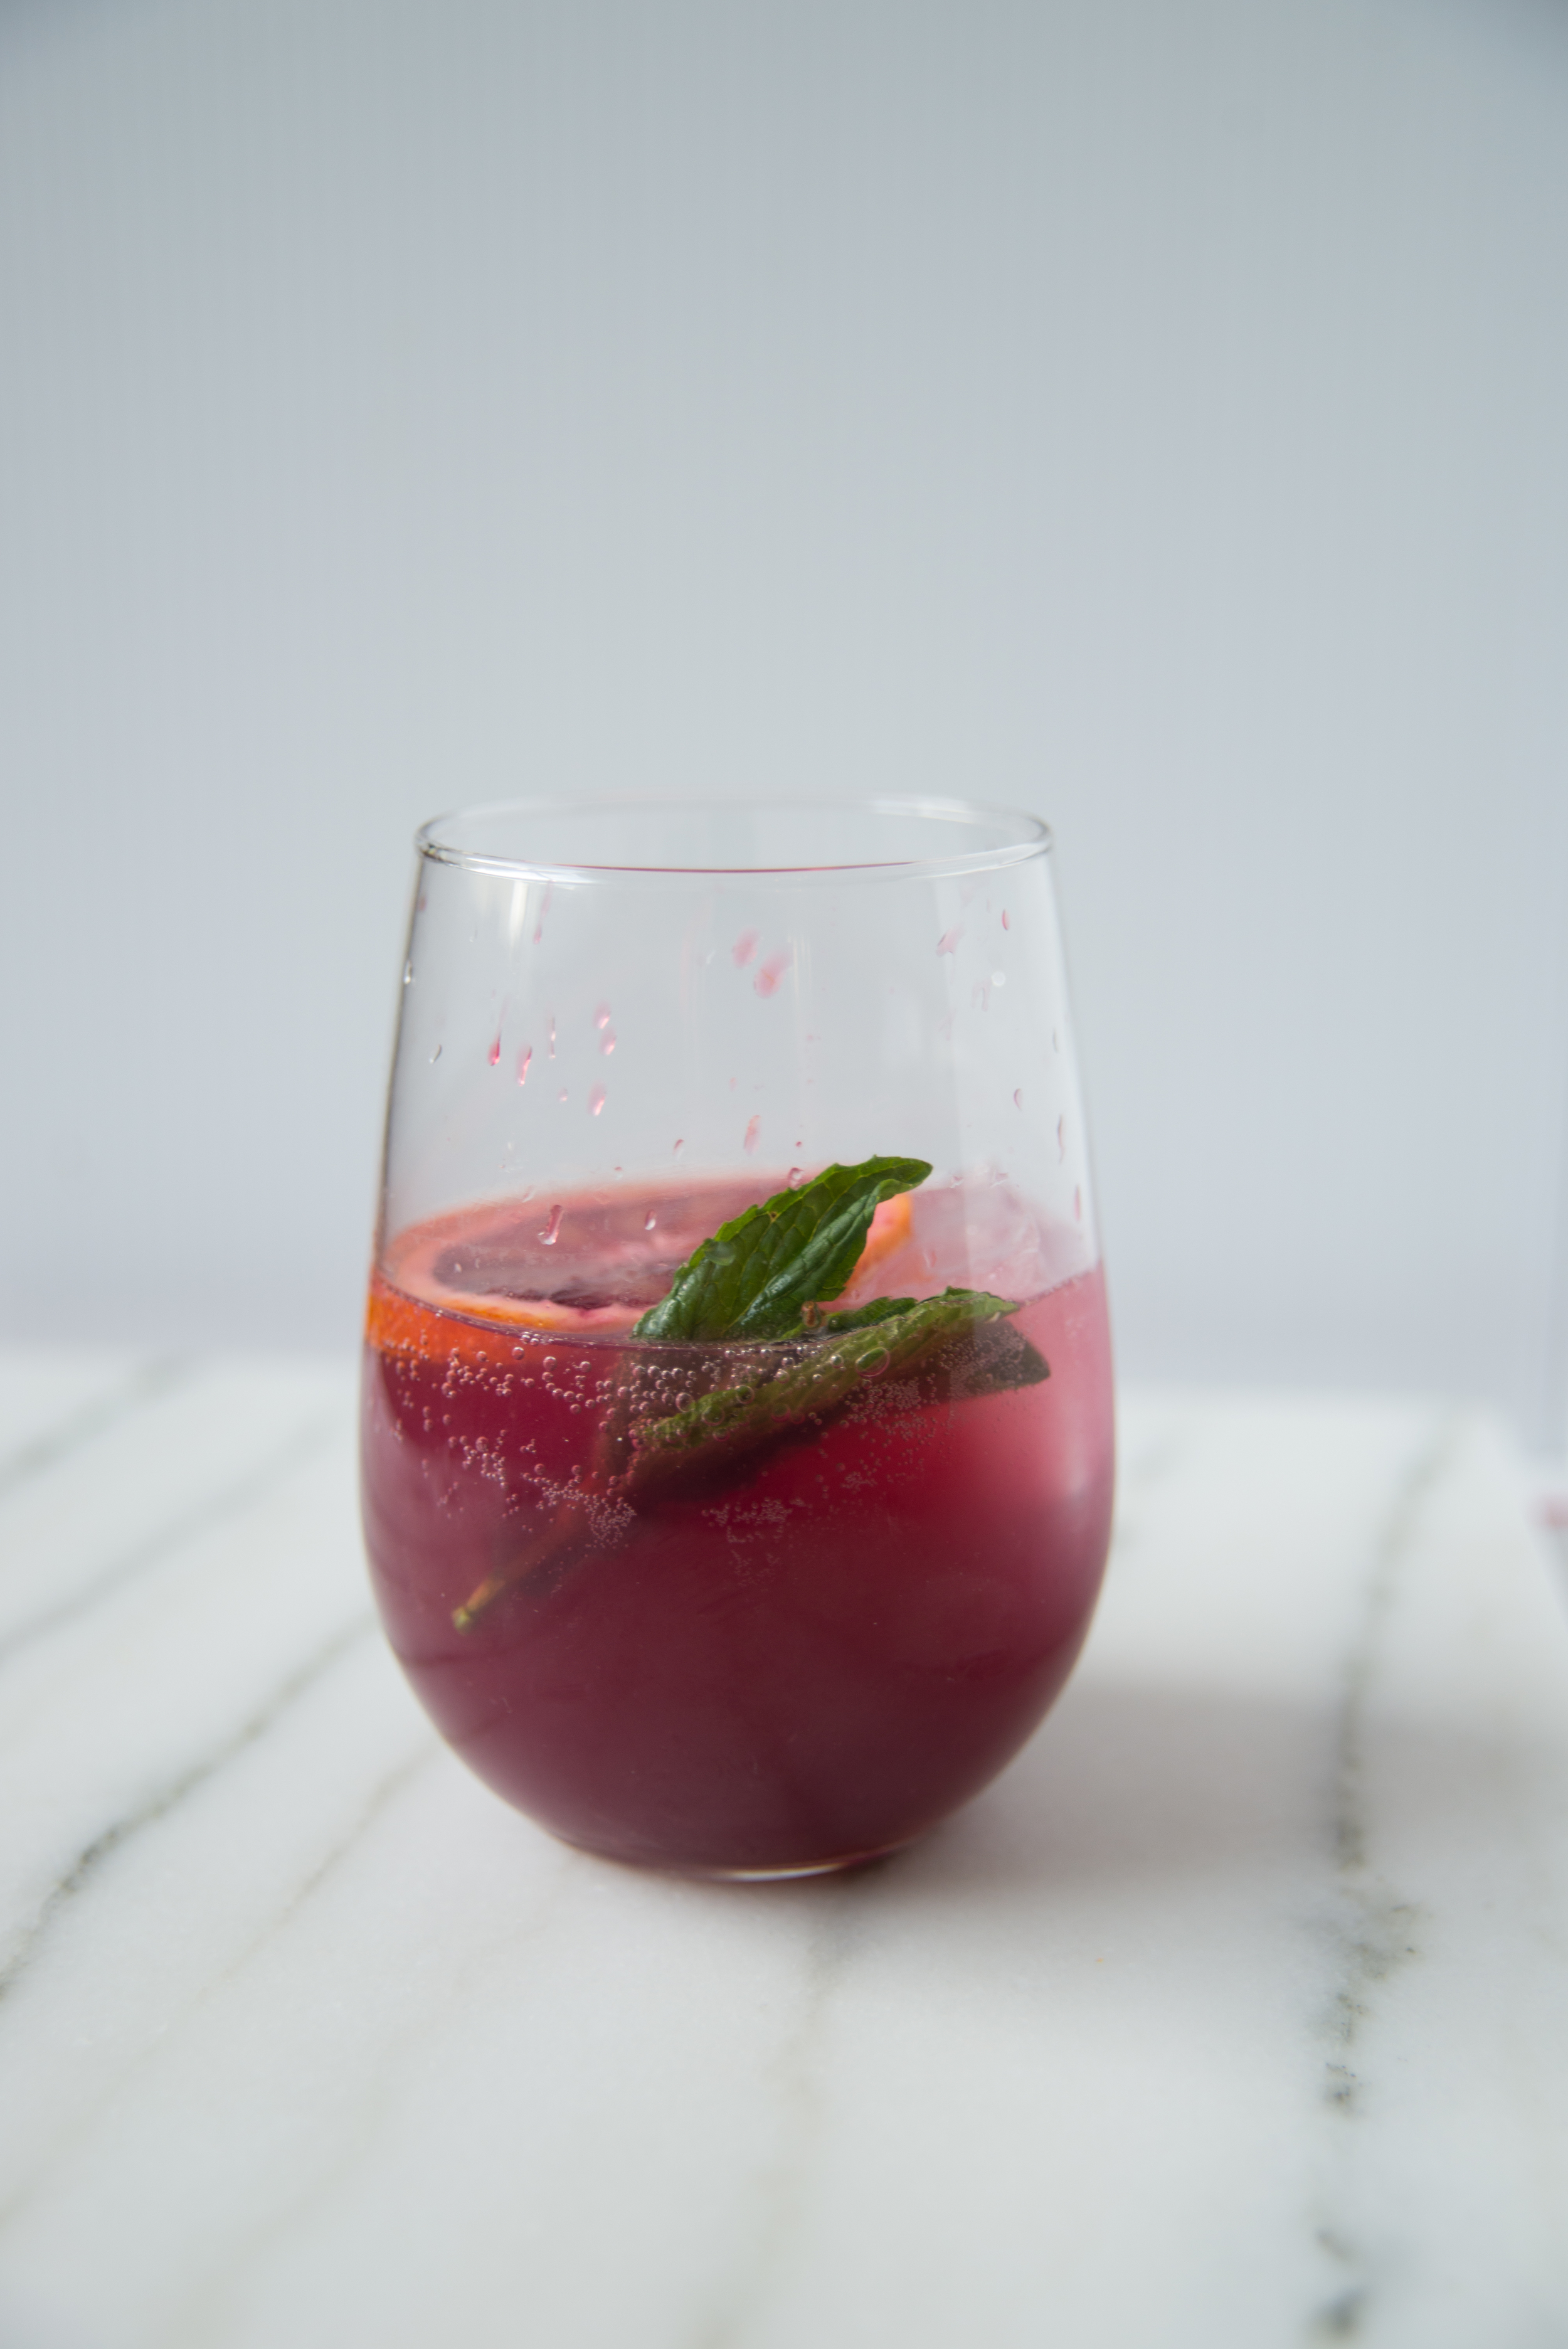
Blueberry Mint Rhubarbade

Comment

Blueberry Mint Rhubarbade

One of my favorite things about living in a new place is exploring the seasons in a new way, always a little unsure exactly when they'll show up and what new surprises they'll bring. An early and out-of-control beautiful spring has been one of my favorite seasonal surprises in Portland thus far. If you haven't been, I might just go so far as to say that this is the absolute best time to be here! 

Come on and visit! 

And with spring comes rhubarb, glorious magical perfectly tart rhubarb! While it definitely isn't a fruit, rhubarb always gets me excited for the progression of fruit harvests to follow. Each spring, it's the first taste of the seasons to really beg my attention in the kitchen.  Rhubarb is so unique in it's flavor, requiring a bit of coaxing to really make it sing - something to balance that characteristic sour flavor. 

Lucky for me, there always seems to be some blueberries lurking in the freezer this time of year, and blueberries make a great compliment to rhubarb before the strawberries start to show their beautiful red flesh. Blueberries are so incredibly easy to freeze, I always freeze way more of them than I need... and not enough of things like strawberries and cherries that require more work to freeze and disappear before the holidays. Thankfully, rhubarb season always solves that with things like this refreshing drink and blueberry rhubarb crisps! 

This rhubarbade is perfect for my fellow rhubarb lovers and folks who aren't quite sure about that tart stalk just yet. The floral scent of the rhubarb perfectly balancing the blueberries and mint. Pour it over ice and drink it straight, or try it with a little Ransom Old Tom Gin mixed in! 

Blueberry Mint Rhubarb-ade

2 cups blueberries (fresh or frozen) 

1 cup fresh mint 

1/2 lb rhubarb, roughly chopped 

1/4 cup sugar (or another sweetener!) 

5 cups water 

2 Tbsp lemon juice 

  • Combine all ingredients in a blender and blend on high for 1-2 minutes, until it's really smooth. 
  • While the juice is blending, set up a strainer over a jar or bowl. I used a nut-milk bag over a mesh strainer, but you could use just the mesh strainer or add cheesecloth or a clean towel to keep the final product totally pulp-free. 
  • Pour the juice through the strainer to remove the pulp, and viola - rhubarbade! 
  • The rhubarbade will keep in the refrigerator for about a week. 


Comment

Toasted Coconut Chips

Comment

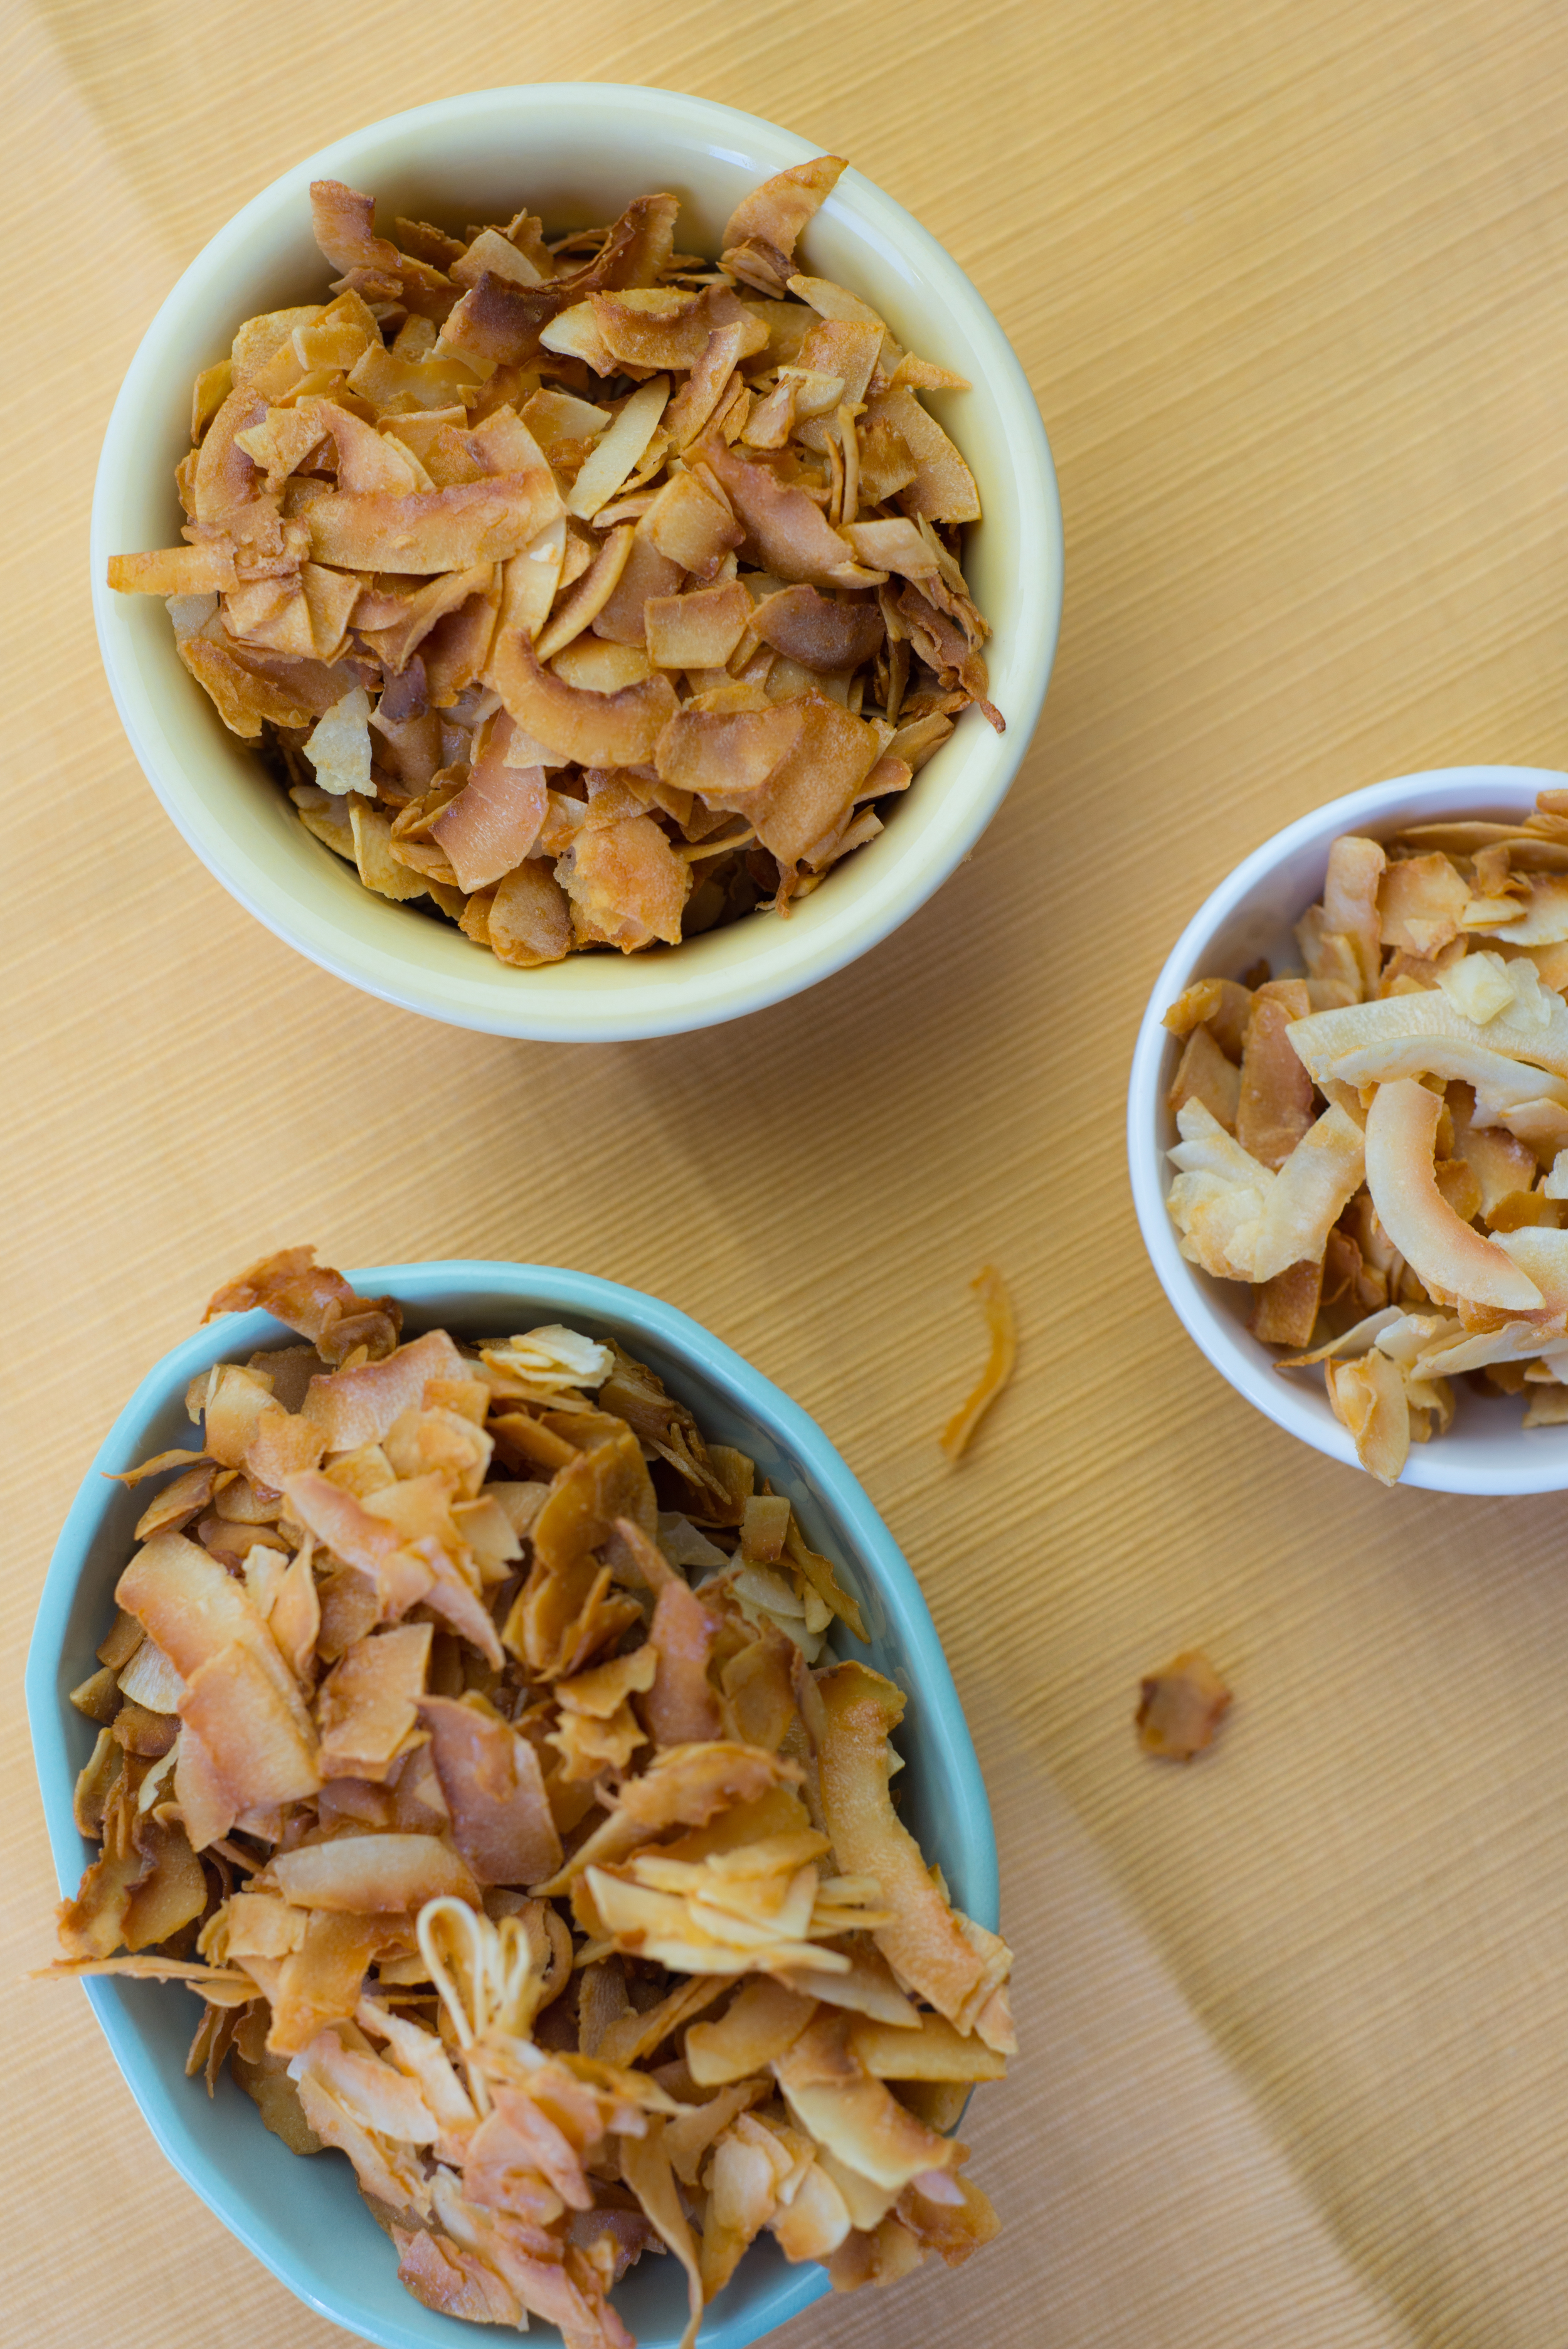
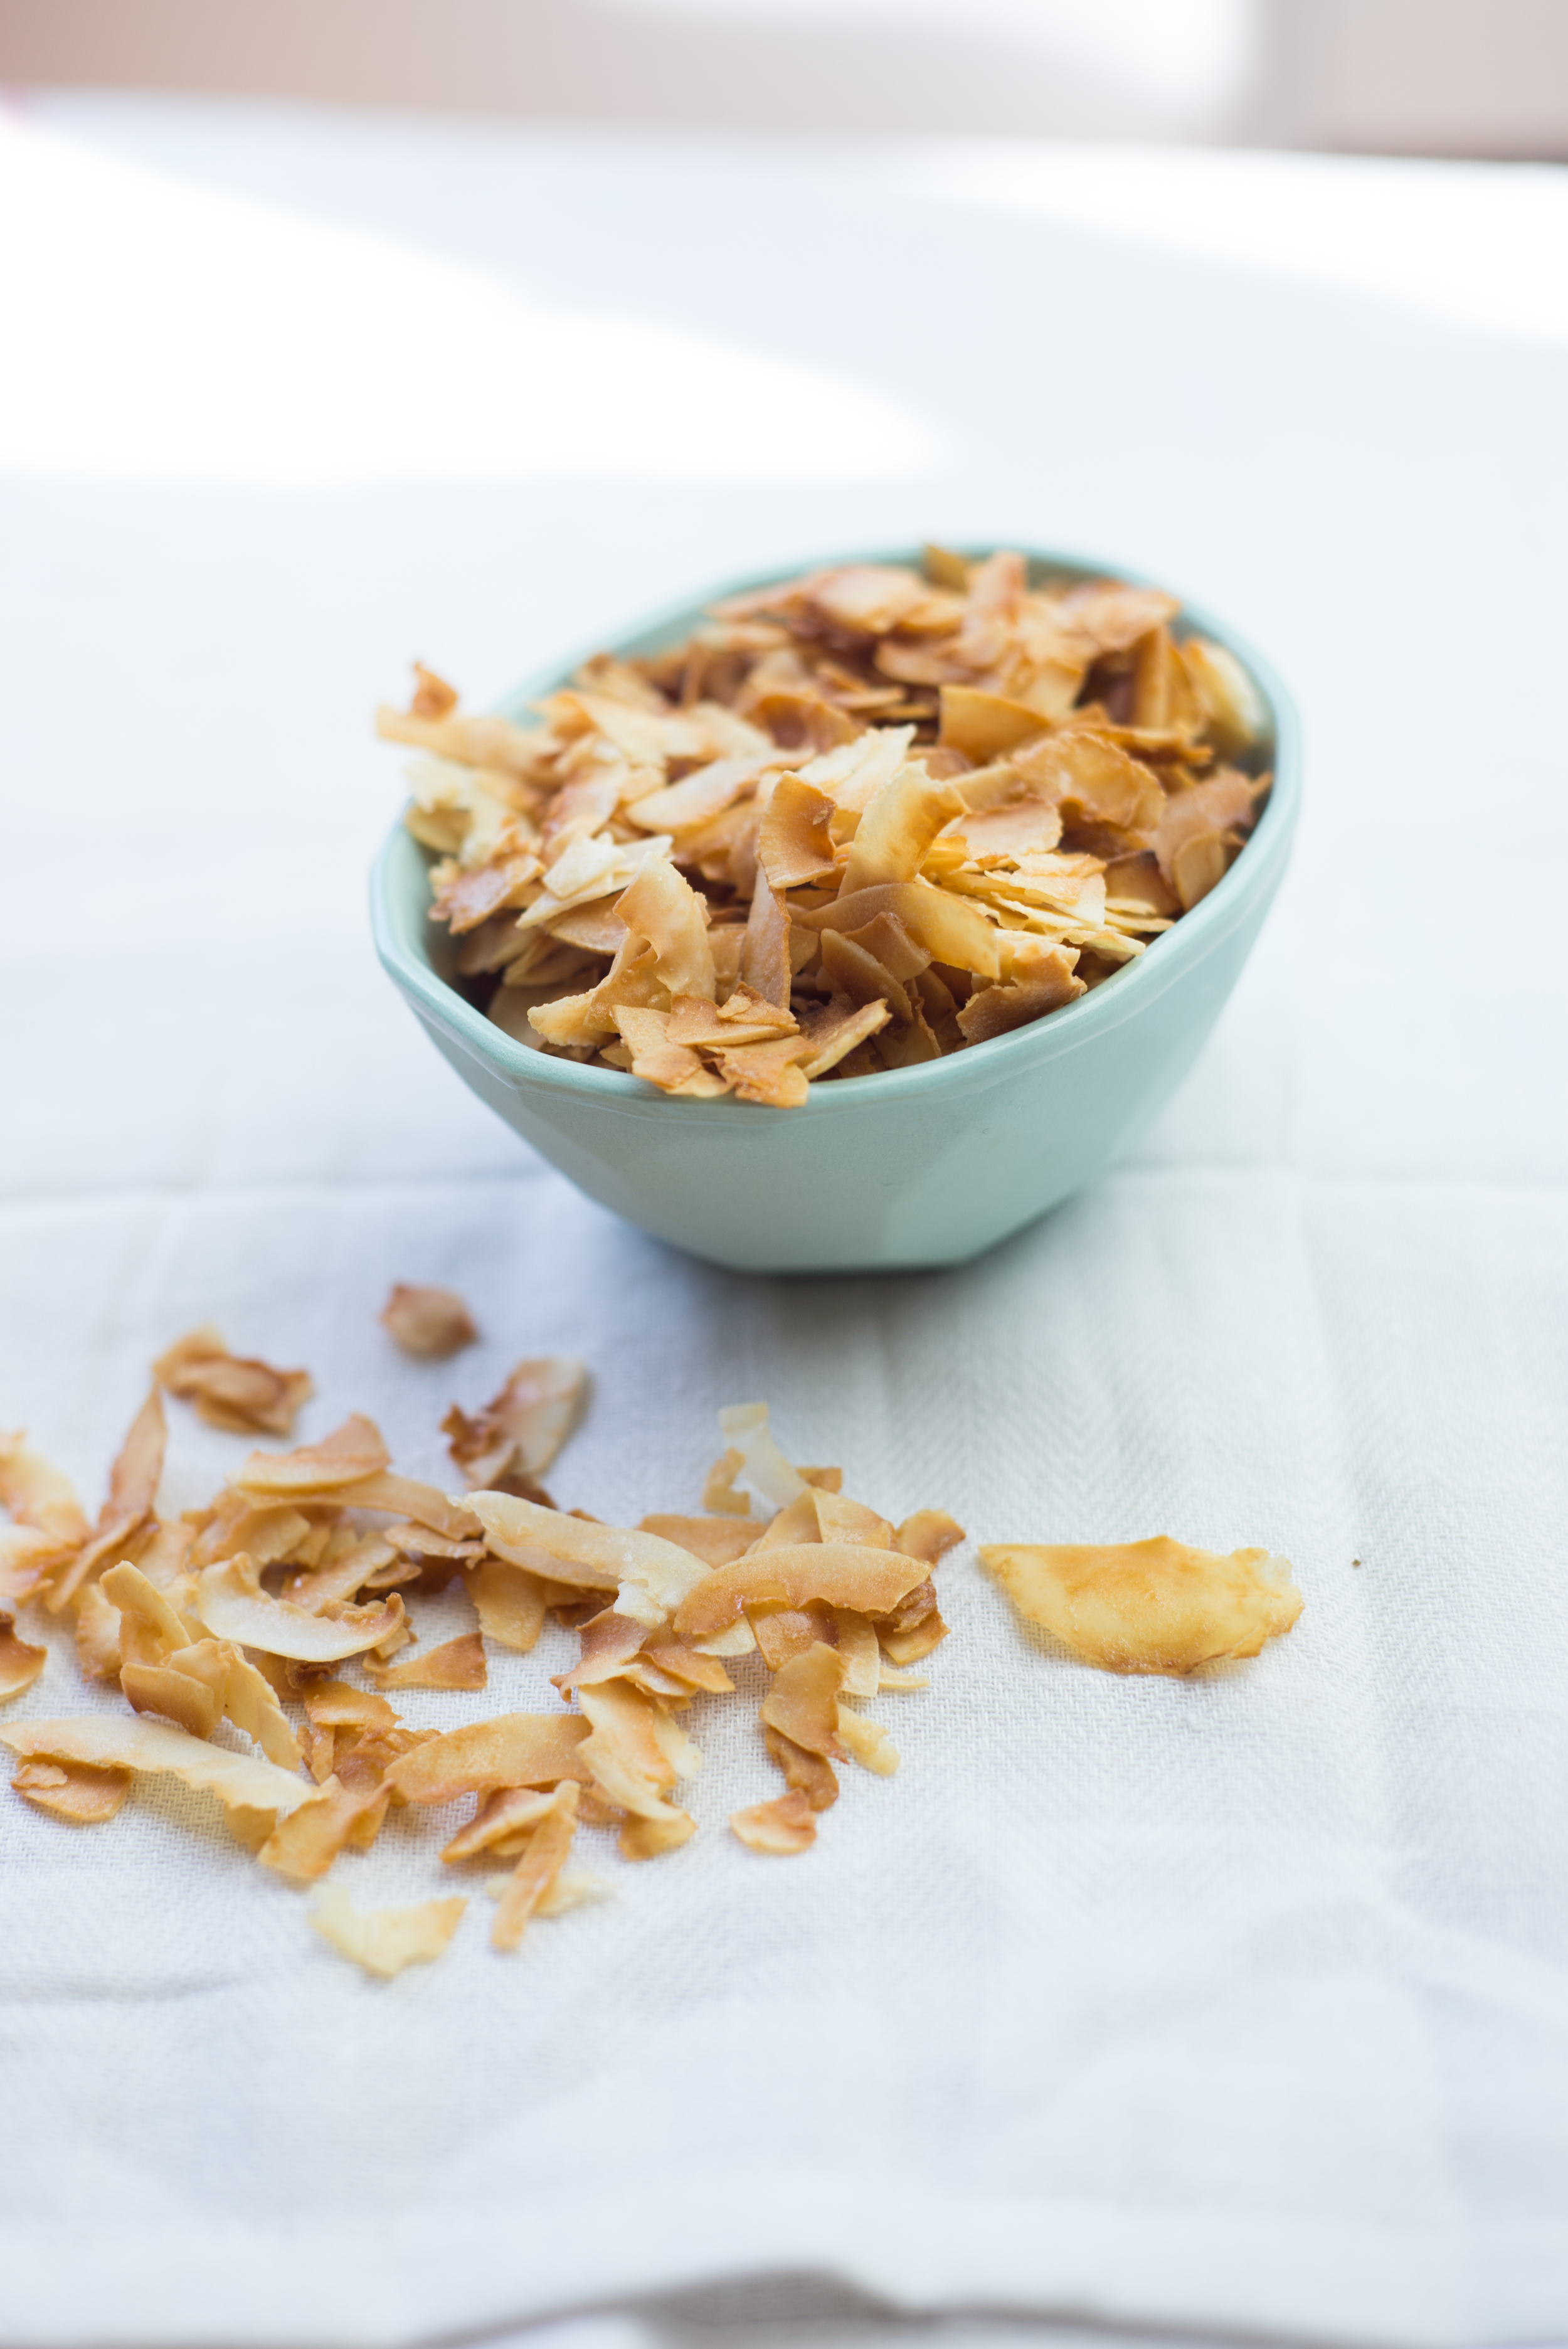
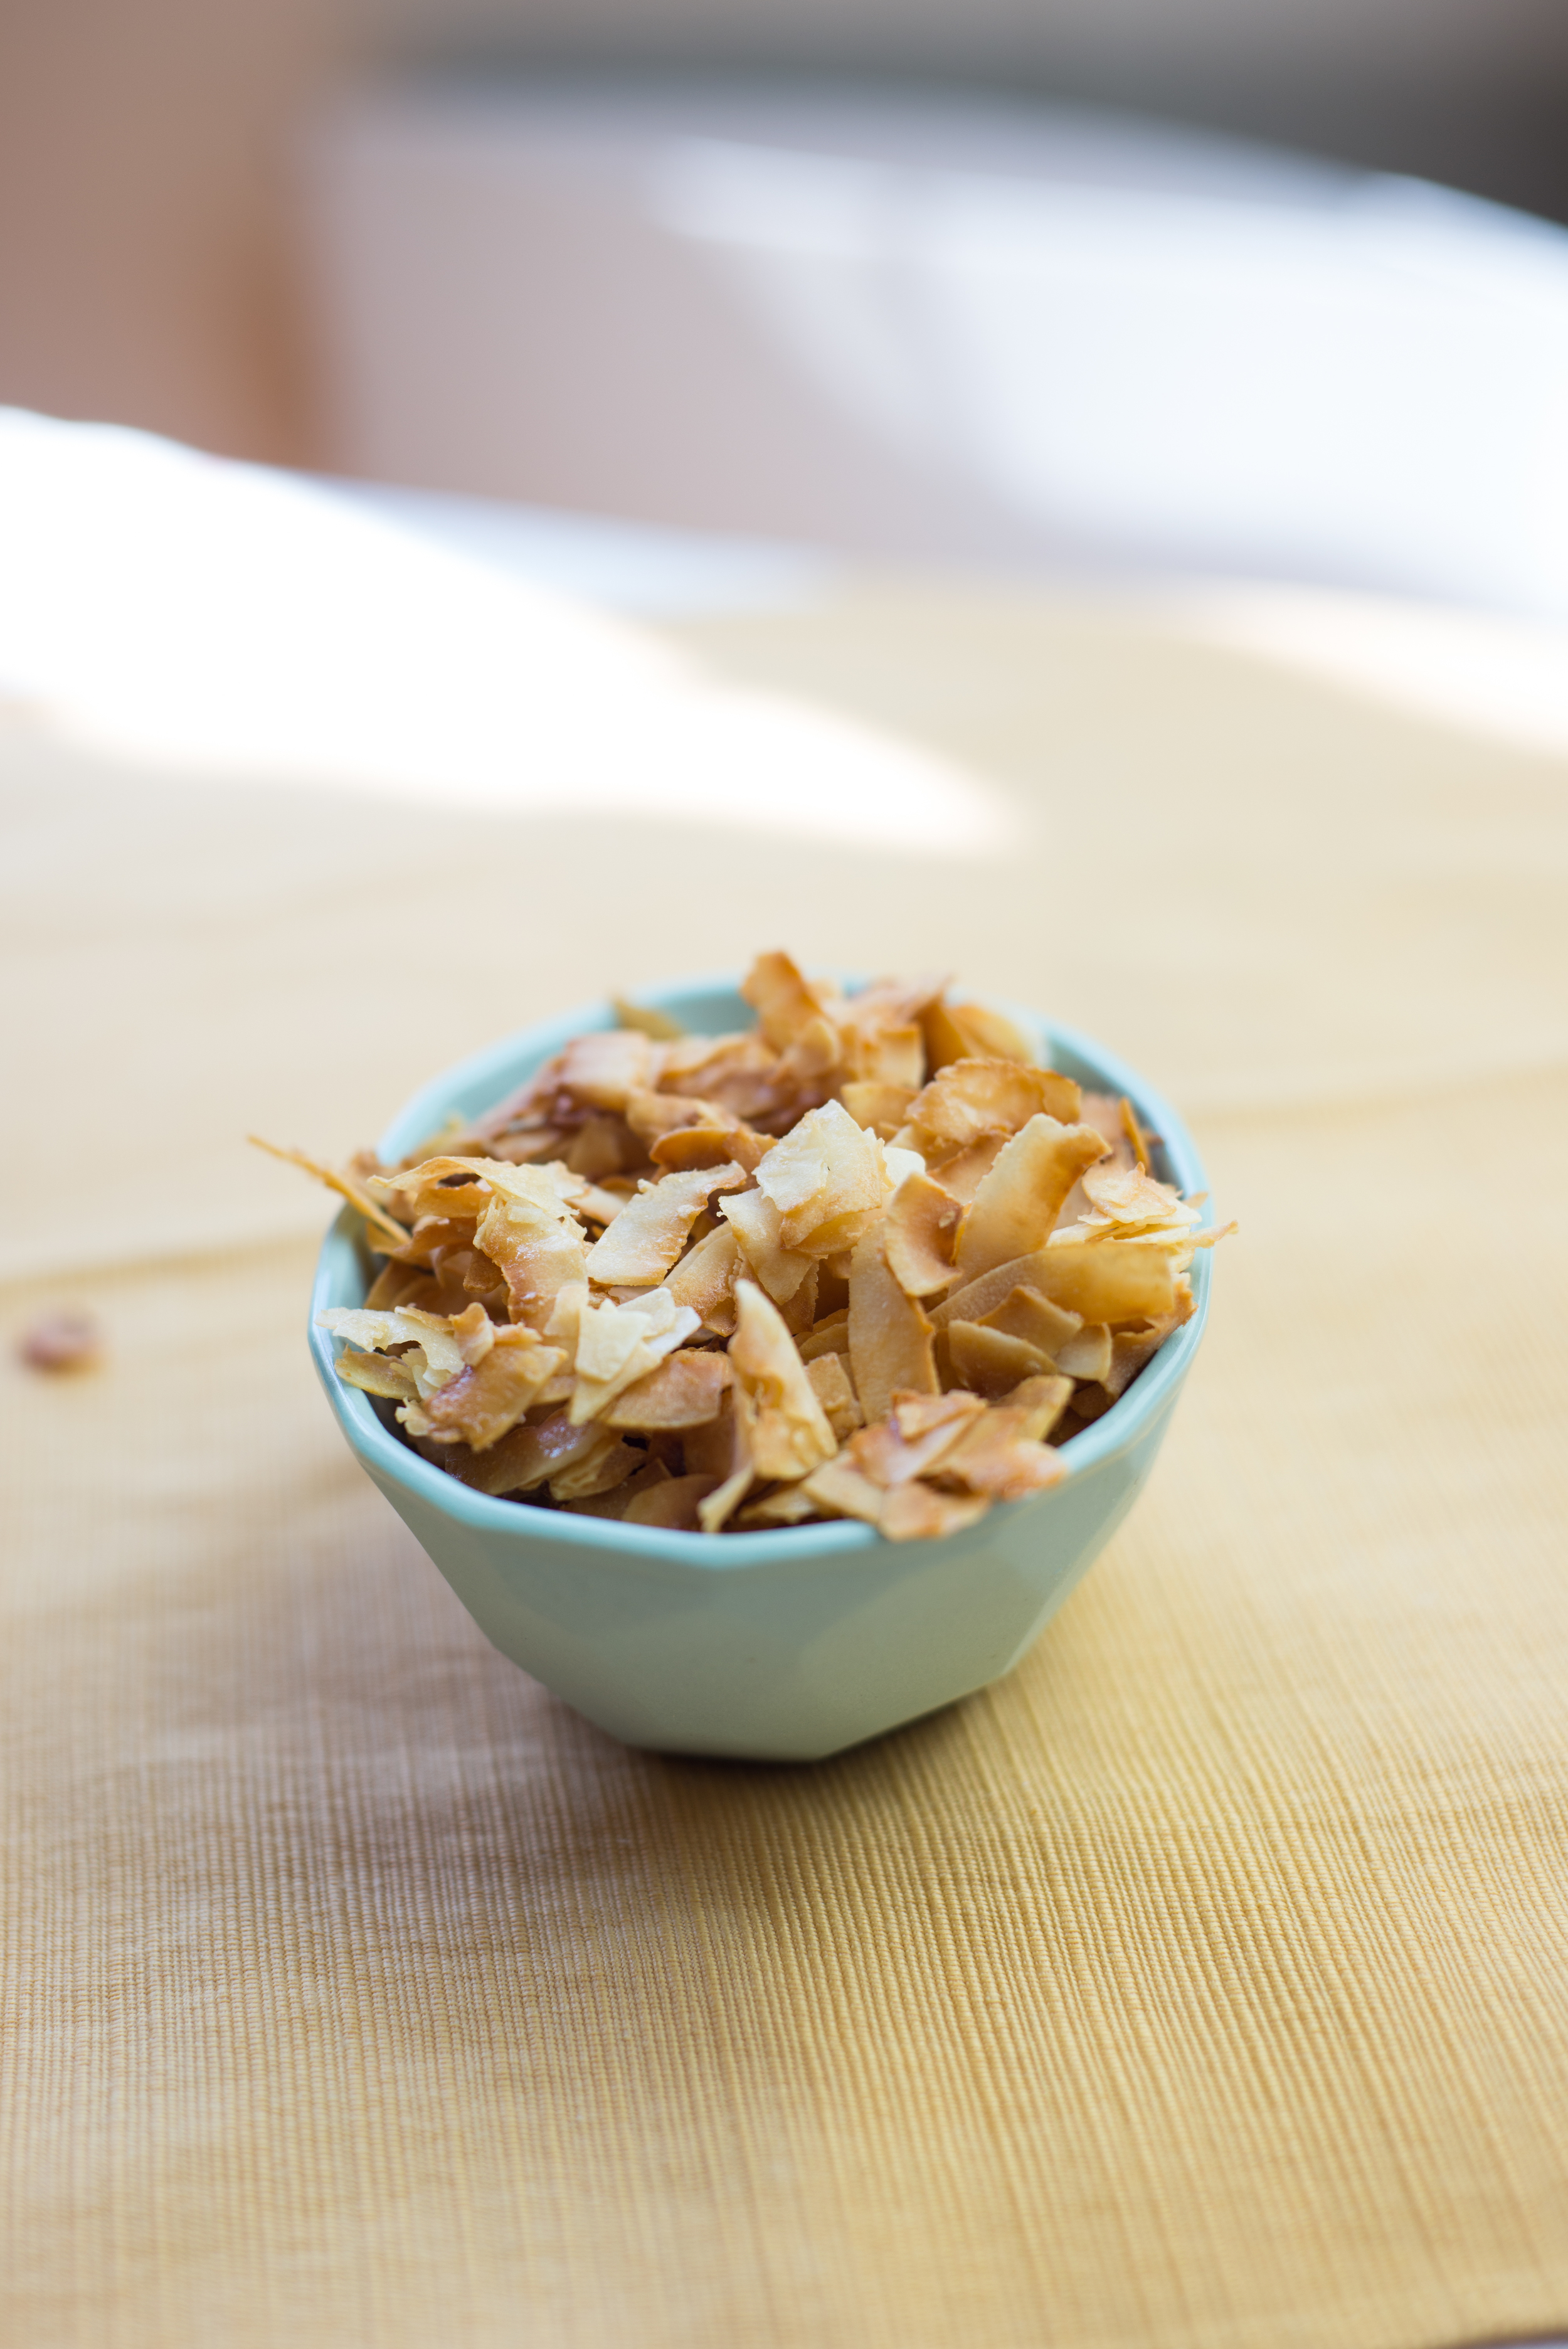
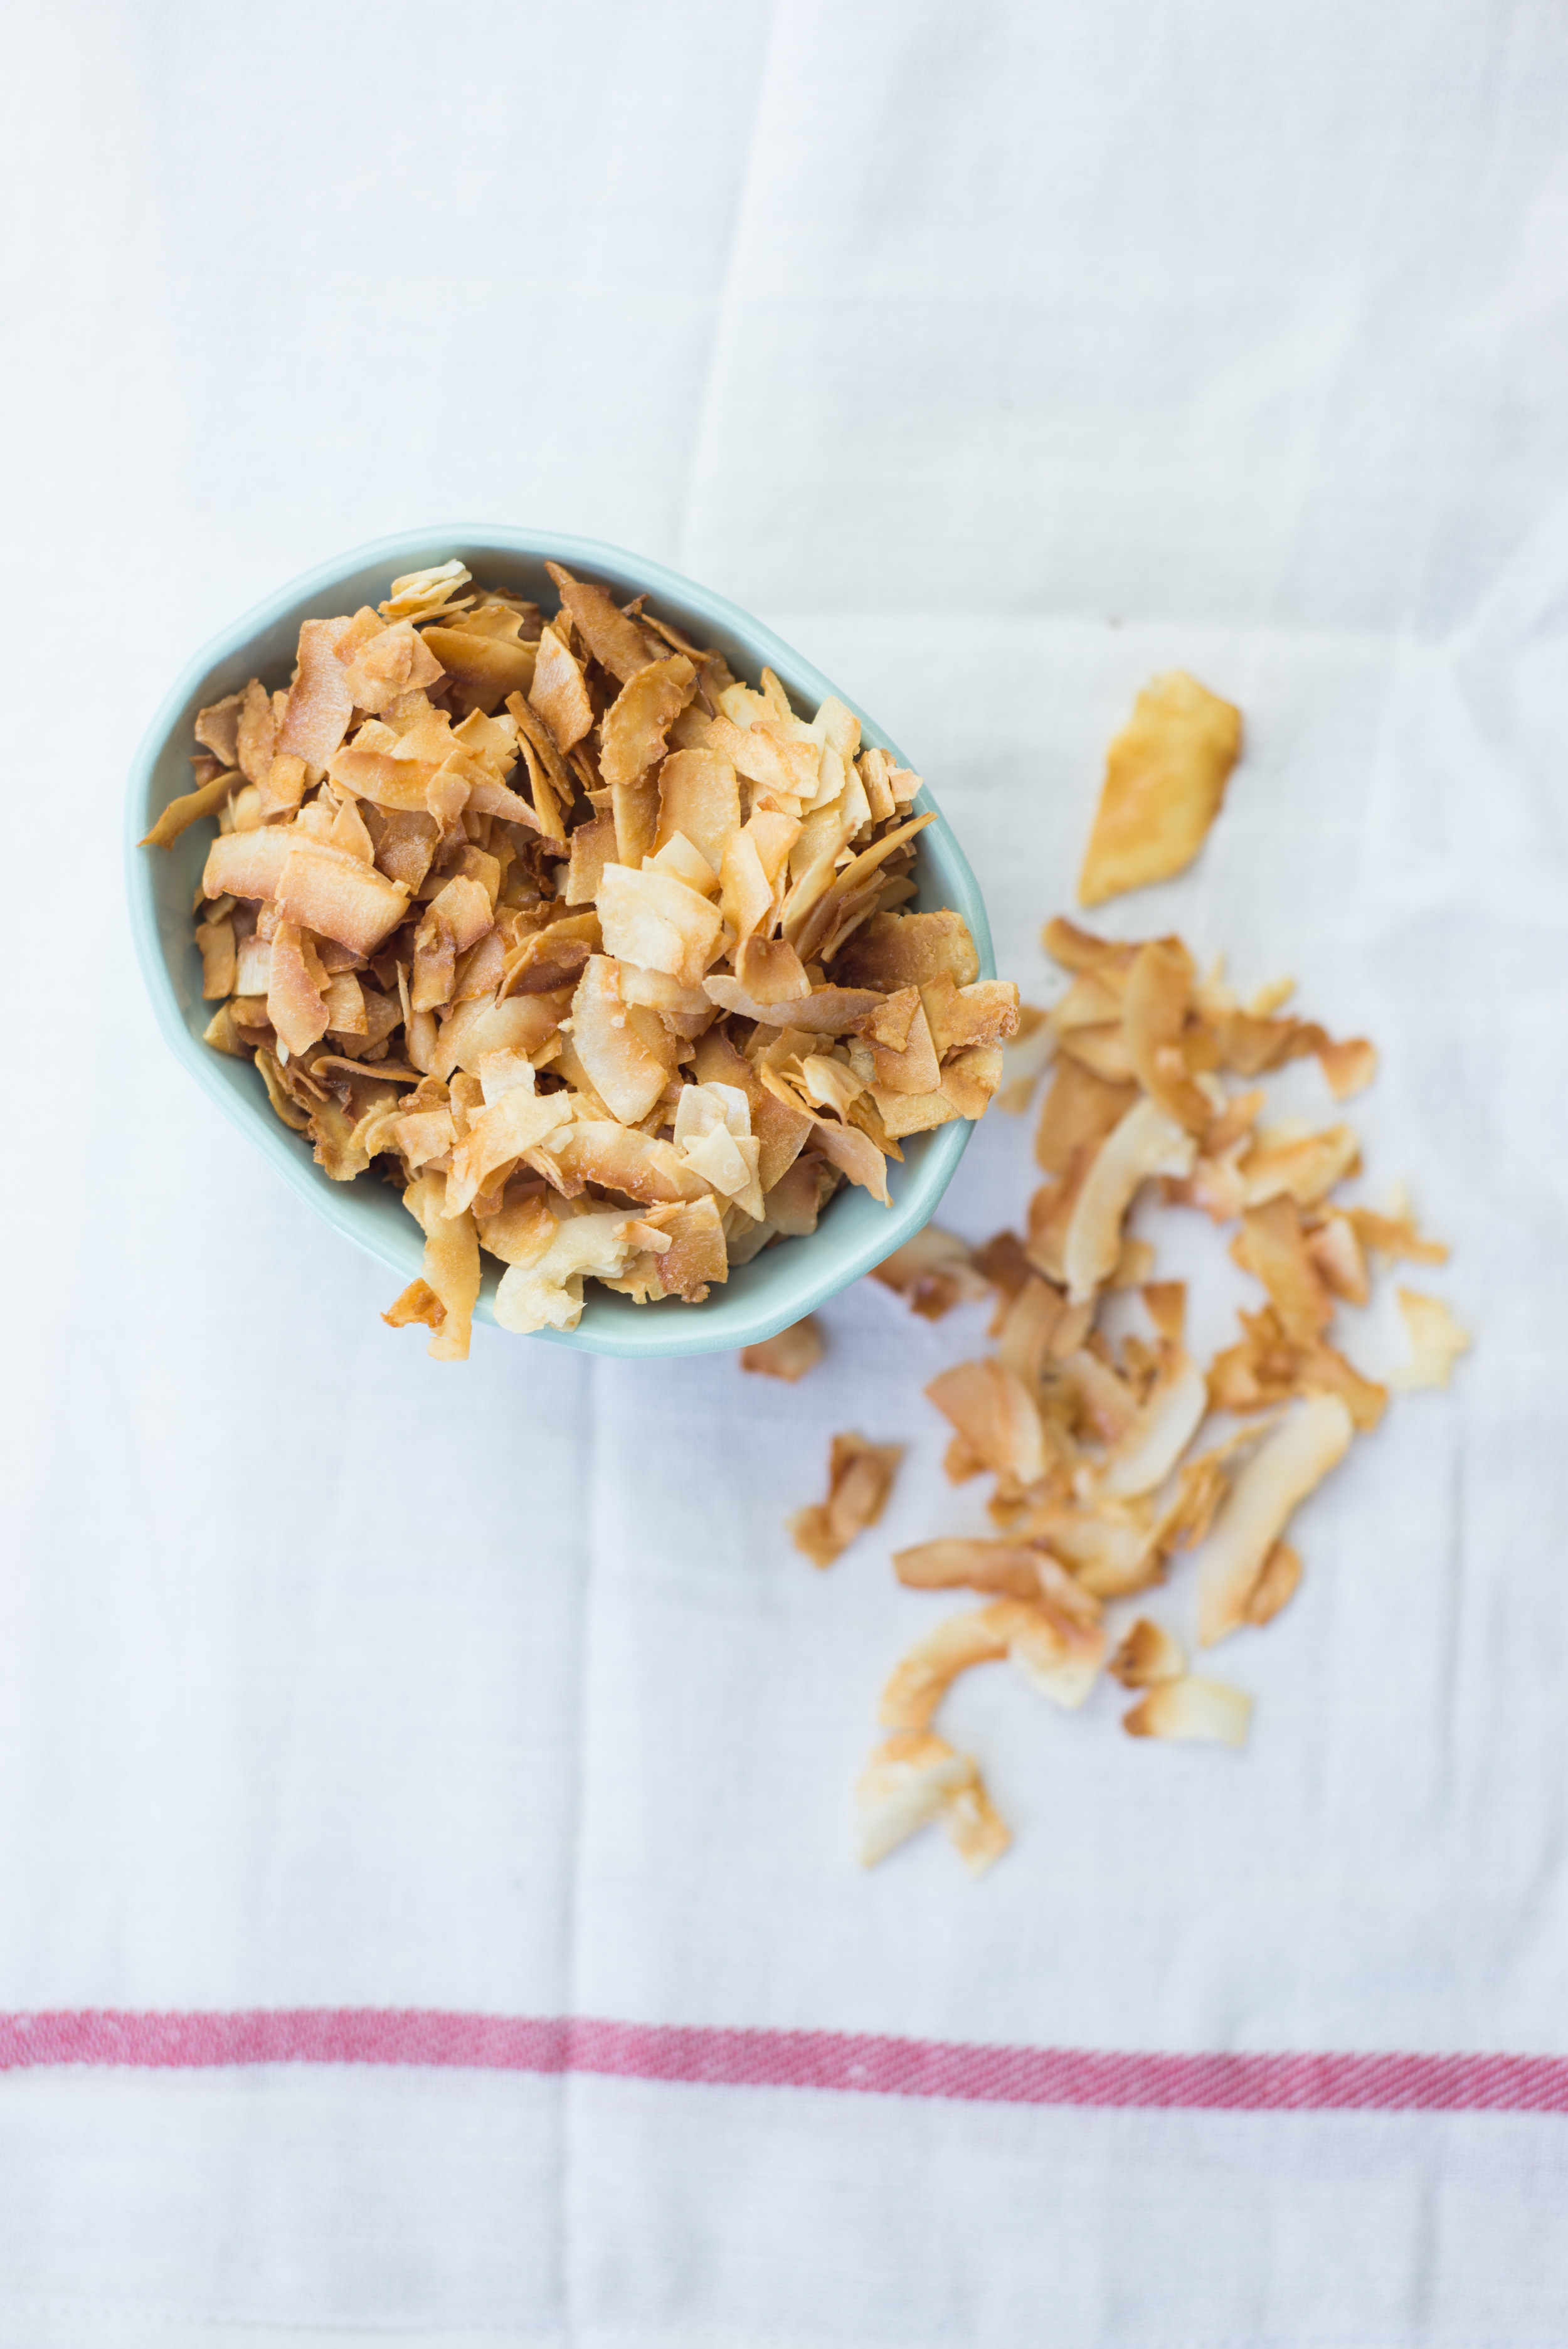
Toasted Coconut Chips

Have you beautiful people ever tried Dang Coconut Chips? They are out of control amazing coconut chips - perfectly crisp and crunchy, and just sweet enough. We brought some on our last camping trip to Smith Rock State Park, and devoured them as a snack straight from the bag and sprinkled over our morning oatmeal. Pure heaven! 

I'll definitely still be buying Dang as a treat, but I've been working on re-creating something just as satisfying at home. I think to truly recreate the thicker slices of coconut in Dang chips, fresh coconut would be required. This version, however, uses the coconut flakes that you can easily find inexpensively at your grocery store making this a super affordable alternative to those addicting Dang chips. This recipe is also SO incredibly easy, and makes a delicious snack or topping for all sorts of things - like ice cream, oatmeal, yogurt, smoothie bowls - the list goes on! 

But lets be honest... every time I've made these I end up eating more than half of them straight from their container. Handful by handful : ) And no one's judging if you do the exact same! 

Also, in case you missed my reference to ice cream before, I'm just going to reiterate it for you here. Because ice cream is pretty darn important. Chocolate ice cream (this is actually Talenti fudge brownie gelato... takin' it to the next level!) + toasted coconut chips = HEAVEN! 

Maybe someday I'll try what I think would be a more authentic version made from fresh coconut, but for now - this is the easiest and most affordable way to get my coconut snack on! 

Toasted Coconut Chips 

4 cups unsweetened coconut flakes 

1/4 cup maple syrup

a few pinches of sea salt 

  • In a medium bowl, drizzle maple syrup over coconut flakes. Sprinkle with salt. Gently stir to coat the coconut flakes evenly with the syrup without breaking too many of those nice big flakes. 
  • Spread coconut evenly over a baking sheet lined with parchment or a silicone baking mat. 
  • Bake at 375 degrees for about 20 minutes, until the coconut is lightly browned and starting to crisp. You'll want to stir it every 5 minutes or so for the entire baking time. 
  • Let coconut cool completely, then store in an airtight container. 

Comment

Brown Sugar Vanilla Pudding

2 Comments

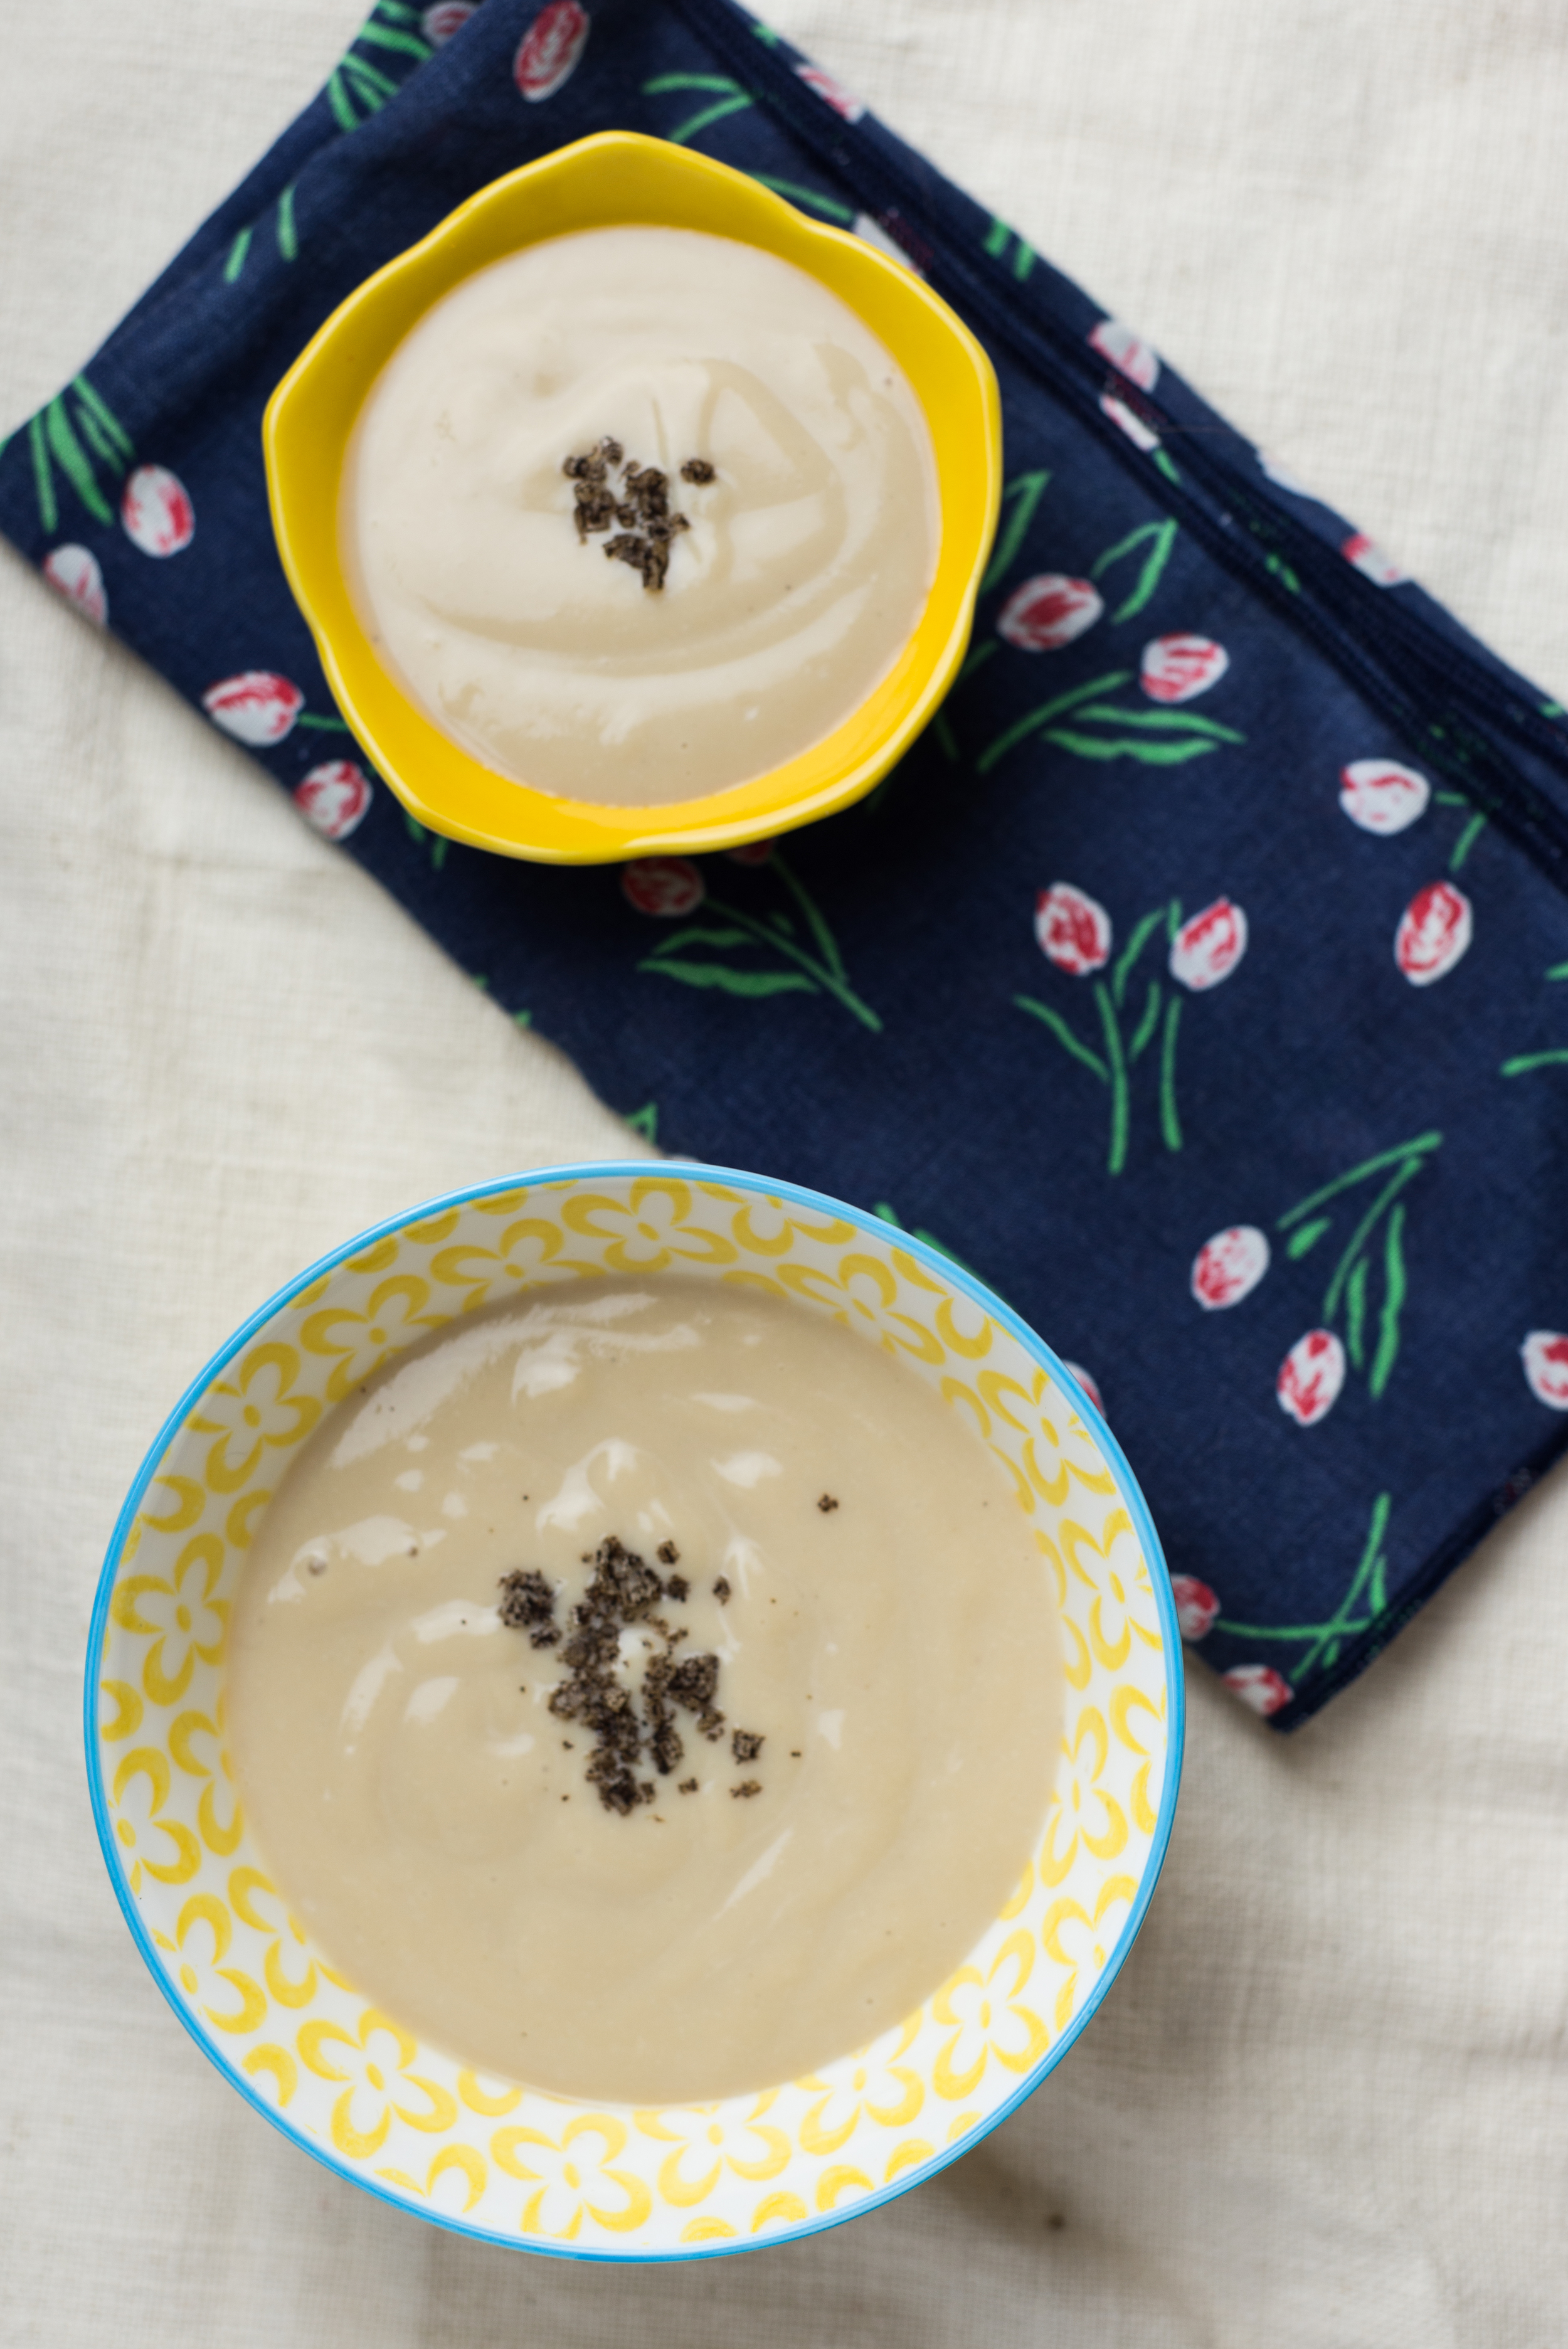
Brown Sugar Vanilla Pudding

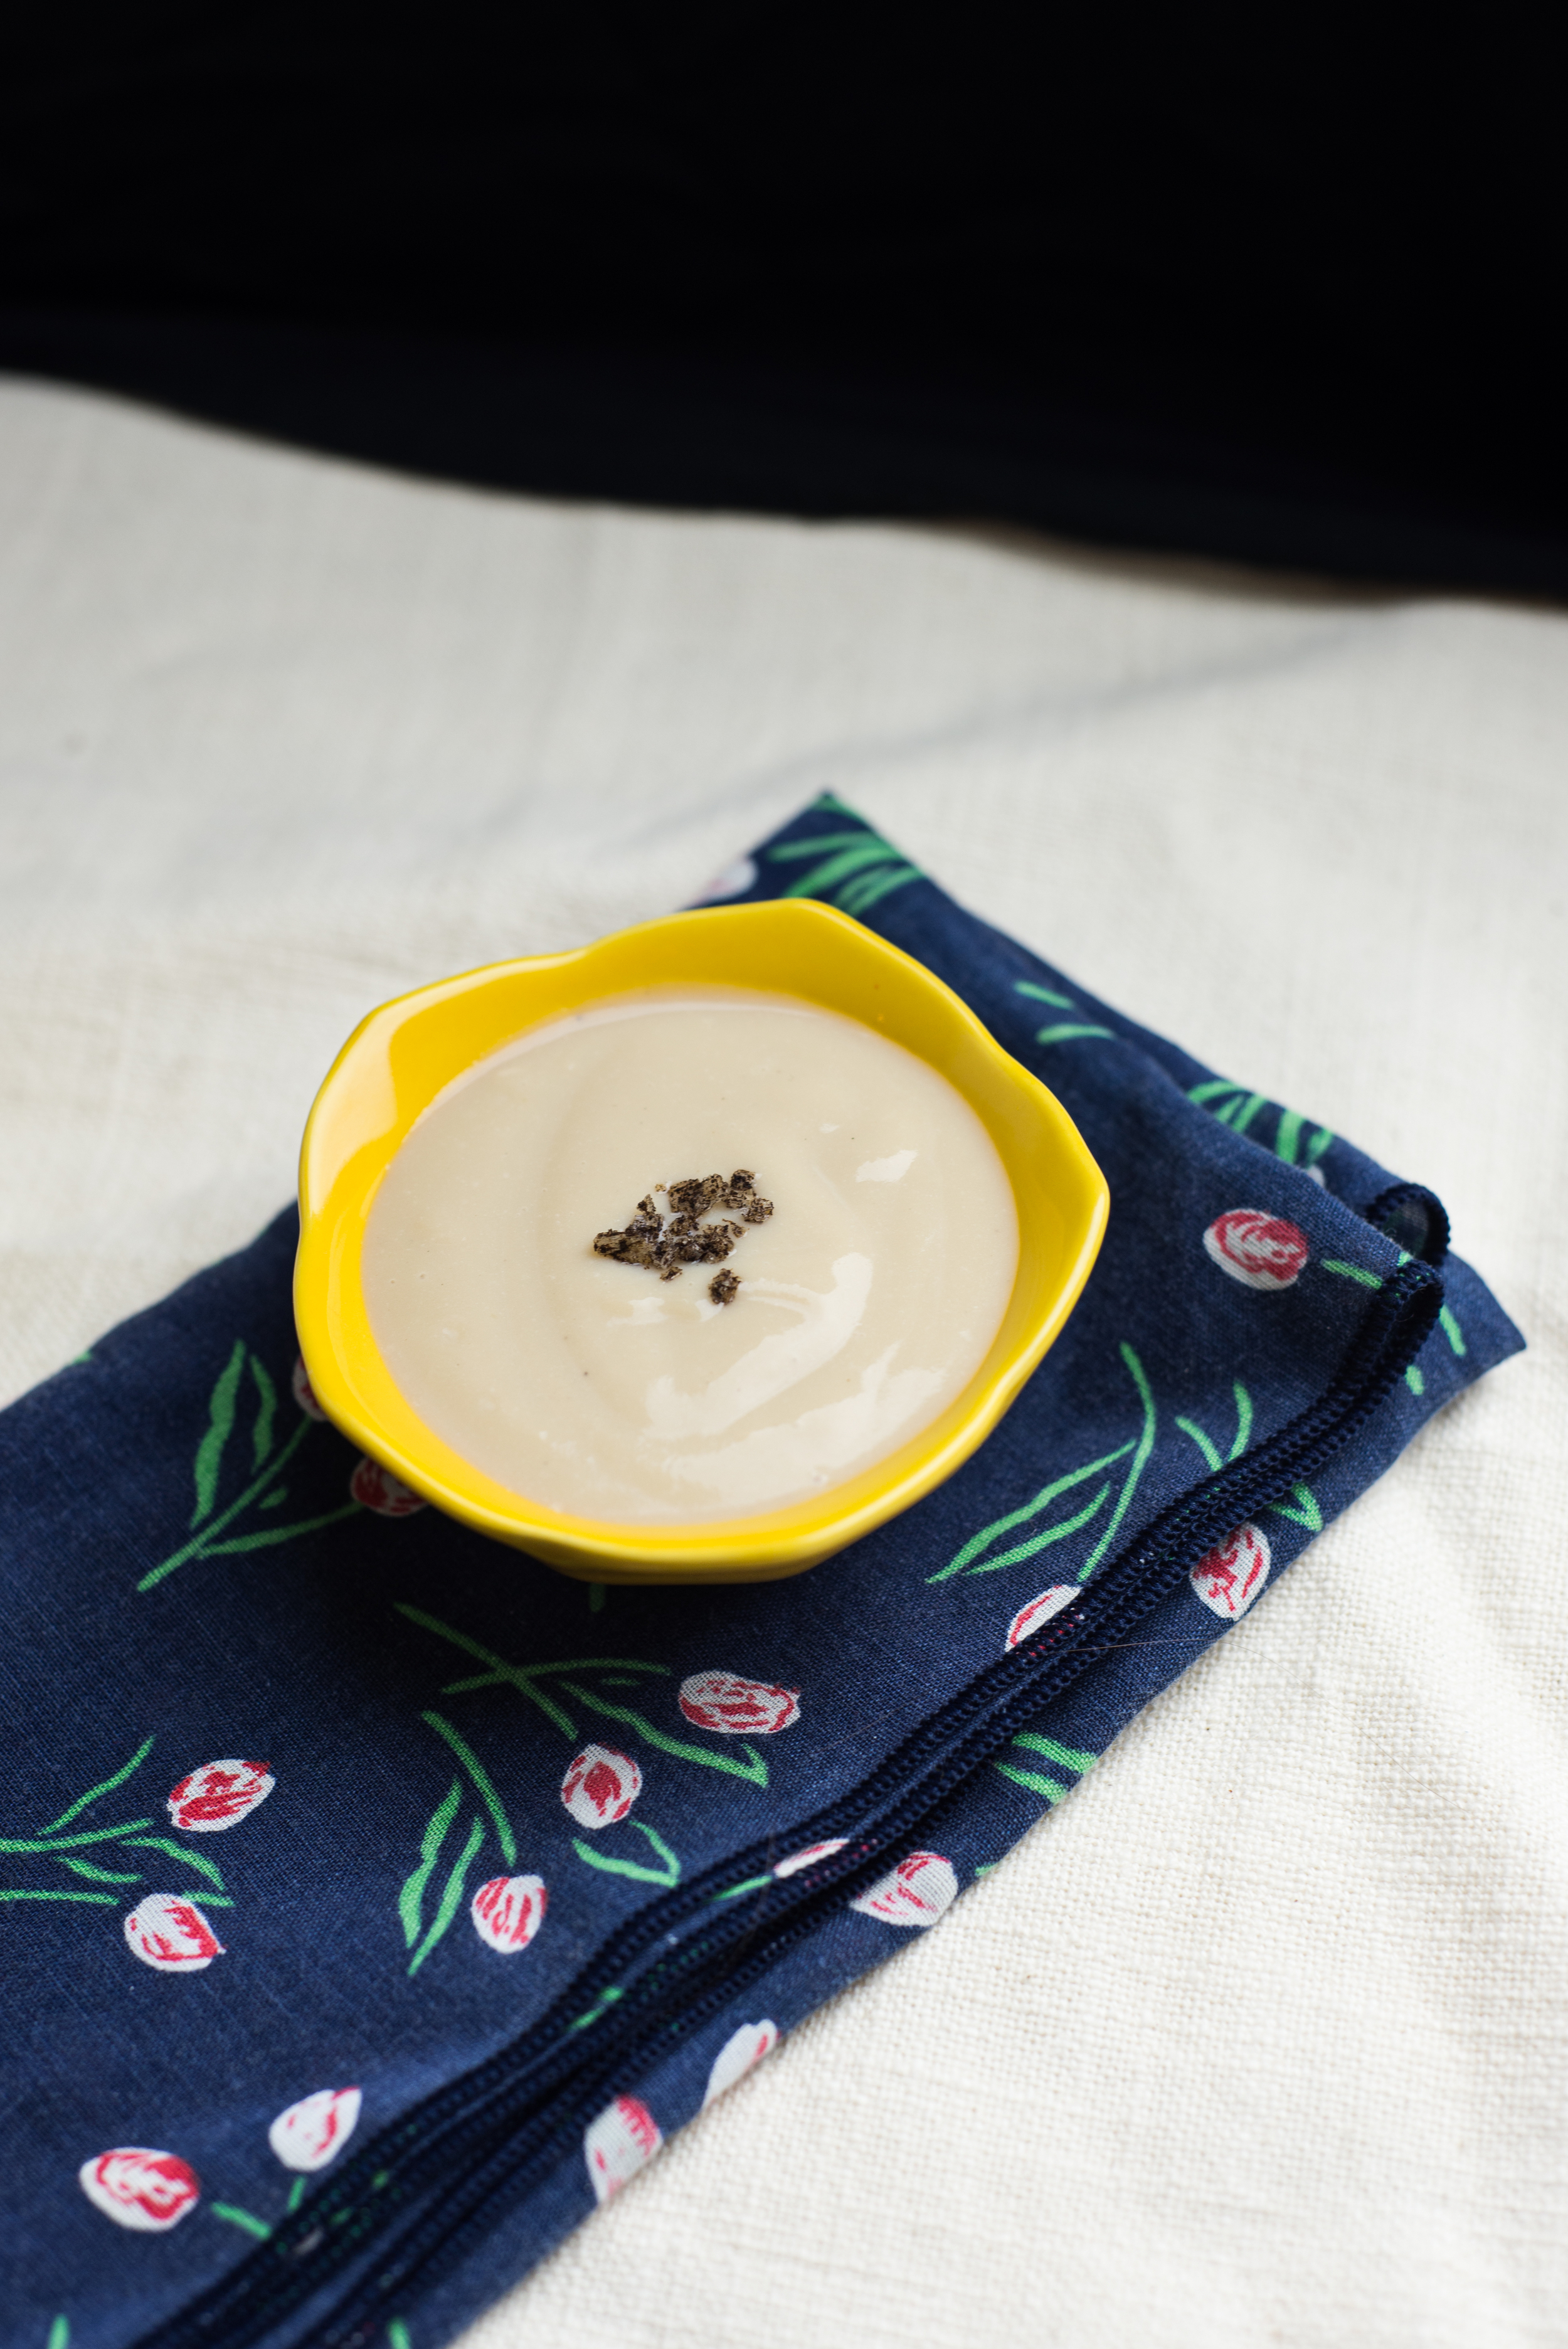
While my babes and I gobbled up some Sunday afternoon pudding, I started off on a mini-rant of curiosity about why more people don't make their own pudding from scratch. I understand the reasoning of convenience behind a lot of processed food items, but I'm sorry - instant pudding and pudding cups are not included. 

Pudding is SO EASY to make from scratch, friends! 

It takes less than 20 minutes, and involves little more than a bit of measuring and some stirring. You got this, believe me! 

Brown Sugar Vanilla Pudding 

adapted from Mark Bittman's Vanilla Pudding 

2 1/2 cups whole milk 

2/3 cups lightly packed brown sugar 

pinch salt 

1 vanilla bean, scraped or 1 tsp vanilla extract 

3 Tbsp cornstarch 

2 Tbsp unsalted butter, but into cubes 

  • Combine 2 cups of the milk, sugar, salt, and scraped vanilla bean in a medium saucepan. Heat the mixture over medium heat until the milk starts to steam. 
  • While the pudding is heating, stir cornstarch into the remaining 1/2 cup milk until no clumps remain. 
  • Once the pudding is steaming, add the cornstarch mixture and stir to combine. 
  • Continue cooking the pudding, stirring constantly, until it has thickened. About 10 minutes. 
  • Place pudding in a tightly sealing container, and store in the refrigerator until ready to serve. If you don't like a skin on your pudding, place some plastic wrap directly on the surface to prevent the skin from forming. 
  • Pudding will keep for about a week in the fridge, but it will seep a little liquid after a few days. Just stir it back together before serving! 


2 Comments