Viewing entries in
snacks

Meyer Lemon Curd

Comment

Meyer Lemon Curd

My obsession with lemon curd began many many many years ago with the amazing lemon and lime curds made by American Spoon Foods (purveyors of the most impeccably flavored preserves you've ever encountered). Growing up in Petoskey, their products were staples in our household and no trip downtown was complete without stopping in to sample their latest creations. 

While I could go on and on about the wonders of Spoon, the lemon curd has long been the one product I can't resist eating straight from the jar. Spoonful after spoonful after spoonful. When not in northern Michigan, I would buy other lemon curds from the shelf at the grocery store, but nothing could compare to the fresh creamy citrus of American Spoon Foods' curd. 

The first time I made lemon curd in my own kitchen, it was a total game changer. I discovered the reason I was so obsessed with that particular curd - it was the closest I could get to the flavor of freshly made lemon curd without actually making it myself. The amazing news is that curds are SUPER easy to make at home, all it takes is about 15 minutes and some constant stirring! Serious danger for this curd-lover. 

The citrus selection at my local grocery spot, New Seasons, is currently bordering on out of control. They're boasting 60 plus varieties of citrus, and that endless bounty of color is beyond magical during this cold, grey, and rainy time in Portland. Just as the mid-winter blues are starting to set in, I can't help but get excited to explore the endless opportunities of citrus flavors! I wanted to start with something classic - the meyer lemon. 

meyer lemons

Meyer lemons were created by crossing a mandarin orange with a classic lemon, gifting us with a sweeter and more deeply flavored type of lemon. I consider these to be the perfect citrus for baking (although, there may be another 50 varieties to explore this winter!), as well as for curd-making. These days meyer lemons can be found in most grocery stores with an ample produce section for a few months each winter starting in December. 

I'll be honest - when the meyer lemon season arrives, I go all meyer all the time until they're no longer available. Regular lemons just don't measure up in my mind! 

Meyer Lemon Curd, Food Photography, Food Styling, Recipe, Food Blog

This recipe is specifically written to make use of meyer lemons. If you're not able to find them, you can still make an absolutely amazing curd from regular lemons. Just be sure to increase the sugar to about 1/2 cup as your juice won't hold as much sweetness as meyer lemon juice. 

Meyer Lemon Curd 

1/2 cup meyer lemon juice 

1/3 cup sugar 

2 egg yolks 

2 eggs 

6 Tablespoons unsalted butter, cubed 

pinch of salt 

  • In a double boiler over medium high heat or a bowl placed over a pot of simmering water, whisk together the lemon juice, sugar, egg yolks, and eggs until thoroughly combined. 
  • Add butter and whisk continuously. The butter will melt, and after a bit more whisking the mixture will begin to thicken. Continue whisking until your whisk leaves clear lines in the curd as you stir. 
  • Remove from heat, and strain the curd through a fine mesh strainer.
  • Store your lemon curd in the refrigerator, and eat it within a few weeks (though good luck having it last more than a few days!). 

Serving: I've definitely given away that my favorite way to eat lemon curd is straight from the jar, spoonful after spoonful... but there are so many wonderful things to be done with it! Spread it on toast, serve it with scones, fill your cake layers or individual tarts (check out my full-size lemon tart recipe for the appropriate curd for filling tarts you'll be slicing). 

Comment

Star Anise Arborio Rice Pudding

2 Comments

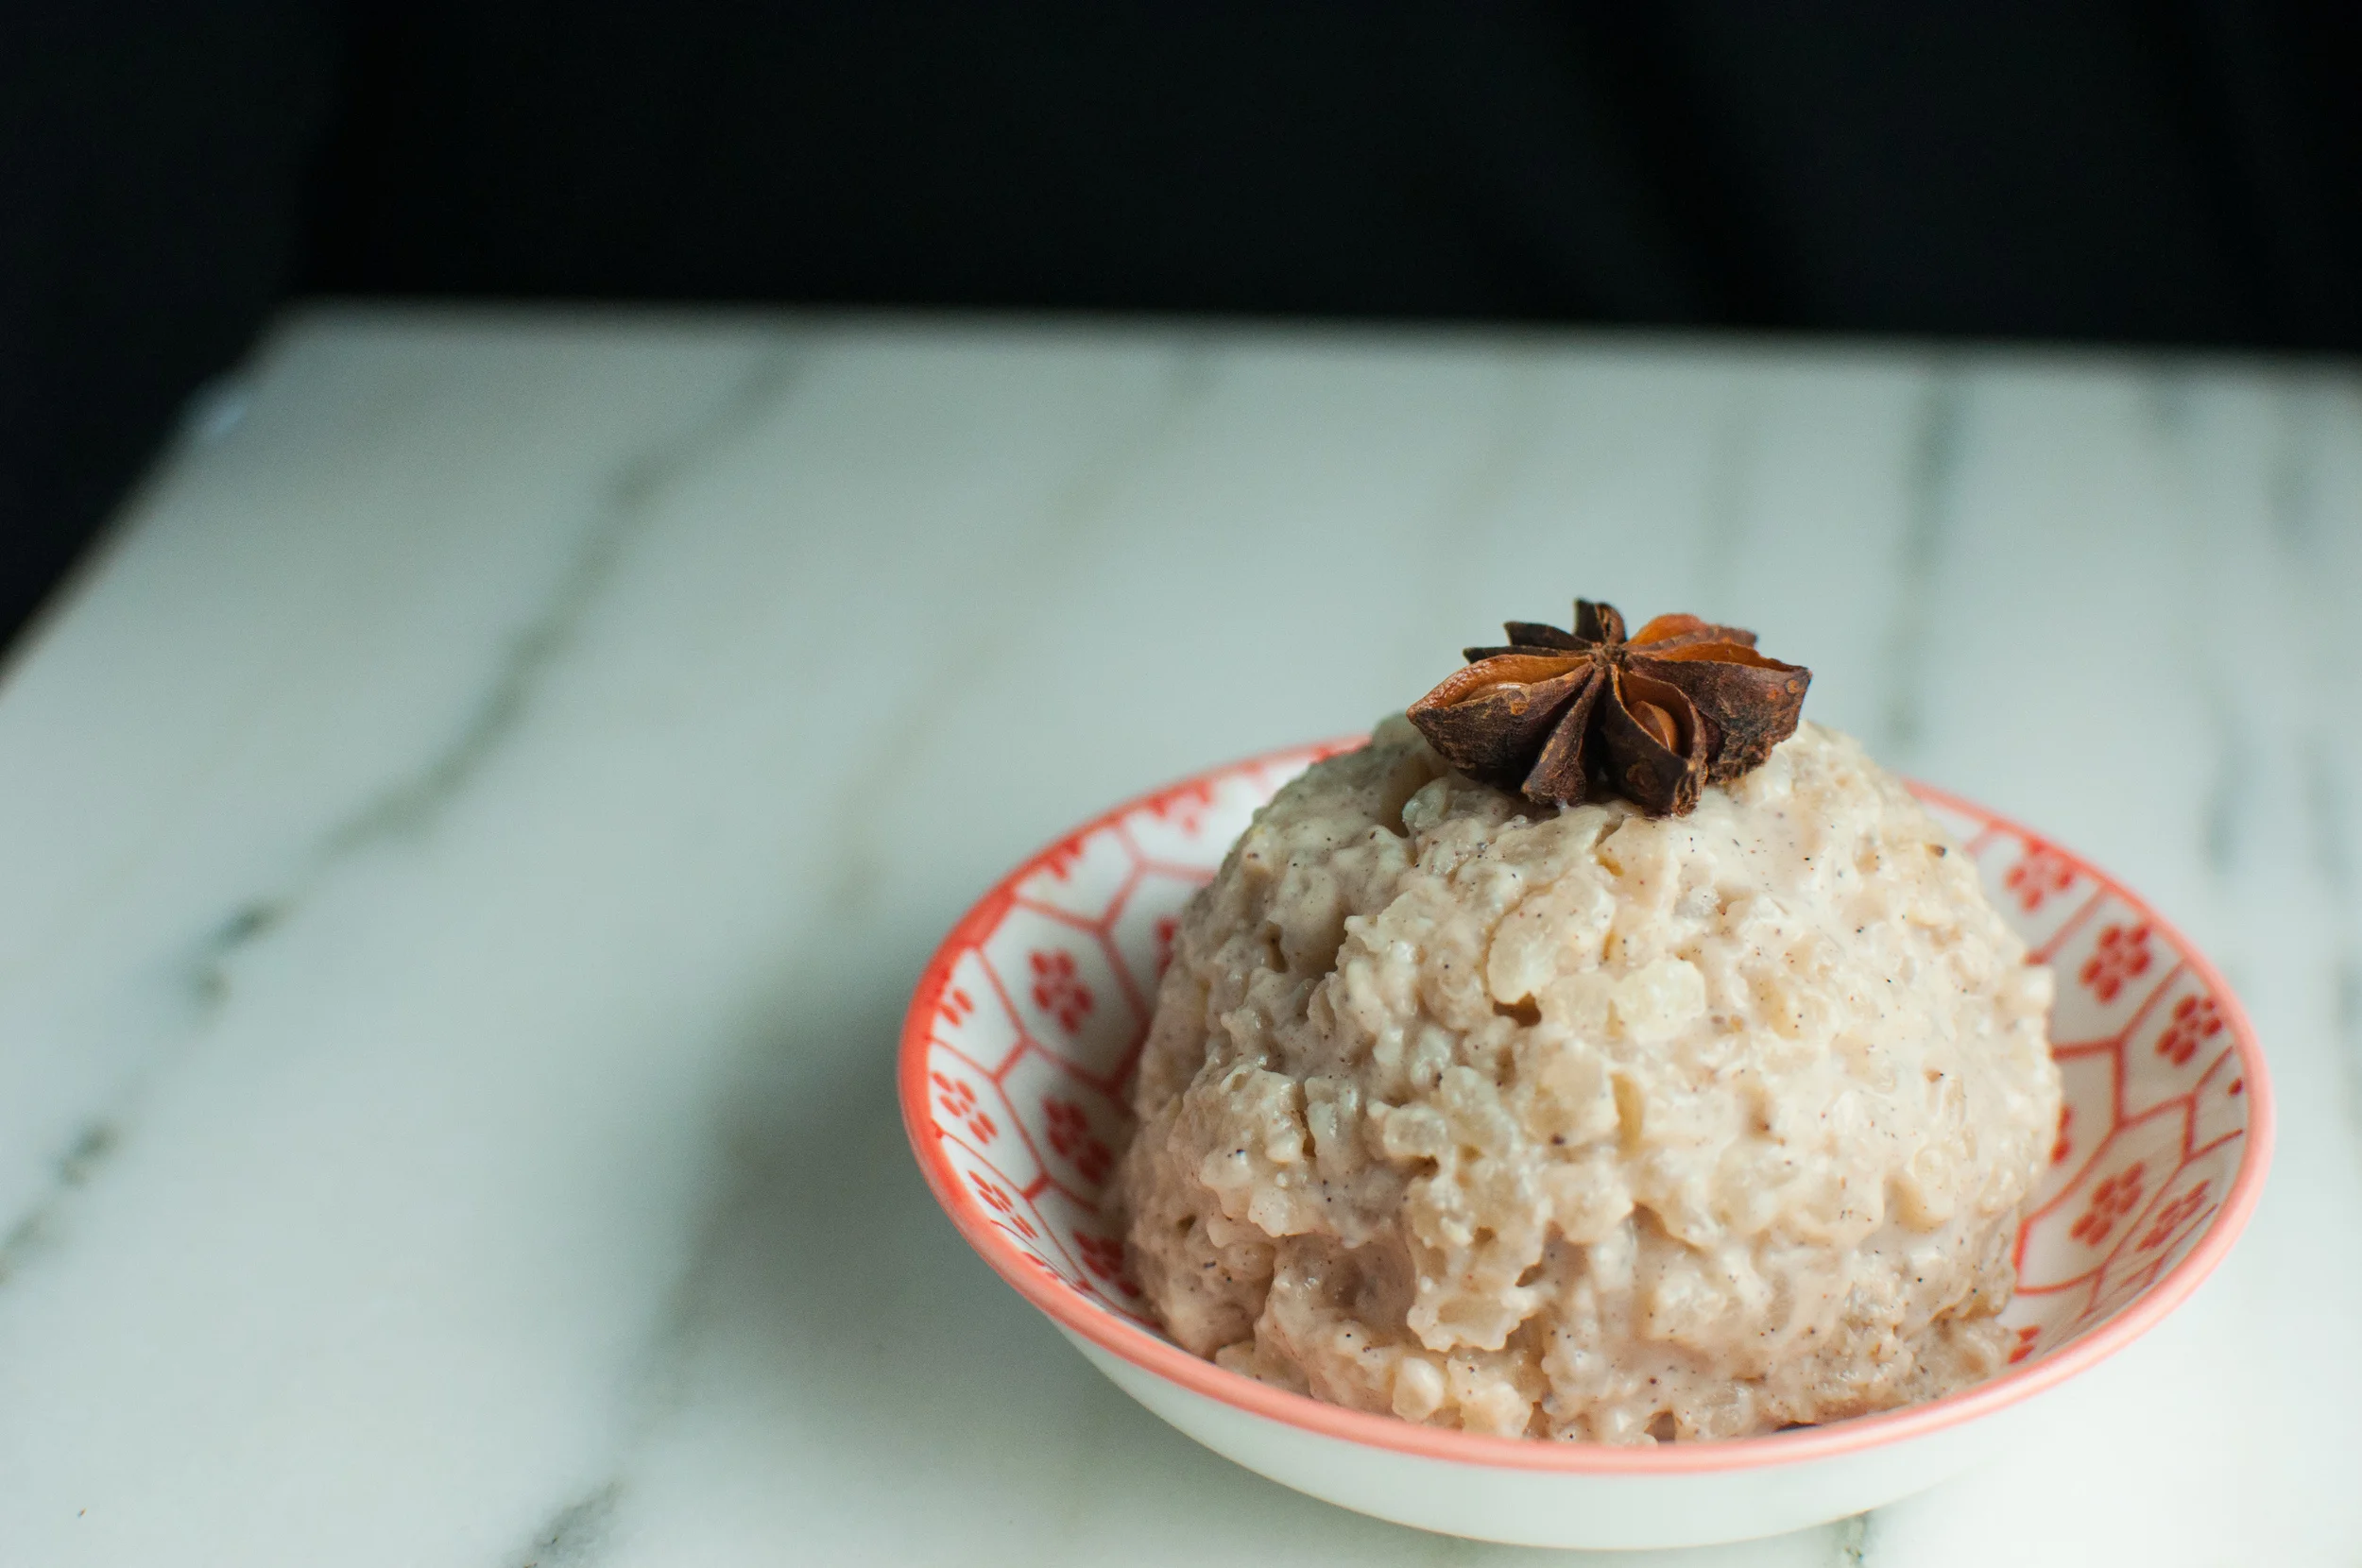
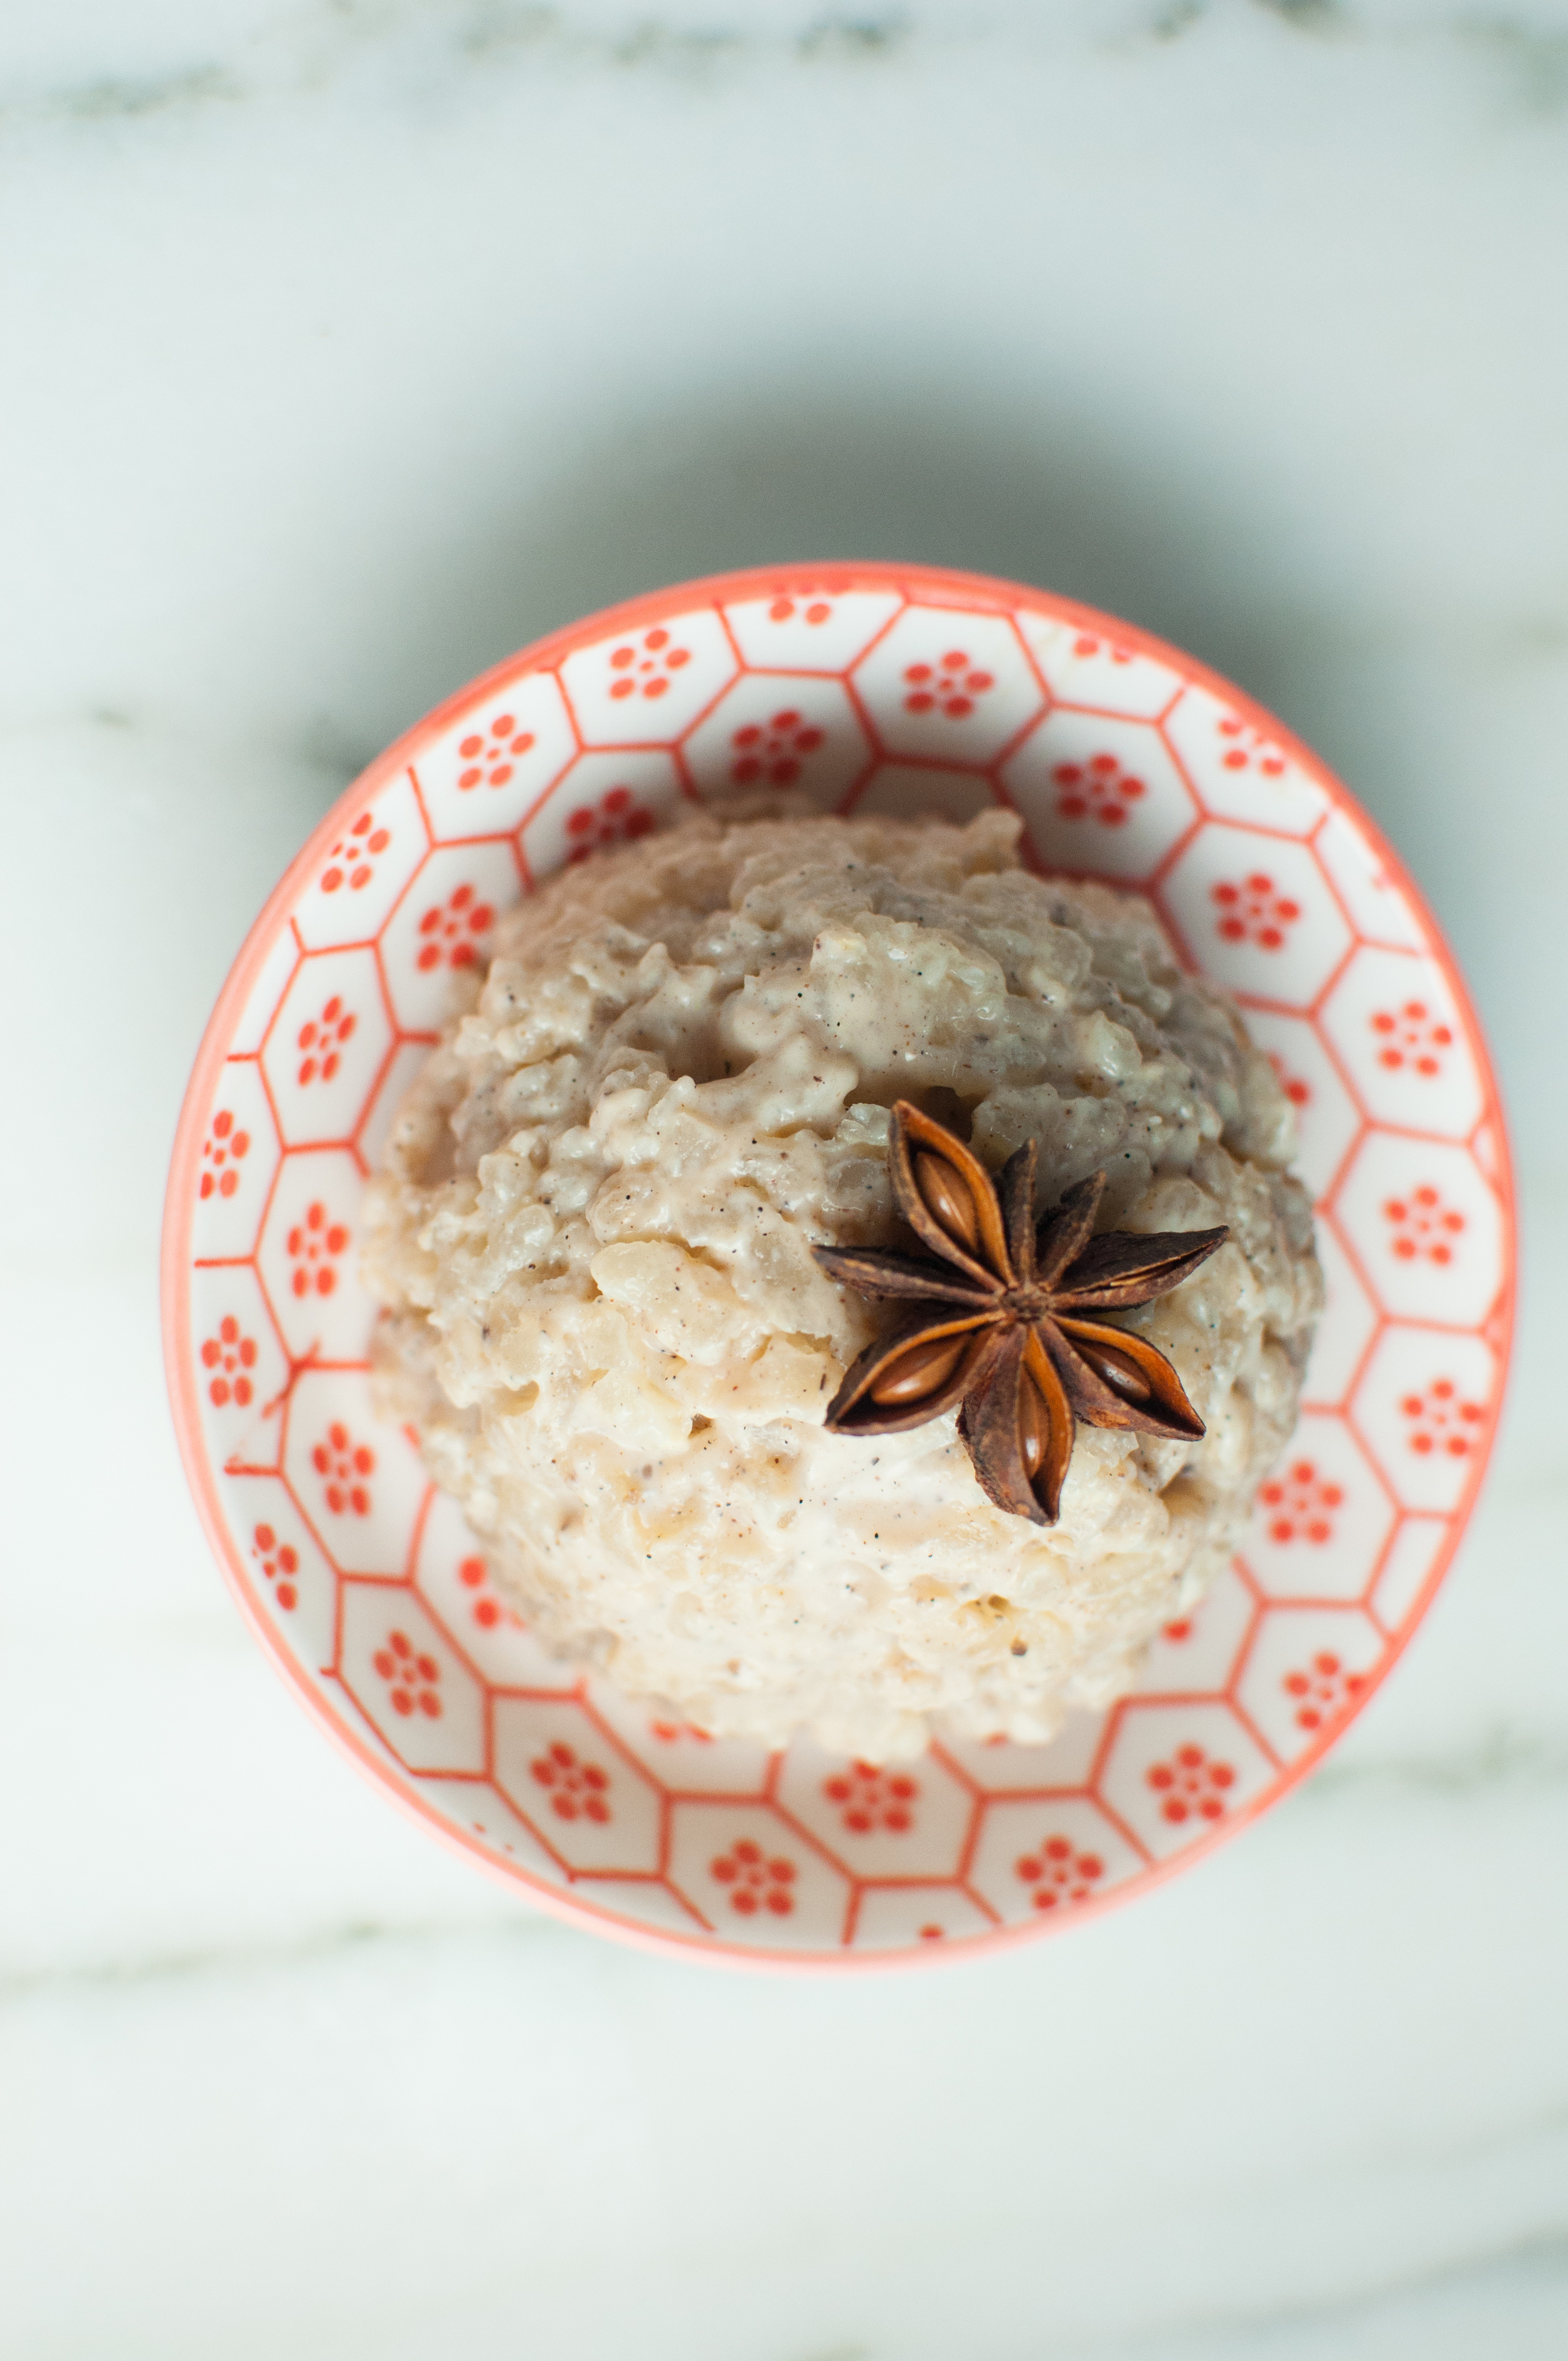
Star Anise Arborio Rice Pudding

Rice pudding is one of my ultimate comfort foods, and standing near the warm stove with a simmering pot of creamy goodness is a favorite winter activity of mine. The incredible smell of spices filling the house is, of course, an added bonus - so lets be honest with ourselves here, there is nothing bad about making a big batch of rice pudding! 

I think a lot of my nostalgia and love for rice pudding comes from a completely non-winter experience... in fact a totally tropical one! I spent some time just after college living and working in an orphanage in the Dominican Republic, and spent every lunch and dinnertime for six months sitting at a table with a group of newly admitted young boys. During these moments around the table, we ate simple Dominican classics and the boys were on their best behavior (a much needed moment of quiet in an otherwise rambunctious place!). One of those classic dishes was arroz con leche - a simple and hardly sweet version of rice pudding. Whole allspice berries and cloves were carefully set to the side of the plate as we ate our way through. 

While very few would consider a full plate of rice pudding a balanced dinner, I can't help but justify it on occasion thinking back to those meals with my house-full of sweet Dominican kids. It kept me going then, and it'll keep me going now! That said... rice pudding is much more often eaten in my house as a simple dessert or an afternoon snack these days. 

Rice Pudding Arborio Rice Star Anise Recipe

This rice pudding is made with arborio rice, which is the short grain Italian rice used to make risotto. This rice is particularly starchy, so it creates an amazing thick rice pudding if you cook it down long enough. I love how elegantly it can be served as it holds it's shape so well. Cook it a little less, and you'll have a creamier, thinner pudding! 

Rice pudding in my house is most often an indian inspired affair, cooked with whole vanilla bean and cardamom -- but I wanted to mix things up with this recipe and use what has become one of my favorite spices right now. Star anise has such a rich and distinctive flavor, it makes a perfect alternative to my traditional cardamom. Plus it is just so gosh darn pretty! 

I love the simplicity of making rice pudding, and I think that you will too! 

ingredients: 

3/4 cup arborio rice 

6 cups whole milk 

1/2 cup cane sugar 

1 vanilla bean, scraped (or 1 tsp vanilla extract) 

5 whole star anise stars 

instructions: 

  • Place all ingredients in a medium saucepan, and place over medium-high heat. If you're using the vanilla extract as opposed to vanilla bean, save that to add later. 
  • Bring to a gentle simmer, then turn the heat down to about medium. You don't want it to boil, just to continue simmering very gently. 
  • Cook the mixture for about 40 minutes, stirring occasionally at the beginning and more frequently as it starts to thicken to prevent it from sticking or burning. 
  • Remove the pan from heat when it's reached your desired consistency. As you can see from the photos, I cooked mine to be very thick - this is the rice pudding I was in the mood for. You can just as easily stop the cooking a bit earlier and have a thinner pudding! Just remember that it will thicken as it cools. 
  • If you're using vanilla extract, stir it in when you remove the pan from the heat. 

2 Comments

ginger nutty granola clusters

Comment

ginger nutty granola clusters

Granola is my go to breakfast when we have it in the cupboard (and my babe's go to as well!) so I try to bake my own on a regular basis. It's generally cheaper, lower in sugar, and more delicious this way! So now that the weather is cooling, I can't help but pop a tray in the oven whenever we're running low. 

Ginger Granola Clusters

Now, the serious specialness about this granola recipe in particular... the major clumping! I've been working on making clumpy granola for quite some time and I've finally mastered it with this recipe! There is really nothing quite as awesome as chowing down on giant clusters of mapley oaty goodness. This granola comes out of the oven in one large chunk, easily broken into whatever size best suits your cravings. Easy peasy! 

So! What are you waiting for? It's time to get some seriously awesome homemade granola clusters in your oven! Within an hour, you'll be big time snacking on these delicious treats! 

ingredients: 

3 cups thick rolled oats 

1/4 cup flour (whole wheat or all purpose) 

1 cup hazelnuts (or other nuts!), coarsely chopped 

1/2 cup maple syrup 

1/4 cup vegetable oil 

2 tsp vanilla 

1 Tbsp fresh grated ginger 

instructions: 

  • Combine oats, hazelnuts, and flour in a large bowl, and stir until evenly combined. 
  • Add syrup, oil, vanilla, and ginger and stir again until the liquid is evenly distributed throughout the oats and nuts 
  • Cover a baking sheet (or two, depending on the size you use) with parchment or a silicone baking sheet. Spread granola mixture onto baking sheet and flatten with your spatula into a tightly packed layer, about 1/2 inch thick. 
  • Bake at 300 degrees for about 45 minutes, or until the granola is lightly browned. 
  • Let the granola cool in the pan completely, then gently lift the granola off the pan and break into pieces. It should be a (mostly!) solid piece in the pan so you can break the chunks off in whatever size you please! 
  • Store in an airtight container. 


Comment