Viewing entries in
lunch & dinner

sweet potato & kale lasagna

Comment

sweet potato & kale lasagna

I think lasagna is my ultimate comfort food (of the savory foods that is, the sweet comfort foods have their own multi-page list), particularly when it's chock full of cheesy cream sauce and sweet potatoes. That said, I just had to share this favorite with all of you! It layers fresh homemade pasta with cheesy thyme cream sauce, sweet potatoes, and a whole bunch of kale (really, the whole bunch!). 

DSC_0980.jpg

My babes and I went hiking last weekend in the Indian Hills Wilderness, and were met with a few chilly and misty days. While hiking through the cold, we got to chatting about all the things we wanted to make with the return of cooler weather and a renewed excitement for standing near a hot stove all day long or having the oven run for hours. 

The first thing on my wish list - this lasagna. So while we returned to our Portland life only to discover highs in the mid 80s and 90s all week long, I immediately got to work making this the coolest day of the week! 

This is how it's done: 

First, we spread a little sauce on the bottom of the dish and create the first layer of pasta goodness. I like to layer the pasta in right from the roller - easy peasy! 

Then comes a whole lot of roughly chopped kale and a layer of thinly sliced sweet potatoes. 

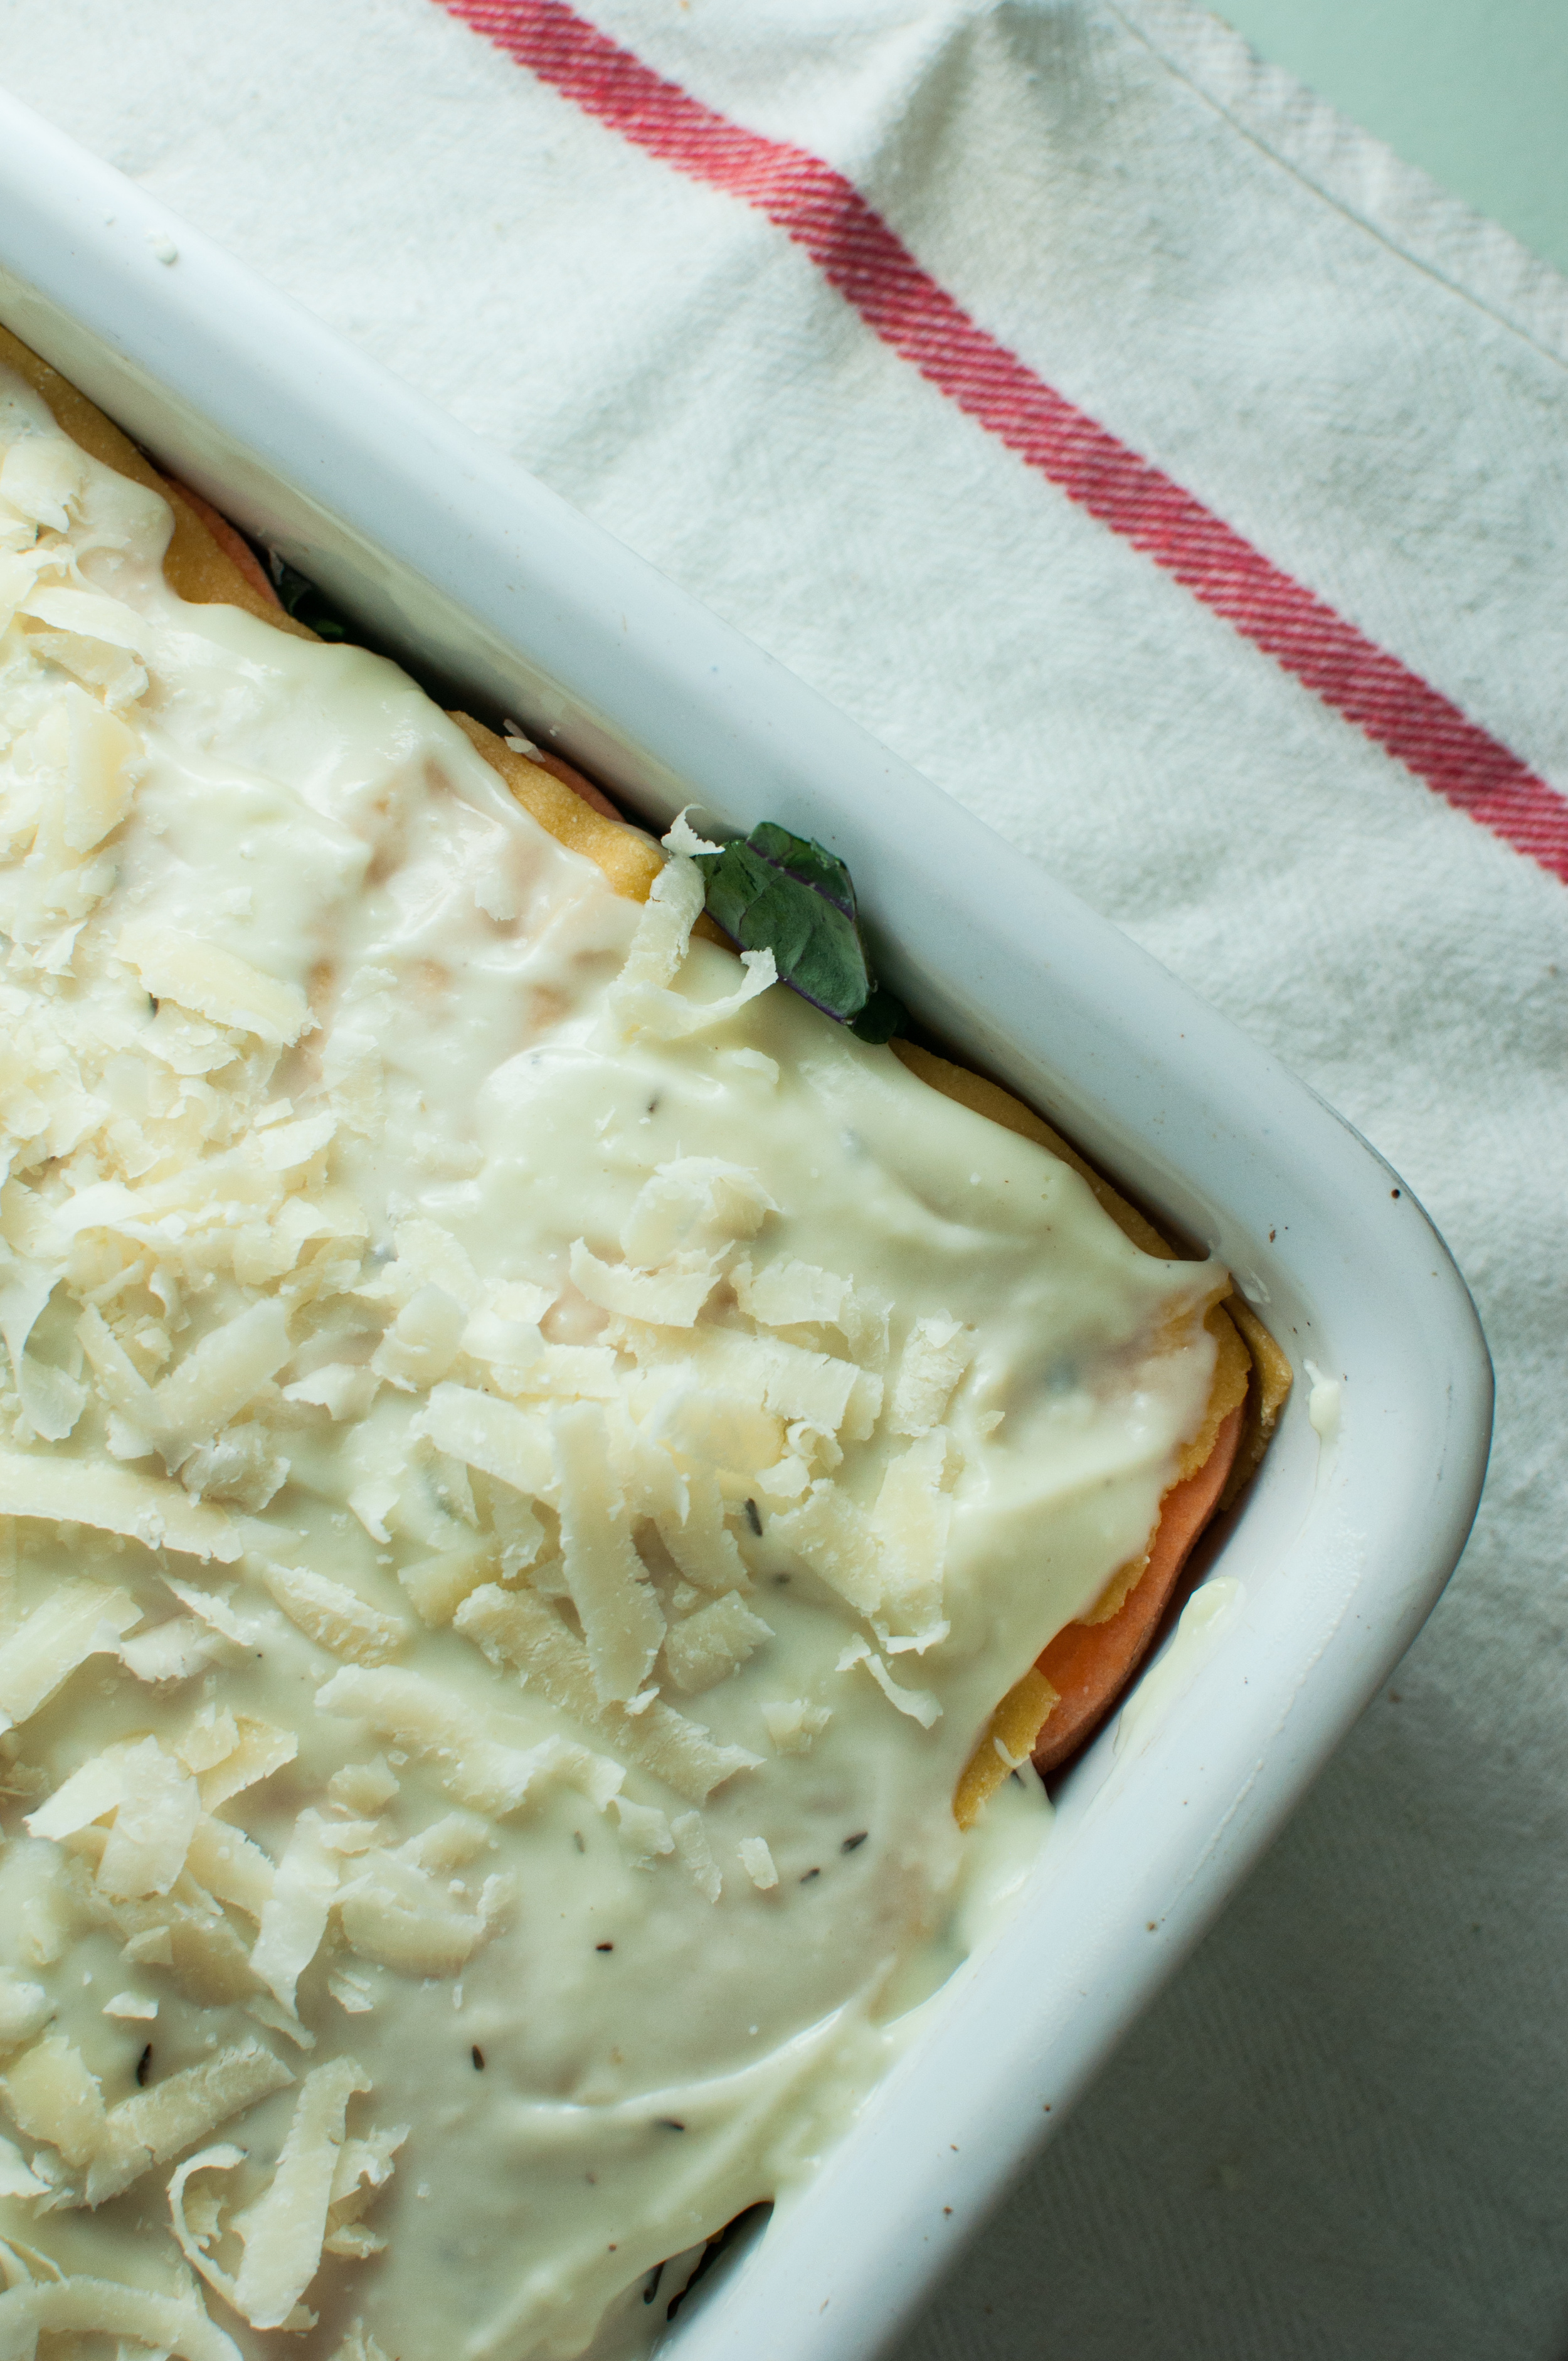
Of course, then we have to spread on a whole bunch of our luscious sauce! 

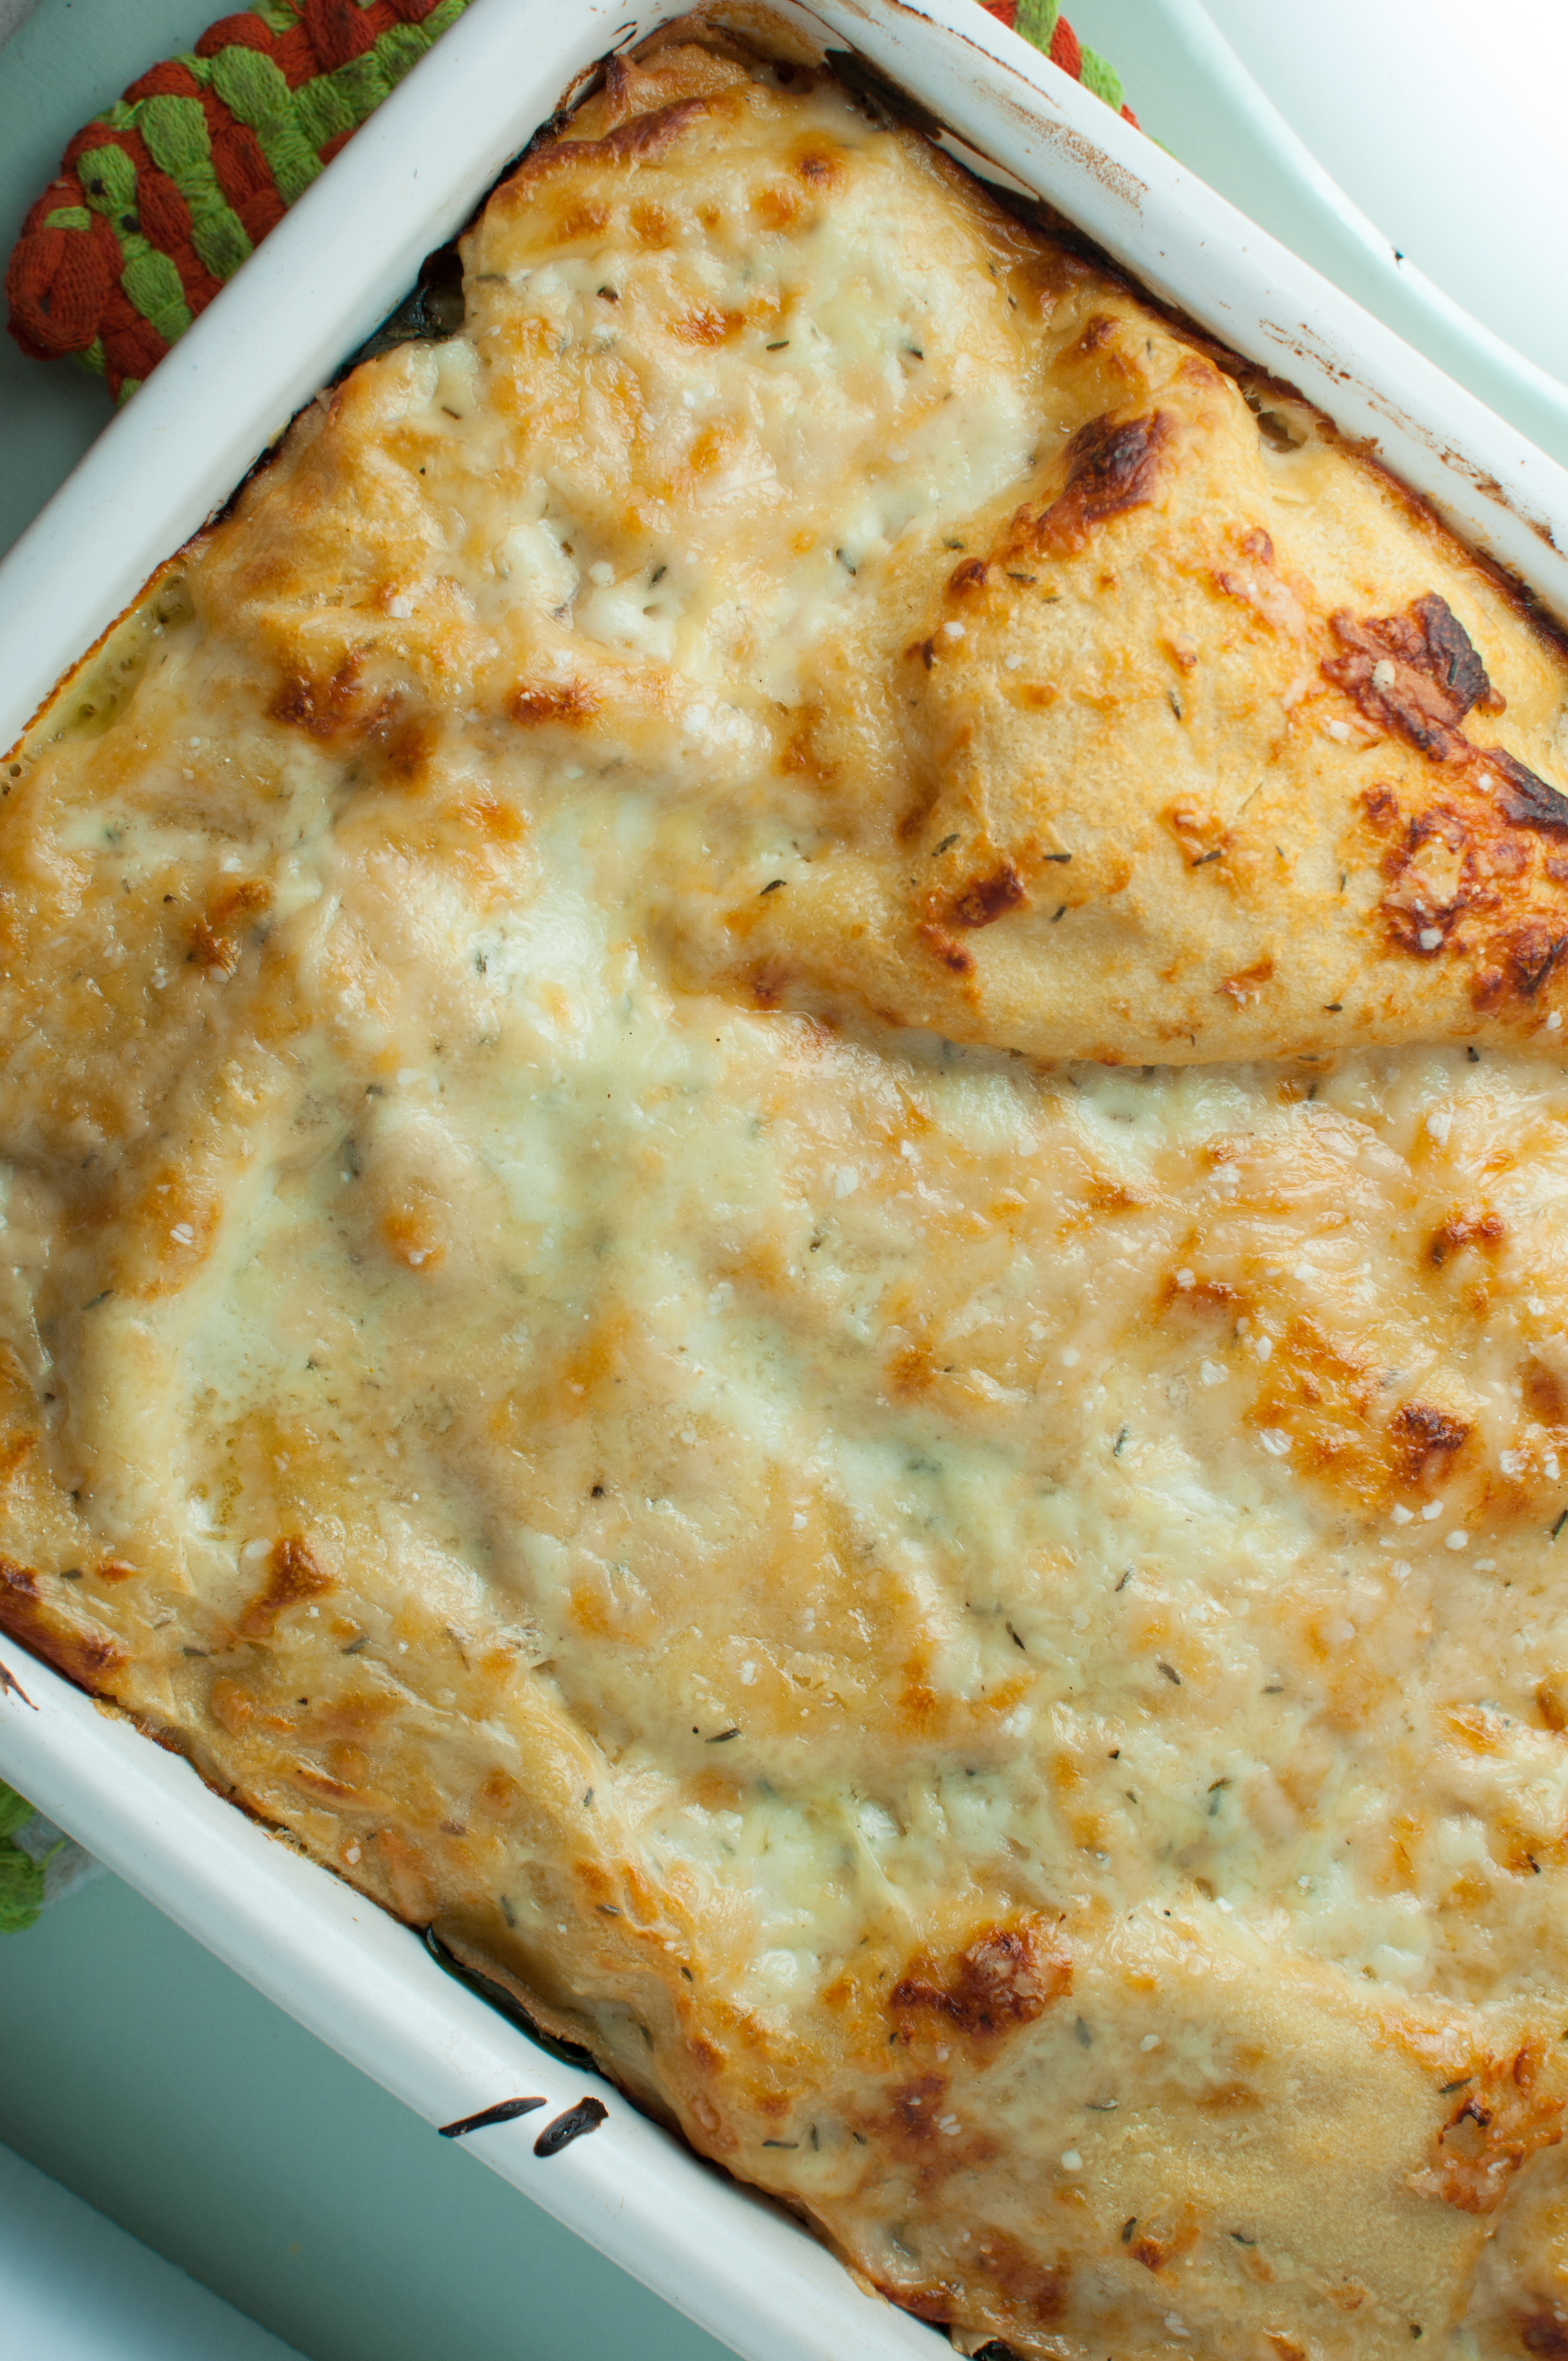
Then you just layer layer layer, sprinkle some extra cheese on top and bake it until it's browned to perfection! 

the pasta

ingredients: 

7oz semolina flour 

7oz whole wheat pastry flour or all purpose flour 

4 eggs 

instructions: 

  • You can make this dough using a stand mixer, but it's always turned out better when I do it by hand so I suggest you do too! 
  • Evenly combine the flours in a medium bowl, preferably one with a wide opening, then create a large well in the flour mixture. 
  • Crack the eggs into the well, and slightly beat them with a fork. Continue beating with your fork, slowly incorporating more and more of the flour. 
  • Once you've incorporated as much flour as possible, dump it all our onto the counter and knead the dough using any extra flour in the bowl to keep it from sticking to the counter. 
  • Continue kneading for 5-10 minutes, this ensures some serious gluten is formed so you can roll the dough super thin! 
  • Refrigerate dough in a sealed container or covered with plastic for at least 30 minutes (but up to 5 hours).  

the cream sauce 

ingredients: 

1 medium sweet onion, minced 

3 cloves garlic, minced

1/2 cup plus 2 Tbsp flour 

1/2 cup plus 2 Tbsp unsalted butter

5 cups whole milk, room temperature or warmed (warmed will speed up the cooking process) 

2 cups freshly grated parmesan cheese

2 Tbsp fresh thyme or 2 tsp dried thyme

salt & pepper to taste  

instructions: 

  • First, we want to nicely brown the onions and garlic. Heat a medium pan over medium heat, then add about 2 Tbsp your oil of choice (butter, or olive oil). Once the oil has heated, add onions and cook, stirring occasionally. When onions have become translucent, add garlic. Let cook until both the onions and the garlic have browned significantly and are smelling heavenly! 
  • While the onions are cooking, you can work on the cream sauce. Start by melting the butter in a medium saucepan over medium high heat. Once melted, slowly sprinkle in the flour while simultaneously whisking the mixture. Once all the flour is incorporated, let the mixture cook for a few minutes, stirring occasionally, and not letting it darken in color. 
  • Slowly add the milk to your butter and flour mixture (which is what we kitchen folks like to call a roux), whisking to evenly combine the mixture. Let the mixture cook over medium heat, stirring occasionally, until it has thickened. This will take about 10 minutes or so, depending how warm your milk was to start off with. 
  • Once the sauce has thickened, stir in those onions and garlic along with the cheese and thyme. 
  • Add salt & pepper to taste. 

the lasagna 

ingredients: 

1 recipe pasta dough (above) OR 1 box dried lasagna noodles 

1 recipe cheesy cream sauce 

2 medium sweet potatoes, cut into thin slices (i like to use a mandoline to make fast work of this, but you can do it with a knife too - just cut them as thin as you're able to!)

1 bunch kale, stems removed and roughly chopped

1/2 cup freshly grated parmesan cheese 

instructions: 

  • Roll the pasta dough as you need it to form the lasagna, you should be able to cover each layer using 1/5 of the dough. I have the Kitchenaid Pasta Roller Attachment and like to roll the dough to #4, a little thicker than I do for most pastas. If you don't use all the dough, just make some extra pasta to dry for another day! 
  • If you're using dried lasagna noodles, cook them before forming the lasagna. 
  • Spread a thin layer of sauce across the bottom of a 9 x 13 baking dish. Create a layer of pasta over the sauce. Cover the pasta with a solid layer of kale, Use 1/3 of the kale in each layer, it'll cook down a ton! Next a layer of sweet potatoes, then a nice thick layer of sauce! 
  • Make three more layers just like that one, and top it off with one last layer of pasta and all the sauce you have left. Sprinkle the cheese evenly on top, and you're ready for the oven! 
  • Bake at 400 degrees, covered with tented foil, for 30 minutes. Then remove the foil and bake until the top is perfectly browned and bubbling, about 20 minutes longer. 
  • Let cool about 15 minutes before serving. 


Comment

pupusas con curdito (stuffed tortillas with slaw)

Comment

pupusas con curdito (stuffed tortillas with slaw)

Pupusa is a really fun word to say, and an even more delicious meal to eat! I absolutely love these pockets of joy hailing from El Salvador.

I started making pupusas back in my days as an after school program cooking teacher - picky middle schoolers would never complain about something stuffed with cheese, and making ethnic food provides a great opportunity to have a conversation about the amazing diversity of cultures living in our world! 

Pupusas come in many forms, the most basic of which is just masa (what is used to make corn tortillas) stuffed with grated cheese, but you can make them with anything you please! Other favorites of mine include black beans and cheese, refried beans, or pork carnitas. 

So here it goes, simple as can be! 

First, you take a ball of masa in your hand. 

Then, you flatten that ball out into a rough disk using your hands. 

Pile in some cheese, and anything else you want to stuff in there! 

Then carefully close in the filling and flatten the masa, keeping the filling inside! 

I have to say, I got SO excited to make pupusas a few weeks ago when my babes and I first discovered that Three Sisters Nixtamal sells their fresh masa all over the city. We've been making the dried masa harina version of these and homemade corn tortillas for years, but fresh masa opens a whole new world of delicious! If you can get your hands on some, I highly recommend you make these with fresh masa. If you cannot, still make them... because they'll be delicious no matter what! 

I'm also including my favorite (and super easy) slaw to serve with these pupusas as well as stuffed in tacos and plenty of other places!  The slaw is really simple to make, but super fresh with purple cabbage, carrots, and an apple cider vinegar and lime juice dressing. I like to pile a massive heap of this goodness on top of my pupusas (then usually, pile on even more as I make my way through the meal). What can I say, I'm a big fan of purple cabbage! 

Of course, pupusas' simplicity makes them great for all sorts of added toppings. Avocados, salsa, and black beans are always good options! 

Simple Cheese Pupusas 

Ingredients: 

fresh masa  or 3 cups masa harina (I like Bob's Red Mill!) 

grated cheddar cheese

high heat oil (like canola) 

Instructions: 

  • If using masa harina, you'll start by making your dough. In a medium bowl, stir masa harina with 1 3/4 cups warm water until all of the flour has been absorbed. You may need to use your hands to finish it off. The masa will be the texture of play-dough. Let sit for about 30 minutes before making your pupusas. 
  • To make the pupusas, make a ball of masa in your hands about the size of a golf ball. Flatten it down as much as you can with your hands, until you have a rough disk of dough. Place as much cheese as you can and any other fillings you want to use on top of your disk. Squeeze the top together to seal in the fillings, and flatten the dough back into a disk making sure to keep the fillings sealed in! 
  • Repeat the above step until you've used all of your masa (or made as many pupusas as you want to eat!). 
  • Place a medium frying pan over medium heat, allowing it to warm for a few minutes. When the pan is hot, pour in enough oil to create a 1/8 inch of so layer at the bottom of the pan. Fry pupusas for a few minutes on each side, until they reach a golden brown.
  • Serve immediately with my purple cabbage slaw, avocados, beans, or anything else you wish! 

Purple Cabbage and Carrot Slaw 

Ingredients: 

1/2 small head of purple cabbage, shredded 

2 medium carrots, grated or julienned. 

1/2 small red onion, sliced thinly 

1/2 tsp cayenne 

1 tsp dried oregano 

2 Tbsp olive oil 

1 tsp salt 

2 tsp brown sugar 

1/4 cup apple cider vinegar 

2 Tbsp fresh lime juice 

Instructions: 

  • Simply stir together all ingredients in a medium bowl, and let sit for about 30 minutes before eating. 
  • Enjoy! 

Comment

make your own pesto, without a recipe!

1 Comment

make your own pesto, without a recipe!

In my opinion, freshly made pesto is one of the big joys of summer! There is a magical feeling in tossing together a quick batch of pesto and slathering it over your dinner in massive quantities. Then again, I just might be obsessed with pesto in all forms! But I do promise you that a batch of homemade pesto always beats out the store-bought alternatives. 

I've looked at many a pesto recipe for inspiration, but I've never actually followed one. So I wanted to pass along some of that homemade pesto without a recipe knowledge to you wonderful folks. With a little tasting along the way - you'll be just as happy with your recipe-free pesto as I am! 

Of course late summer is pesto season, when your home basil plants are finally producing high yields, and farmers markets are piled high with the fragrant herb. This is the time of year when I always take an afternoon to make a mega-sized batch of pesto and freeze it away so I can get that fresh taste of summer all winter long! 

I like to freeze my pesto in little 4oz glass jars. It's the perfect size for a few small meals or one meal for a group, and defrosts quickly. Plenty of folks also recommend freezing it in your ice cube trays, then tossing all the cubes into a sealed container for single-serving pesto. 

Everyone loves a simple meal of pasta with fresh pesto and some lovely veggies, but there is plenty more you can do with your creation once it's made! Mix it into a simple cream sauce for a creamy pesto sauce. Put it on your sandwiches. Mix it into some hummus for an awesome veggie dip. Slather it on toast. Use it as a pizza sauce. The options are endless! 

So head down to that market of yours, buy up all the basil you can dream of, and get to it! 

basic ingredients: 

basil, and lots of it! 

olive oil 

lemon juice 

parmesan cheese, freshly grated 

garlic, roughly chopped 

salt 

walnuts (or pine nuts, if you're feeling rich and want to be traditional) 

instructions: 

The basis of pesto is just creating a puree of your ingredients, but you don't want to totally demolish the basil leaves as a perfect pesto still has little bits of the leaves intact. So to start, pick the leaves from your basil and give them a rough chop (so you're starting with smaller pieces). If you're making a big batch this is absolutely the most time consuming part, so pour yourself a glass of wine and crank up some tunes, or find a friend to keep you company and lend a hand! 

Once your basil is prepped, the rest is just a matter of tossing your ingredients into a food processor or blender in the right proportions. A food processor really works best for this, but I use my vitamix with great results! If you're using a blender, just be extra careful to get the mixture to cycle through the container to create an even texture and prevent you from finding giant chunks of leaf in your pesto! 

I like to start with about half of my basil, and add more as the mixture purees. So add half your basil to your machine's container, along with the rest of the ingredients. Here are some notes on how much to add: 

  • I start with a heavy pour of olive oil (you'll be using quite a bit, so you're not likely to add too much at the start). 
  • Just a splash of lemon juice, you can always add more to taste! 
  • A small handful of parmesan cheese is a good place to start... but I don't really believe there can be too much cheese in my pesto. So if you're not a huge fan of cheese, start with less! 
  • Garlic is a personal thing, if you love it add a few cloves to start. If you don't, just add one! 
  • Pine nuts are classic for pesto, but I use walnuts because they're much cheaper. Start with an amount similar to the cheese you added. 
  • Sprinkle in some salt! 

Now, start pureeing and let it go (with constant attention) until most of the leaves have been broken down to small specks. Add about half the basil you have remaining, and puree again. Then the rest, and puree! 

You'll likely need to add some additional oil throughout the process. I don't like my pesto to be overly oily, so I just add what I need to keep the mixture from being too dry for the blender to work smoothly. Add more if you like a more oily pesto, or if you're worried about it oxidizing to a darker green. The added oil will prevent oxygen from reaching the basil. 

Give it a taste each time you add more basil, and use your gut to tell if you need more lemon, garlic, cheese, nuts, or salt. Learning to cook by tasting and adding what the dish needs is the first step to getting creative in the kitchen! 

When it's finished, use some as soon as you possibly can! If you've made a small batch the pesto will keep in the fridge for a few weeks. If you've made a lot - freeze it for a taste of summer in the middle of winter! 

alternatives: 

This recipe is for a classic basil pesto, as it's been made for ages. You can mix it up for a fresh pesto vibe if you like though!  Try one of these ideas for something new: 

  • Mix up your basil a bit - cut it with some spinach or arugula 
  • Vegan? Use nutritional yeast in place of cheese 
  • You can use any variety of hard cheeses - grano, asiago, romano, piave 
  • Add in a spoonful of miso for a bit of umami flavor! 
  • Totally remove the basil, and make your pesto with another herb - my favorites are wild leek leaves in the early spring, arugula, or kale! 

1 Comment