Viewing entries in
dessert

Holiday Spice - Nutmeg Almond Merengue Cookies

Comment

Holiday Spice - Nutmeg Almond Merengue Cookies

I first fell in love with making merengue cookies when I found myself frequently searching for something to do with egg whites left over from ice cream making. That said, since we downsized our kitchen and the ice cream maker didn't make the cut (hold on sweet ice cream maker, I'm coming back to you in just a few short months!!), I've found myself looking for excuses to use yolks and treat myself to a batch of these cookies : ) 

These airy, crisp, and lightly sweet beauties are like crack to this work-from-home lady... in fact,  I had to insist we didn't eat more than two each last night because I knew if we put the open container between us I wouldn't have enough to photograph today. And we still went back for seconds. In the midst of photographing the recipe and editing the photos, I ate most of them.

I have no shame. 

Of course after any binge on these babies, one must tell themselves - they're mostly air. Because they are! So it's totally fine. 

I've made a lot of flavors of merengue in my days (remember the gorgeous strawberry kisses?), but there is something intensely satisfying about this holiday almond nutmeg version. It's the lightest festive treat you'll find this year! 

note: You could surely replace the freshly grated nutmeg with a ground nutmeg, but you'll get the best flavor possible with a freshly ground version - it's one of my favorite spices to use whole! Simply purchase whole nutmeg, and grate it with a fine grater like a Microplane.

Nutmeg Almond Merengue Cookies

3 large egg whites 

3/4 cup sugar 

1/4 tsp corn starch 

1/2 tsp almond extract 

1/2 tsp vanilla extract 

1/2 tsp freshly grated nutmeg  

  • Using a stand mixer fitted with a whisk attachment or a handheld mixer, whip egg whites, sugar, and corn starch until stiff peaks form. 
  • Whip in the extracts and nutmeg until they're evenly distributed. 
  • Fit a pastry bag with a medium star frosting tip. If you don't have a tip, you can just scoop small piles of the batter onto your baking sheet, or use a plastic bag with the corner cut off to form small mounds. 
  • Fill the pastry bag with merengue, and form small swirls on a baking sheet lined with parchment or a silicone baking mat. They can be very close together as they won't swell, just make sure they aren't touching! 
  • Bake at 200 degrees for about 2 hours, then let cool with oven door cracked. cookies should be dry to the touch before turning off the oven, and one big crunch once cooled (tasting is the best way to test them!). If for some reason your cookies still have some gooeyness to them once cooled, just turn the oven back on for another half an hour or so, then let them cool again. 
  • Store these in an air-tight container to keep them at their crispiest!  

Comment

Banana Coconut Cashew Popsicles

Comment

Banana Coconut Cashew Popsicles

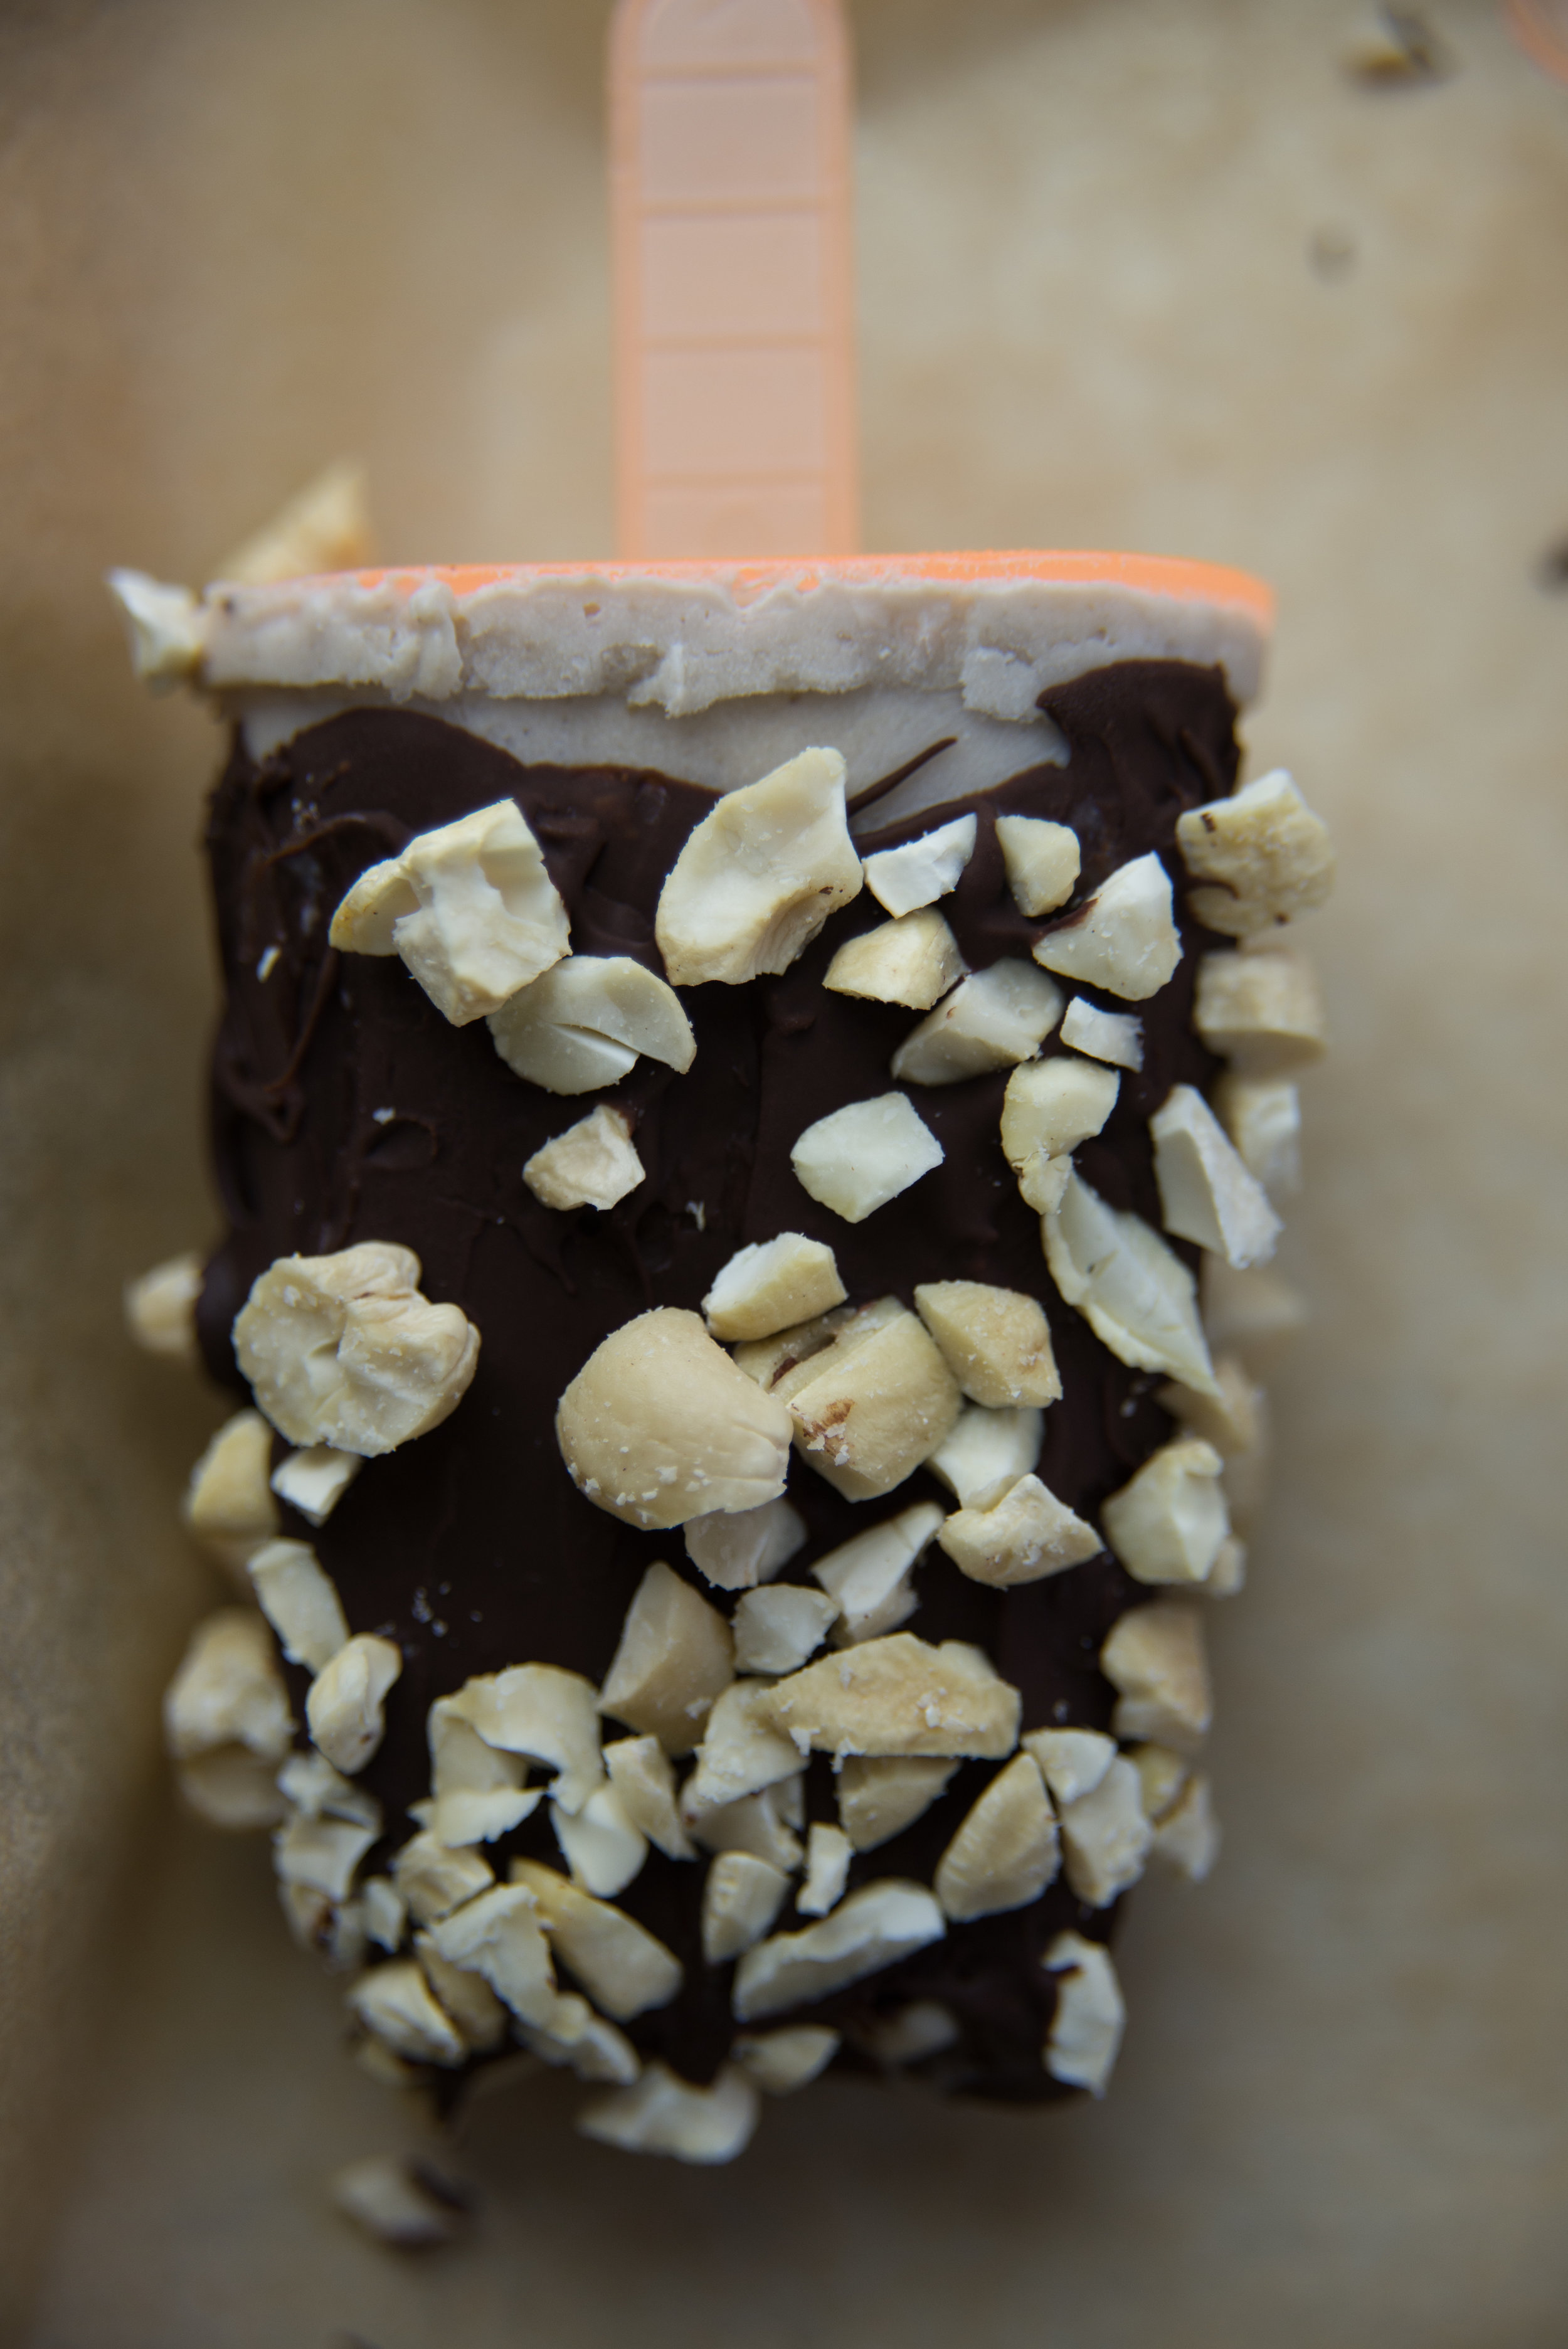
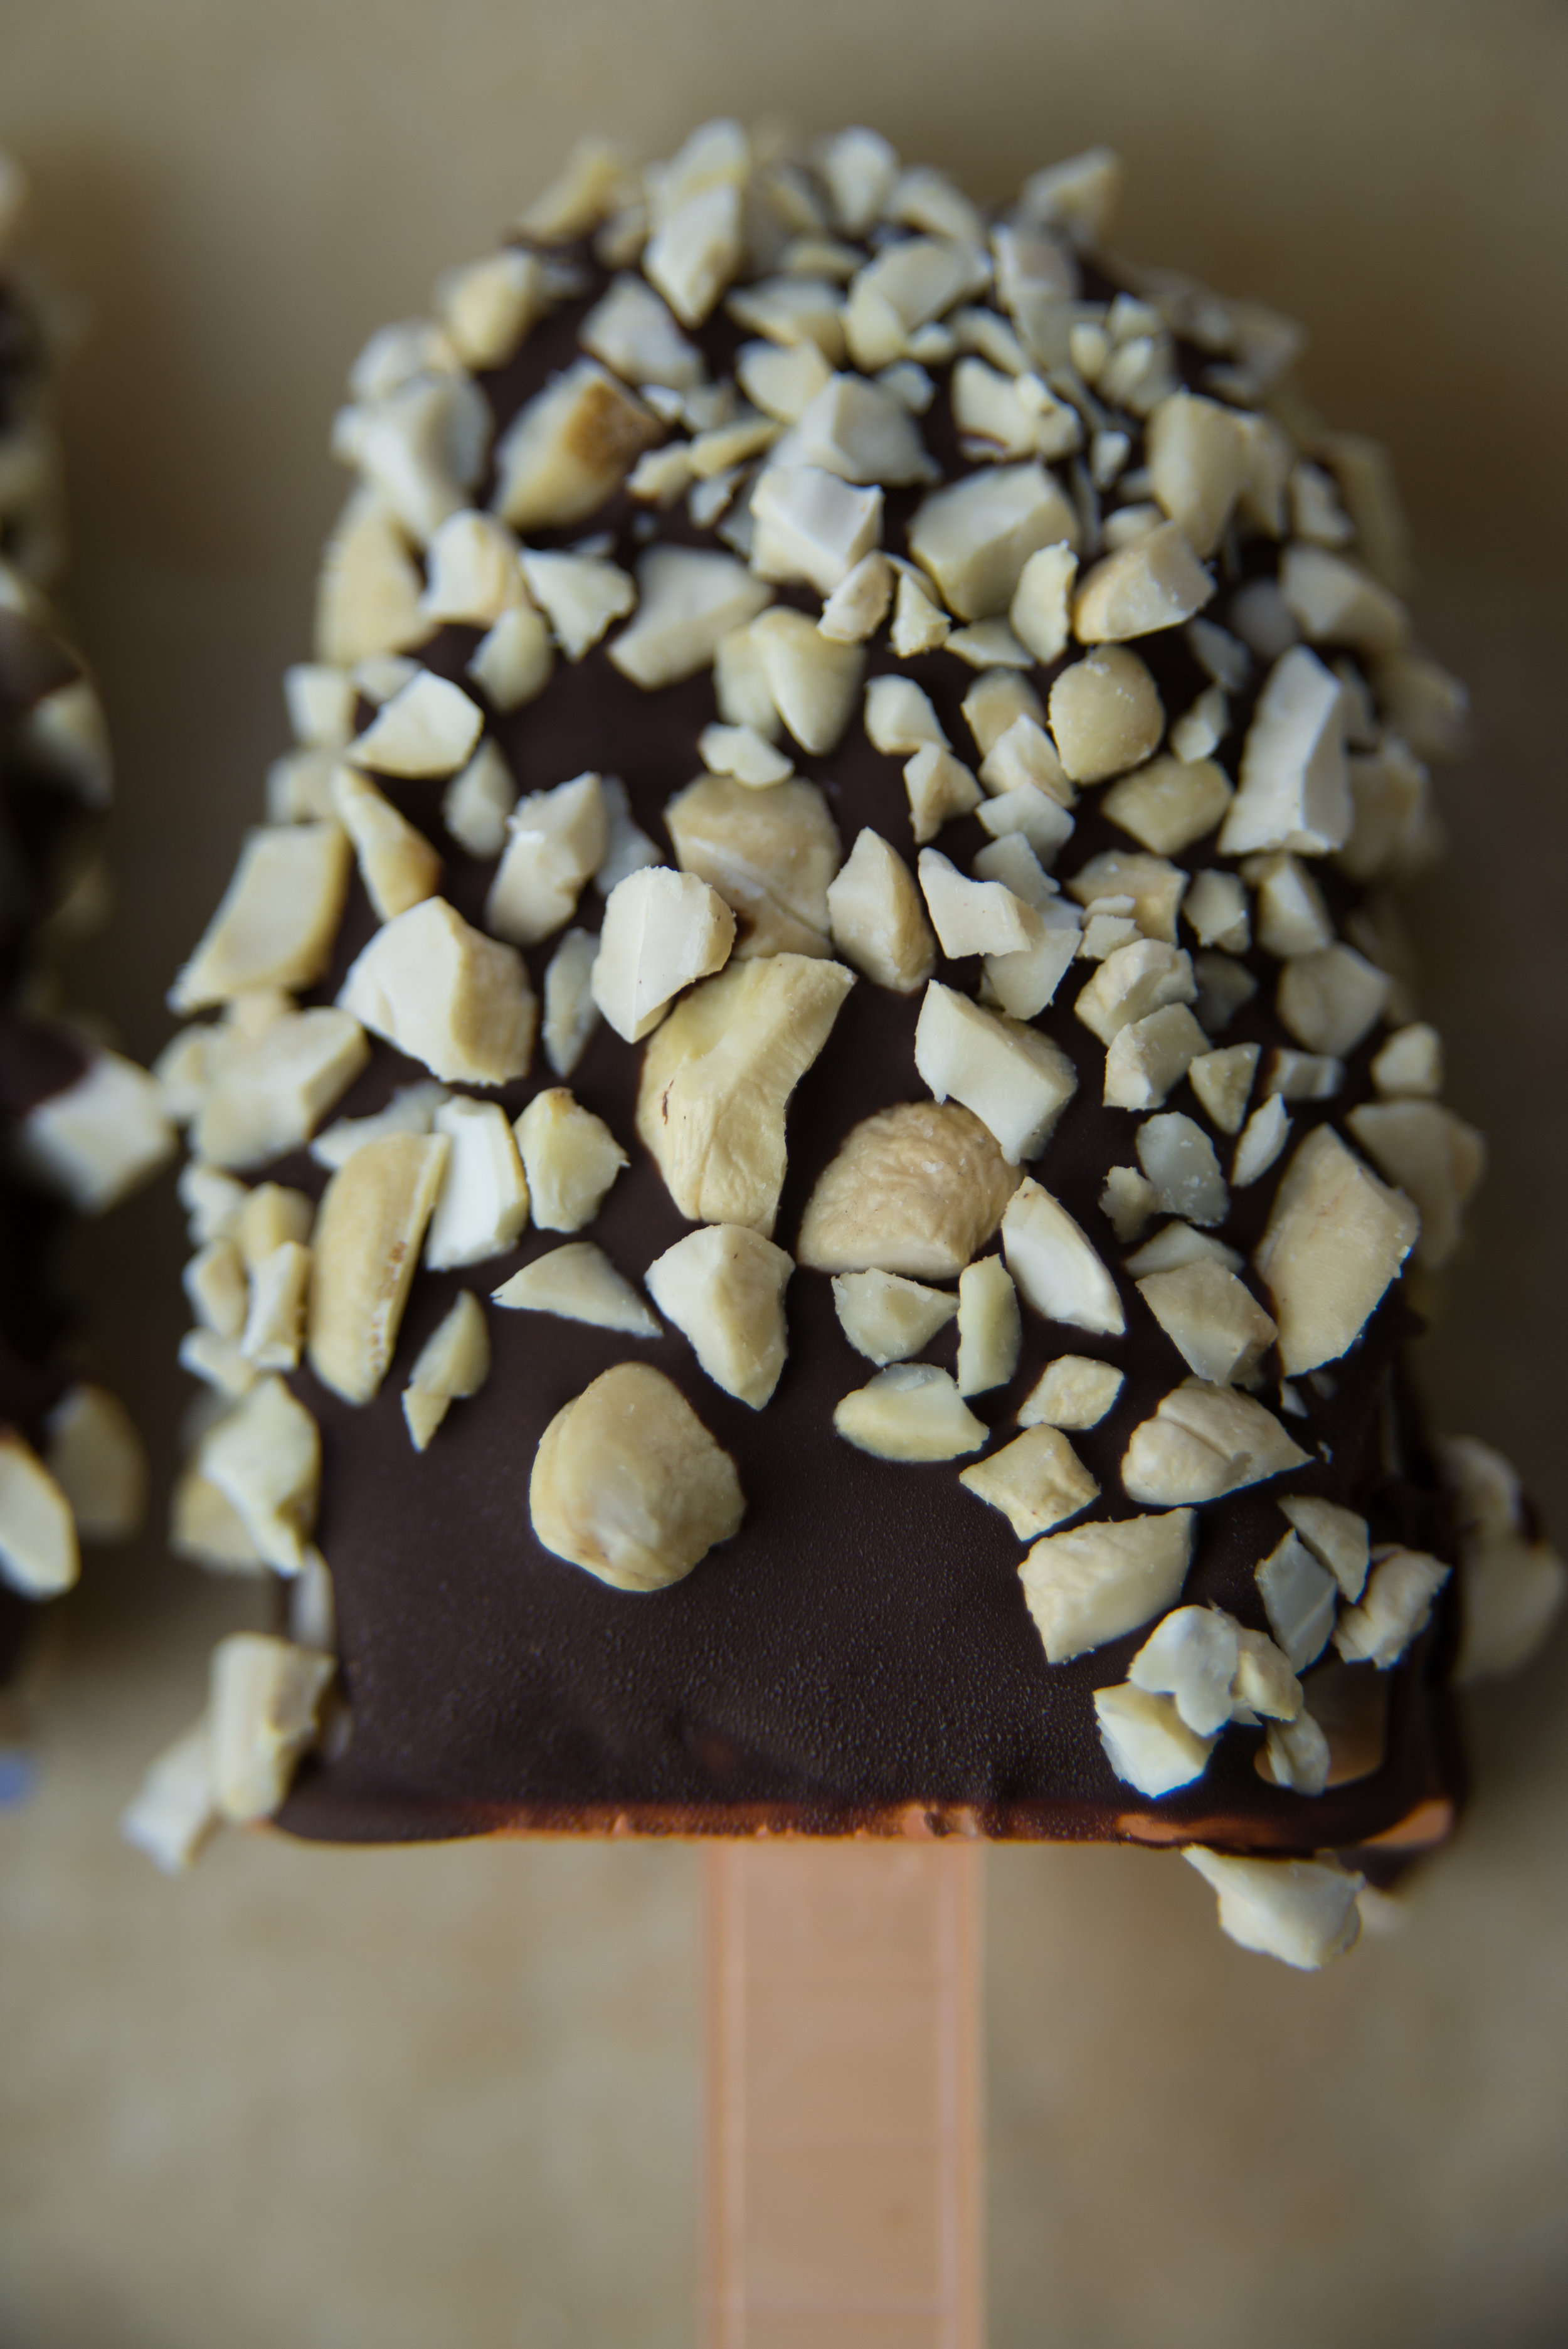
Have you ever had chocolate-dipped frozen bananas? When I lived in Ecuador, you could buy them for the out-of-control tiny price of 10 cents in the banana growing regions of the country, and I very very quickly fell in love. If you haven't had them before, this is the time to try it out! 

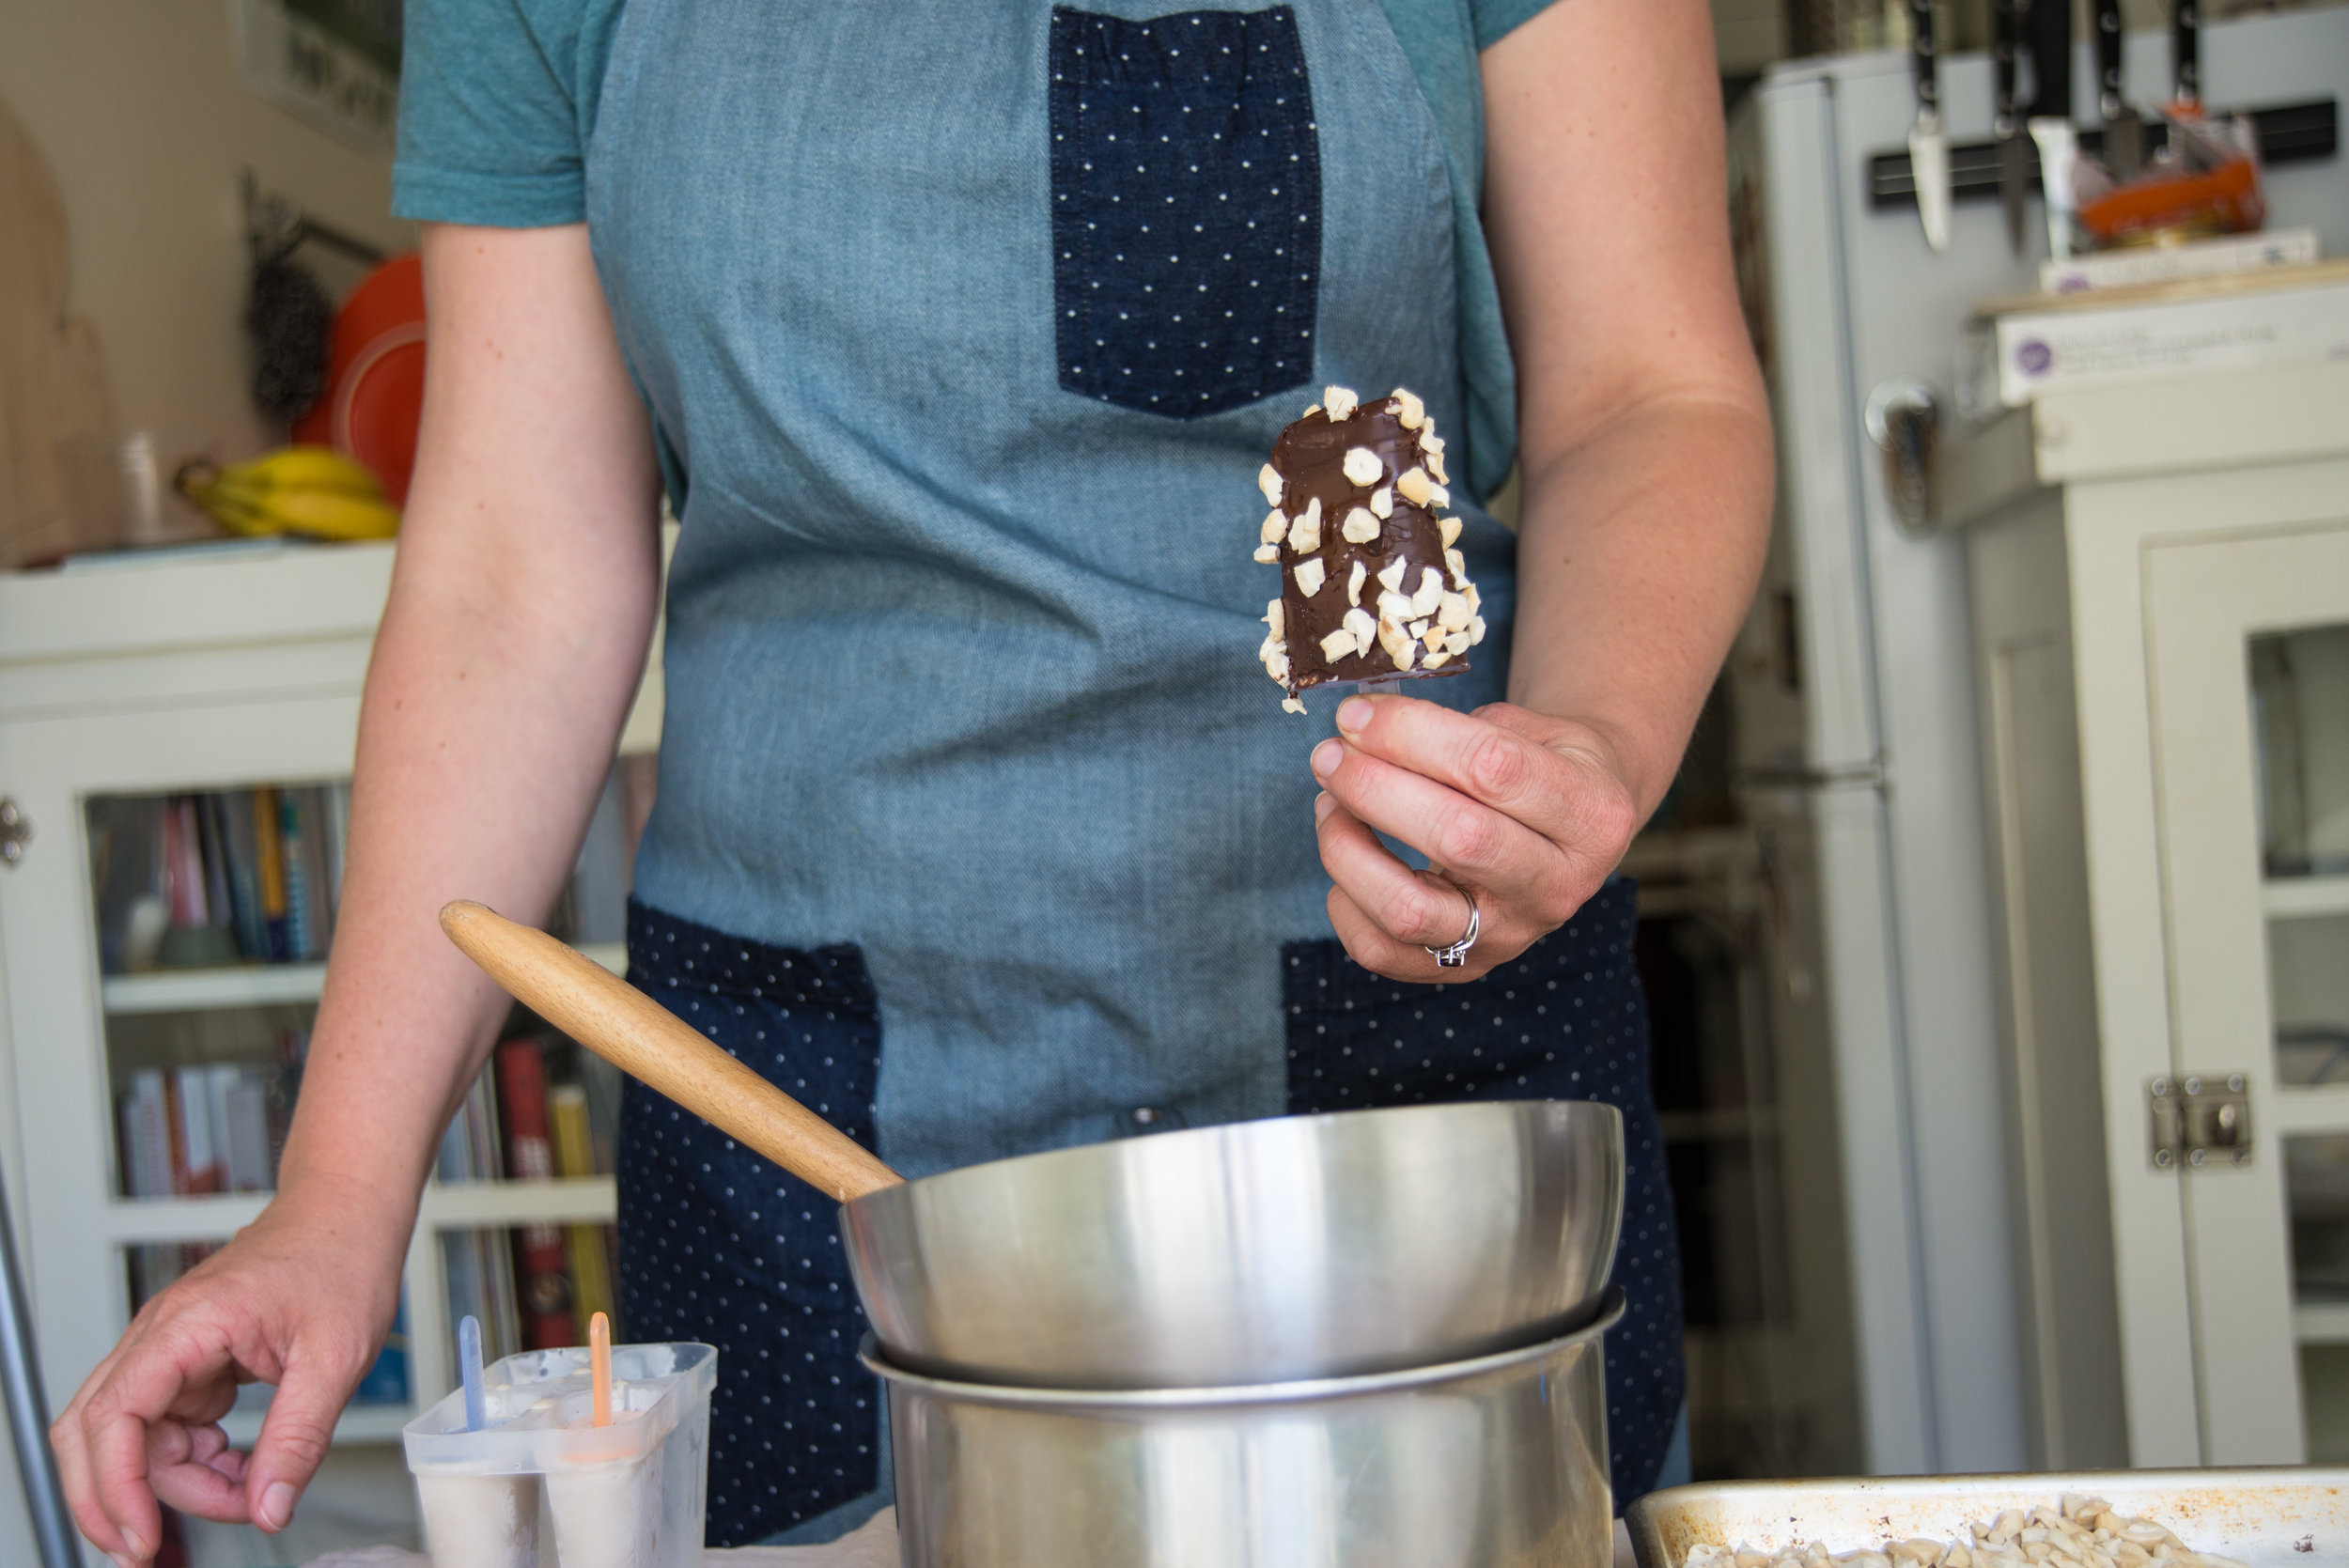
This time around, I decided that it was time to dress up the simple chocolate covered frozen banana into a popsicle and these are what I settled on. With rich, creamy coconut milk, vanilla, and a coating of cashews, these popsicles and a perfectly creamy take on those classic bananas with a nice exterior crunch. 

While making these beauties, I kept the melted chocolate off my clothes with my Nomadic Wares apron. My friend Andrew (ironically, from my time in Ecuador where I fell in love with frozen chocolate banana treats) makes these aprons by hand with incredible fabrics for a durable, functional, and beautiful apron that treats me well at home and in professional kitchens. 

I'll leave it to that! It's summer, we're all busy, and it's time to start making some popsicles. Get these sweeties in the freezer so you can go have fun (and know there's a cold treat waiting for you when you return)! 

Banana Coconut Cashew Popsicles 

makes about 8 medium popsicles, depending on your popsicle mold size

3 very ripe bananas 

1/2 tsp vanilla 

14oz can of coconut milk 

2 Tbsp honey (optional or to taste) 

10oz chocolate

1/2 cup cashews, chopped

  • In a blender, combine bananas, vanilla, coconut cream, and honey (if using). Puree until the mixture is smooth. 
  • Pour the mixture into popsicle molds, insert the popsicle sticks, and put into the freezer. 
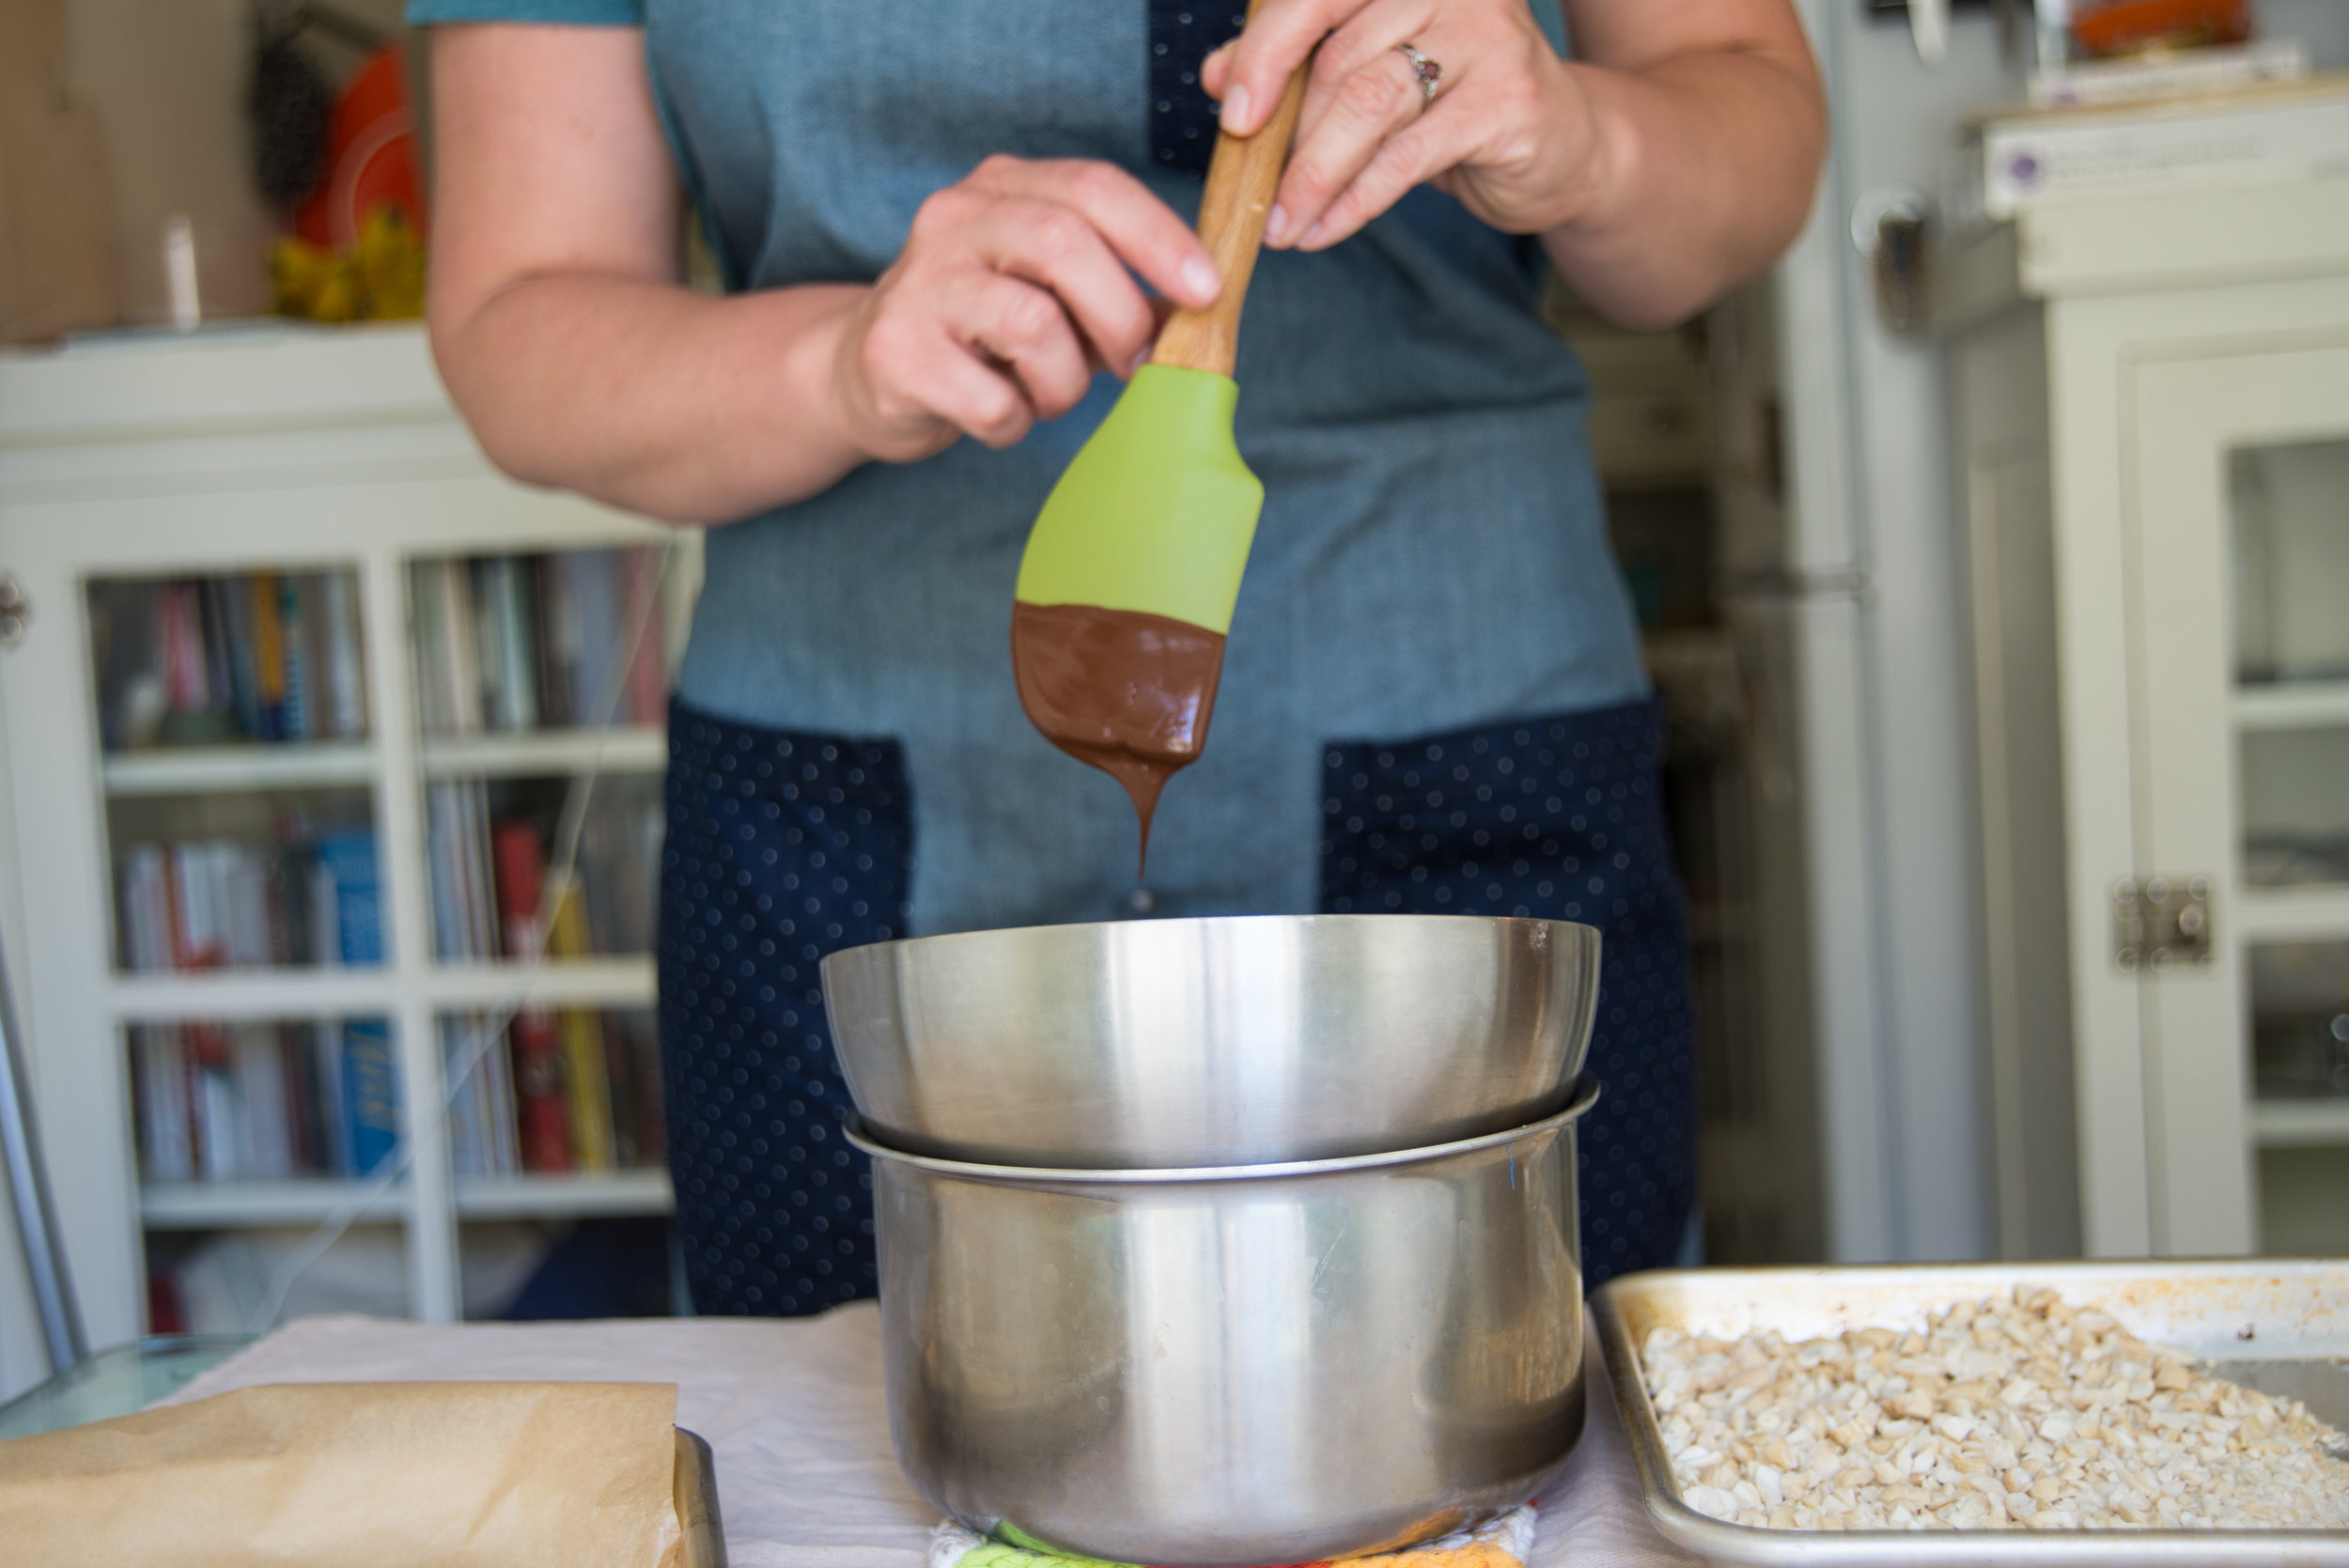
  • Once the popsicles are frozen (I just wait until the next day, to be sure they're solid), melt the chocolate in a double boiler, or a heatproof bowl over a pot with a little water in the bottom. 
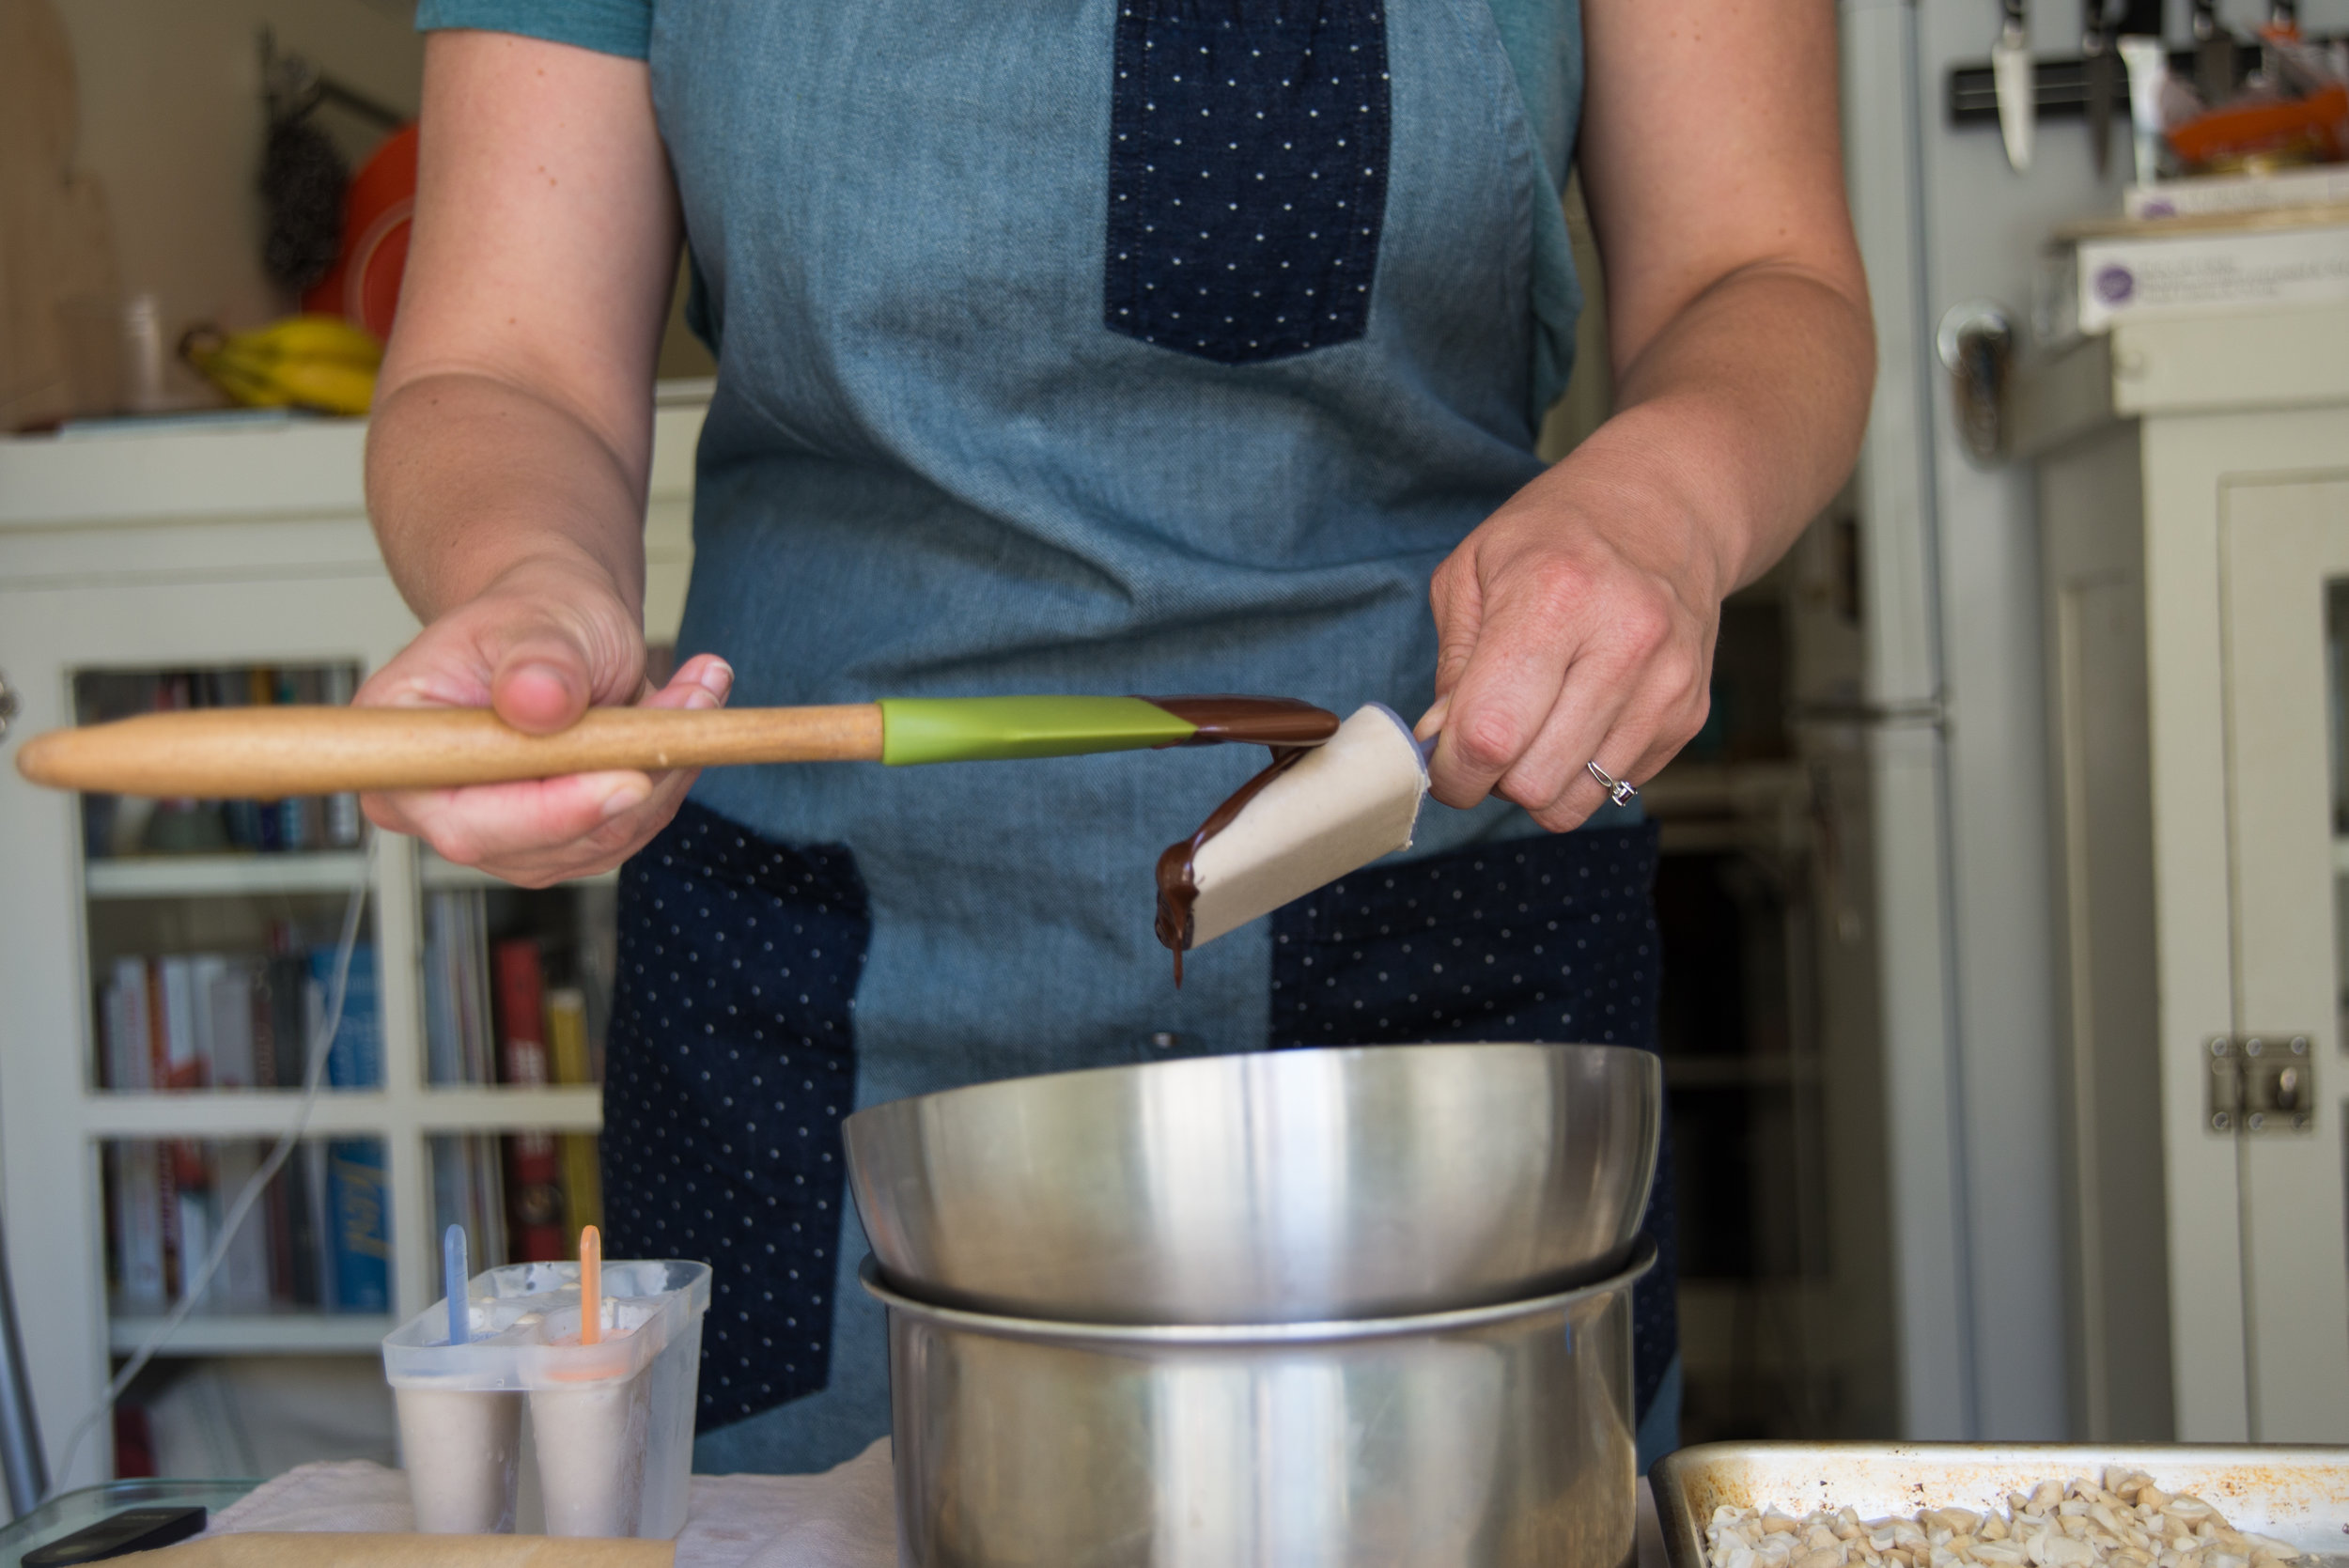
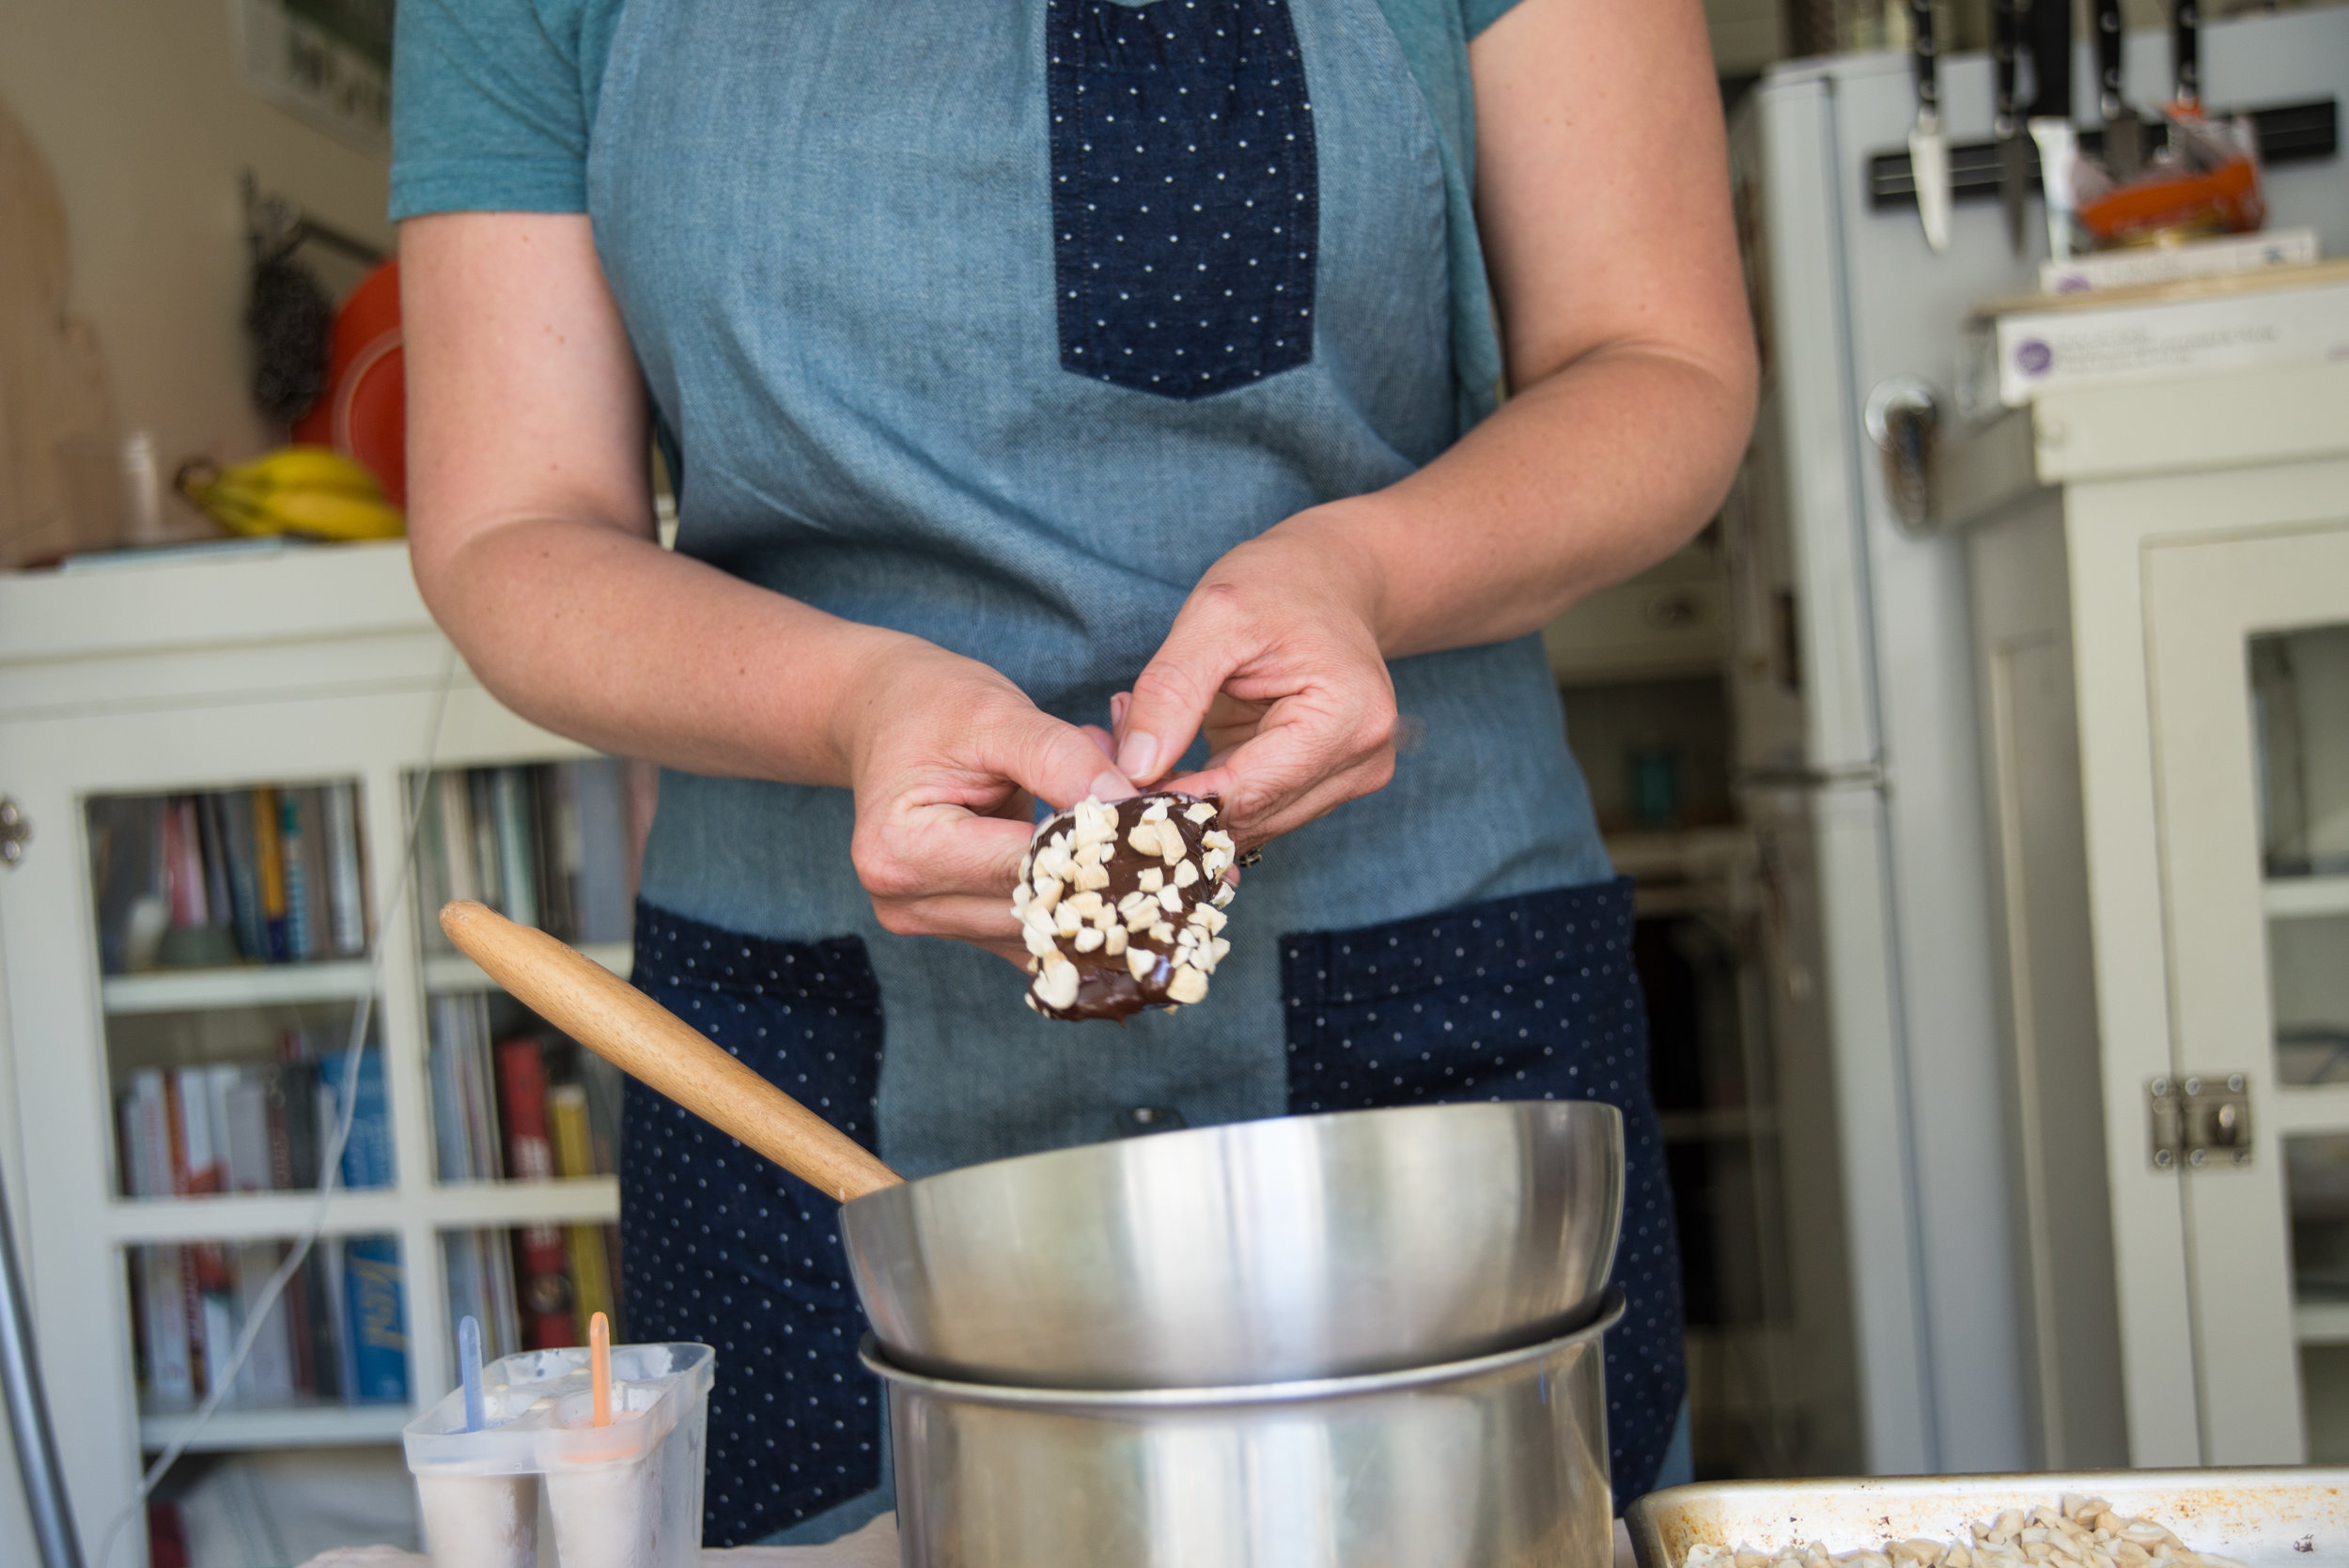
  • When the chocolate is melted, remove the popsicles from the freezer (as few at a time as possible!). Quickly cover each one in as thin a layer of chocolate as possible and roll in the chopped cashews. 
  • Place the popsicles on a baking sheet, and return to the freezer until the chocolate has hardened. Transfer into an airtight bag or container for storage. 

Comment

Raspberry Ice Cream

Comment

Raspberry Ice Cream

About a month ago, my babes and I got the most exciting email - a note saying we had finally been taken off of the waitlist and offered a community garden plot not too far from home! Knowing how long the wait lists were, I had half expected that we wouldn't make it off the list until we were long gone from Portland (we had already been on it for a year!) - so this was a much welcomed surprise! 

The best part? Not only do we have a little slice of land to grow some veggies as we so love to do (more about that later!), but the garden includes a little fenced in park area just for gardeners and a hearty supply of shared blueberry and raspberry bushes which are producing like nuts right now. Hello Jackpot!!  

I spent the first few trips to the garden just stuffing my face with the joy of sweet sweet raspberries.  After a number of trips, I realized I should probably take some home and make ice cream! I have an amazing ability to get-out-of control excited about a number of fruits as they start to ripen and come into season. Strawberries win my heart for a few weeks, then raspberries and blueberries, thimbleberries, cherries, plums, and the list goes on. I was lucky to grow up in northwest Michigan's fruit haven and I am lucky again here in the fruit-rich Oregon. 

So get on ready for a summer of fruit filled recipes and my gushing over how delicious whatever fruit is currently abundant is. 

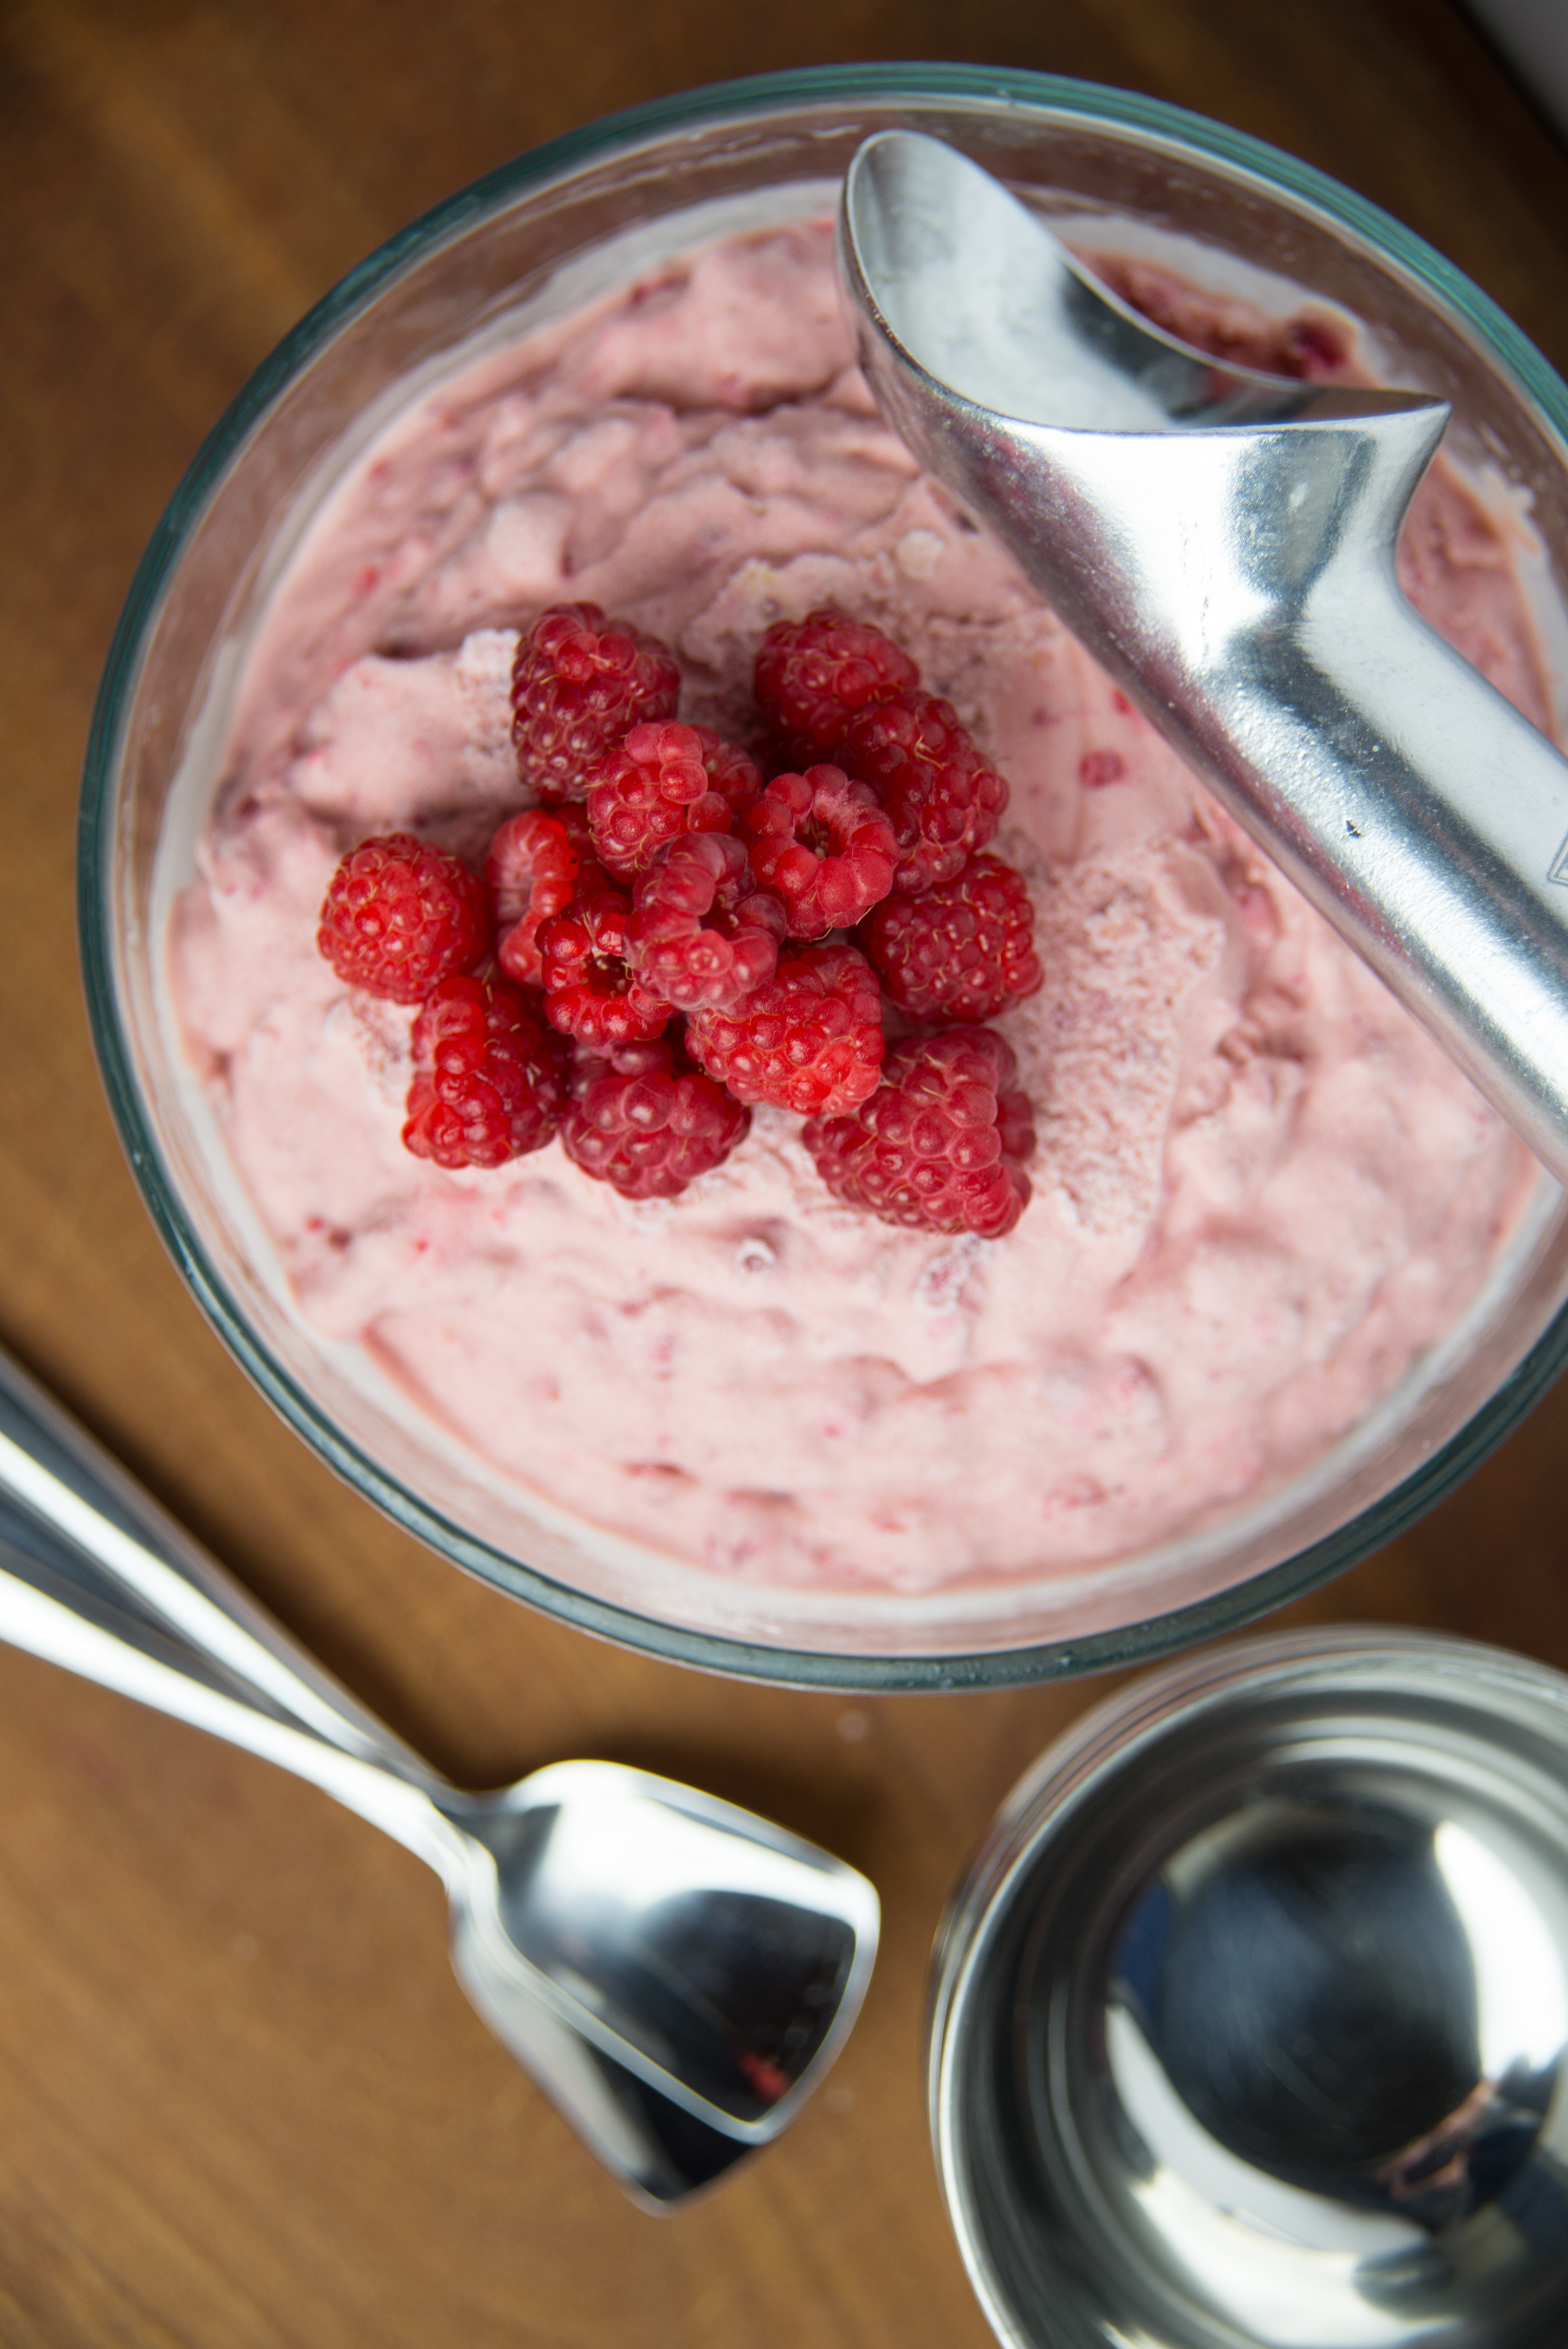
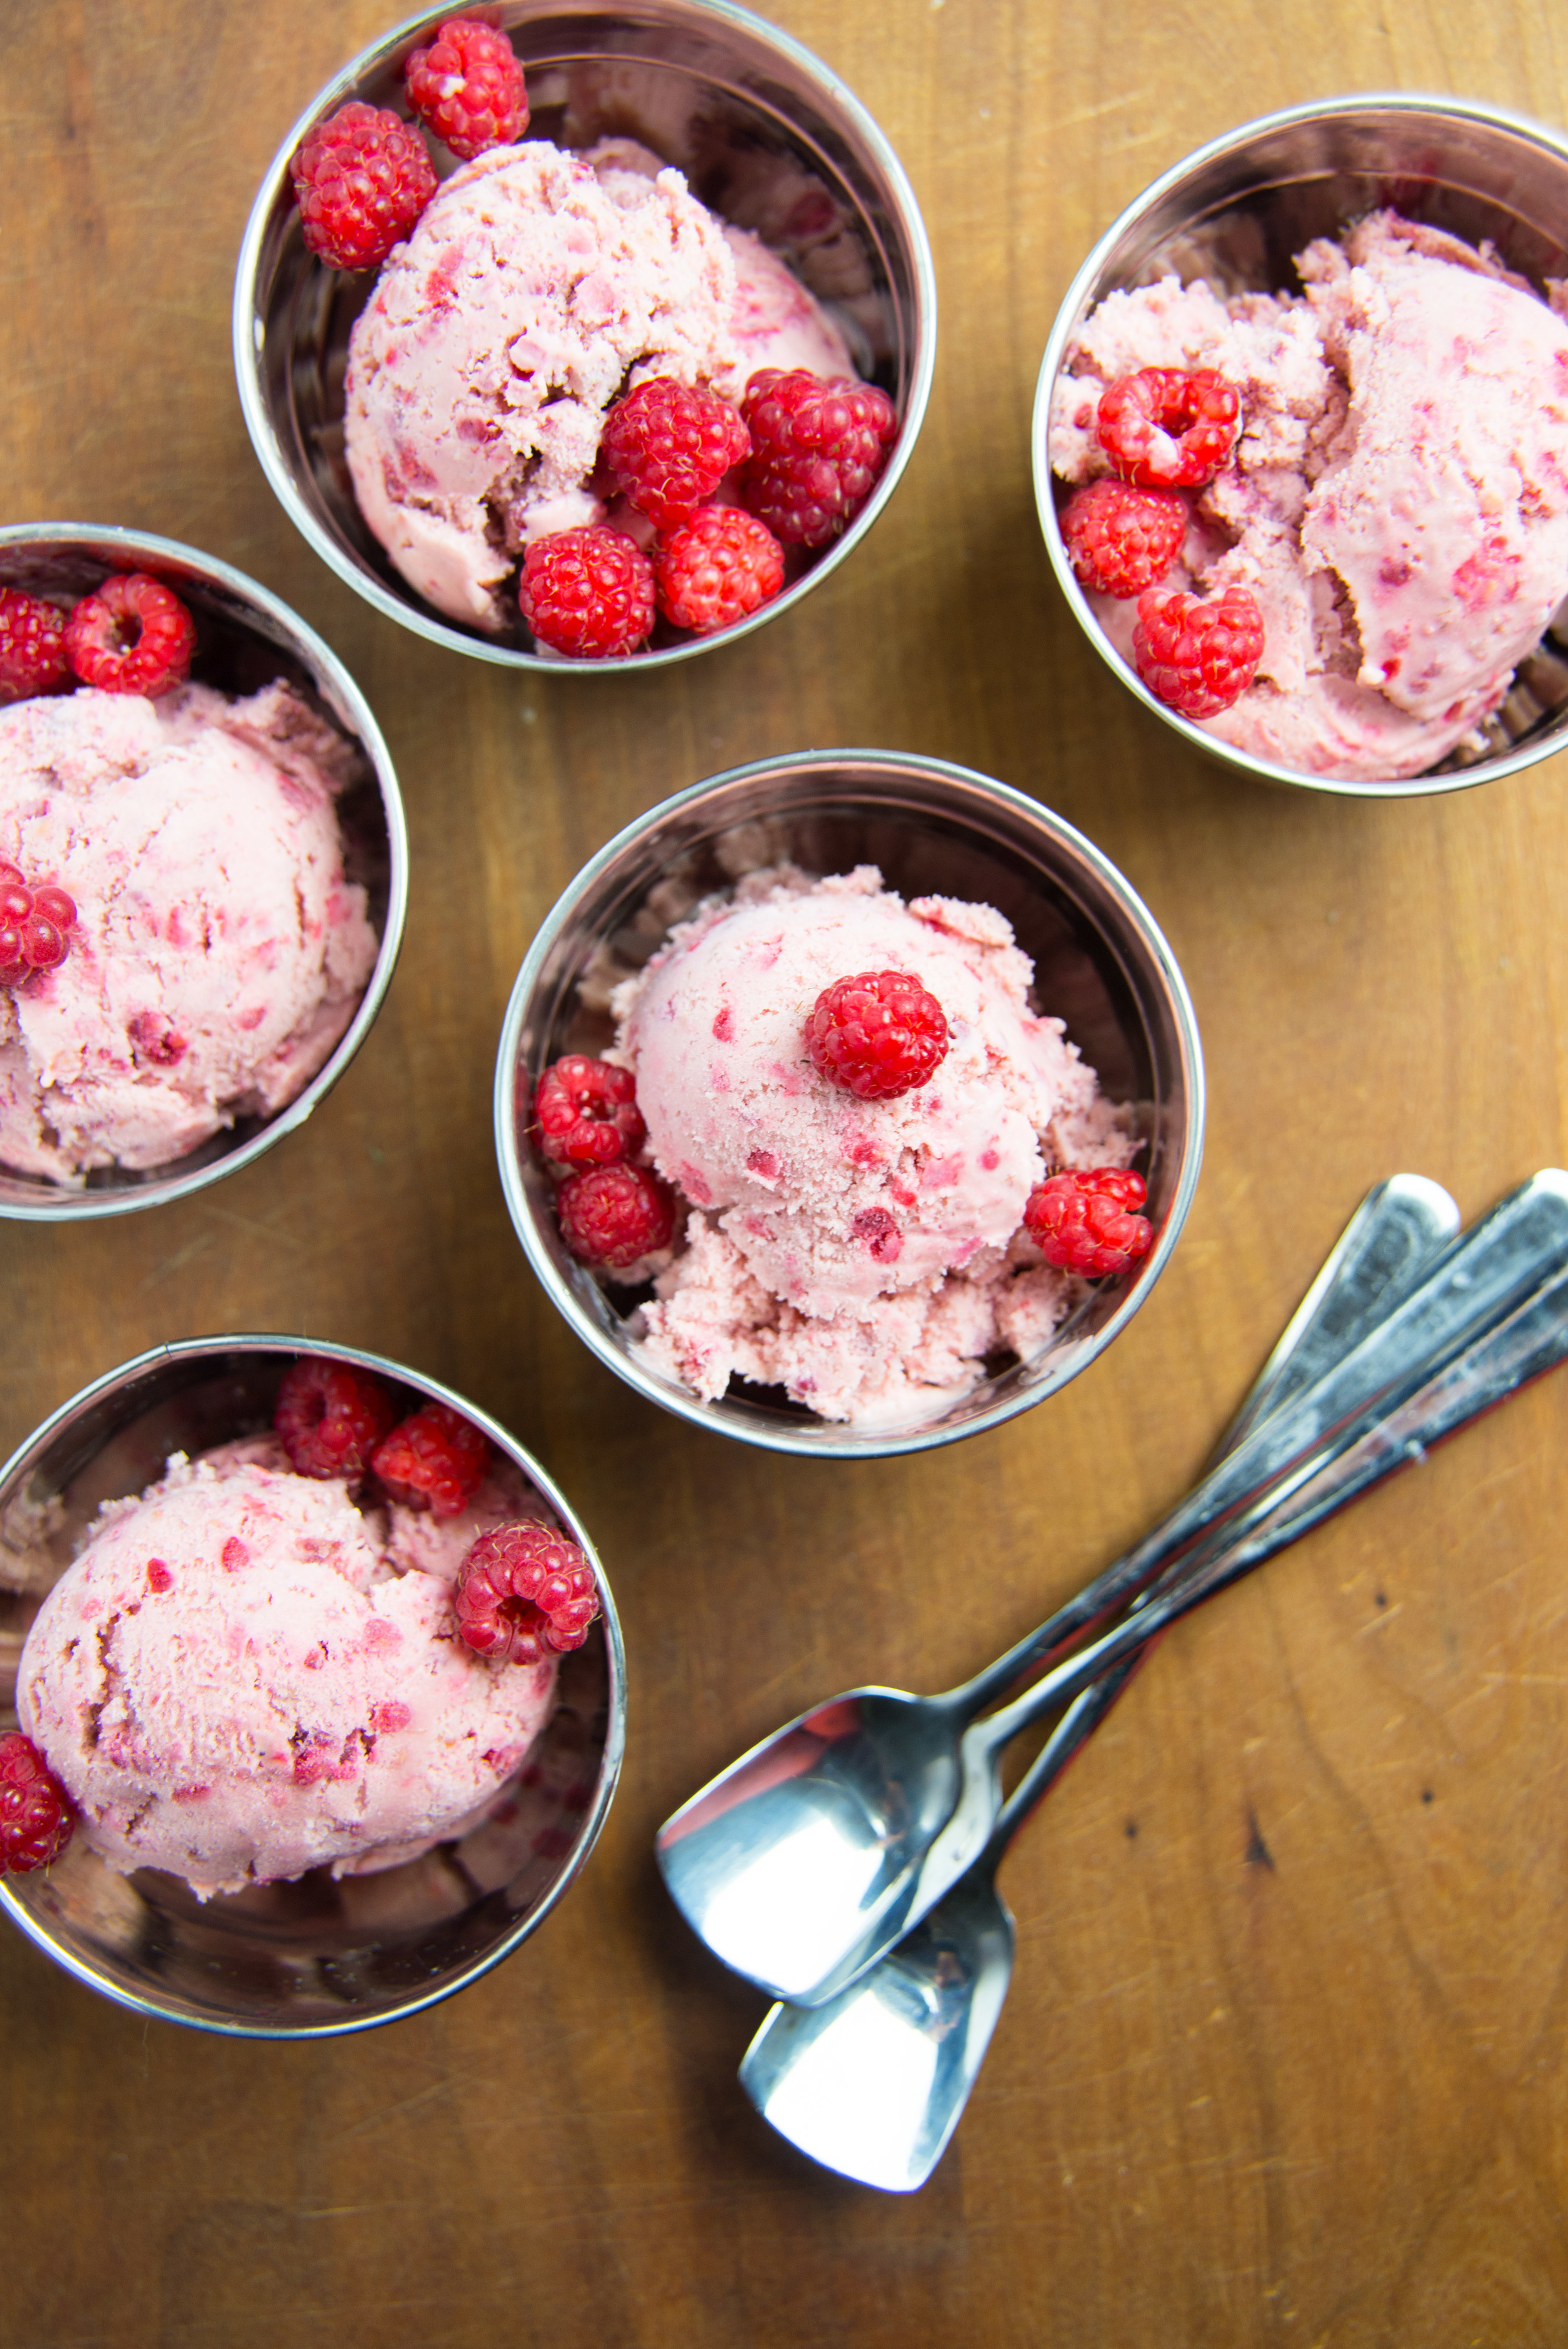
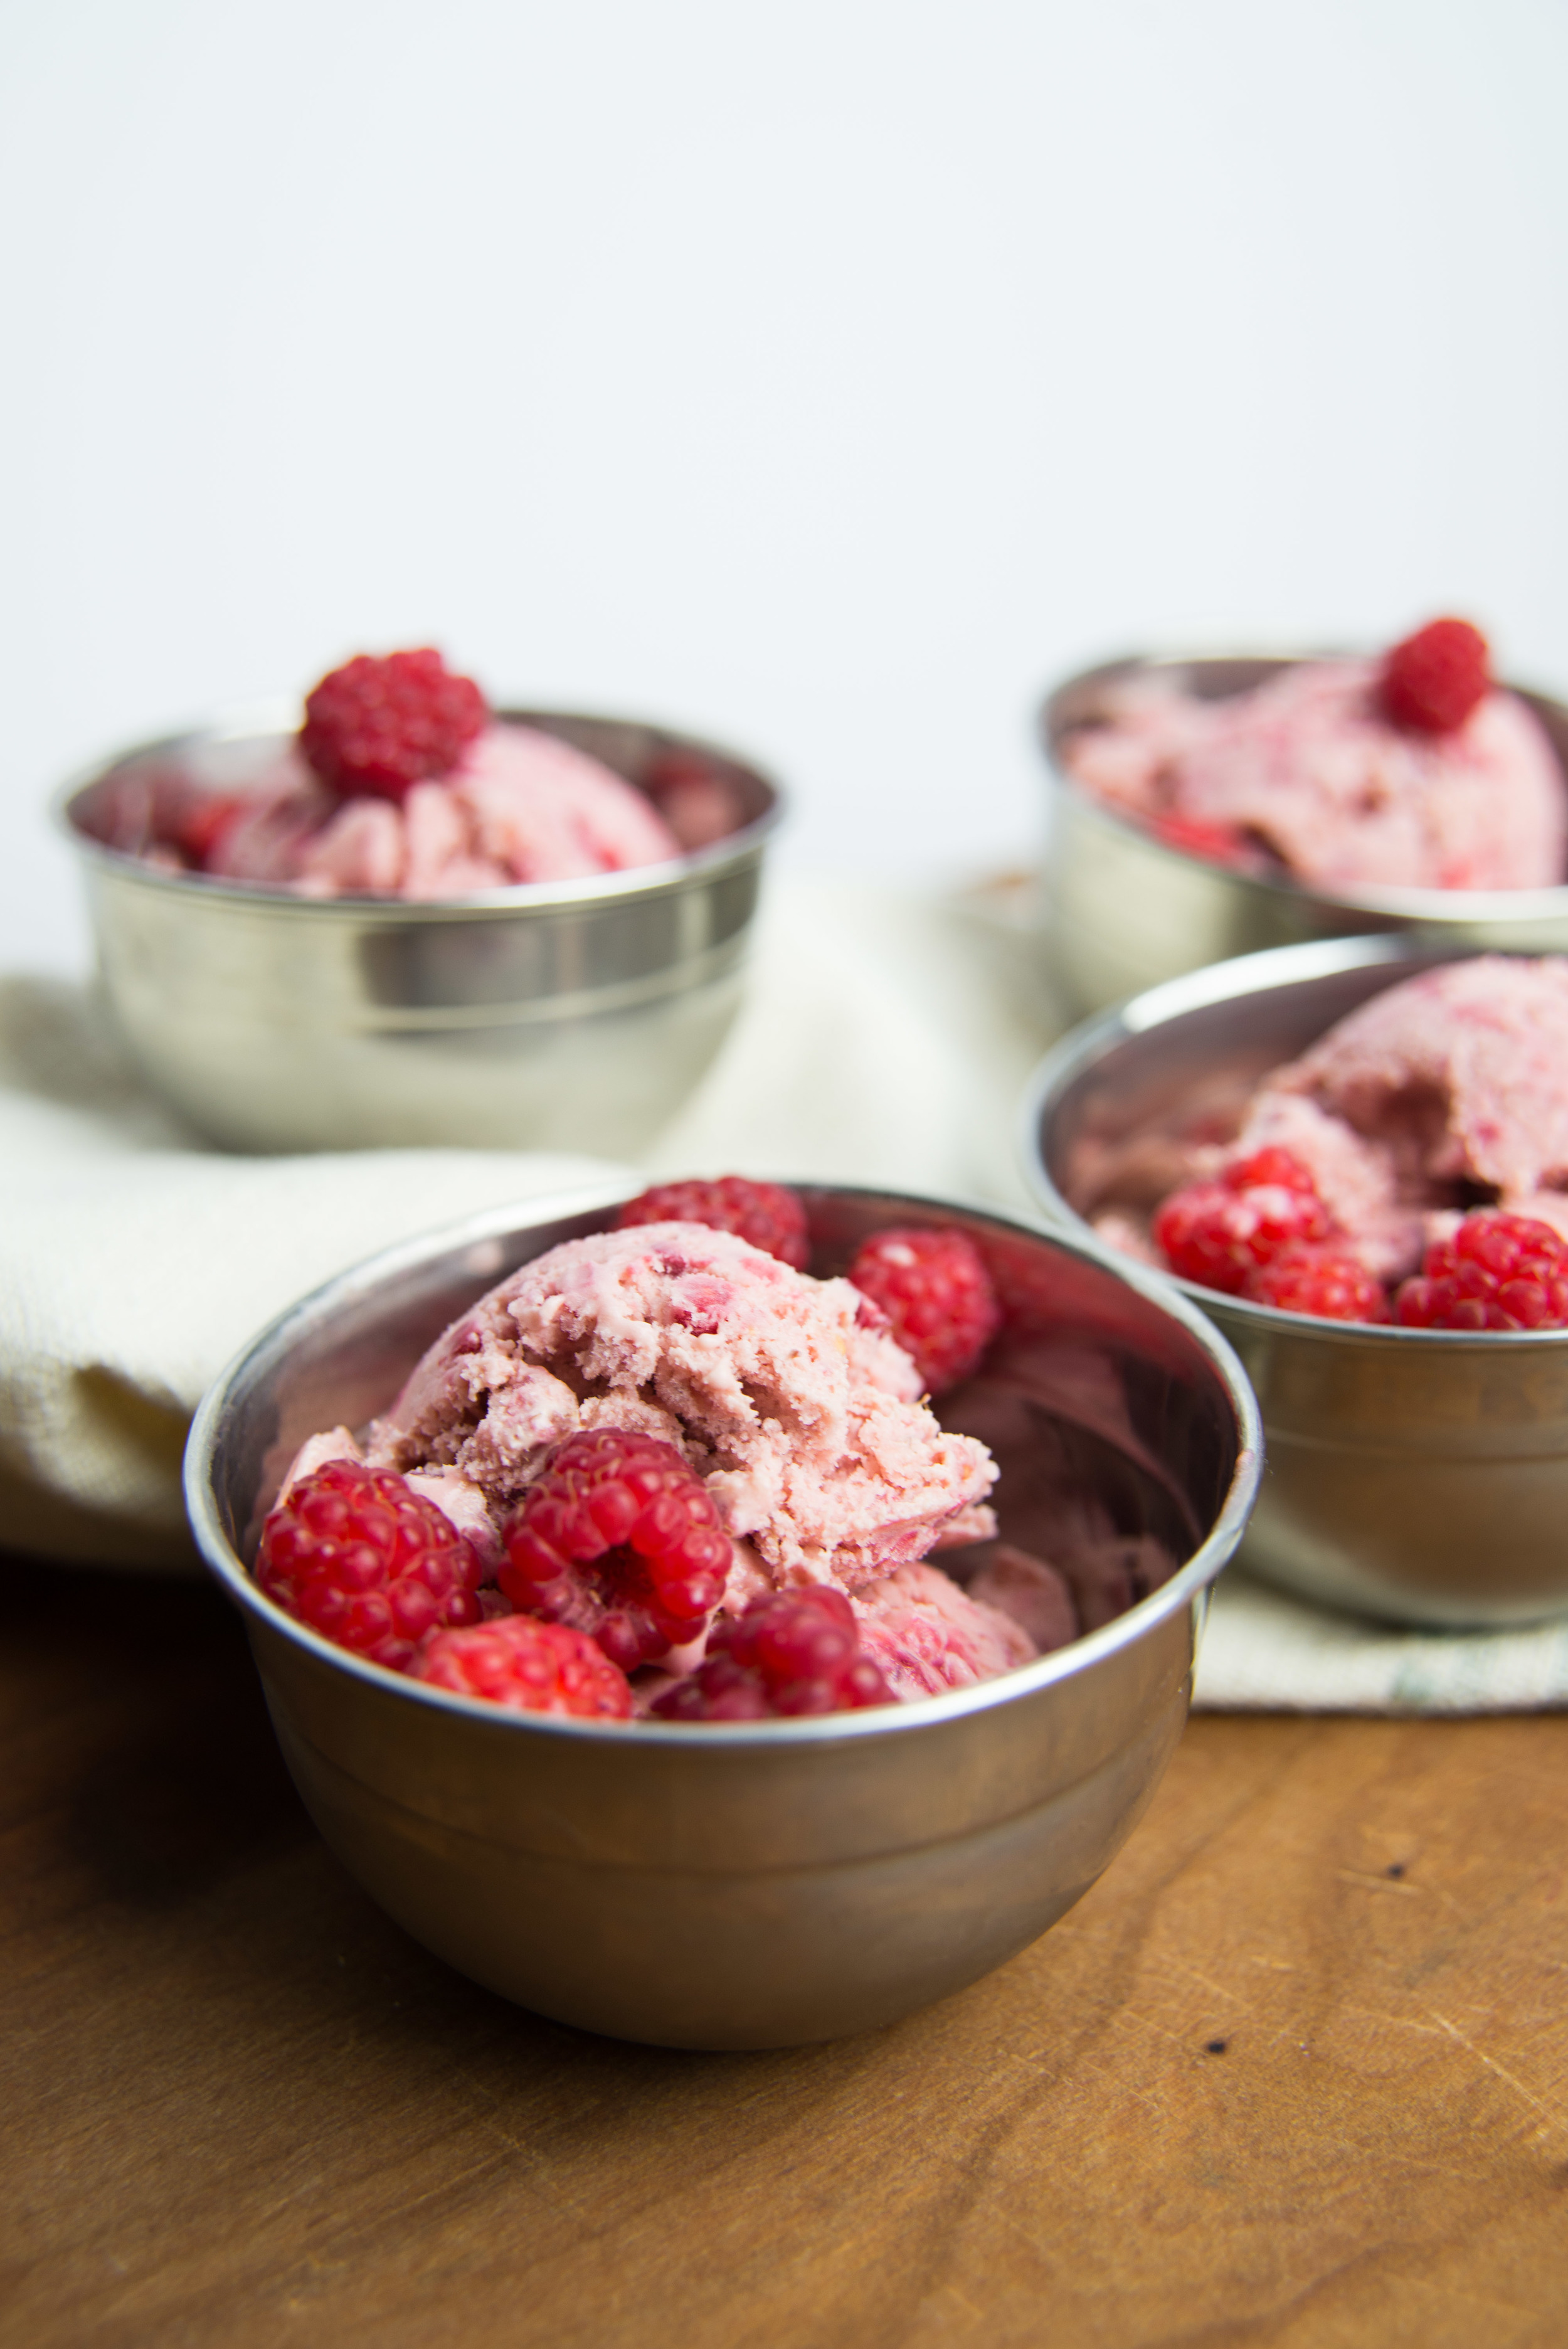
I opted for a super simple approach to raspberry ice cream this time, tossing whole fresh raspberries right into the ice cream maker while it was churning. This results in this amazingly polka dotted ice cream - speckled with little spheres of raspberry goodness. It also means that all those seeds are in your ice cream. I for one love this as an added texture wonder. But if seeds aren't so much your thing, feel free to puree and strain your raspberries then stir in the puree just before churning. 

We couldn't help but giggle in being reminded of dippin' dots - a classic obsession of my younger years. The little icy raspberry spheres a joyful reminder of those crazy tiny balls of ice cream! 

It is officially summer today, so go ahead - dive right into some summertime love with raspberry ice cream! 

Raspberry Ice Cream 

1 cup heavy cream 

1/2 cup whole milk 

3 large egg yolks 

1 1/2 tsp vanilla extract (or the seeds from half of a vanilla bean) 

1/4 cup plus 2 Tbsp brown sugar 

1 pint fresh raspberries (that's 2 cups) 

  • Using a stand mixer with the whisk attachment, a hand mixer, or a really super strong arm - whisk together the egg yolks and 1/4 cup of the sugar until it doubles in size, lightens to a pale yellow, and gains a silky ribbony texture. This will take a few minutes. 

  • Heat the cream and remaining 2 Tbsp sugar (and vanilla bean seeds if you're using it) to a scald, which is before a simmer but nice and steamy. 

  • With the mixer running, slowly pour the cream mixture into the yolks until fully combined to temper your eggs. Then pour the mixture back into the pot and heat over medium heat until your custard has formed (if you don't feel comfortable knowing when that is, use a thermometer and look for 180 degrees). While it's heating, use a silicone spatula to gently scrape the bottom of the pan and stir slowly. 

  • When you've reached 180 degrees, strain the custard through a fine mesh sieve into a medium bowl, and set that bowl into a larger one with a bit of ice and water in it to create a cooling water bath. Spin the inner bowl with one hand, while holding your spatula in the custard like a rudder to help the mixture cool evenly. If you're in a rush, you can just pop the custard in the fridge (and you don't have to strain it if there aren't any lumpy bits of egg), but these steps help to create the smoothest ice cream possible. 

  • Refrigerate the custard for at least a few hours, until completely chilled, before churning. 

  • Churn the ice cream base based on your machine's instructions, adding the raspberries just when the ice cream is starting to thicken. and stir as needed to help them break apart. 

  • While you're churning, chill a container to put the ice cream into. Once it has thickened, scoop the ice cream into the container and freeze. 

Comment