Viewing entries in
dessert

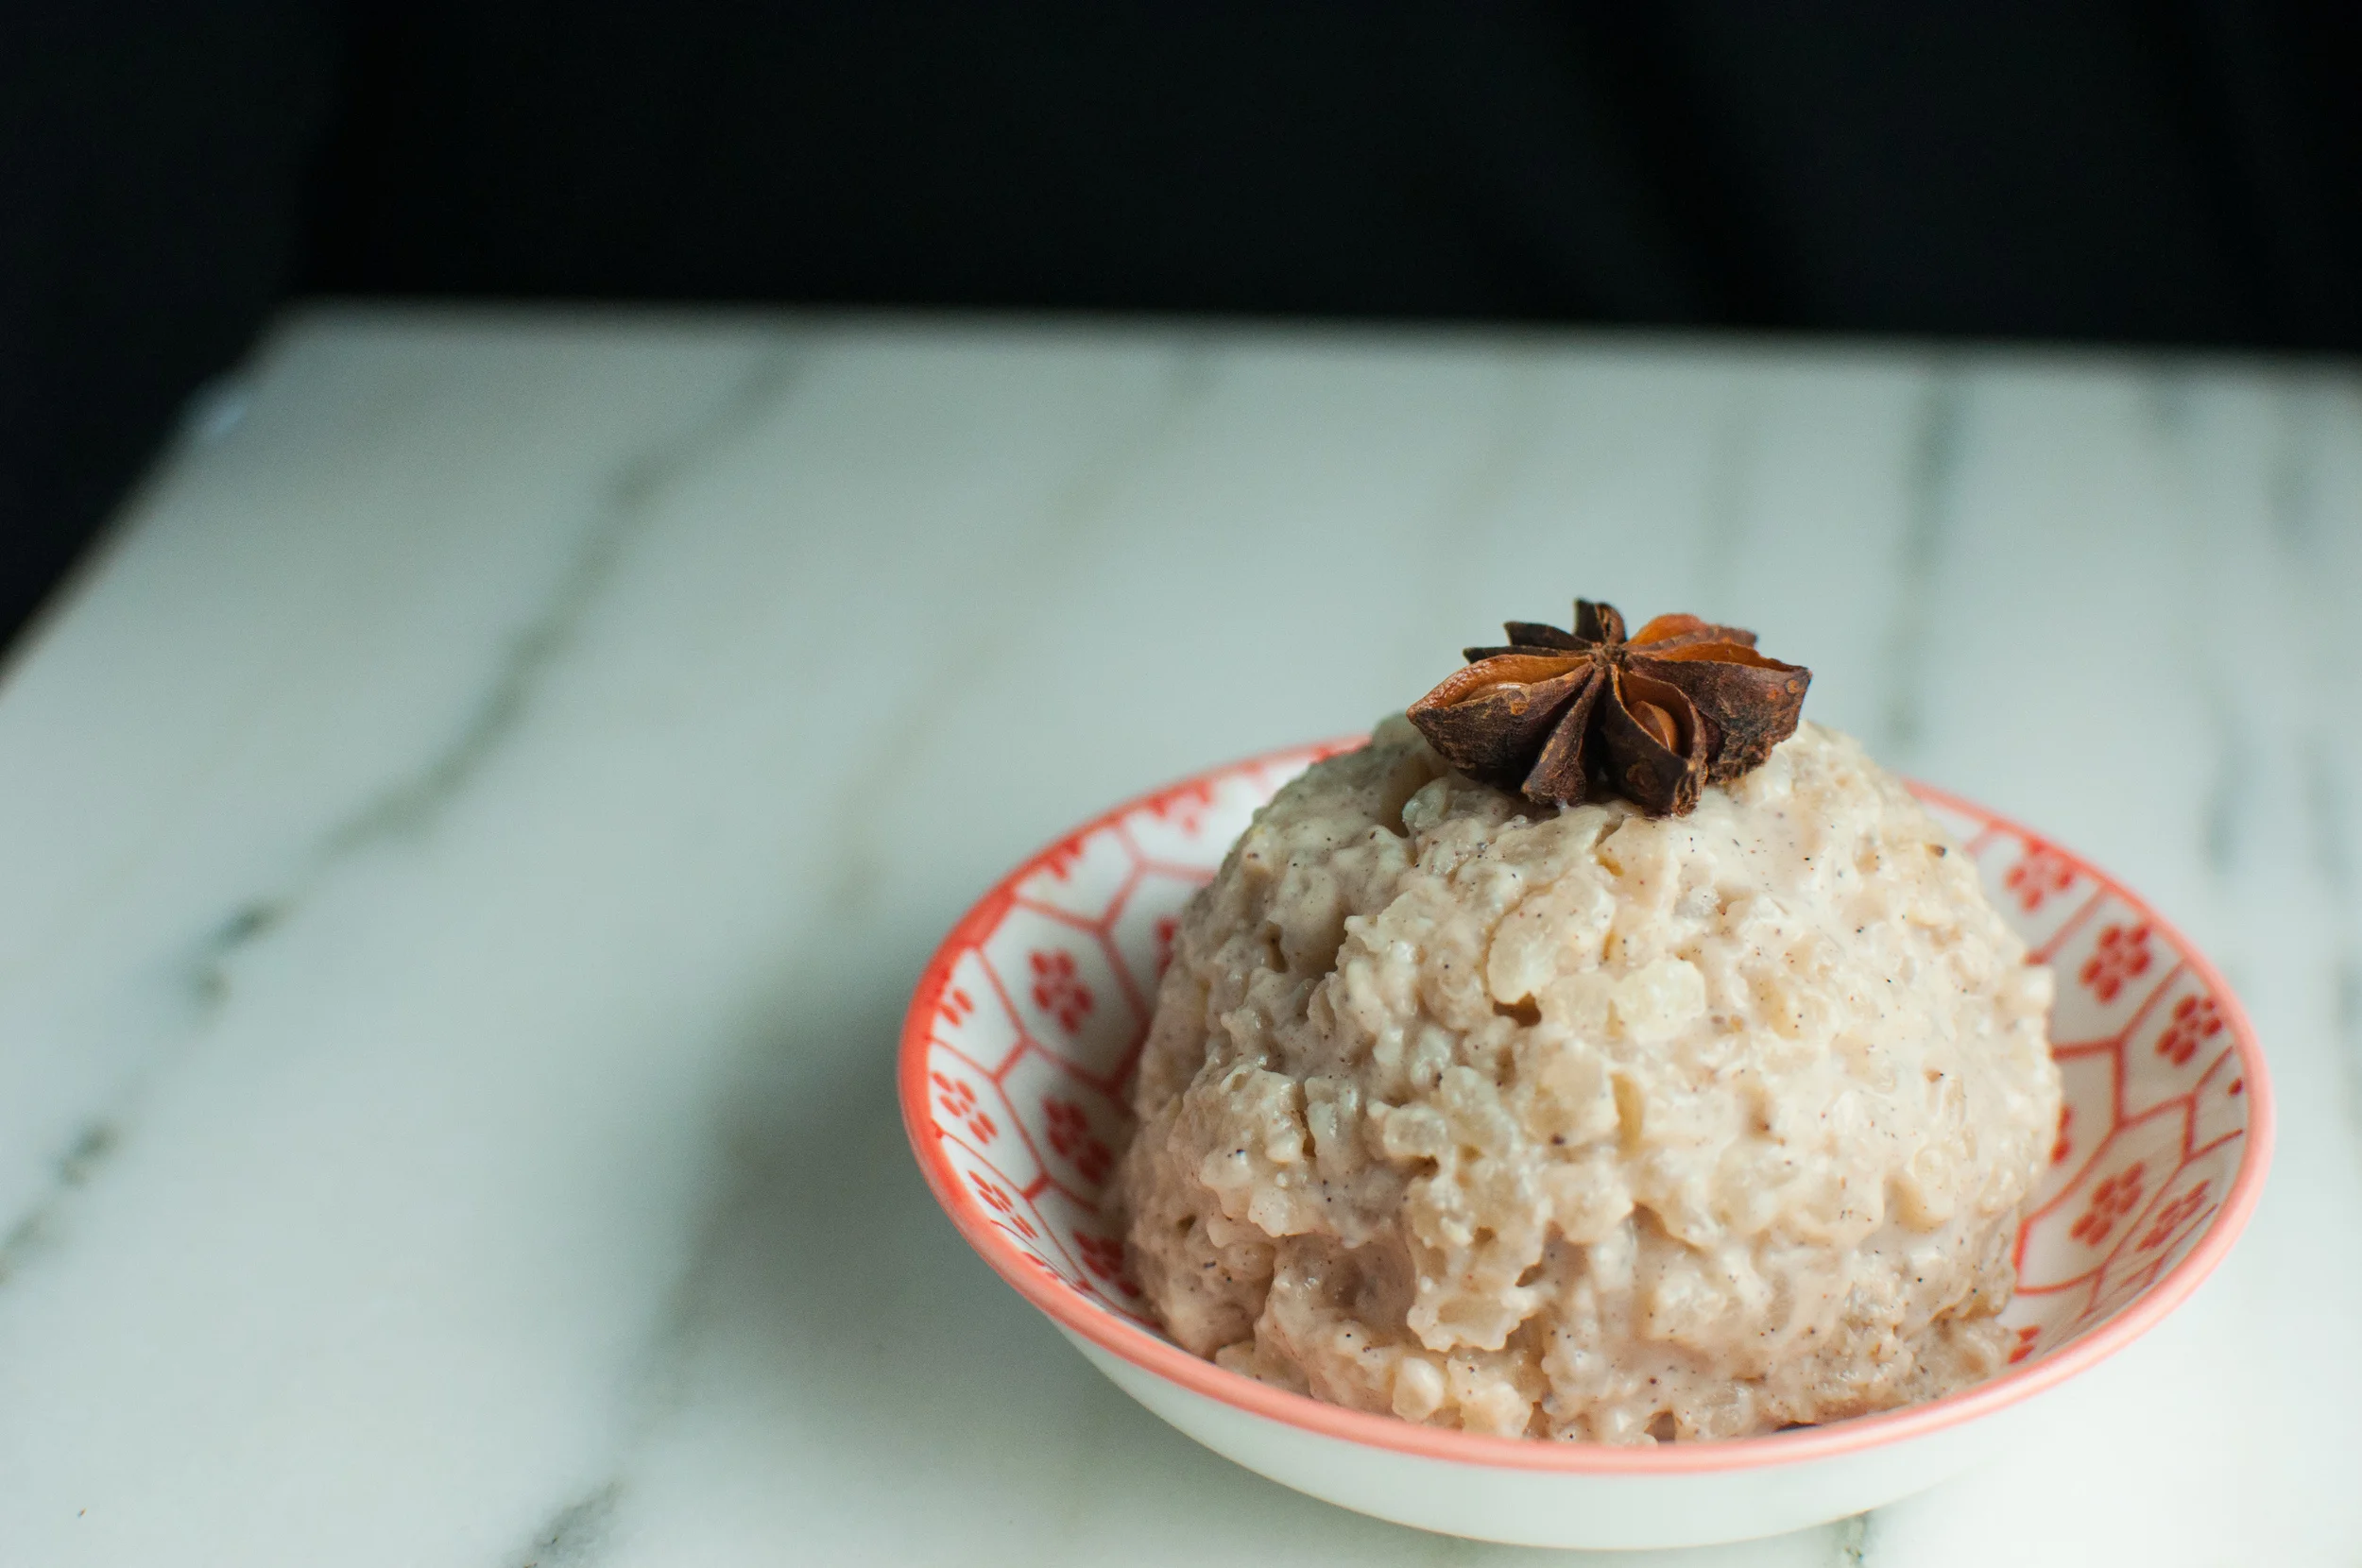
Star Anise Arborio Rice Pudding

2 Comments

Star Anise Arborio Rice Pudding

Rice pudding is one of my ultimate comfort foods, and standing near the warm stove with a simmering pot of creamy goodness is a favorite winter activity of mine. The incredible smell of spices filling the house is, of course, an added bonus - so lets be honest with ourselves here, there is nothing bad about making a big batch of rice pudding! 

I think a lot of my nostalgia and love for rice pudding comes from a completely non-winter experience... in fact a totally tropical one! I spent some time just after college living and working in an orphanage in the Dominican Republic, and spent every lunch and dinnertime for six months sitting at a table with a group of newly admitted young boys. During these moments around the table, we ate simple Dominican classics and the boys were on their best behavior (a much needed moment of quiet in an otherwise rambunctious place!). One of those classic dishes was arroz con leche - a simple and hardly sweet version of rice pudding. Whole allspice berries and cloves were carefully set to the side of the plate as we ate our way through. 

While very few would consider a full plate of rice pudding a balanced dinner, I can't help but justify it on occasion thinking back to those meals with my house-full of sweet Dominican kids. It kept me going then, and it'll keep me going now! That said... rice pudding is much more often eaten in my house as a simple dessert or an afternoon snack these days. 

Rice Pudding Arborio Rice Star Anise Recipe

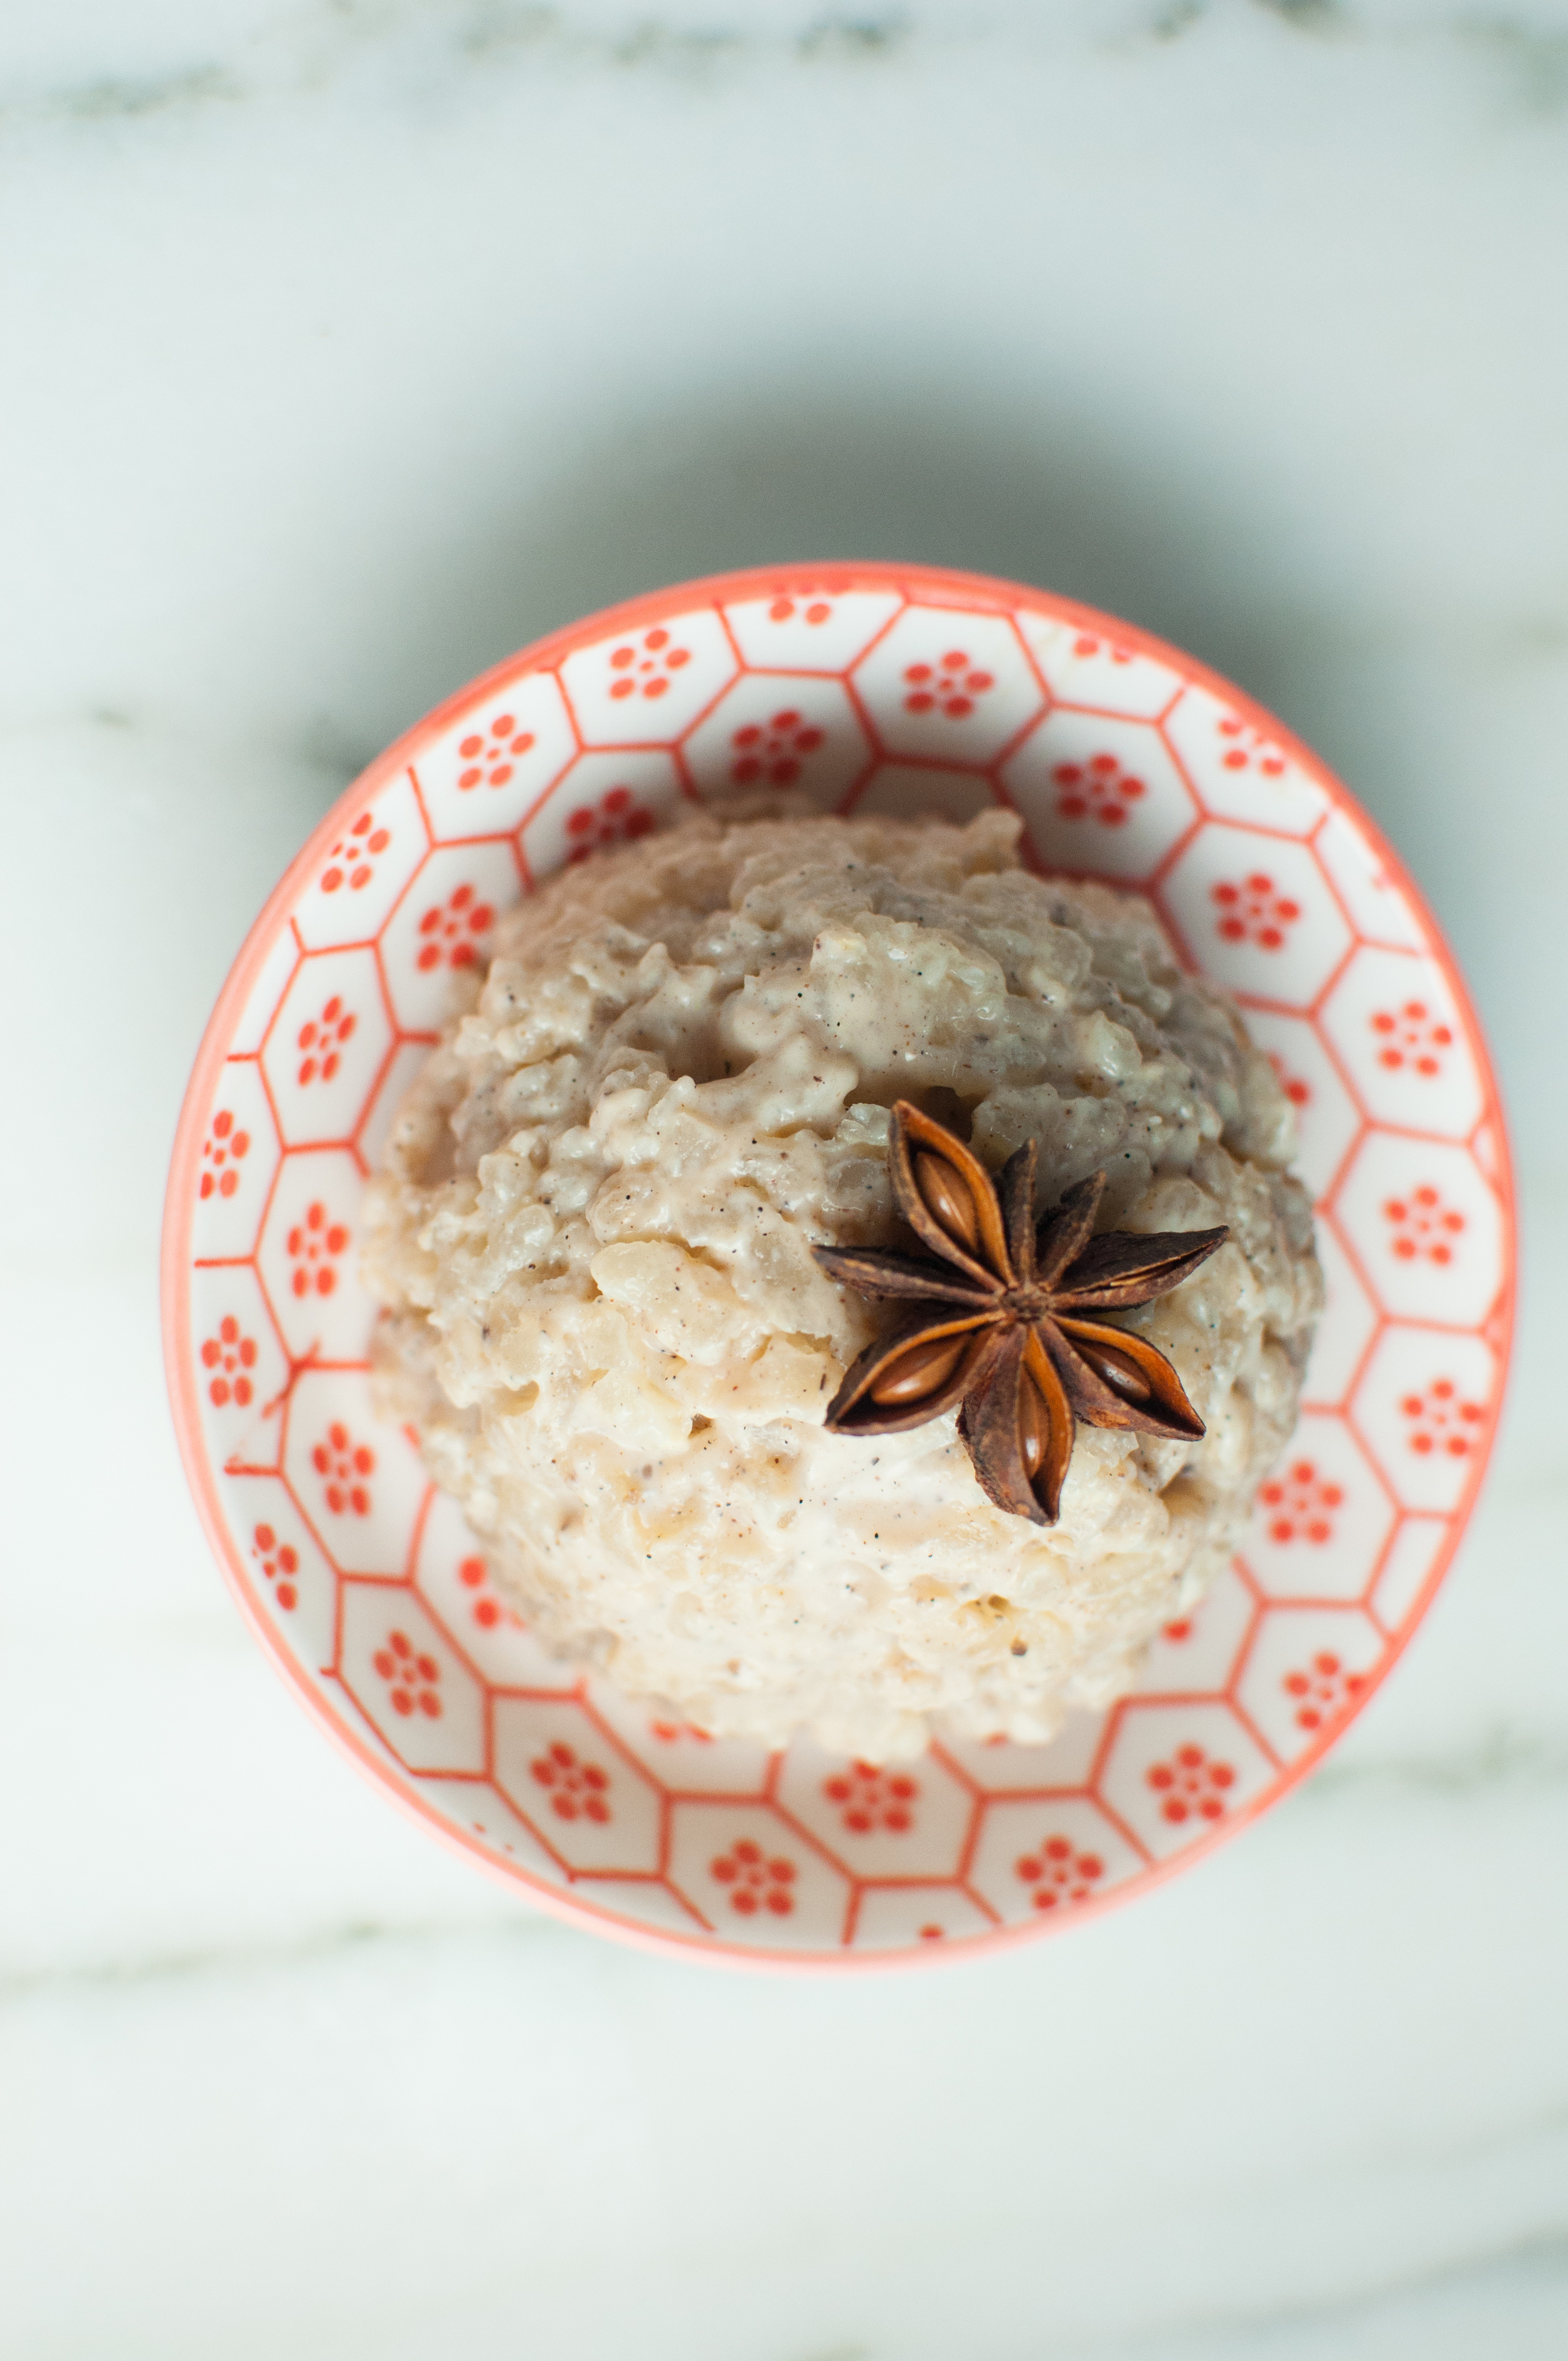
This rice pudding is made with arborio rice, which is the short grain Italian rice used to make risotto. This rice is particularly starchy, so it creates an amazing thick rice pudding if you cook it down long enough. I love how elegantly it can be served as it holds it's shape so well. Cook it a little less, and you'll have a creamier, thinner pudding! 

Rice pudding in my house is most often an indian inspired affair, cooked with whole vanilla bean and cardamom -- but I wanted to mix things up with this recipe and use what has become one of my favorite spices right now. Star anise has such a rich and distinctive flavor, it makes a perfect alternative to my traditional cardamom. Plus it is just so gosh darn pretty! 

I love the simplicity of making rice pudding, and I think that you will too! 

ingredients: 

3/4 cup arborio rice 

6 cups whole milk 

1/2 cup cane sugar 

1 vanilla bean, scraped (or 1 tsp vanilla extract) 

5 whole star anise stars 

instructions: 

  • Place all ingredients in a medium saucepan, and place over medium-high heat. If you're using the vanilla extract as opposed to vanilla bean, save that to add later. 
  • Bring to a gentle simmer, then turn the heat down to about medium. You don't want it to boil, just to continue simmering very gently. 
  • Cook the mixture for about 40 minutes, stirring occasionally at the beginning and more frequently as it starts to thicken to prevent it from sticking or burning. 
  • Remove the pan from heat when it's reached your desired consistency. As you can see from the photos, I cooked mine to be very thick - this is the rice pudding I was in the mood for. You can just as easily stop the cooking a bit earlier and have a thinner pudding! Just remember that it will thicken as it cools. 
  • If you're using vanilla extract, stir it in when you remove the pan from the heat. 

2 Comments

apple rosettes

Comment

apple rosettes

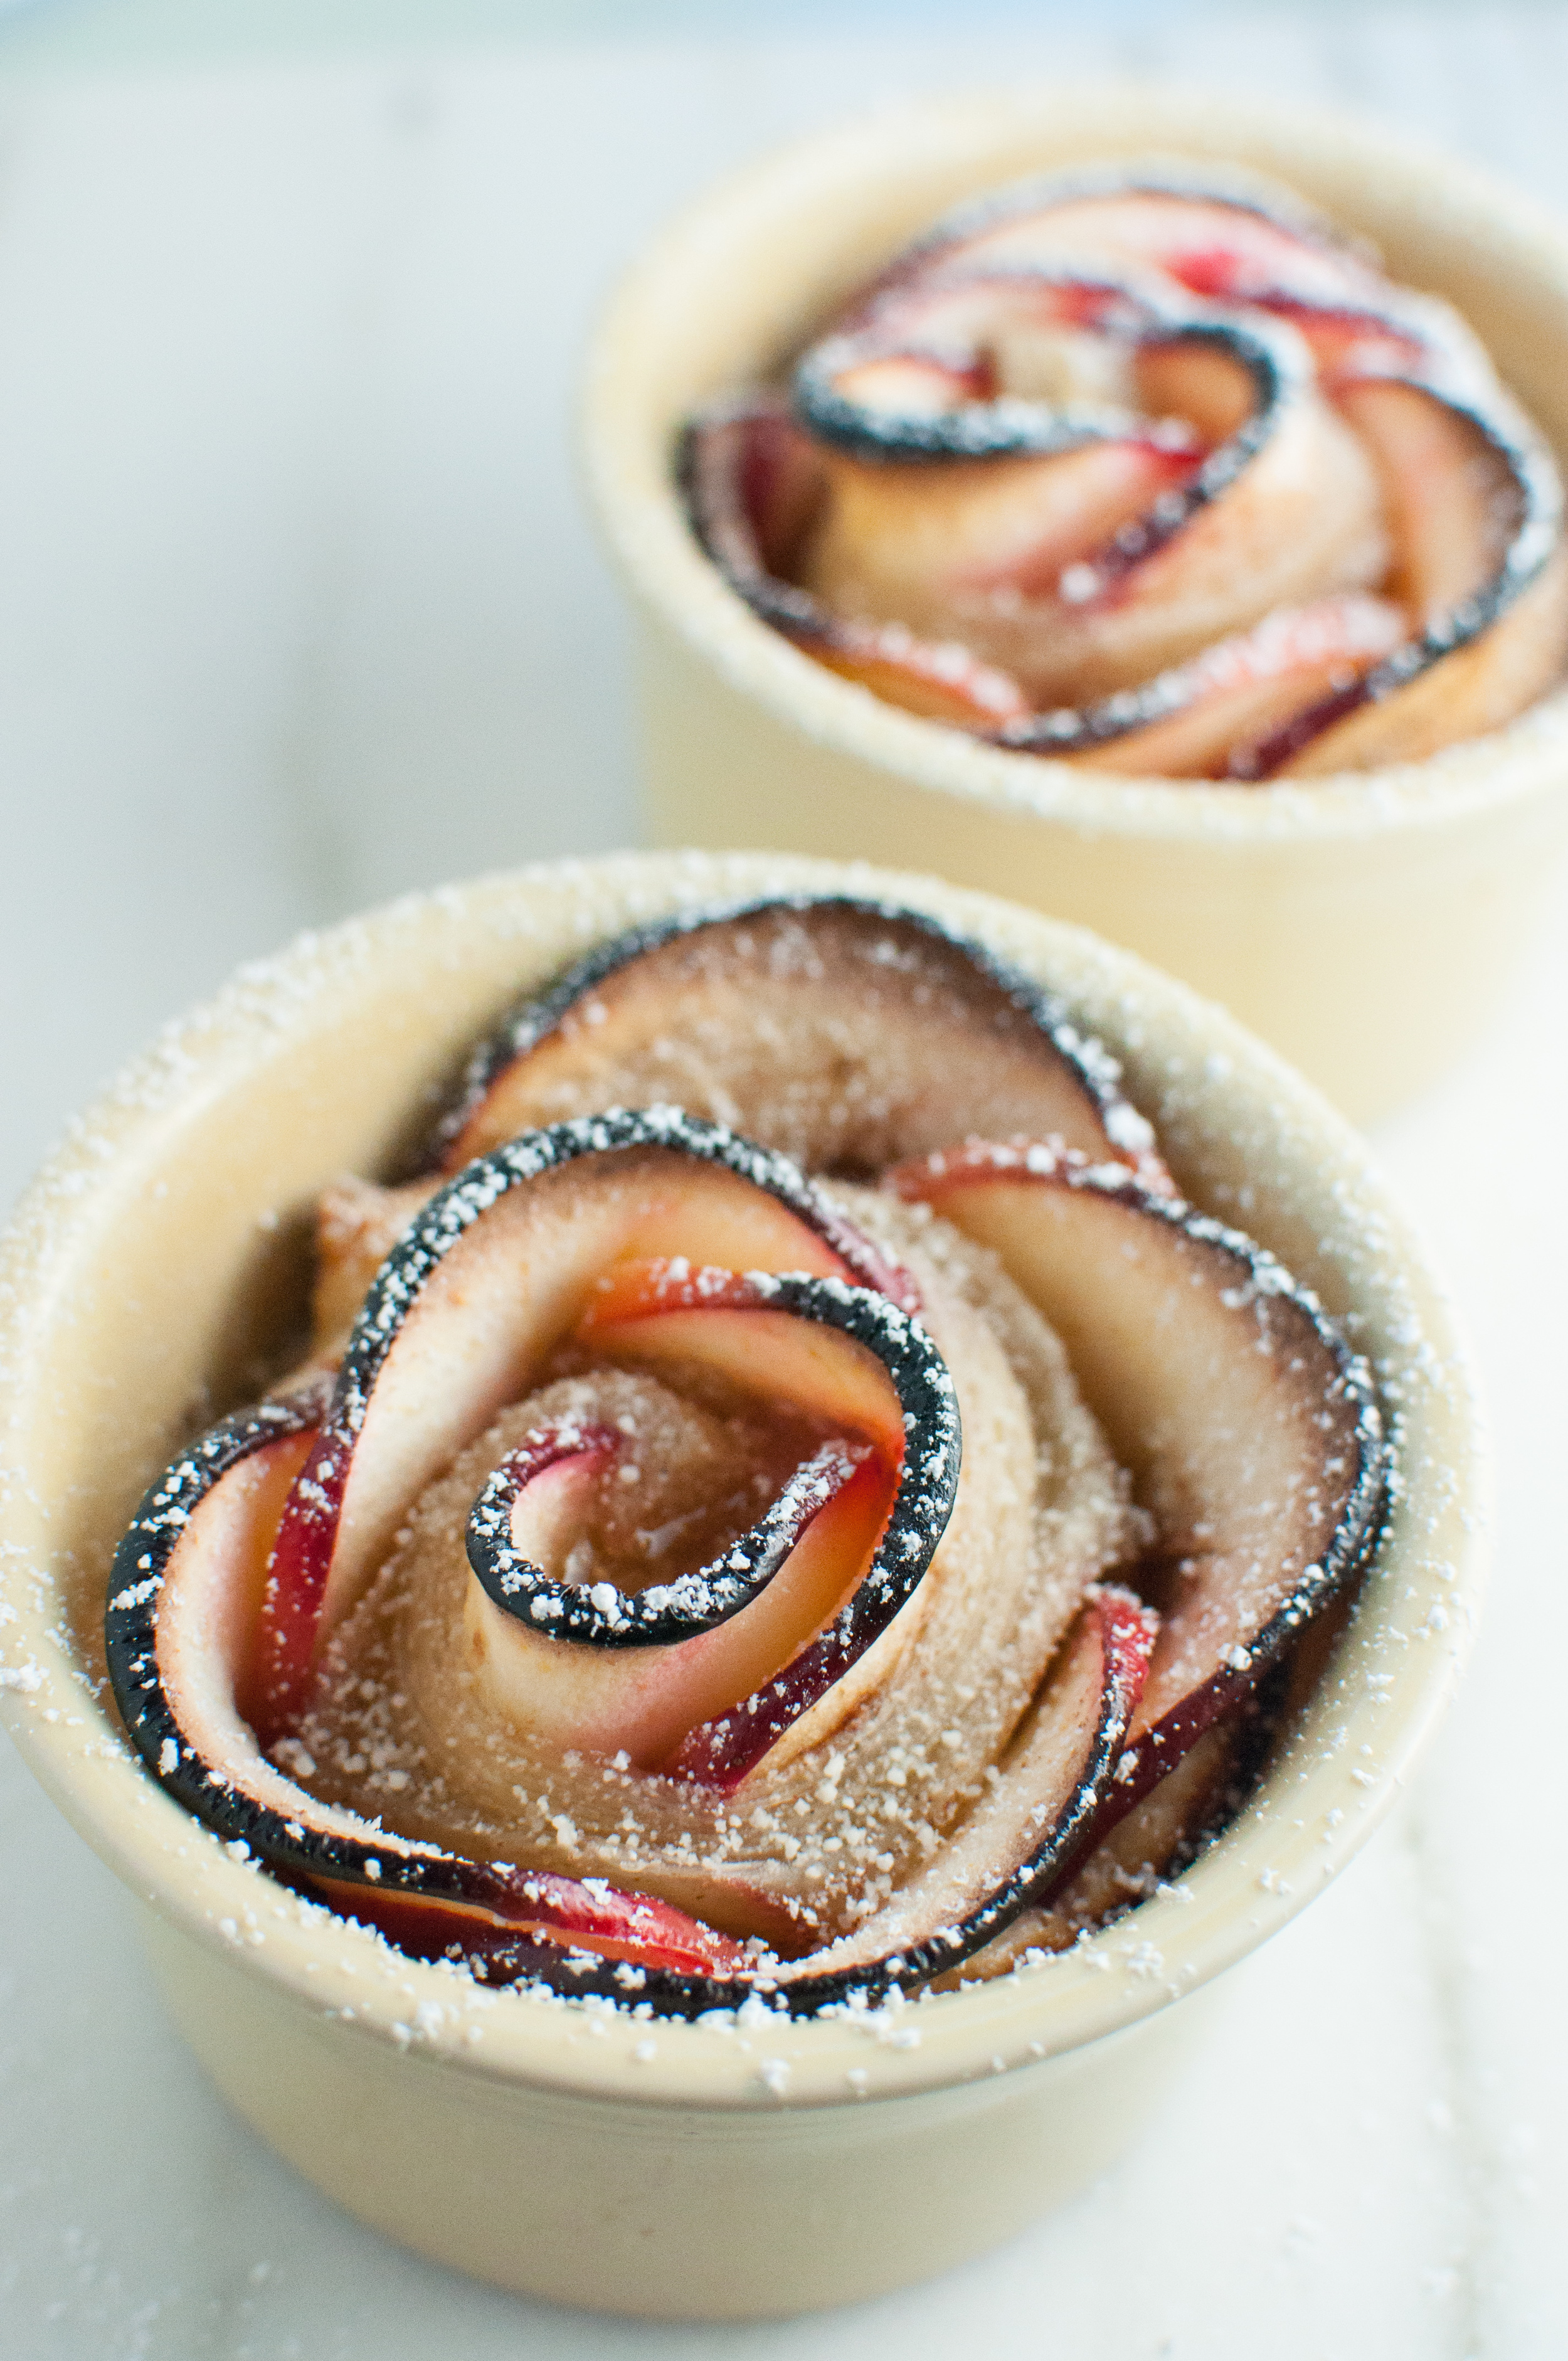
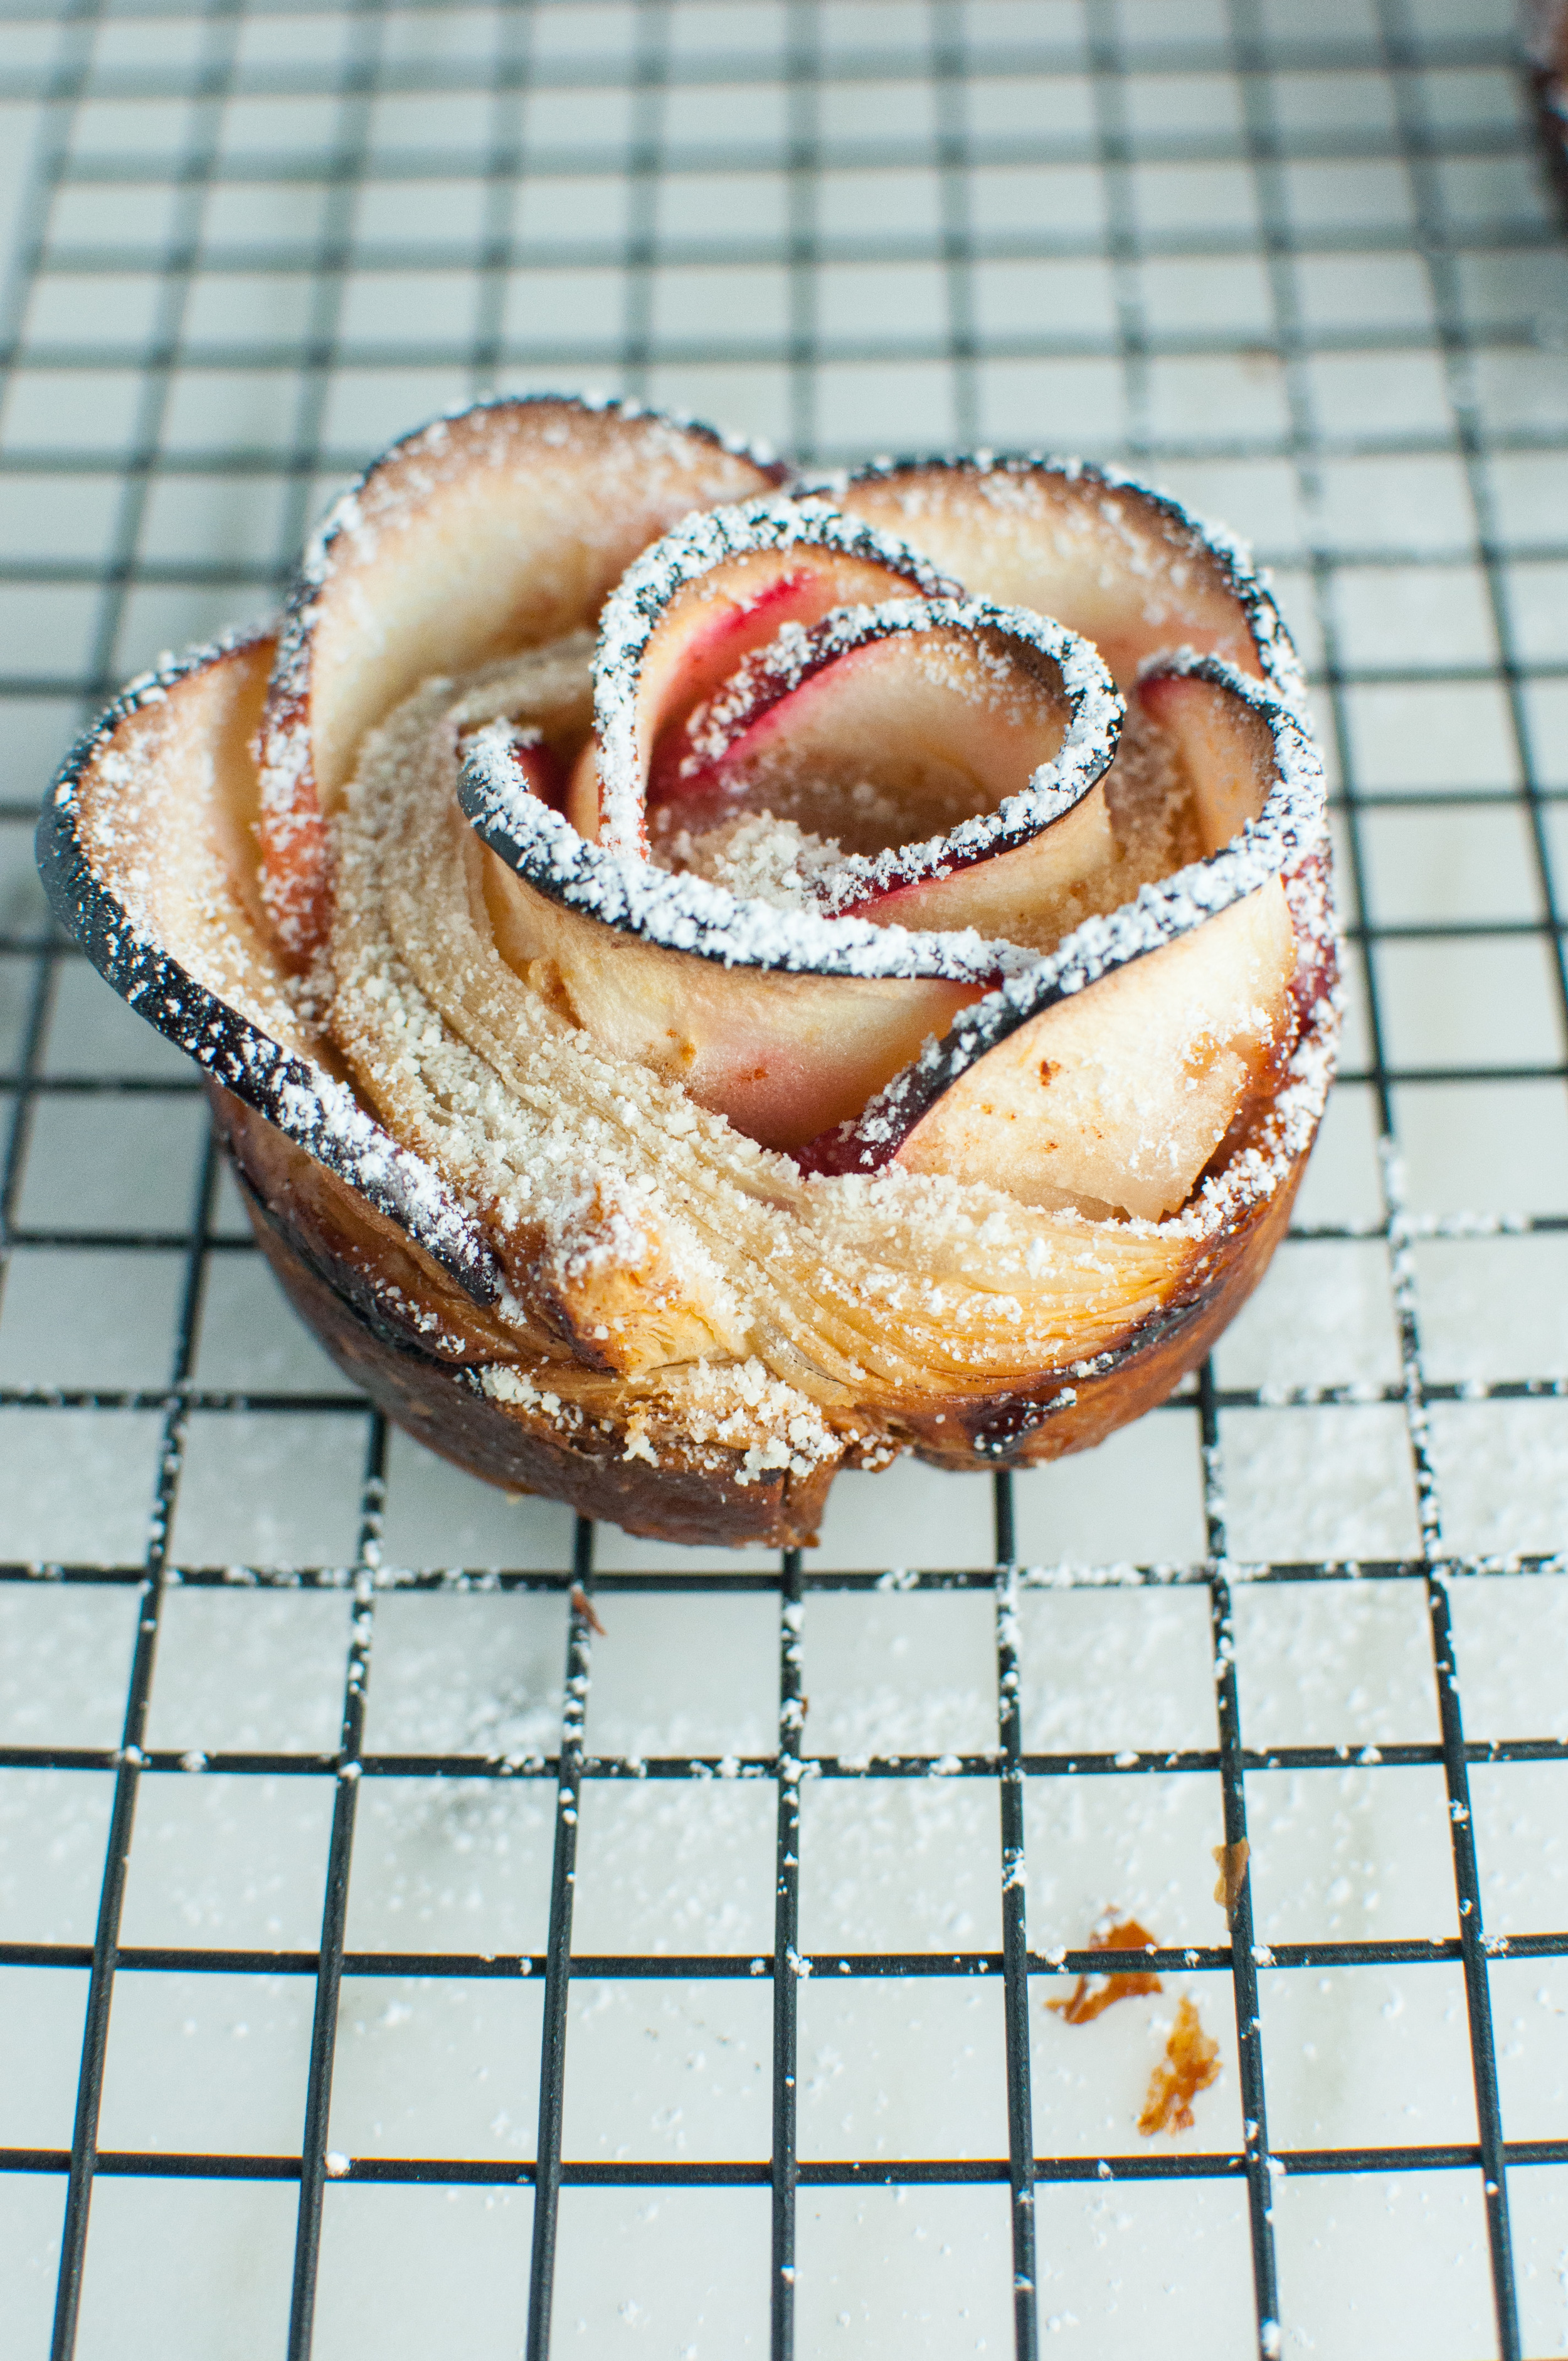
These beautiful apple and puff pastry roses are super simple to make, and an absolutely show-stopping dessert. Plus, they're tasty to boot! Make these beauties when you're having folks over for dinner and want them to oooh and ahhh at your skills (but you don't want to out in too much time). Or serve them as a rather light end to the Thanksgiving meal! 

While you can always take things a step further and make homemade puff pastry, making this stunning dessert is amazingly simple with puff pastry from your local grocery store’s freezer section. To really kick things up a notch, make sure to buy the puff pastry made with all butter (the flavor is so much better!). I used Grand Central Bakery's  bake-at-home puff pastry, packed with Oregon butter. 

We cut our puff pastry into strips and sprinkle them with sugar, cinnamon, and a little grating of fresh nutmeg. You know things are going to be delicious just looking at these! 

Next, we line up our apples which have been cooked slightly in boiling water to make them flexible (so they don't break when we roll up our roses!). 

Then just fold the pastry up to form a little taco around the apples, and roll it on up from the edge to create a perfectly swirled apple rose! 

These can be baked in a muffin tin or individual ramekins, until the puff pastry is browning on the edges. The edges should be beautifully puffed while the middle will be a bit wet. 

Ready, set, bake! 

ingredients: 

2 apples

1 sheet puff pastry

½ lemon

granulated sugar

cinnamon

freshly ground nutmeg

instructions: 

  • First, we need to prepare the apples. Cut each apple in half and carefully remove the core, then slice each half into ⅛ to ¼ inch thick slices. Separate slices and place them in a medium bowl with the juice from one lemon. Cover with boiling water and let sit for about 1 minute, until the slices are flexible, but not mushy! Strain water, and set apples aside.

  • Carefully unfold defrosted puff pastry (leave it in the fridge at least overnight to defrost), and gently roll it with a rolling pin to even out any creases and stretch it out just a bit. Cut the pastry into 2 inch wide strips that are 12 inches or less long.

  • One strip at a time, sprinkle puff pastry with a little sugar, cinnamon, and just a smidge of nutmeg. Line apple slices, overlapping half of each slice along the top half of the strip (as seen in the photo). Fold pastry up over the apples, then start at one end and roll into as tight of a spiral as you can.

  • Set each finished rosette into a large muffin tin or individual ramekins.

  • Bake at 375 for about 40 minutes, until the pastry is browned on the edges. Let cool in pan about 10 minutes, then carefully remove each rosette and let cool completely on a cooling rack.

  • Sprinkle with powdered sugar to serve if you like.


Comment

s'mores ice cream

Comment

s'mores ice cream

Summer may be disappearing into fall, but that's no reason not to have a big bowl of s'mores ice cream in your life. Top it with a drizzle of chocolate and a few pieces of graham cracker, and you're all set for the perfect dessert - no matter what the season! 

I'm pretty darn sure this recipe does the talking for itself, so I'm just going to go ahead and share these photos with you then get right to the recipe! 

The remnants of toasting marshmallows in the broiler is a glorious thing, I guarantee you'll be dreaming of evenings spent around the campfire! 

Layering the toasted marshmallow ice cream together with graham cracker pieces and chocolate ganache to create the entire s'mores experience. It's a glorious thing! 

ingredients: 

2 cups whole milk 

2 1/2 cups heavy cream 

3/4 cup sugar 

6 egg yolks 

20 large marshmallows

1 tsp vanilla 

1 cup dark chocolate chips 

1 sleeve graham crackers 

instructions: 

  •  Using a stand mixer with the whisk attachment, a hand mixer, or a really super strong arm - whisk together the egg yolks and 1/2 cup of the sugar until it doubles in size, lightens to a pale yellow, and gains a silky ribbony texture. This should take a few minutes. 

  • Heat 2 cups of the cream, milk, and remaining 1/4 cup sugar - bringing it to a scald. It should be steamy but not yet simmering. 

  • With the mixer running, slowly pour the cream mixture into the yolks until fully combined to temper your eggs. Then pour the mixture back into the pot and heat over medium heat until your custard has thickened (if you don't feel comfortable knowing when it's ready, use a thermometer and look for 180 degrees). While it's heating, use a silicone spatula to gently scrape the bottom of the pan and stir slowly. Once cooked, remove from heat. 

  • While the custard is cooking, spread marshmallows out on a baking sheet and brown under the broiler. Keep a close eye on them, as the broiler works fast! Once the tops have browned, use a fork or small spatula to flip them over. Return to the broiler and let the other side brown. Easy - toasted marshmallows! 
  • Once the marshmallows are toasted and the custard has finished, scrape the marshmallows and all their gooey goodness into the custard and puree with a immersion blender. If you don't have an immersion blender, just put it all into your regular ole' blender and puree! 
  • Cool the ice cream base in the fridge for at least 4 hours. 
  • Before you churn the ice cream, make an easy ganache and let it cool to room temperature. Do this by combining remaining 1/2 cup of cream and the chocolate chips in a double boiler (or a glass or metal bowl set over a pot with a few inches of water in the bottom of the pot). Set over medium-high heat and stir occasionally until chocolate melts. Stir until fully combined then let cool. 
  • Churn ice cream based on your machine's directions. 
  • While the ice cream is churning, break up graham crackers into bite sized pieces. 
  • After churning, layer big scoops of ice cream in a container with graham crackers and chocolate ganache. There doesn't have to be much precision to this, we're just trying to get the good stuff to be distributed throughout the final ice cream! Work through this process as fast as you can, and get the container into the freezer to prevent melting. Save a little of the ganache in case you want to swirl it onto the ice cream as it's served. 
  • Freeze for at least 3 hours before serving to let the ice cream harden a bit! 

Comment