Viewing entries in
breakfast

Hazelnut Chia Pudding - two ways!

Comment

Hazelnut Chia Pudding - two ways!

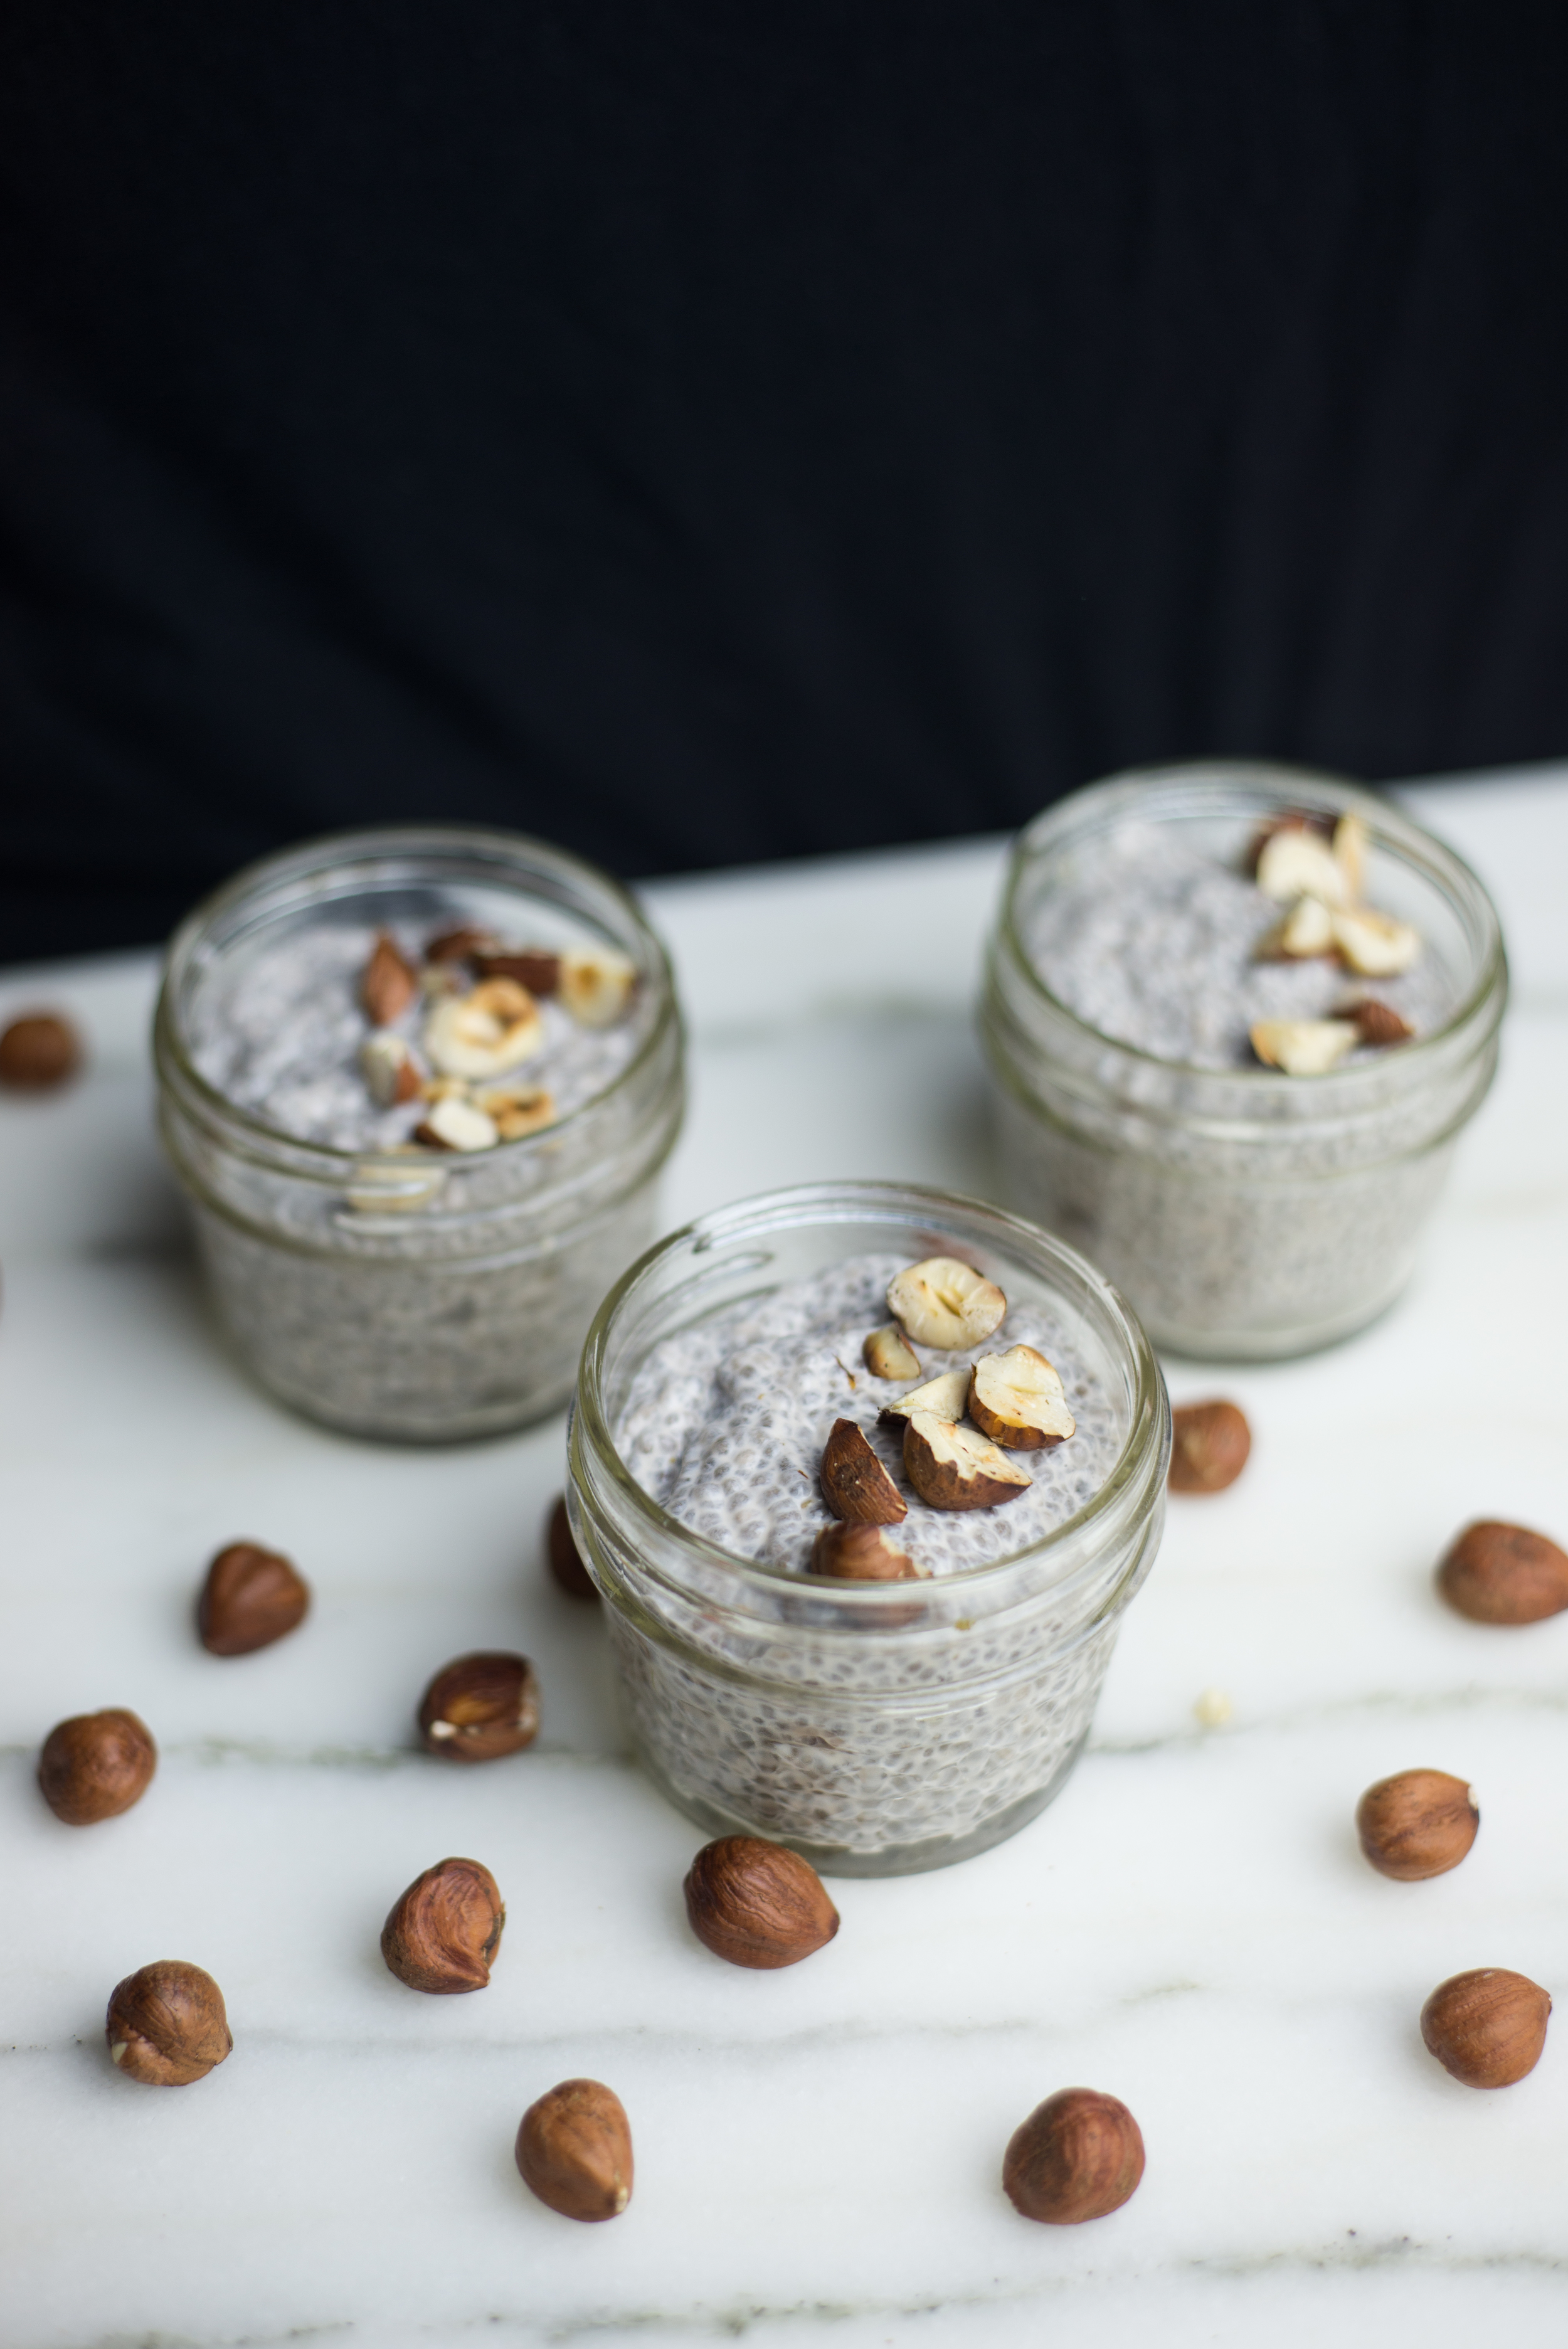
Today I'm excited to share a few of the magical secrets (sort of) of chia seeds! Of all the "superfood" "health craze" foods out there, chia seeds are by far the one I can get behind in the biggest way. They are SO much fun to create dishes with, and packed with omega 3's, which just about everyone could use more of. 

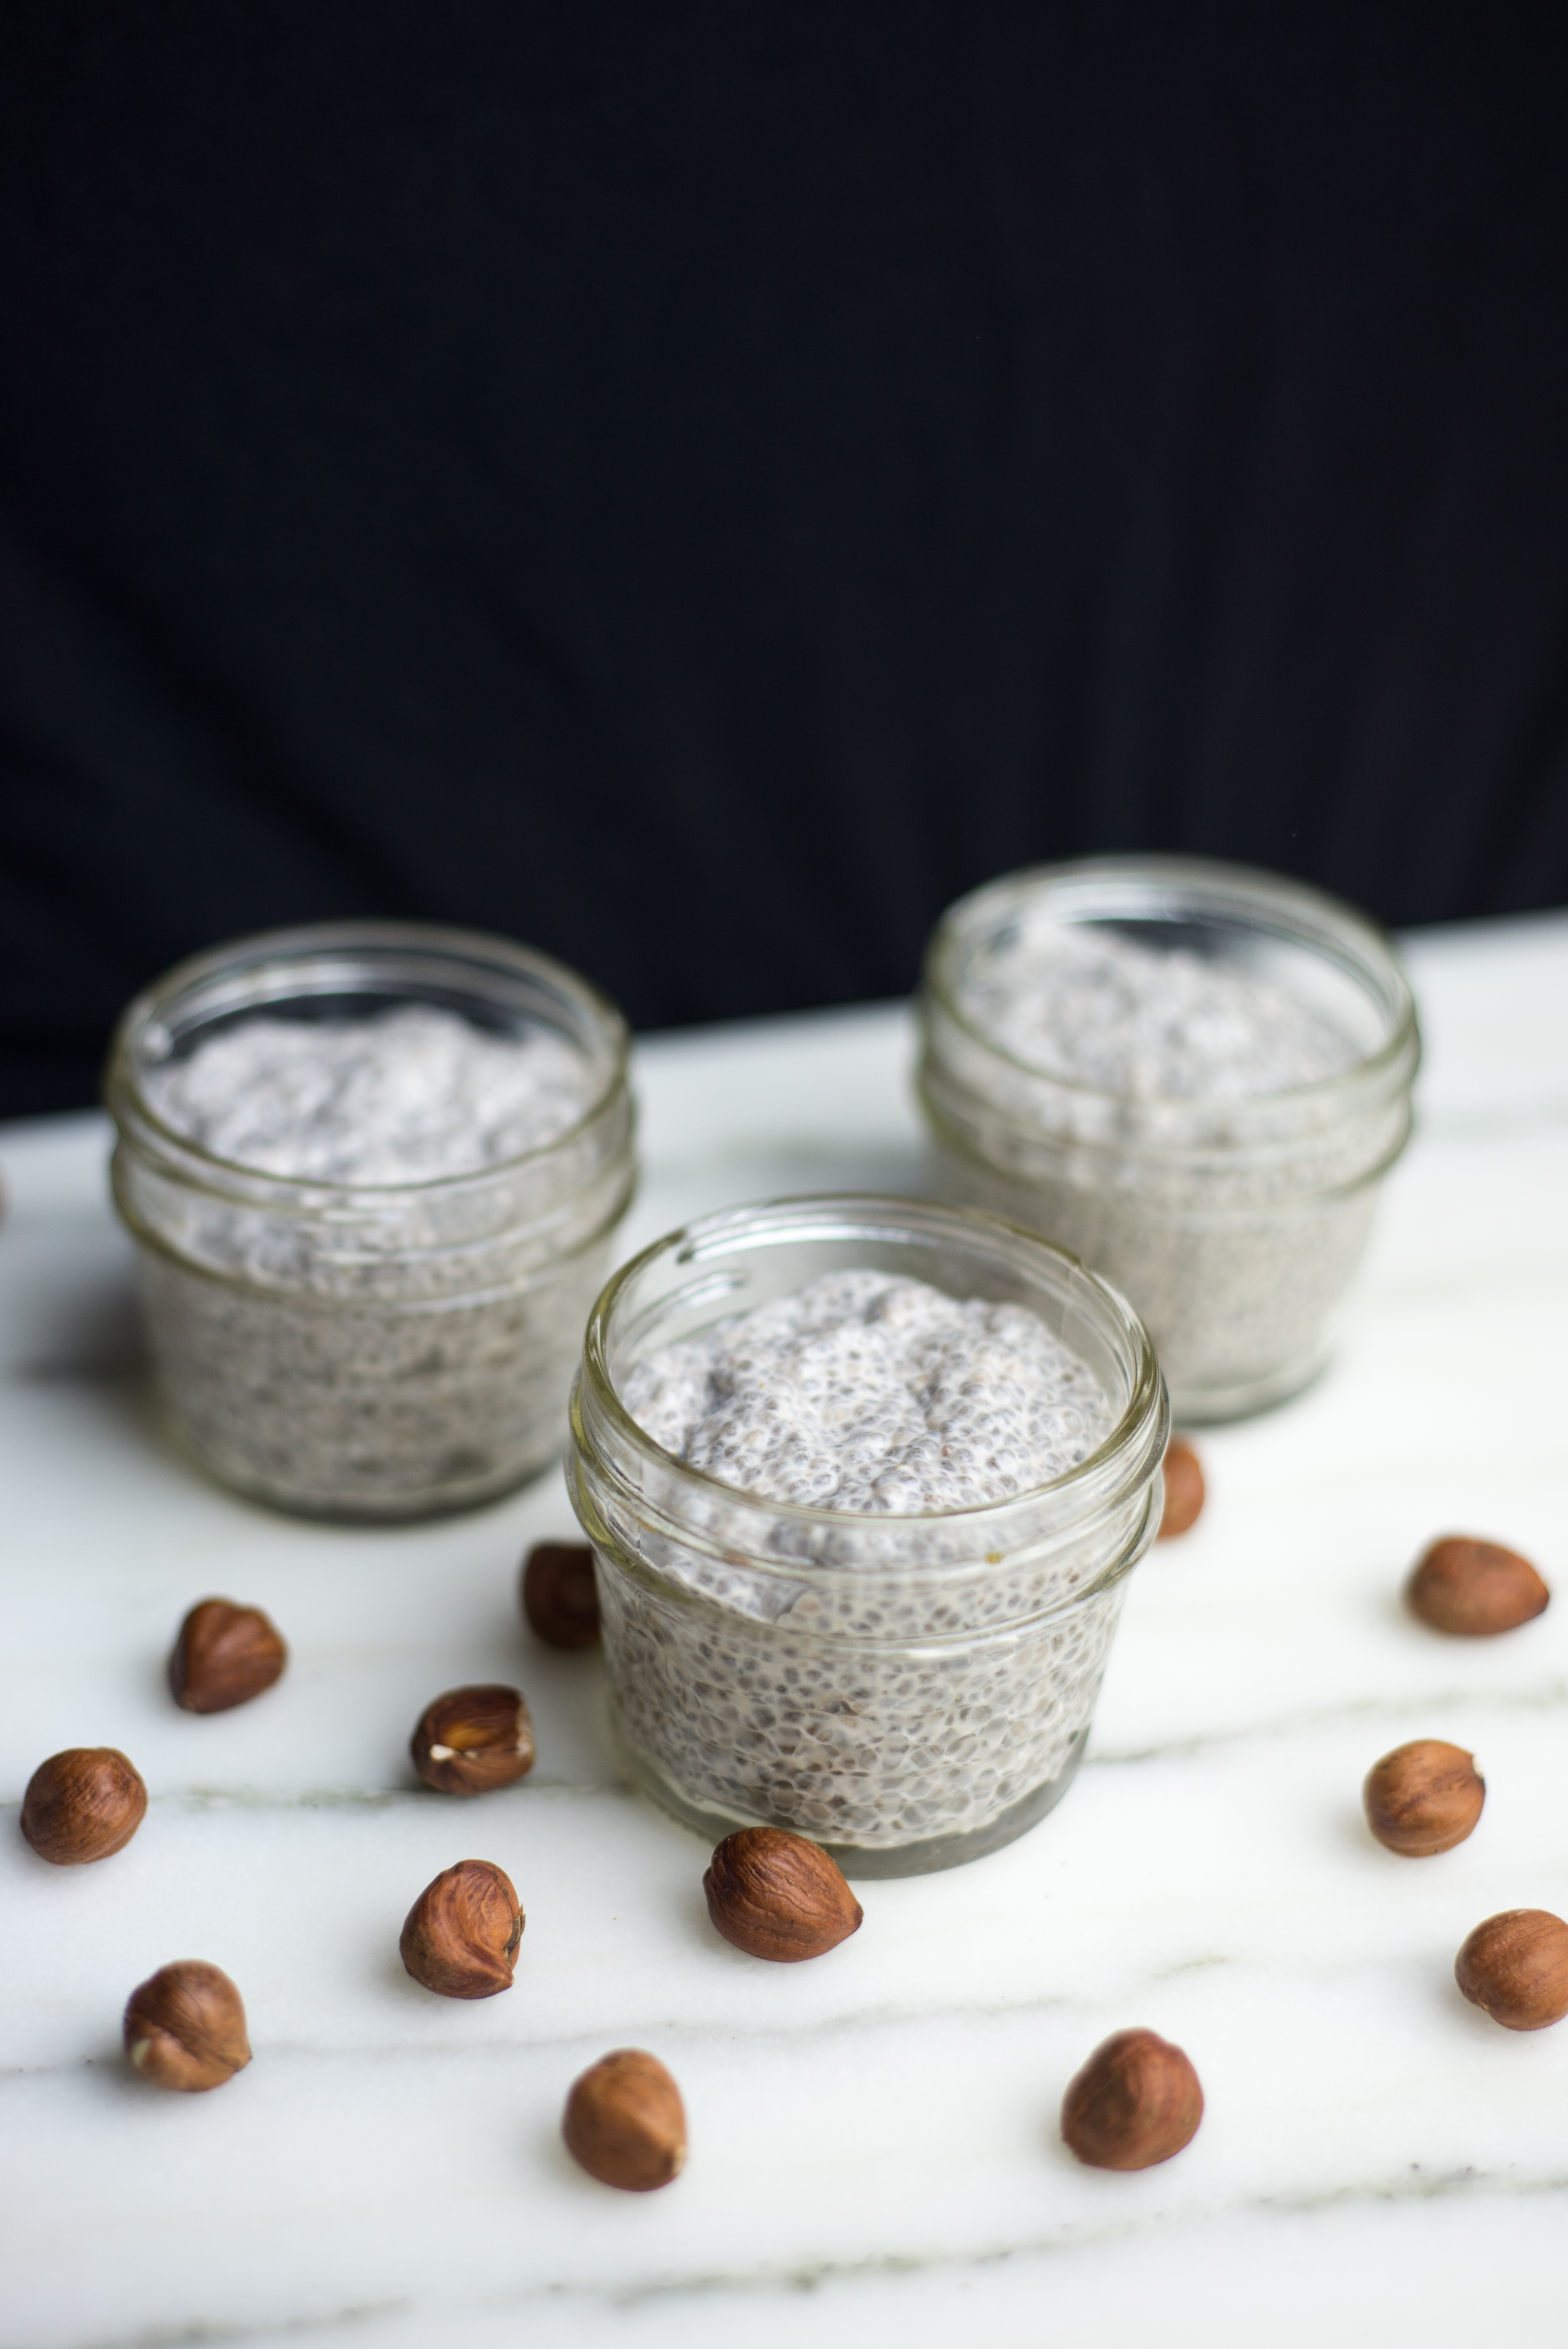
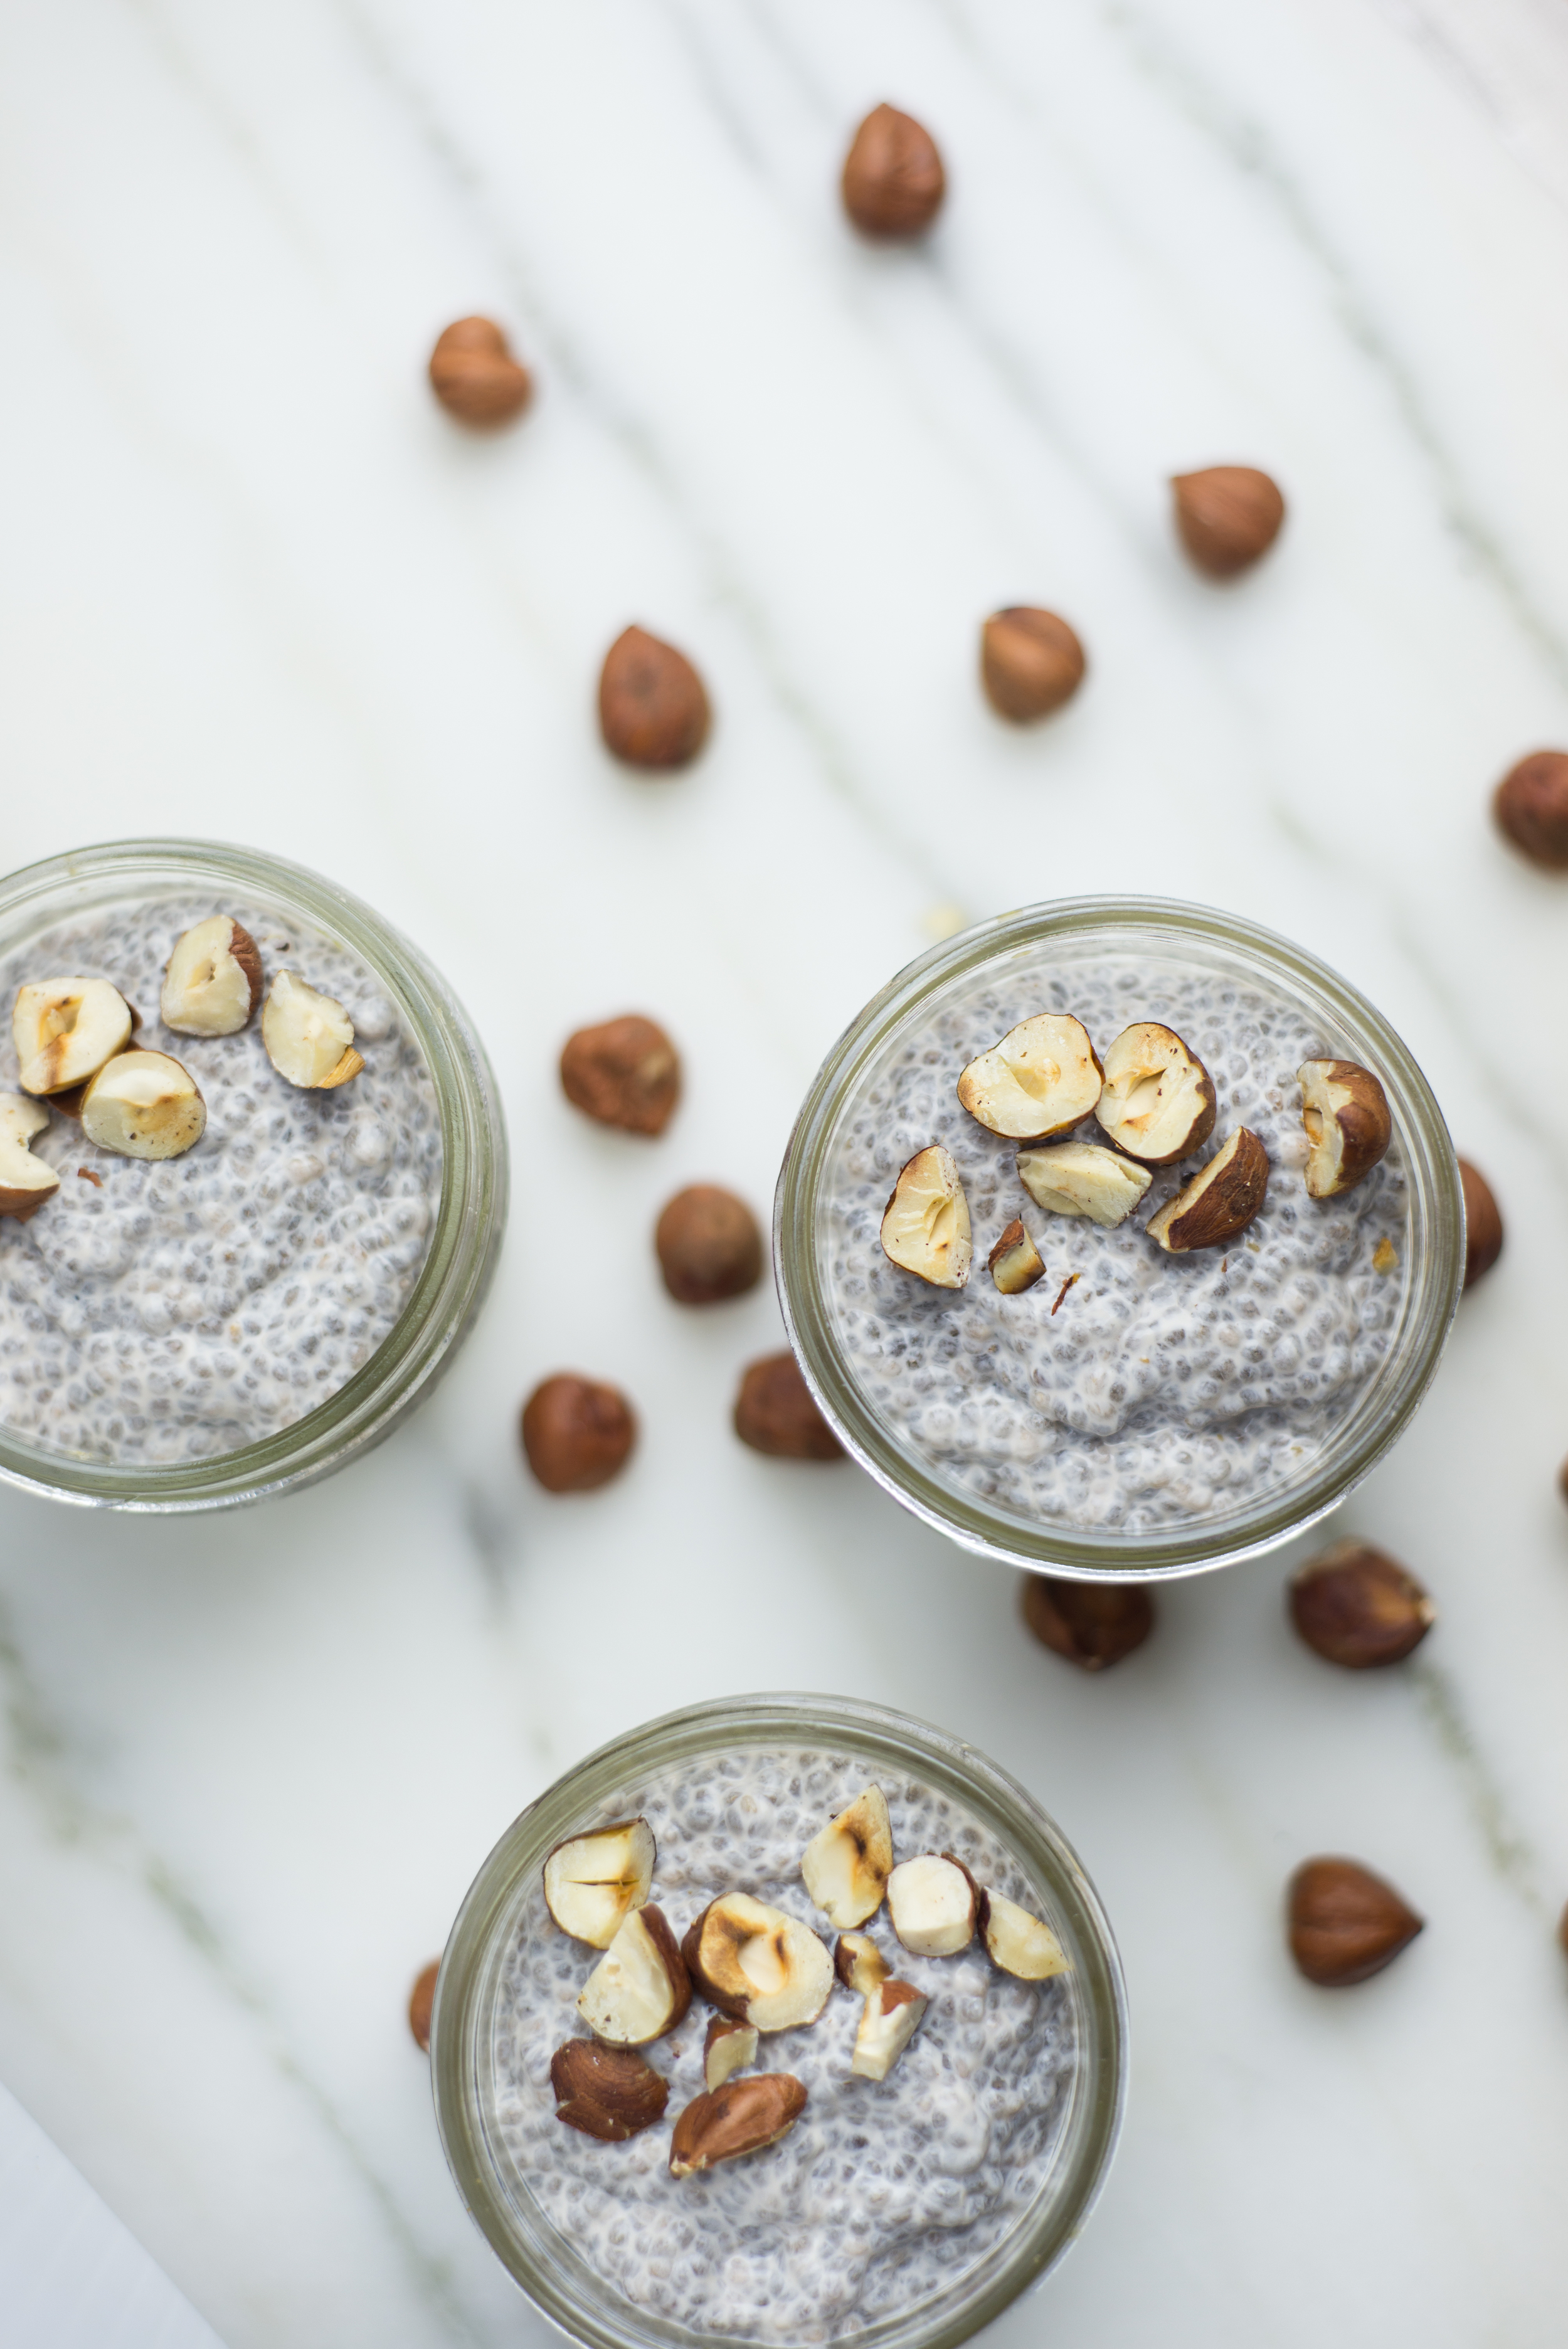
While I love to toss chia seeds into all sorts of dishes, their ability to make this crazy easy pudding is what truly classifies them as magic in my world. I'll include some more notes about how many things you can do with this basic recipe, but for the sake of simplicity today I'm sharing a straight up hazelnut chia pudding as well as one packed with some dark chocolate powder for a nutella-esque yet totally healthy treat. 

Chia seeds' magic comes in the way they interact with liquid when soaked. The outer shell absorbs some of the liquid to create a gel-like texture. So when you mix together enough chia seeds with any liquid, you end up with a pudding-like texture of delicious. All it requires is a minute or two of whisking, and a few hours in the fridge. MAGIC! 

I'll be honest, the first time I stumbled across a reference to chia pudding, I didn't waste much time at all whipping up my first batch... and I was immediately hooked. If chia seeds weren't so darn expensive, I'd probably still be eating chia pudding every morning of the week for breakfast. It's not only totally delicious, but it's so packed with nutrients that it's a great start to the day and keeps you full for hours! 

The best part? This pudding is incredibly flexible, and easy to experiment with. The constant you need to keep an eye on is your balance of chia seeds to liquid, but as long as you maintain that balance - the options are endless! Use any type of dairy/nut-milk you want, or coconut milk! Mix in some pureed fruit to make a fruity version, change up the sweetener or sweetness level, add whatever flavor you like! Or... pack that pudding full of chocolate for a totally healthy dessert : ) 

For the sake of these photos, I kept things simple... but this pudding can also be topped with anything you like. I love having it for breakfast with a little granola and fruit sprinkled on top! 

This chia pudding will be on the thick side, and can easily be made thinner by decreasing the amount of chia seeds added to the mixture! 

Hazelnut Chia Pudding

2 cups hazelnut milk 

2/3 cup chia seeds 

4 tsp vanilla 

1/4 cup maple syrup 

1/4 cup cocoa powder (optional, for chocolate version) 

  • Combine all ingredients in bowl or jar, and whisk together for about a minute until the chia seeds remain suspended in the liquid. 
  • Refrigerate for a few hours, or overnight, until a pudding texture has formed. 
  • Enjoy! 

Hazelnut Milk 

1 cup hazelnuts 

2 cups water 

  • Optionally soak hazelnuts over night or for a few hours in water. This allows for a better extraction of all that hazelnutty goodness, but the milk can be made just as easily without this step! 
  • In a blender, blend the nuts and water together (use the soaking water if you soaked the nuts!) on high power for about a minute. You want the nuts to be very broken down and the liquid to look super milky! 
  • Using a nut milk bag, cheese cloth, or a fine mesh sieve, strain the milk into a container. Be sure to squeeze all the liquid you can out of the nuts! 
  • Store any extra nut milk in the fridge for later use! 

Comment

perfectly crispy breakfast potatoes

Comment

perfectly crispy breakfast potatoes

My love for well made breakfast potatoes runs deep. I will always choose potatoes if given an option of what comes alongside my breakfast, and so often order a side of potatoes if they aren't included. I judge the success of a breakfast joint with a huge factor being the quality of their potatoes. It's almost as important as the rest of my meal tasting phenomenal because a great egg dish with mediocre potatoes just doesn't stand up! 

potatoes, recipe, breakfast

Now, in my mind the perfect breakfast potatoes have two main characteristics. First, the middle of each piece should be lightly fluffy and creamy smooth. Second, the outside should be beautifully golden brown and satisfyingly crisp. The number of times I've delayed breakfast being put on the table because I'm waiting for my potatoes to crisp just a little bit more is astounding. 

Crispy breakfast potatoes  =  pure morning heaven. 

Unfortunately, making breakfast potatoes at home isn't always an easy feat. To get them perfectly creamy in the center and amazingly crispy on the outside requires many factors to come together perfectly if you're simply pan frying them. Thankfully, my sweet babes came up with this foolproof solution to making amazing breakfast potatoes at home! He sure knows the way to my heart : ) 

Steaming the potatoes, then rinsing them in cold water helps to give the potatoes a head start on cooking and remove some of the starch. This aids in creating potatoes that are both creamy and crispy! 

breakfast, potatoes, easy recipe

And instead of keeping this awesome method to myself, I decided it would be best put to work shared with all of you! So the next time you're craving a hearty serving of creamy crispy breakfast potatoes, don't worry about putting on real clothes. Whip these bad boys up in your PJs, with a big mug of coffee next to the stove. 

And of course, no breakfast potatoes are complete without a serving of some serious ketchup. You may remember this post from the fall discussing the joys of homemade ketchup, and I should probably admit that at least 75% of our ketchup stock ends up next to breakfast potatoes. Homemade ketchup will change your life, so when the tomatoes start ripening next summer, don't forget to put some up for your slow winter mornings! 

We'll get together another day to discuss hashbrowns... because they deserve their own limelight! 

notes: Many types of potatoes will work to make awesome breakfast potatoes, but the best will be those that have a lower starch content. Fingerlings are my absolute favorite, but most yellow potatoes will work well. Higher starch potatoes are more likely to stick to the pan. 

ingredients: 

low starch potatoes, cubed (see notes above) 

high heat oil (bacon grease is my favorite, but any will work!) 

salt 

pepper 

instructions: 

  • Place potatoes in a steamer basket over a bit of water, cover the pot, and let them steam for about 5 minutes. The actual time will depend on how thickly your potatoes are cut. You'll want to be able to pierce them with a fork, but you don't want them to be fully cooked just yet. 
  • Remove potatoes from steamer and rinse them well under cold water. This helps to remove some of the starch. If you can pull your steamer basket out easily, just rinse them there. If not, move them into a strainer to rinse. 
  • Heat a large pan over medium-high heat, and add the oil once the pan is hot. You'll want a thin layer of oil covering the bottom of the pan. 
  • Once the oil is hot, add the potatoes. Be sure to only add what will fit in one layer on the pan, with a bit of space for stirring. If you're cooking more potatoes than will fit - cook them in two batches or two pans. 
  • Season the potatoes with a hefty sprinkling of salt and pepper then cook, stirring occasionally until they are creamy in the center and browned and crispy on the outside. If the potatoes start to stick at any point, use a metal spatula to gently scrape them off of the pan. Those crispy bits will still be delicious! You can also add additional oil if needed during the cooking process - potatoes will absorb a lot of oil if given the change! 

Comment

Meyer Lemon Curd

Comment

Meyer Lemon Curd

My obsession with lemon curd began many many many years ago with the amazing lemon and lime curds made by American Spoon Foods (purveyors of the most impeccably flavored preserves you've ever encountered). Growing up in Petoskey, their products were staples in our household and no trip downtown was complete without stopping in to sample their latest creations. 

While I could go on and on about the wonders of Spoon, the lemon curd has long been the one product I can't resist eating straight from the jar. Spoonful after spoonful after spoonful. When not in northern Michigan, I would buy other lemon curds from the shelf at the grocery store, but nothing could compare to the fresh creamy citrus of American Spoon Foods' curd. 

The first time I made lemon curd in my own kitchen, it was a total game changer. I discovered the reason I was so obsessed with that particular curd - it was the closest I could get to the flavor of freshly made lemon curd without actually making it myself. The amazing news is that curds are SUPER easy to make at home, all it takes is about 15 minutes and some constant stirring! Serious danger for this curd-lover. 

The citrus selection at my local grocery spot, New Seasons, is currently bordering on out of control. They're boasting 60 plus varieties of citrus, and that endless bounty of color is beyond magical during this cold, grey, and rainy time in Portland. Just as the mid-winter blues are starting to set in, I can't help but get excited to explore the endless opportunities of citrus flavors! I wanted to start with something classic - the meyer lemon. 

meyer lemons

Meyer lemons were created by crossing a mandarin orange with a classic lemon, gifting us with a sweeter and more deeply flavored type of lemon. I consider these to be the perfect citrus for baking (although, there may be another 50 varieties to explore this winter!), as well as for curd-making. These days meyer lemons can be found in most grocery stores with an ample produce section for a few months each winter starting in December. 

I'll be honest - when the meyer lemon season arrives, I go all meyer all the time until they're no longer available. Regular lemons just don't measure up in my mind! 

Meyer Lemon Curd, Food Photography, Food Styling, Recipe, Food Blog

This recipe is specifically written to make use of meyer lemons. If you're not able to find them, you can still make an absolutely amazing curd from regular lemons. Just be sure to increase the sugar to about 1/2 cup as your juice won't hold as much sweetness as meyer lemon juice. 

Meyer Lemon Curd 

1/2 cup meyer lemon juice 

1/3 cup sugar 

2 egg yolks 

2 eggs 

6 Tablespoons unsalted butter, cubed 

pinch of salt 

  • In a double boiler over medium high heat or a bowl placed over a pot of simmering water, whisk together the lemon juice, sugar, egg yolks, and eggs until thoroughly combined. 
  • Add butter and whisk continuously. The butter will melt, and after a bit more whisking the mixture will begin to thicken. Continue whisking until your whisk leaves clear lines in the curd as you stir. 
  • Remove from heat, and strain the curd through a fine mesh strainer.
  • Store your lemon curd in the refrigerator, and eat it within a few weeks (though good luck having it last more than a few days!). 

Serving: I've definitely given away that my favorite way to eat lemon curd is straight from the jar, spoonful after spoonful... but there are so many wonderful things to be done with it! Spread it on toast, serve it with scones, fill your cake layers or individual tarts (check out my full-size lemon tart recipe for the appropriate curd for filling tarts you'll be slicing). 

Comment