Viewing entries tagged
easy

Smoked Butter Blueberry Crisp

Comment

Smoked Butter Blueberry Crisp

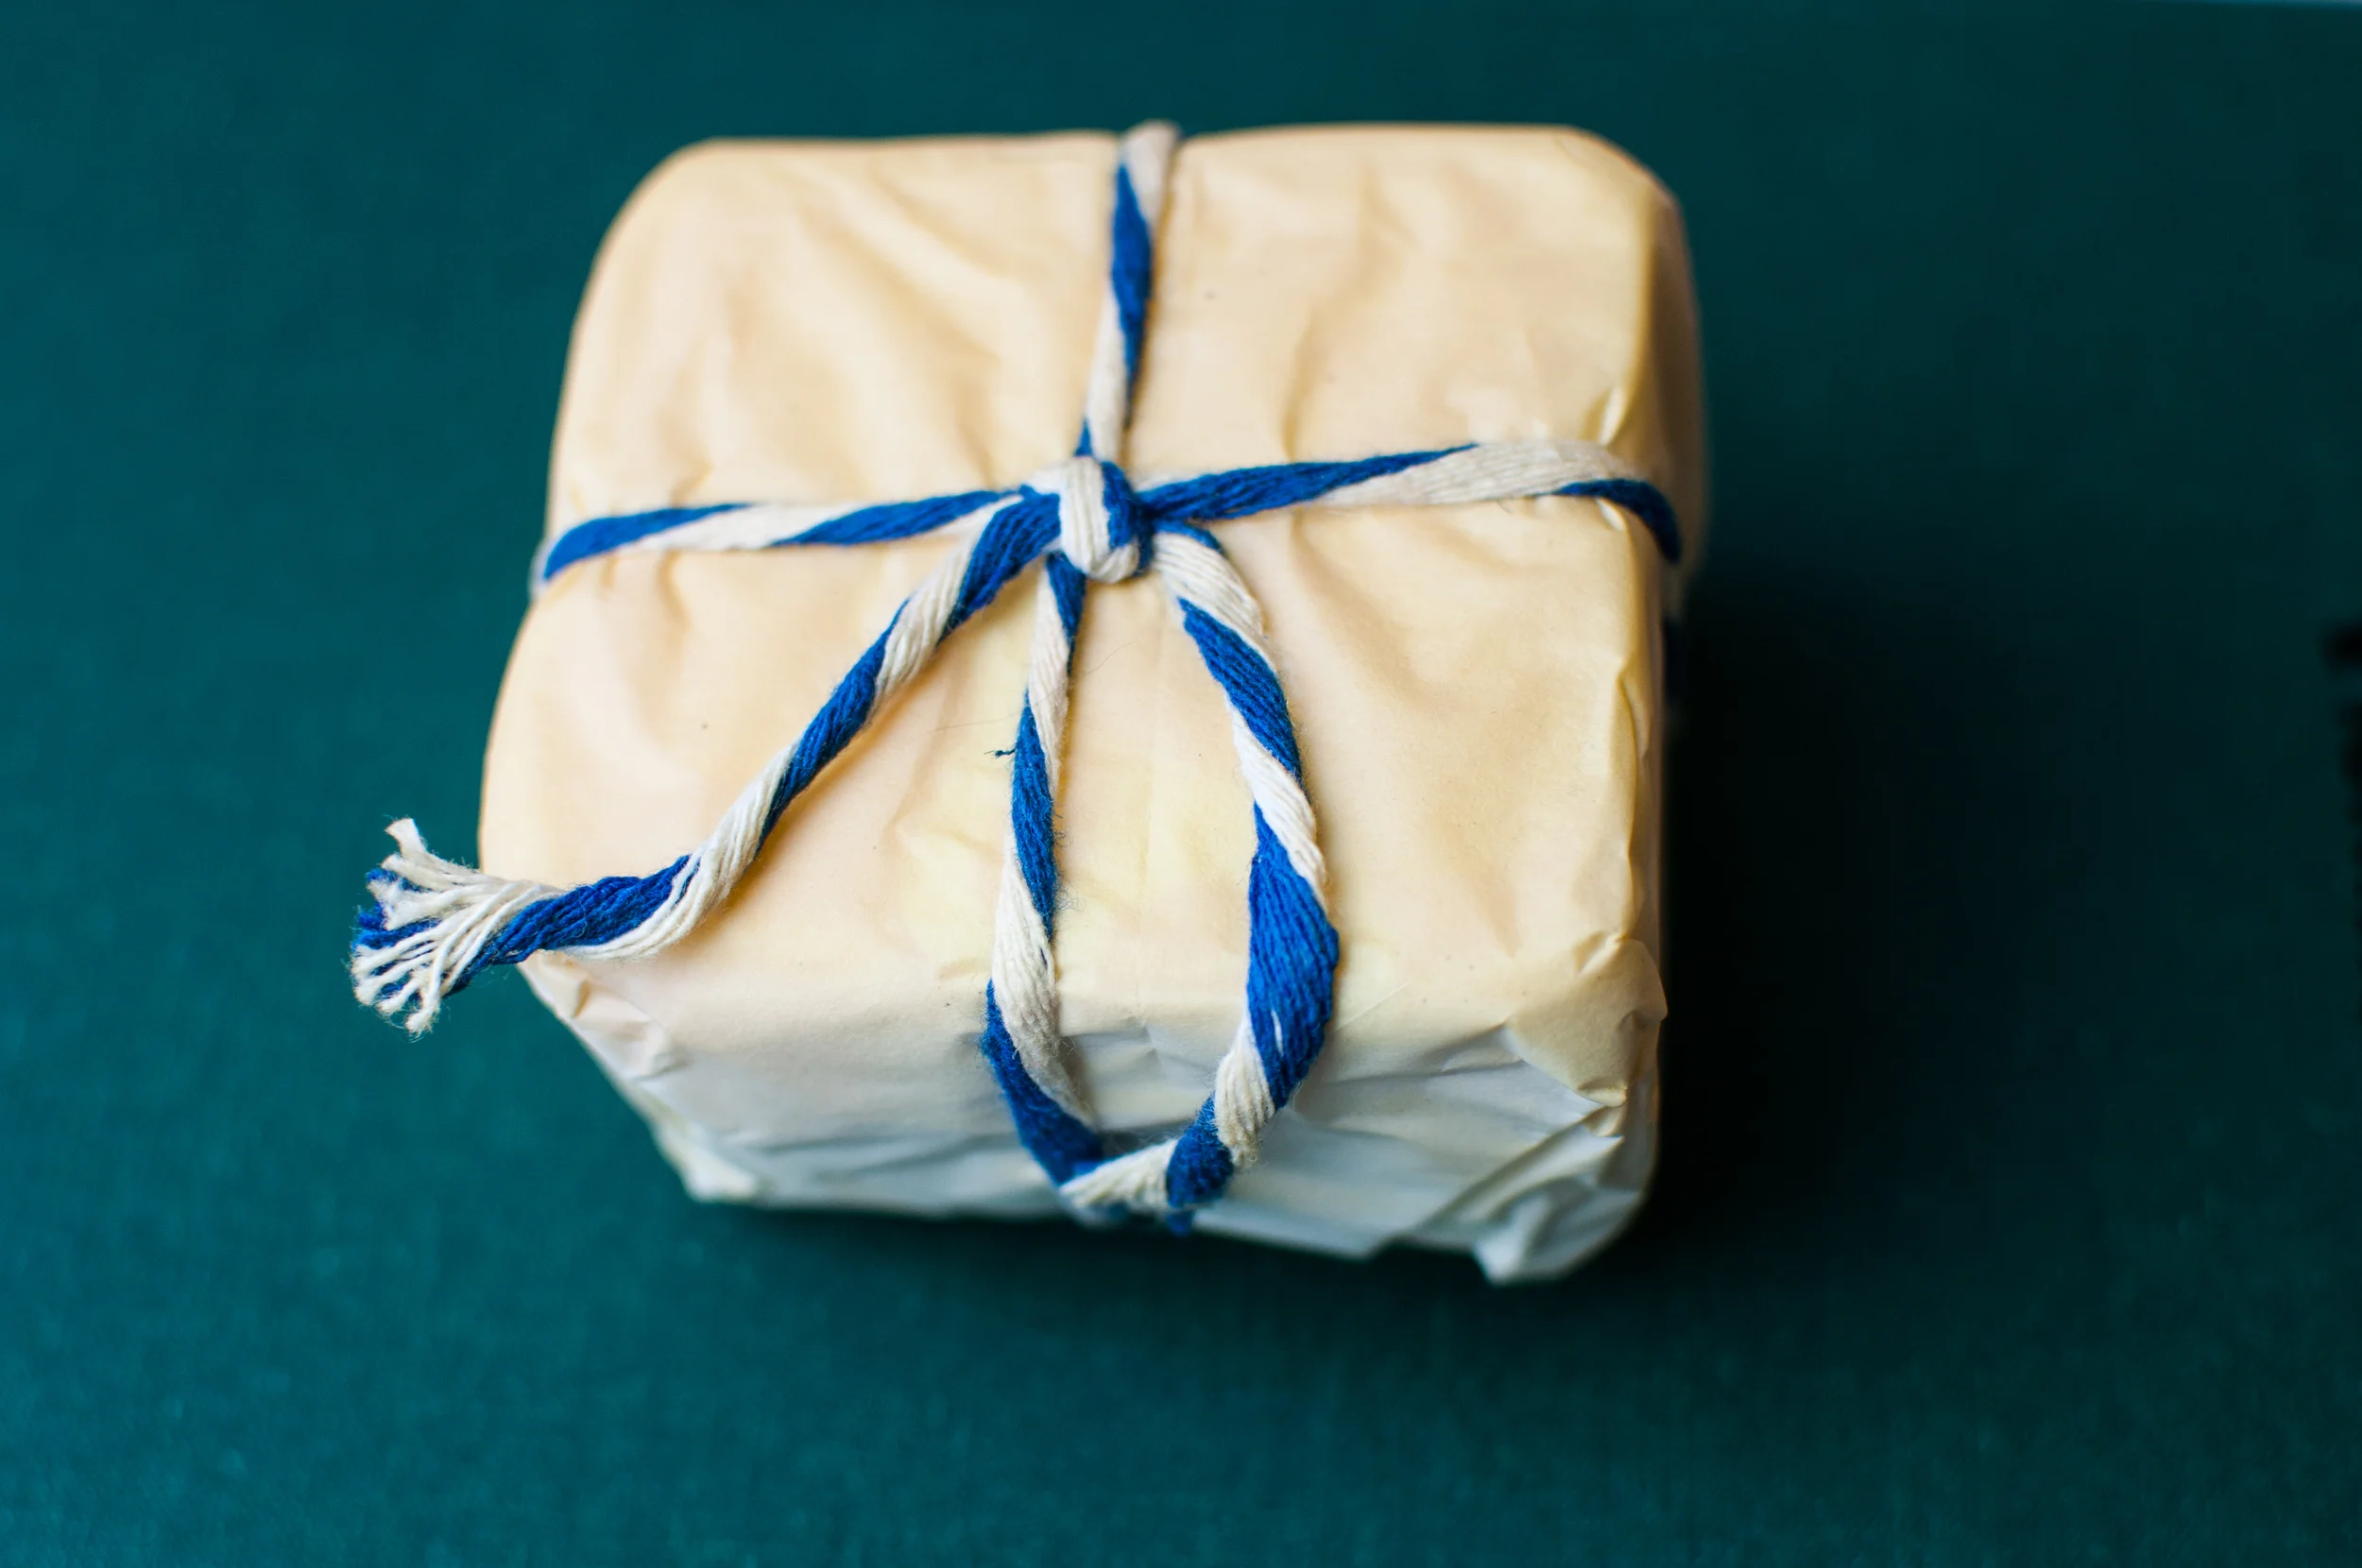
A little while back I was looking though old photos, as it's always fun to revisit the little snippets of life that can so easily get lost in the hustle of the everyday (especially if you take as many photos as I do!). I was totally halted by the below photo of Boss Mouse Cheese's smoked butter - an ingredient that regularly graced my table when we lived in Michigan.

The kick-ass Sue Kurta makes some crave-able cheeses, but she also cold smokes these beautifully tied packets of butter in a custom built smoker her sweet dad helped her create. It's the most magical ingredient for, well, just about anything you might use butter for! Sautéed morels, smokey tempeh strips, slathered on toast with peach jam, the options are endless. 

So after stumbling upon this photo, I couldn't help but start to crave that smoky buttery goodness. A quick search didn't result in any discoveries of smoked butter happening in Portland (and they say this is a food city...), so I had Sue mail me a magical bounty of butter. You too can have her mail it to you, just visit the website! This is the first of the creations, but I'm so looking forward to having a stash of smoked butter in the freezer to indulge myself in. 

You'll also see it with this pretty red string - a pile of magic! 

Find her at the farmers market, and Sue rightly recommends you slather your spring asparagus in smoked butter... in fact writing this post is a reminder that I have both smoked butter and asparagus in the fridge - why don't I have a plate of smoked butter asparagus next to me?! Better write faster so I can indulge! 

Anyways, smoked butter has long been a favorite ingredient of mine and baking with it takes things to a whole new level of special! This recipe is all about the simplest of fruit desserts, the humble crisp, dressed up a bit by simply replacing our butter with Sue's smoked butter. 

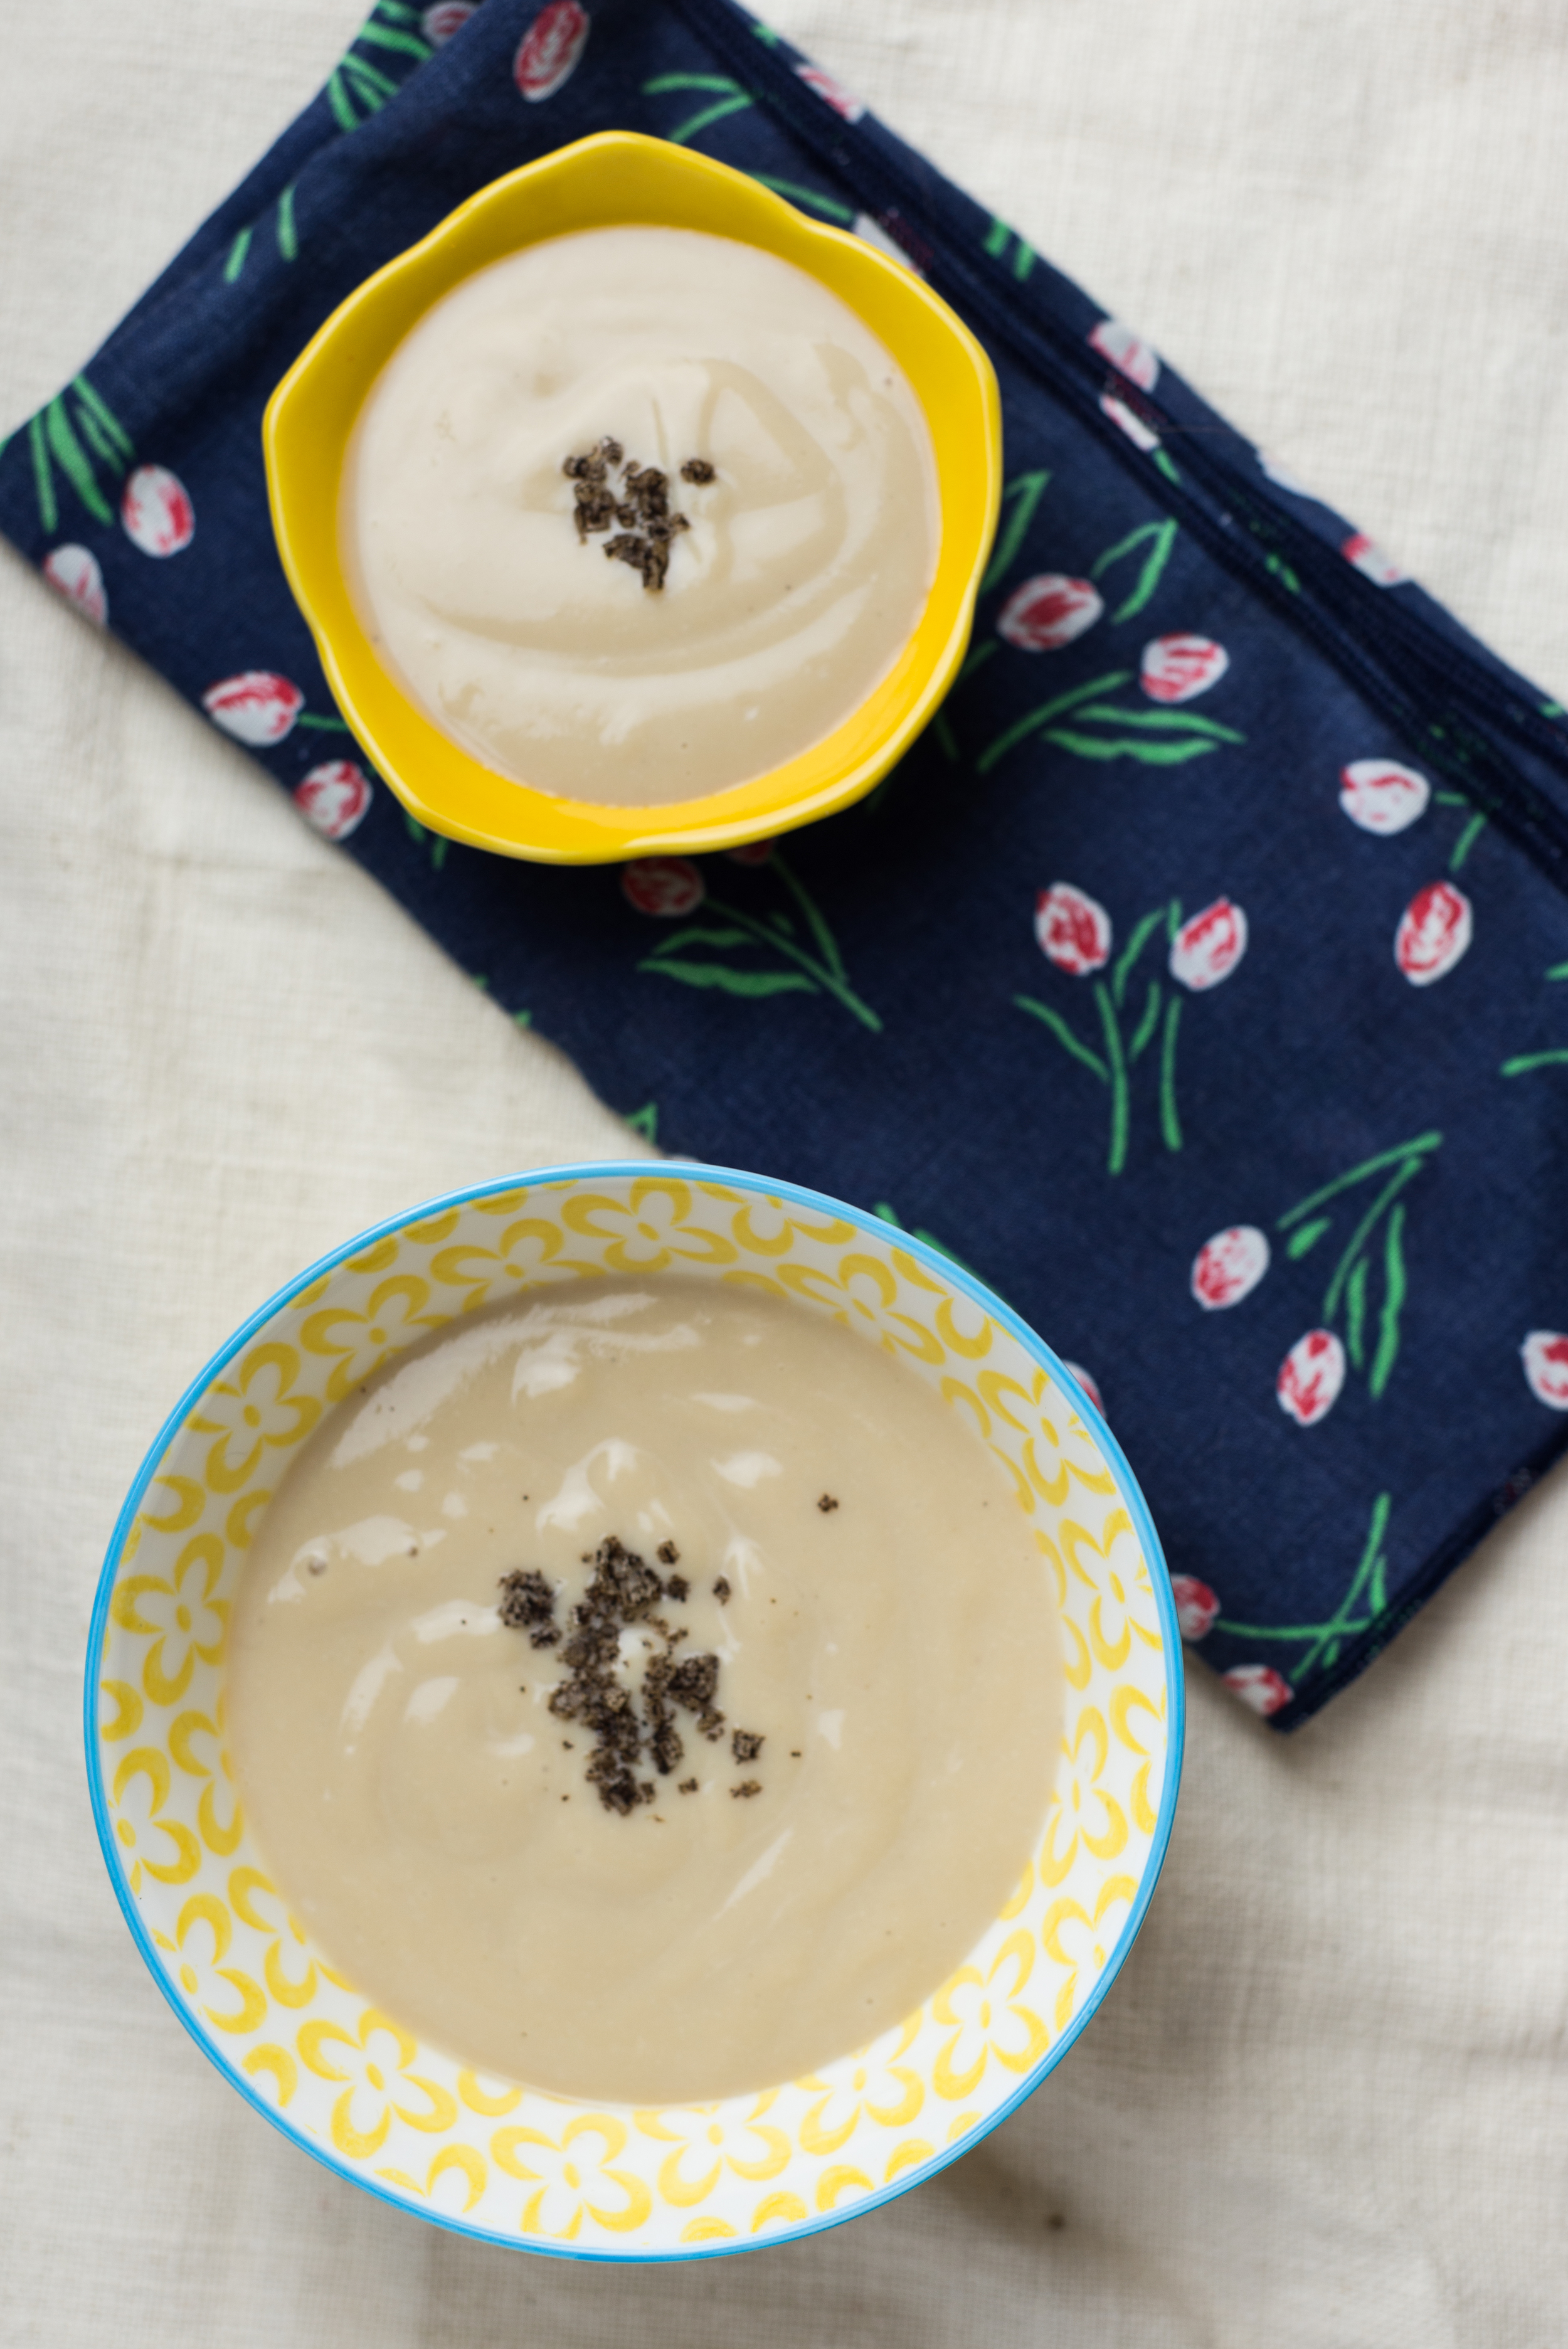
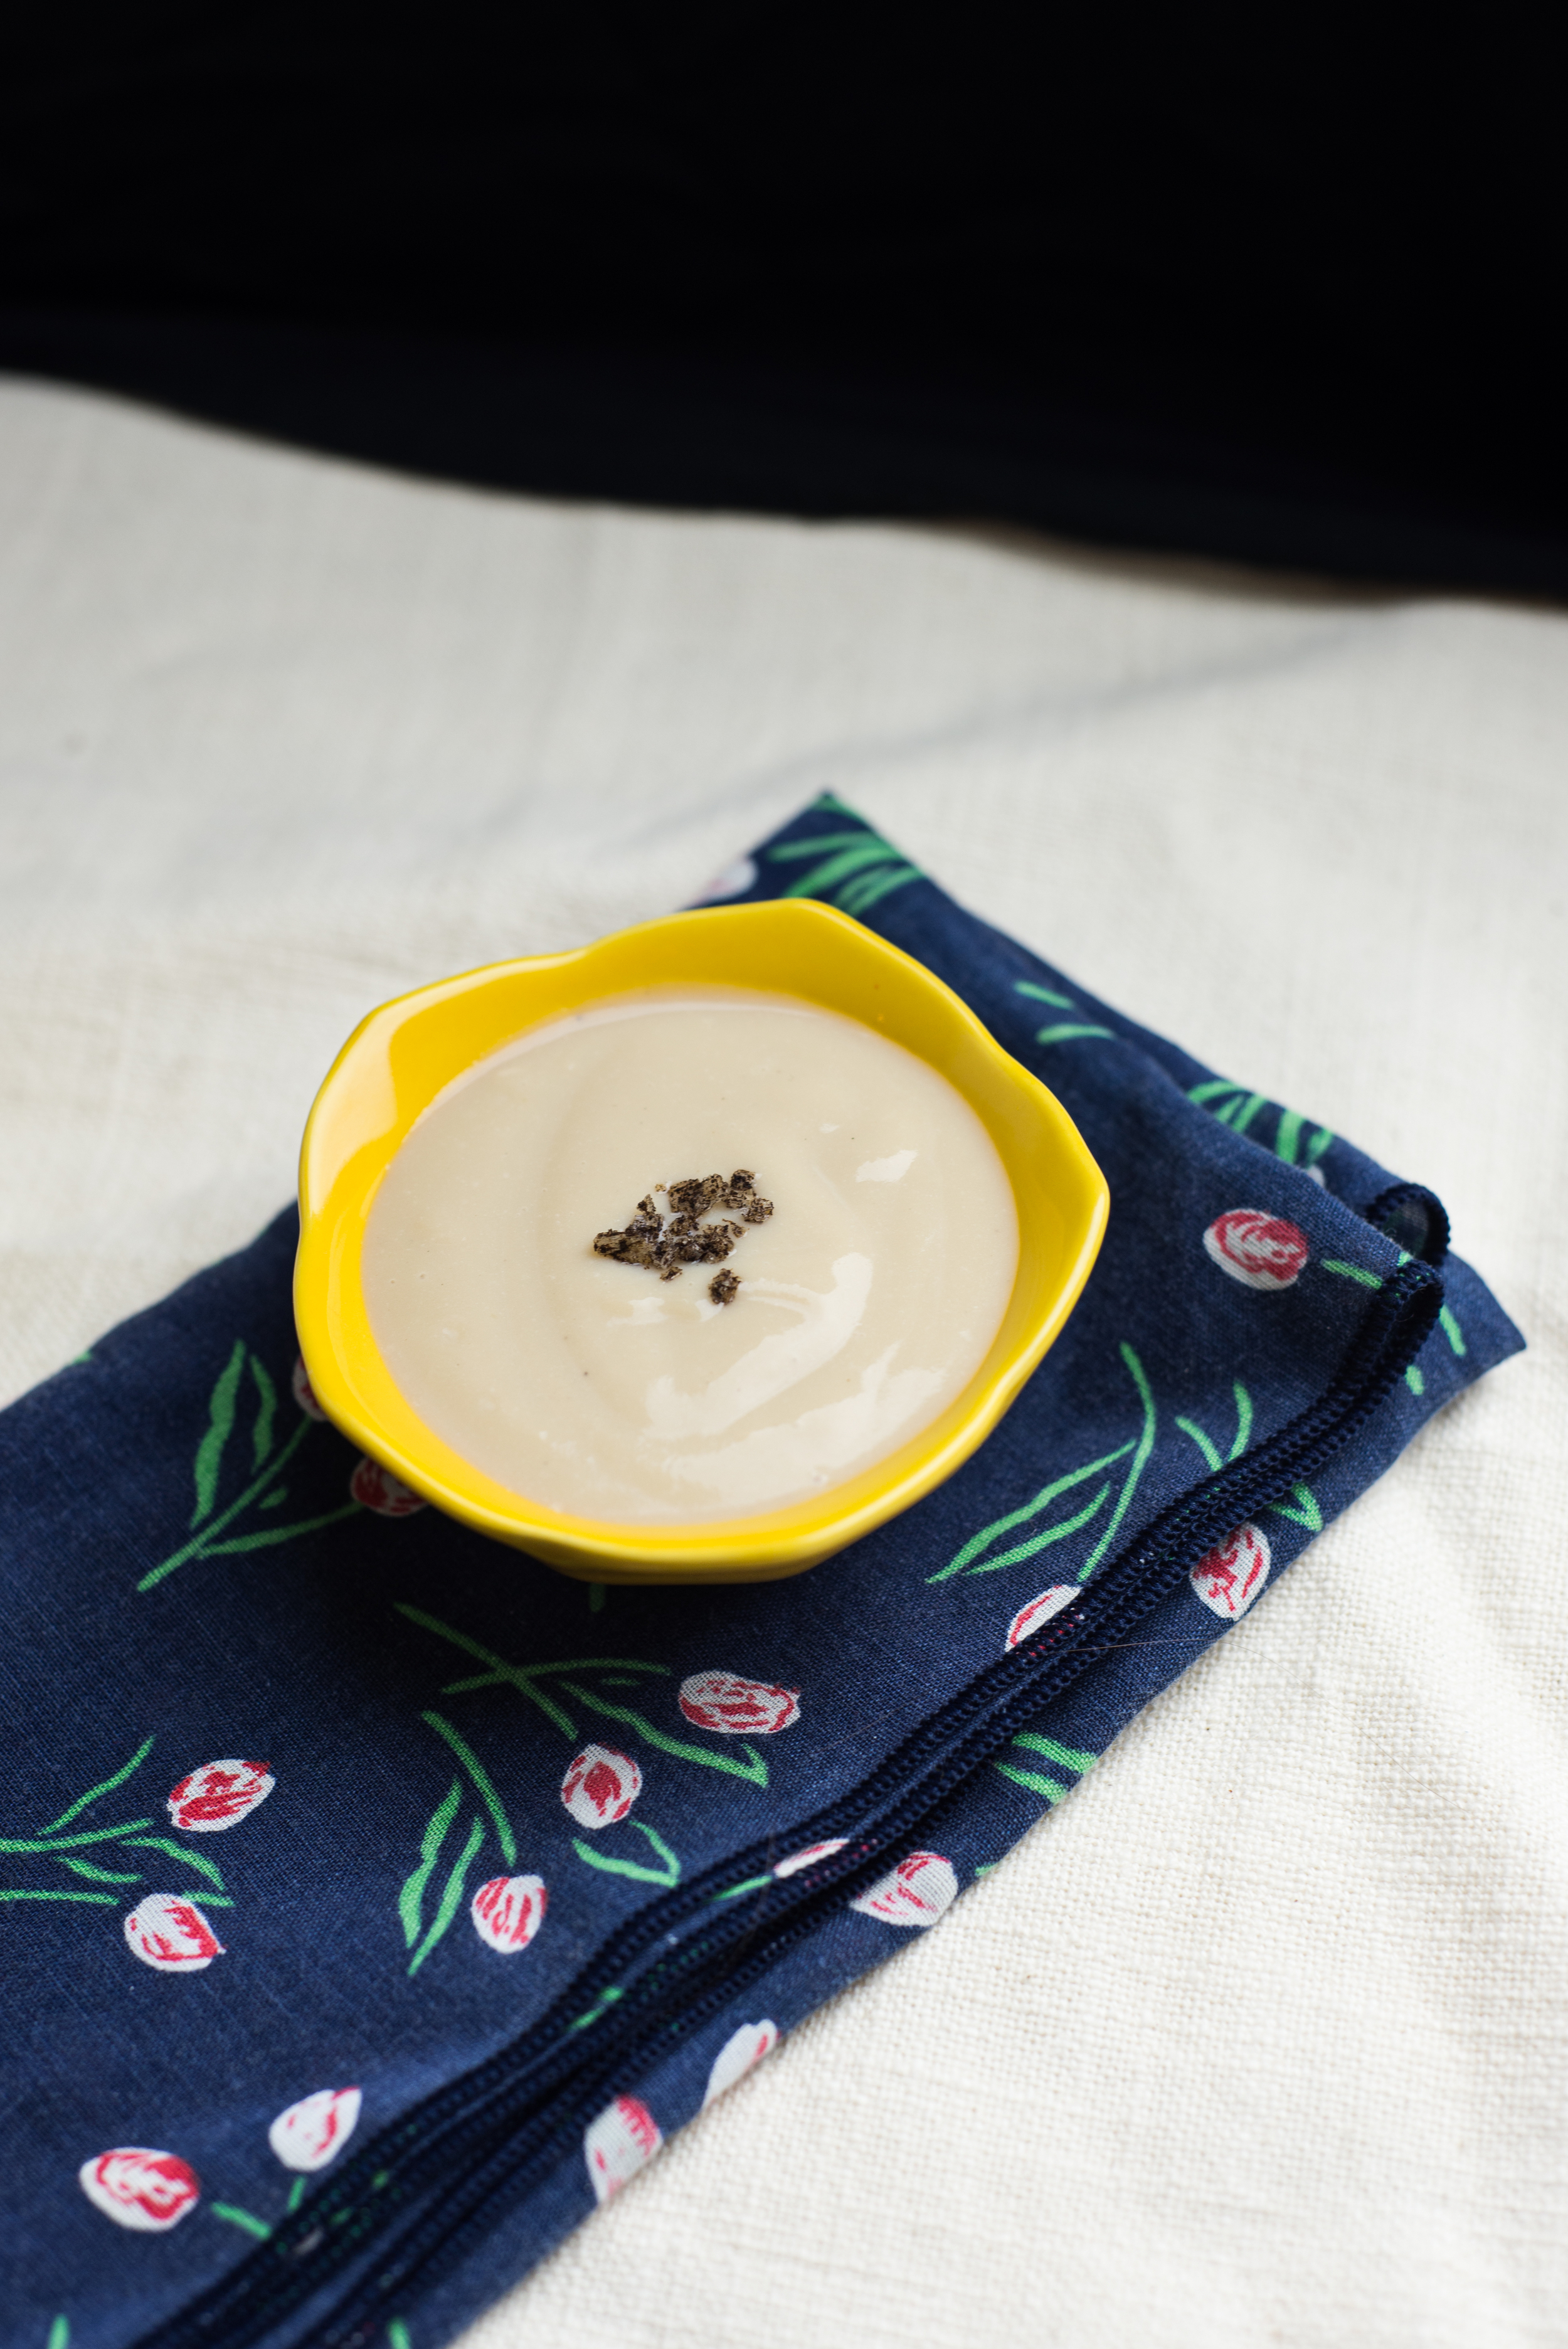
It's packed with jammy blueberry goodness and a subtle smoke. 

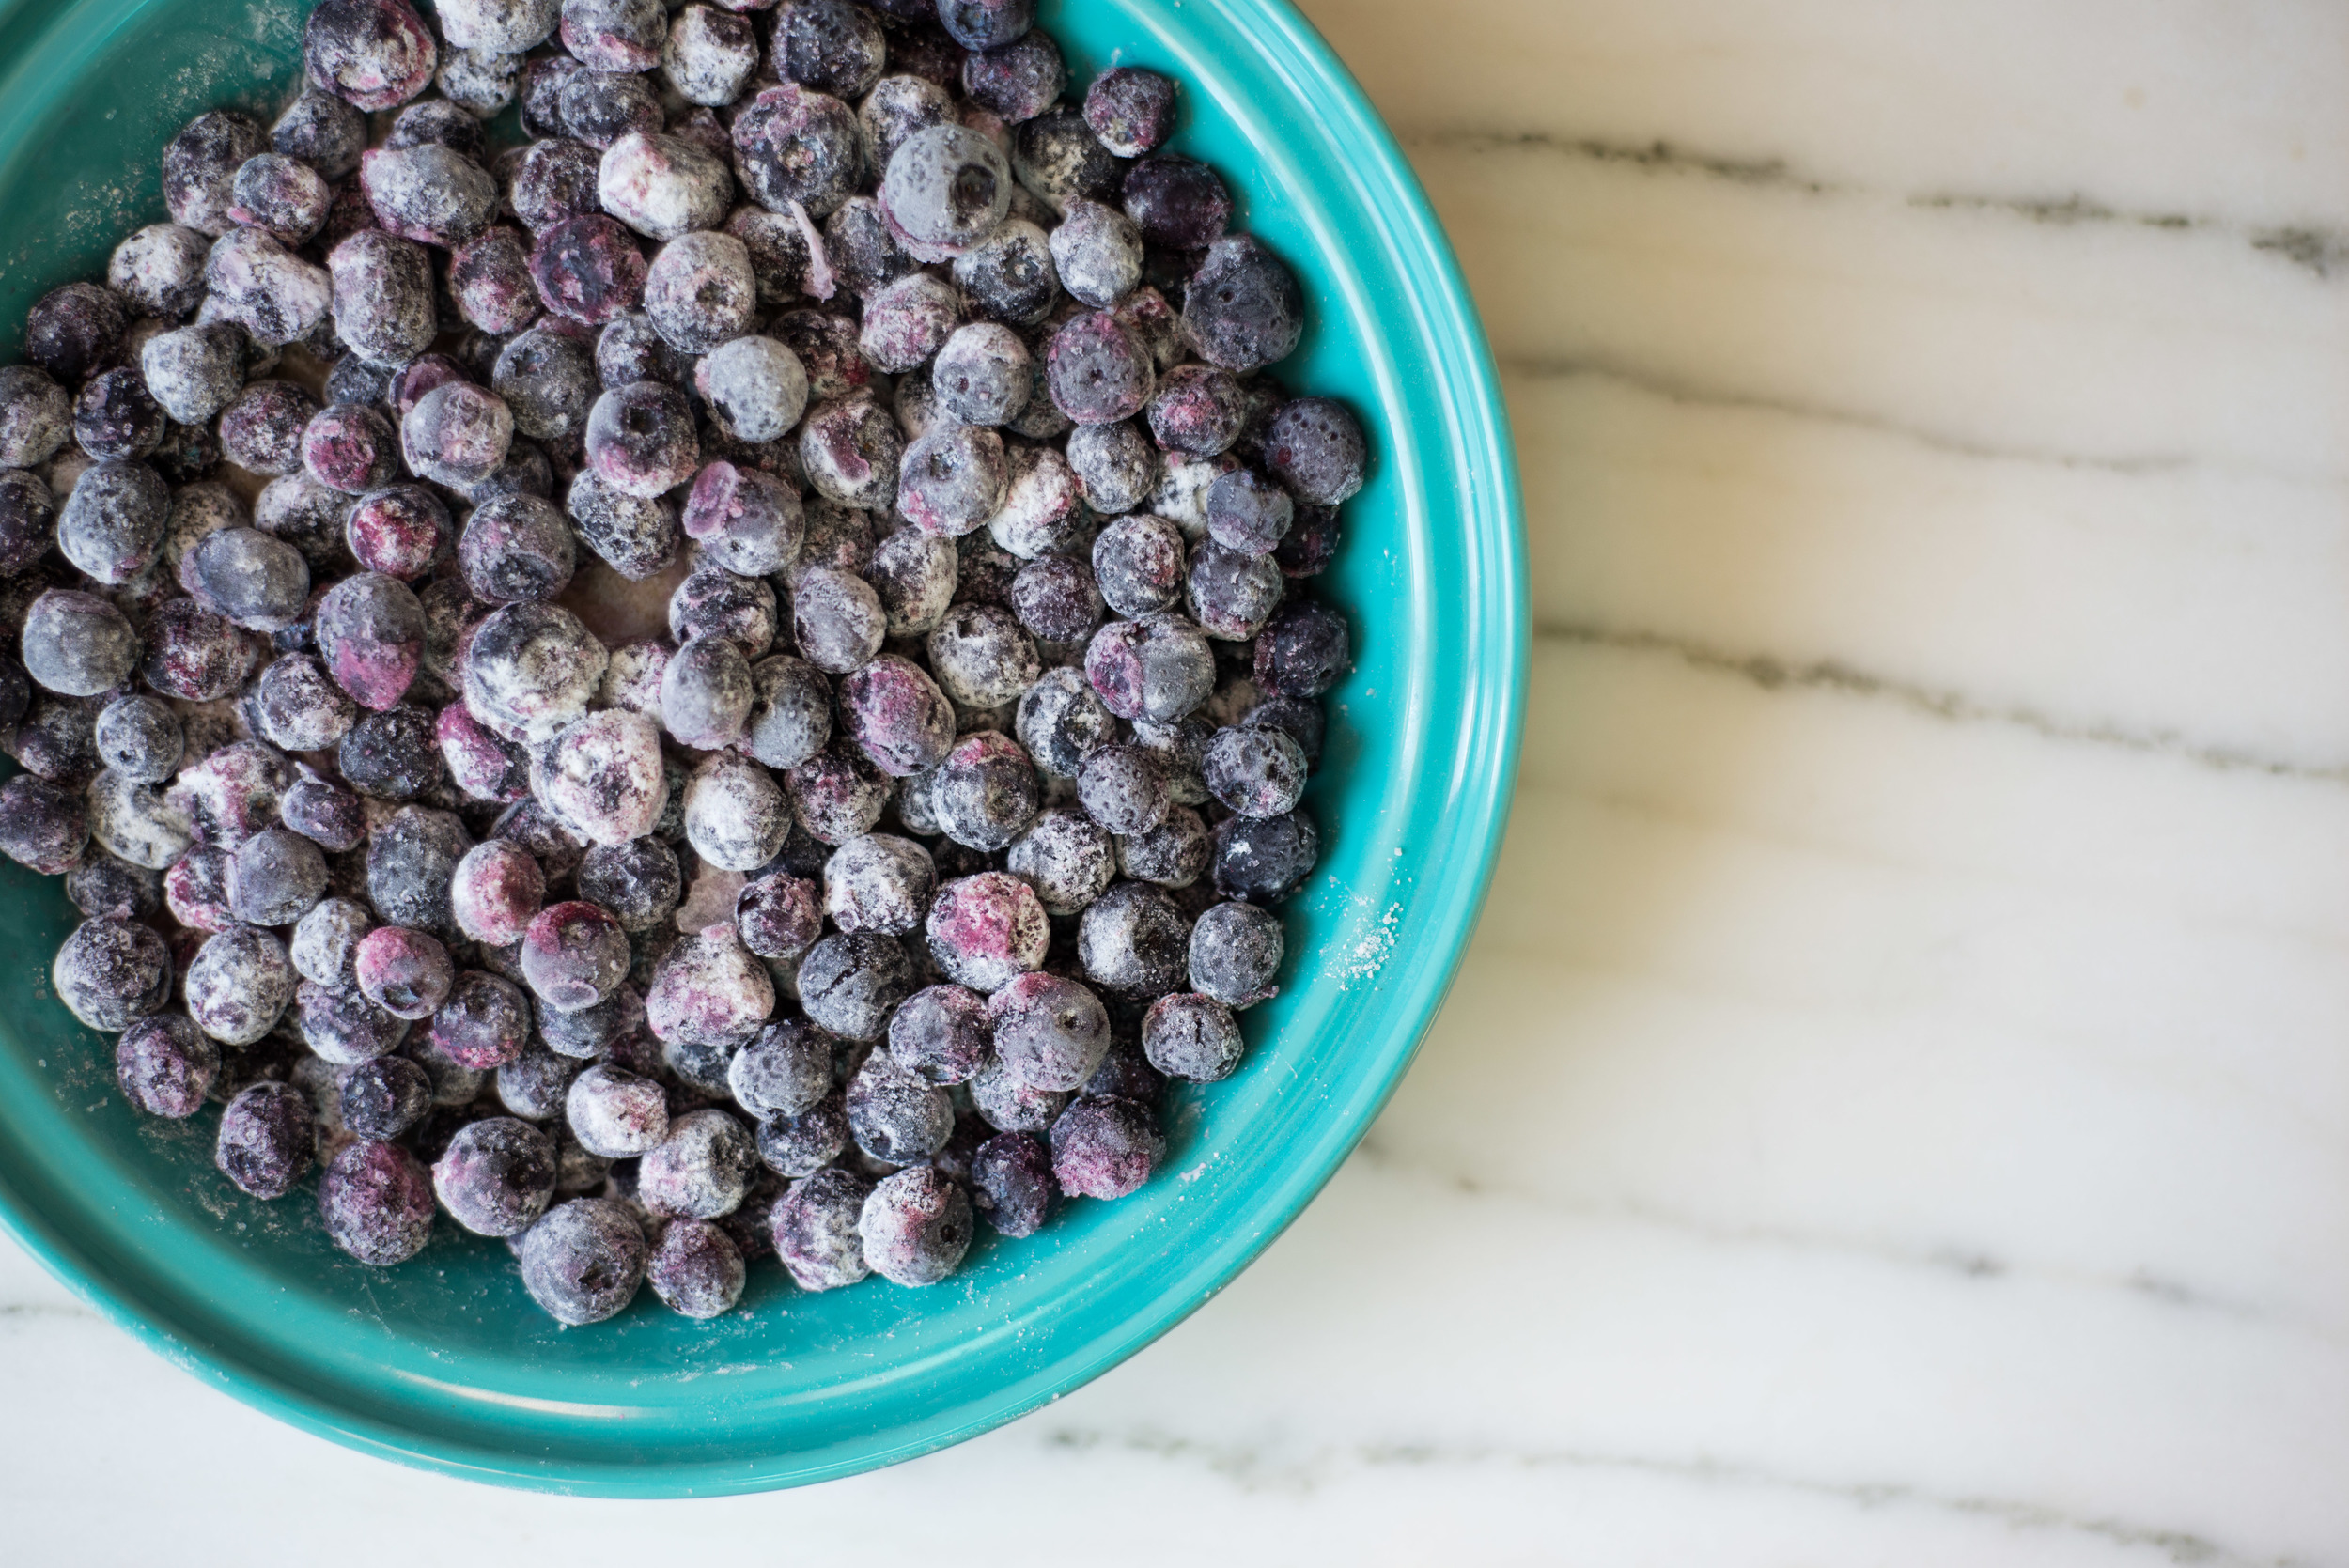
We pile all our berries into a baking dish (I'm obsessed with this beautiful pie plate my babe's aunt bought for us on her annual venture to the Fiestaware tent sale). Then toss them with a few other simple ingredients and set it aside while we make the topping. 

The topping gets sprinkled on top of the blueberries... 

You really can't go wrong with a crisp topping packed with smoked butter : ) Once we have a nice littler layer on top of the berries we toss it in the oven, set a timer, and get on with whatever else we need to do... or watch a little netflix while we wait... whatever floats your boat. 

And voila - crisp! 

Smoked Butter Blueberry Crisp 

notes: While smoked butter makes this simple fruit crisp a decadent and special treat, this recipe will also work well using unsmoked unsalted butter. You can use frozen or fresh blueberries to make this, but I suggest defrosting the blueberries before starting. Baking from frozen blueberries will likely lead to a wetter, yet still totally delicious, crisp). 

about 5 cups blueberries 

1/3 cup sugar 

1 Tbsp lemon juice 

3 Tbsp cornstarch 

1 cup whole wheat pastry flour, or all purpose flour 

1/2 cup brown sugar 

1 tsp baking powder 

1/2 tsp cinnamon 

1/4 tsp sea salt 

8 Tbsp smoked butter (I used Boss Mouse Cheese butter), or unsalted butter 

  • Fill a 9in pie dish or 8x8 baking dish with blueberries. I like to fill it just about to the top for as fruity a crisp as possible. 
  • Add sugar, lemon juice, and cornstarch to the blueberries and stir to coat the berries. Set aside. 
  • In a medium bowl, whisk together flour, brown sugar, baking powder, cinnamon, and salt. 
  • Cut the butter into cubes, then add it to the flour mixture. Using a pastry cutter (or two knives), cut the butter into the flour until only pea sized clumps of butter remain. If needed, use your fingers to break up any bigger pieces of butter. 
  • Spread the topping evenly over the blueberries. 
  • Bake at 350F for about 35 minutes, until the fruit is bubbling away and the topping is a golden brown. 

Comment

Brown Sugar Vanilla Pudding

2 Comments

Brown Sugar Vanilla Pudding

While my babes and I gobbled up some Sunday afternoon pudding, I started off on a mini-rant of curiosity about why more people don't make their own pudding from scratch. I understand the reasoning of convenience behind a lot of processed food items, but I'm sorry - instant pudding and pudding cups are not included. 

Pudding is SO EASY to make from scratch, friends! 

It takes less than 20 minutes, and involves little more than a bit of measuring and some stirring. You got this, believe me! 

Brown Sugar Vanilla Pudding 

adapted from Mark Bittman's Vanilla Pudding 

2 1/2 cups whole milk 

2/3 cups lightly packed brown sugar 

pinch salt 

1 vanilla bean, scraped or 1 tsp vanilla extract 

3 Tbsp cornstarch 

2 Tbsp unsalted butter, but into cubes 

  • Combine 2 cups of the milk, sugar, salt, and scraped vanilla bean in a medium saucepan. Heat the mixture over medium heat until the milk starts to steam. 
  • While the pudding is heating, stir cornstarch into the remaining 1/2 cup milk until no clumps remain. 
  • Once the pudding is steaming, add the cornstarch mixture and stir to combine. 
  • Continue cooking the pudding, stirring constantly, until it has thickened. About 10 minutes. 
  • Place pudding in a tightly sealing container, and store in the refrigerator until ready to serve. If you don't like a skin on your pudding, place some plastic wrap directly on the surface to prevent the skin from forming. 
  • Pudding will keep for about a week in the fridge, but it will seep a little liquid after a few days. Just stir it back together before serving! 


2 Comments

perfectly crispy breakfast potatoes

Comment

perfectly crispy breakfast potatoes

My love for well made breakfast potatoes runs deep. I will always choose potatoes if given an option of what comes alongside my breakfast, and so often order a side of potatoes if they aren't included. I judge the success of a breakfast joint with a huge factor being the quality of their potatoes. It's almost as important as the rest of my meal tasting phenomenal because a great egg dish with mediocre potatoes just doesn't stand up! 

potatoes, recipe, breakfast

Now, in my mind the perfect breakfast potatoes have two main characteristics. First, the middle of each piece should be lightly fluffy and creamy smooth. Second, the outside should be beautifully golden brown and satisfyingly crisp. The number of times I've delayed breakfast being put on the table because I'm waiting for my potatoes to crisp just a little bit more is astounding. 

Crispy breakfast potatoes  =  pure morning heaven. 

Unfortunately, making breakfast potatoes at home isn't always an easy feat. To get them perfectly creamy in the center and amazingly crispy on the outside requires many factors to come together perfectly if you're simply pan frying them. Thankfully, my sweet babes came up with this foolproof solution to making amazing breakfast potatoes at home! He sure knows the way to my heart : ) 

Steaming the potatoes, then rinsing them in cold water helps to give the potatoes a head start on cooking and remove some of the starch. This aids in creating potatoes that are both creamy and crispy! 

breakfast, potatoes, easy recipe

And instead of keeping this awesome method to myself, I decided it would be best put to work shared with all of you! So the next time you're craving a hearty serving of creamy crispy breakfast potatoes, don't worry about putting on real clothes. Whip these bad boys up in your PJs, with a big mug of coffee next to the stove. 

And of course, no breakfast potatoes are complete without a serving of some serious ketchup. You may remember this post from the fall discussing the joys of homemade ketchup, and I should probably admit that at least 75% of our ketchup stock ends up next to breakfast potatoes. Homemade ketchup will change your life, so when the tomatoes start ripening next summer, don't forget to put some up for your slow winter mornings! 

We'll get together another day to discuss hashbrowns... because they deserve their own limelight! 

notes: Many types of potatoes will work to make awesome breakfast potatoes, but the best will be those that have a lower starch content. Fingerlings are my absolute favorite, but most yellow potatoes will work well. Higher starch potatoes are more likely to stick to the pan. 

ingredients: 

low starch potatoes, cubed (see notes above) 

high heat oil (bacon grease is my favorite, but any will work!) 

salt 

pepper 

instructions: 

  • Place potatoes in a steamer basket over a bit of water, cover the pot, and let them steam for about 5 minutes. The actual time will depend on how thickly your potatoes are cut. You'll want to be able to pierce them with a fork, but you don't want them to be fully cooked just yet. 
  • Remove potatoes from steamer and rinse them well under cold water. This helps to remove some of the starch. If you can pull your steamer basket out easily, just rinse them there. If not, move them into a strainer to rinse. 
  • Heat a large pan over medium-high heat, and add the oil once the pan is hot. You'll want a thin layer of oil covering the bottom of the pan. 
  • Once the oil is hot, add the potatoes. Be sure to only add what will fit in one layer on the pan, with a bit of space for stirring. If you're cooking more potatoes than will fit - cook them in two batches or two pans. 
  • Season the potatoes with a hefty sprinkling of salt and pepper then cook, stirring occasionally until they are creamy in the center and browned and crispy on the outside. If the potatoes start to stick at any point, use a metal spatula to gently scrape them off of the pan. Those crispy bits will still be delicious! You can also add additional oil if needed during the cooking process - potatoes will absorb a lot of oil if given the change! 

Comment